The paper pad that I am using today is called Vintage Rose Garden.
This paper pad is from The Paper Boutique range from Creative Crafting World.
You will need:
7” by 10” Paper Boutique Cream base card
The Paper Boutique Vintage Rose Garden pad
Beige card (Woodstock Collection)
A4 Cream card
Happy Birthday (The Paper Boutique Sentiments Collection 2)
Embossing folder
1 Large square die
1 Medium square die
1 small square die
2 Different size Butterfly dies
Ribbon
1 Paper rose (or pearl)
Wet glue
Foam pads
Instructions:
Firstly cut all the pieces of card :
Beige card:
1 x 24.5cms by 17cms
1 x 22cms by 14.5cms
Cream card:
1 x 24cms by 16.5cms
1 x 20cms by 12.5cms
Matt and layer the cream card measuring 24cms by 16.5cms onto the beige card measuring 24.5cms by 17cms.
Then attach this layer to the cream card base.
Using the embossing folder, emboss the cream card that measures 20cms by 12.5cms.
Matt and layer this on top of the beige card that measures 22cms by 14.5cms.
Next place the medium square die onto the flower paper sheet and then place the smaller square die in the centre of the medium die and run this through your die cutting machine. You will need to do this twice.
Using the large square die cut out two squares from cream card.
Next place one of the cut out flower squares on top of the cream card square and place the small square die in the centre and run this through your die cutting machine. This will then cut out the centre of the cream square in the correct position. Do the same to the other cream square.
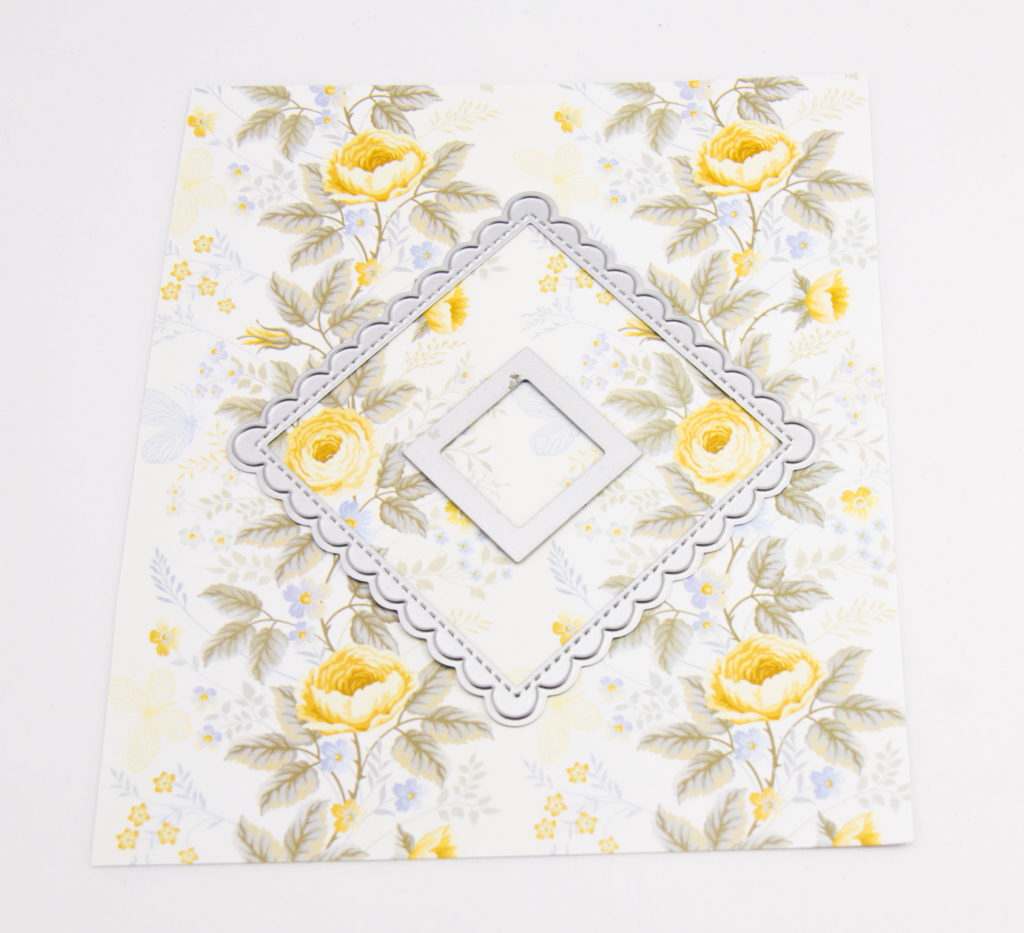
Matt and layer the flower squares onto the cream squares.
Using the embossing matt and layer glue one end of ribbon to the top (fold the ribbon around the back of the card and glue) making sure this is in the centre.
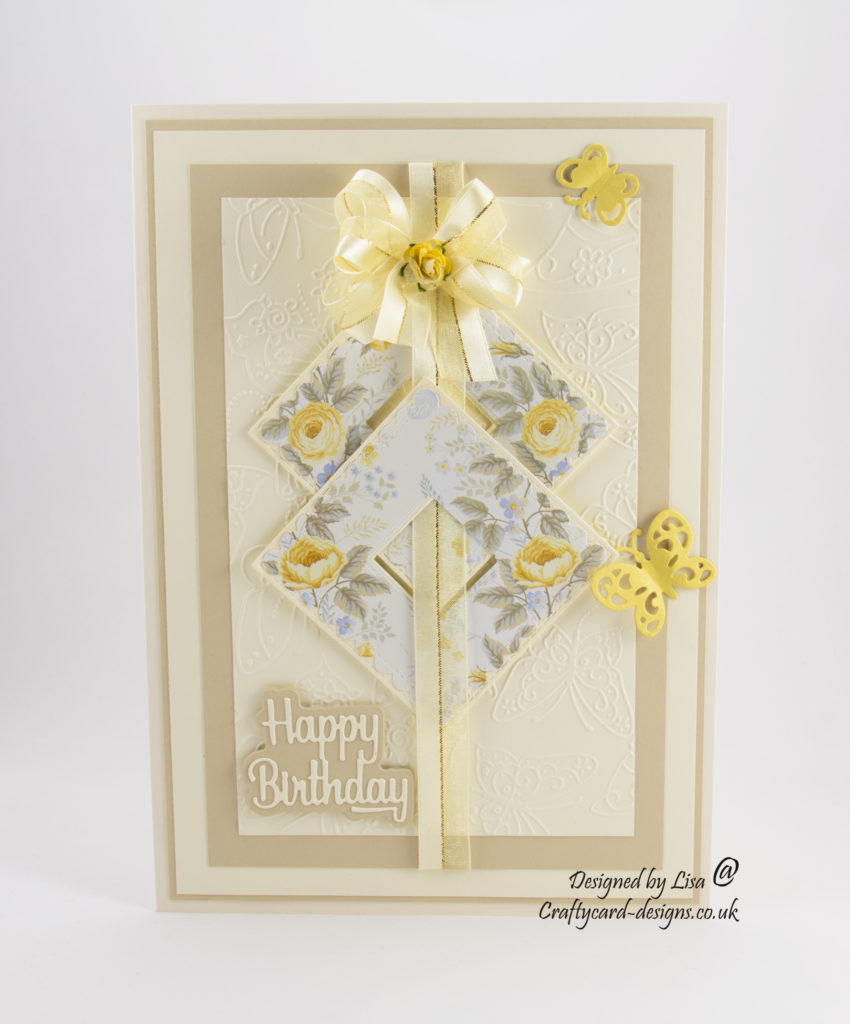
Next using foam pads attach the two squares onto the embossing matt and layer, placing them at an angle (please see picture).
Using the ribbon go over the top of the first square, under the back of the second square then coming up through the centre and then down over the base of the square and finally attaching the ribbon to the underneath of the embossed matt and layer.
Attach this matt and layer to the card base.
Using the ribbon make a bow and attach this to the top of the first square.
I have decorated my bow with a paper rose but you could also use a pearl bead.
Cut out a Happy Birthday sentiment and a couple of butterflies to finish the design.
Happy Crafting xx
Another beautiful card Lisa, such a fabulous design – this is such a pretty collection.
Pauline – Crafting with Cotnob
x