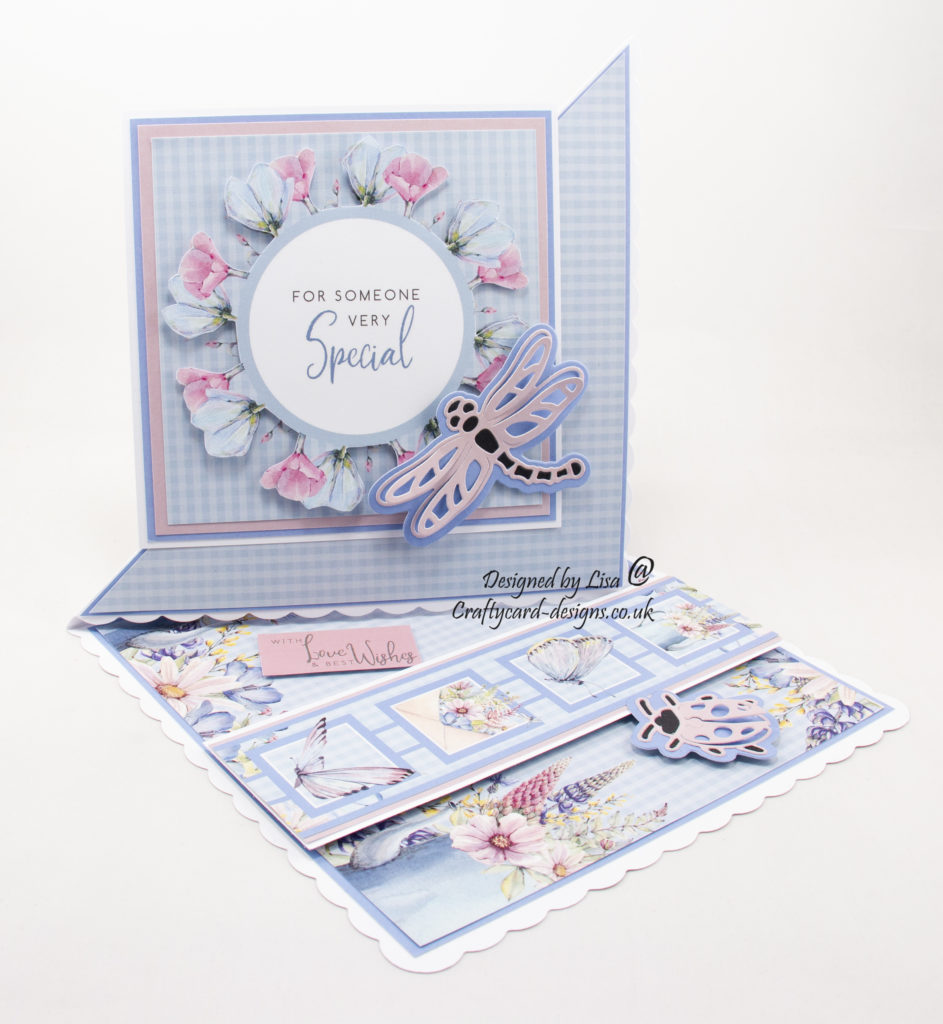
Today’s handmade twisted easel card has been created using a paper collection called A Summer Garden from The Paper Boutique range from Creative Crafting World
Here is a tutorial on how I created this card.
You will need :
8″ by 8″ White Scallop Card
The Paper Boutique A Summer Garden – Embellishment Pad
The Paper Boutique A Summer Garden – Coloured Card Collection
The Paper Boutique A Summer Garden – Scene And Sentiment Topper Pad
The Paper Boutique Garden Visitors – Garden Visitors Embellishment Die Collection
White Card
Black Card
Wet Glue / Double Sided Tape
Foam Pads
Instructions:
Choose two coloured cards, two backing papers and two of the same toppers from the scene and sentiment pad.
You will also need the long topper and a sentiment from the embellishment pad.
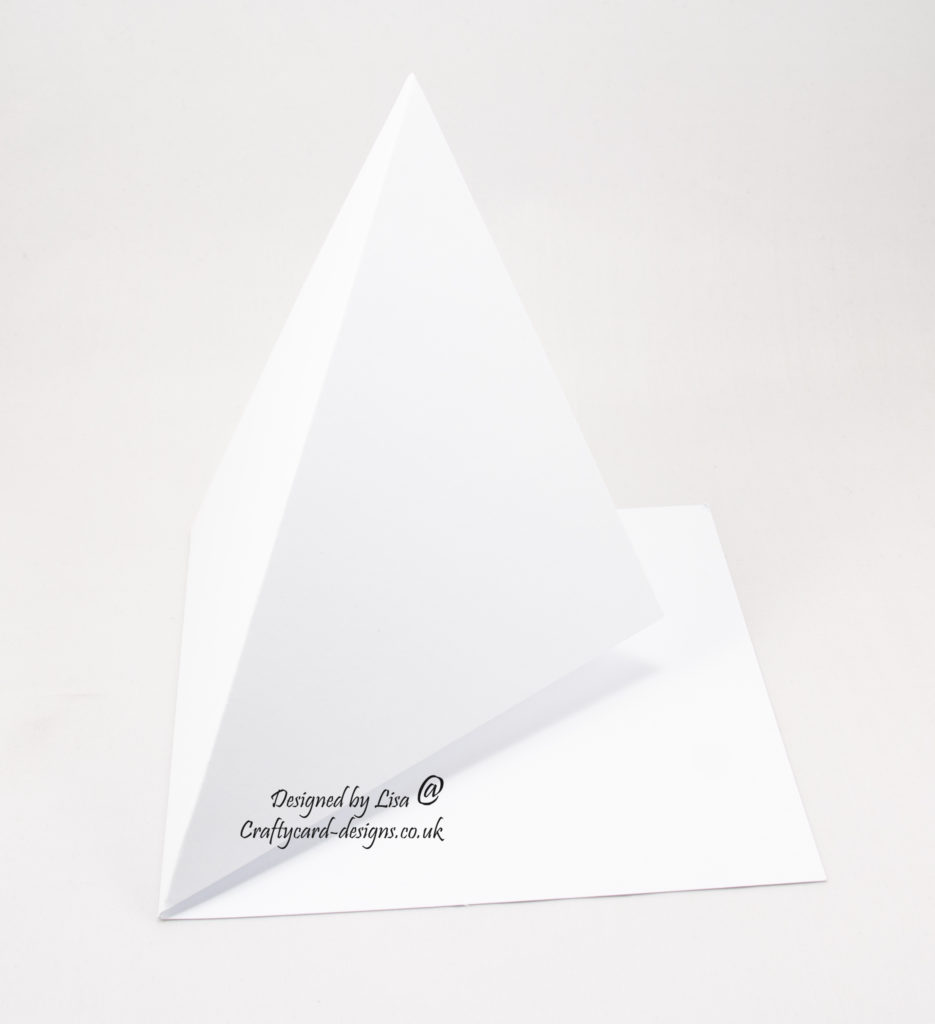
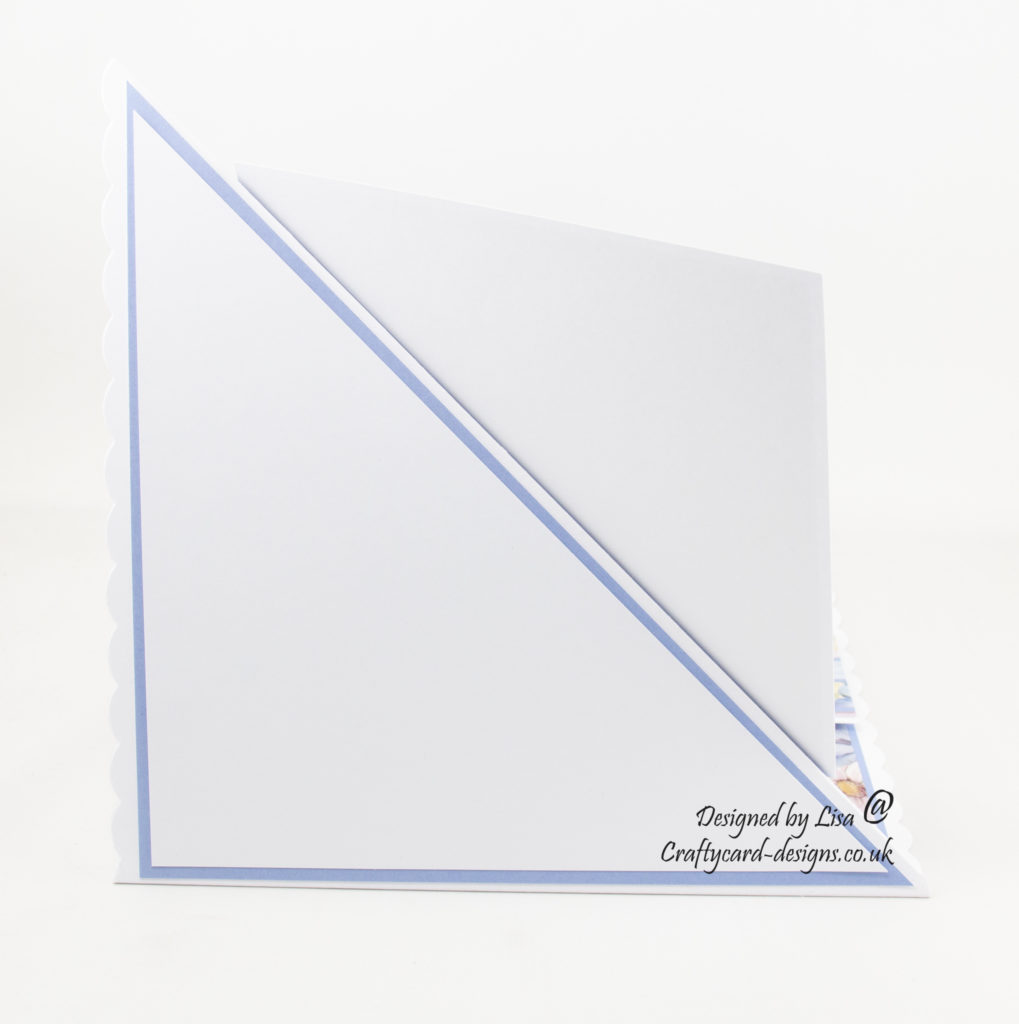
To make the twisted easel card base score the 8″ by 8″ card front from corner to corner and fold inwards.
Layer one:
Cut a square from one of the coloured cards measuring 19 cms by 19 cms.
Cut a square from one of the backing papers measuring 18.5 cms by 18.5 cms.
Matt and layer together and attach to the bottom of the card base.
Layer two:
Cut a square from the same coloured card measuring 19 cms by 19 cms.
Cut a square from the second backing paper measuring 18.5 cms by 18.5 cms.
Cut both in half from corner to corner.
Matt and layer one half of each together and attach to the front fold of the card base.
Layer three:
Cut a piece of white card measuring 19 cms by 6 cms.
Cut a piece from the second coloured card measuring 19 cms by 5.5 cms.
Cut the long embellishment topper to measure 19 cms.
Matt and layer together and attach to the bottom of the card base.
This will act as a stopper for the front of the card base.
Layer four:
Cut a square from white card measuring 14.5 cms by 14.5 cms.
Cut a square from the first coloured card measuring 14 cms by 14 cms.
Cut a square from the second coloured card measuring 13.5 cms by 13.5 cms.
Matt and layer all together along with the topper from the scene and sentiment pad.
Next cut out the topper image from the second topper and over lay onto the first topper using foam pads.
Layer five:
Using the bee and dragonfly from the embellishment die collection, cut the matt layers out in the first coloured card and the insects out in the second coloured card and then again out of black card.
Matt and layer the two coloured cards together and use the black layers to paper piece.
Attach the insects to the card base, one on the bottom and one on the front fold.
To finish add a sentiment to the bottom of the card base.
Layer six:
Cut a square from white card measuring 18 cms by 18 cms and cut in half from corner to corner.
Matt and layer this is with the other half of the coloured card from layer two.
Then attach this to the back of the card base on the front fold to write a message.
………………………………………………………………………….
Thank you for visiting my blog and please feel free to follow and make any of my handmade card tutorials.
It would be great if you left a comment to let me know you’ve visited.
If you would like to see other cards using Creative Crafting World products please have a look here:
A Winter’s Tale – Winter Wonderland
Tropical Dreams – Birthday Wishes
Ocean Breeze – Every Day Is A New Journey