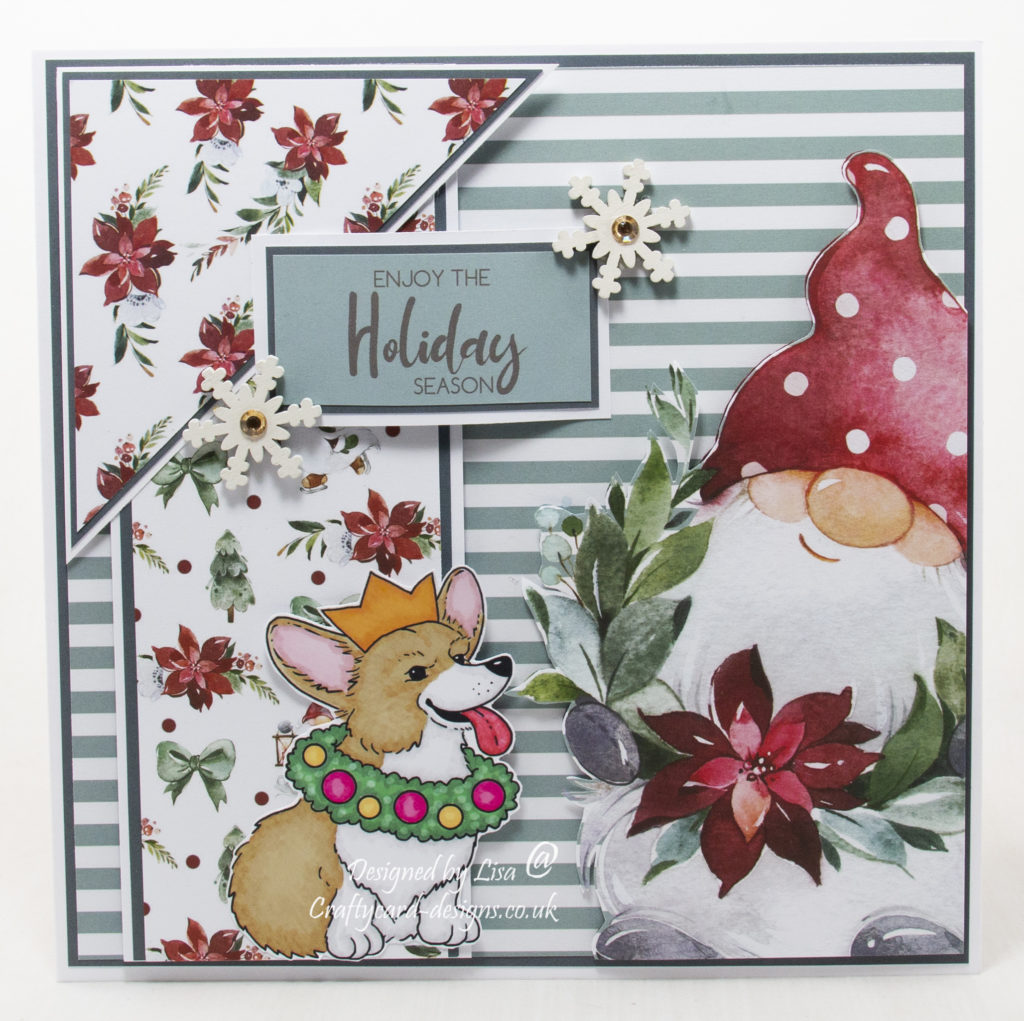
Today’s handmade card has been created for the new challenge at Aud Sentiments challenge blog #264 .
The theme for this challenge is Christmas/Winter Animals + Sentiment.
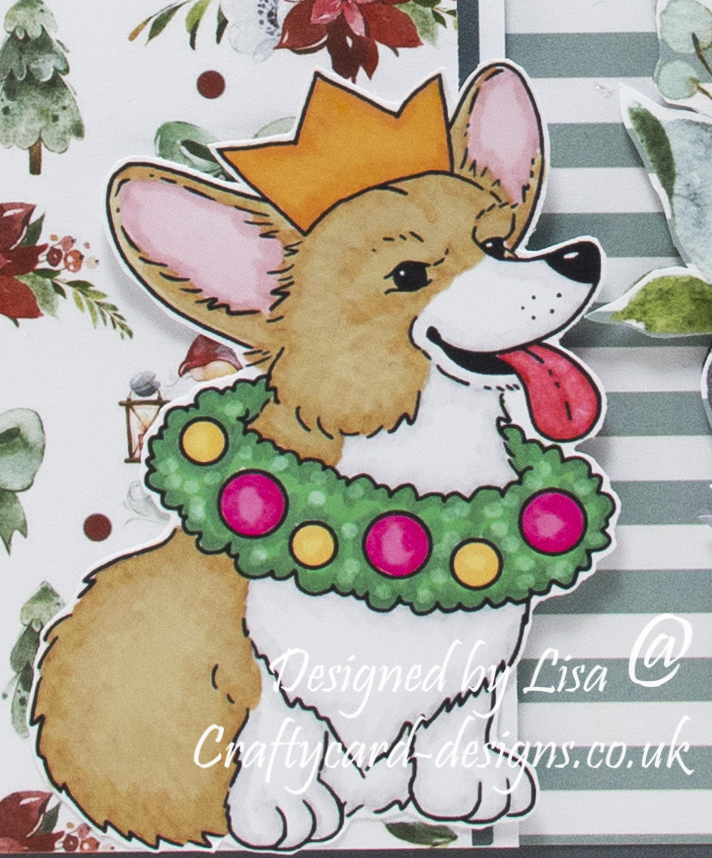
I have used a digi stamp from Fred She Said called Christmas Corgi.

Here is a tutorial on how I created this card.
You will need :
8″ By 8″ White Card
Fred She Said Digi Image Called Christmas Corgi
Promarkers
The Paper Boutique Winter Gnomes – Paper Kit
The Paper Boutique Winter Gnomes – Insert Collection
The Paper Boutique Winter Gnomes – Coloured Card Collection
The Paper Boutique Winter Gnomes – Embellishment Pad
White Card
Wooden Snowflakes
Gold Gems
Glue / Double Sided Tape
Foam Pads
Instructions:
Print off a small Christmas Corgi digi image.
Choose one coloured card, two of the same gnome insert, two patterned papers and one sentiment.
Layer one:
Cut a square from coloured card measuring 19.5 cms by 19.5 cms.
Cut a piece from one of the inserts measuring 19 cms by 19 cms.
Matt and layer together and attach to the card base.
Layer two:
Cut a piece from white card measuring 19.5 cms by 7.5 cms.
Cut a piece from coloured card measuring 19.5 cms by 7 cms
Cut a piece from the first patterned paper measuring 19.5 cms by 6.5 cms.
Matt and layer together.
Attach to the card base on the left using foam pads.
Layer three:
Cut a square from white card measuring 10.5 cms by 10. 5 cms.
Cut a square from coloured card measuring 10 cms by 10 cms.
Cut a square from the second paper measuring 9.5 cms by 9.5 cms.
Cut each piece in half corner to corner.
Matt and layer one of each together.
Attach to the card base slightly over lapping the top of layers one and two, using foam pads.
Layer four:
Cut the gnome image from the second insert.
Attach to the same image on the card base using foam pads.
Layer five:
Colour in the Christmas Corgi digi image.
I have used promarkers.
Corgi: Raw sienna, caramel, sandstone, dusky rose, baby pink, poppy, lipstick red.
Crown: Pumpkin, amber.
Christmas Wreath: Hot pink, carmine, gold, sunflower, holly, lush green.

Cut a round the Christmas Corgi, leaving a small white border.
Attach to the bottom of layer two.
Layer six:
Cut a piece from white card measuring 4 cms by 7.5 cms.
Cut a piece from coloured card measuring 3.4 cms by 7 cms.
Matt and layer together along with a sentiment.
Attach to the card base using foam pads, slightly over lapping layers one, two and three.
Next add two snowflakes to the sentiments with a gold gem in the centre.
Layer seven:
Cut a square from the second insert measuring 18.5 cms by 18.5 cms.
Attach to the inside of the card base.
……………………………………………………………………….
Thank you for visiting my blog and please feel free to follow and make any of my handmade card tutorials.
Any comments that you leave are really appreciated and always read.
If you would like to see other cards I have made please have a look here:
Saucy Steampunk – You Are Unique
Snow Buddies – Happiness Blooms From Within
Gorgeous Panda Family – Happy Birthday
A super card. I love the corgie. Elaine