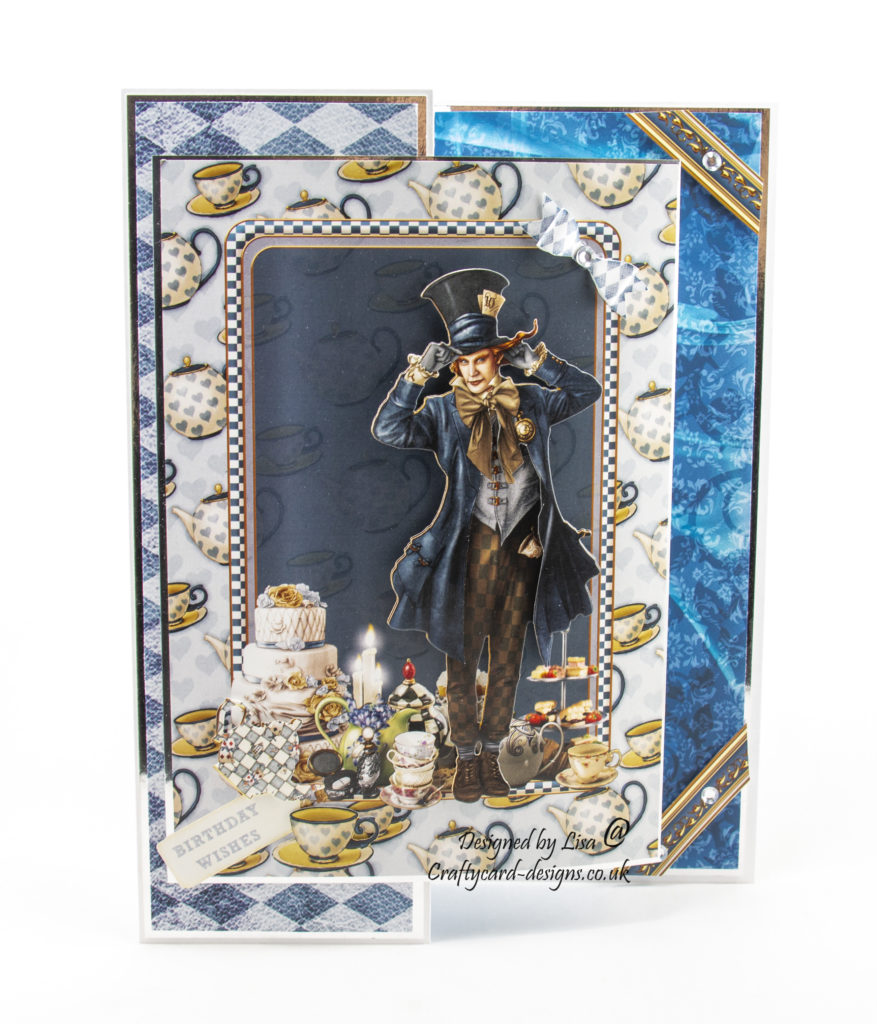
Today’s handmade z fold card has been created using Journey To Wonderland match it cd-rom and Journey To Wonderland Mad Hatter match it pad from Debbi Moore Designs.
Here is a tutorial on how I created this card.
You will need :
7″ by 10″ White Card
Journey To Wonderland – Match It Cd-Rom
Journey To Wonderland – Mad Hatter Match It Paper Pad
Journey To Wonderland – Mad Hatter Match It Die
Silver Mirri Card
Silver Gem
Wet Glue / Double Sided Tape
Foam Pads
Instructions:
Choose two backing papers from the cd-rom, one scene image and one Mad Hatter sheet from the paper pad.
Card base:
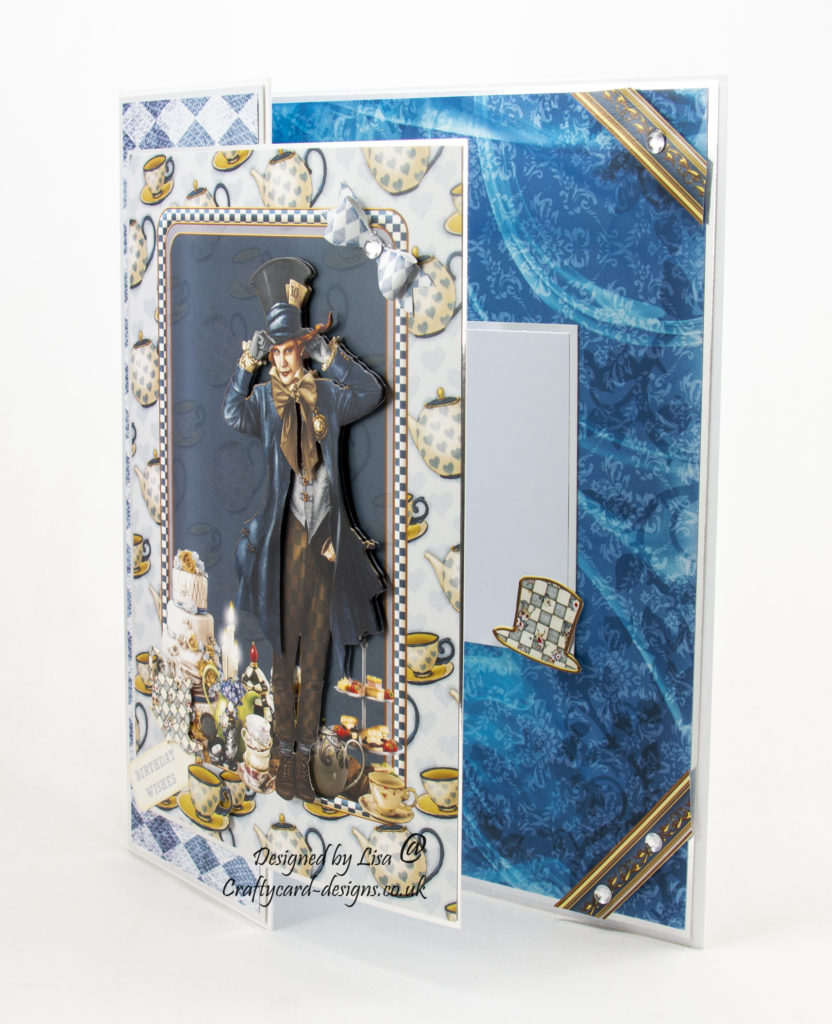
Score the front of the card base in half and fold to make a z fold card.
Layer one:
Cut a piece from silver mirri card measuring 25 cms by 17.3 cms.
Cut a piece from one of the papers measuring 24,5 cms by 16.8 cms.
Matt and layer together and attach to the inside of the card base.
Layer two:
Cut a piece from silver mirri card measuring 25 cms by 8.5 cms.
Cut a piece from the second paper measuring 24.5 cms by 8 cms.
Matt and layer together and attach to the front fold of the card base.
Layer three:
Cut a piece from silver mirri card measuring 21.5 cms by 15.3 cms.
Matt and layer with the scene sheet and attach to the front fold of the card base.
Layer four:
Using the Mad Hatter image sheet and match it dies, cut out the Mad Hatter, tea pot and cup.
Then from the image sheet cut out a bow and sentiment.
Attach all to layer three adding a silver gem to the bow.
Layer five:
Cut the border from the image sheet.
Attach a piece to the two corner edges of the inside of the card base using foam pads.
Add silver gems to the border.
Layer six:
Cut a square from silver card measuring 10 cms by 10 cms.
Cut a square from white card measuring 9.5 cms by 9.5 cms.
Matt and layer together and attach to the inside of the card base.
This is where a message can be written.
………………………………………………………………………….
Thank you for visiting my blog and please feel free to make any of my card designs.
If you would like to see other cards using Debbi Moore Designs products please have a look here:
Rock And Roll – Happy 18TH Birthday