Today’s handmade card has been created for the new challenge at Aud Sentiments Challenge Blog #284
The theme for this challenge is Friendship + A Sentiment.
You can make any type of project such as a card, tag, scrapbook layout, pocket letter, box etc.
The theme must be follow and a sentiment included.
Our sponsor for this challenge is Polkadoodles.
I have used one of their digital images called Let’s Go Winnie.
Here is a tutorial on how I created this card.
You will need :
8″ By 8″ White Card
Polkadoodles Digi Image Let’s Go Winnie
Promarker Pens
The Paper Boutique Endless Love – Insert Collection
The Paper Boutique Endless Love – Embellishment Pad
The Paper Boutique Endless Love – Coloured Card Collection
White Card
Yellow Card
Butterfly Punch
Glue / Double Sided Tape
Foam Pads
Instructions:
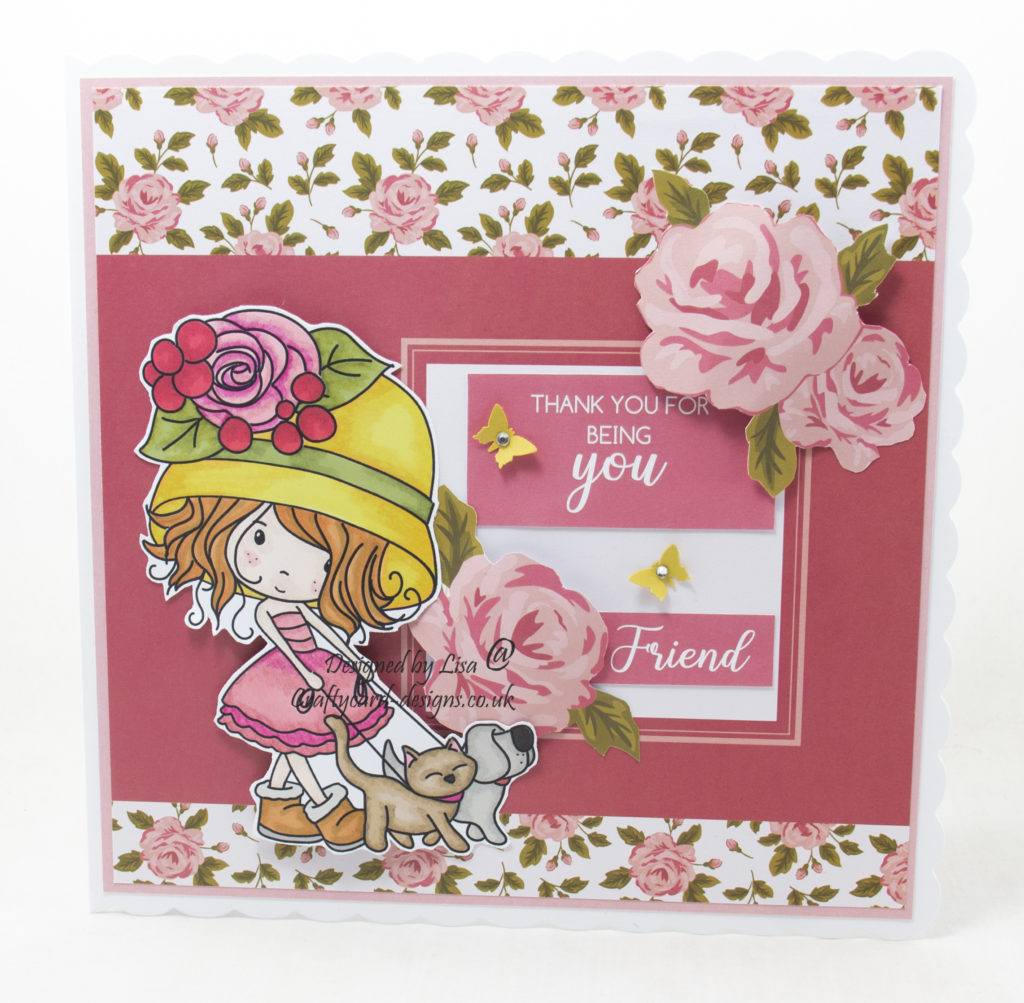
Choose two of the same insert ( one for the front and one for the inside), two rose toppers, two sentiments and one coloured card.
Layer one:
Cut a square from coloured card measuring 19.5 cms by 19.5 cms.
Cut a square from the first insert measuring 19 cms by 19 cms.
Matt and layer together and attach to the card base.
Layer two:
Cut both sentiments out and attach to the white square on the first layer.
Then cut out the roses from the toppers and attach to the corners of the square using foam pads.
Layer three:
Colour in the digital image Let’s Go Winnie. I used promarker pens.
Skin: Dusky pink, blush
Hair: Terracotta, burnt sienna, raw sienna
Clothes: Magenta, antique pink, cocktail pink, cool grey 4, 2, burnt sienna, raw sienna
Hat: Gold, sunflower, pesto, marsh green, magenta, antique pink, cocktail pink, burgundy, ruby, lipstick red
Dog: Cool grey 4, 2, black, ruby
Cat: Umber, praline, tan, magenta, black, cocktail pink
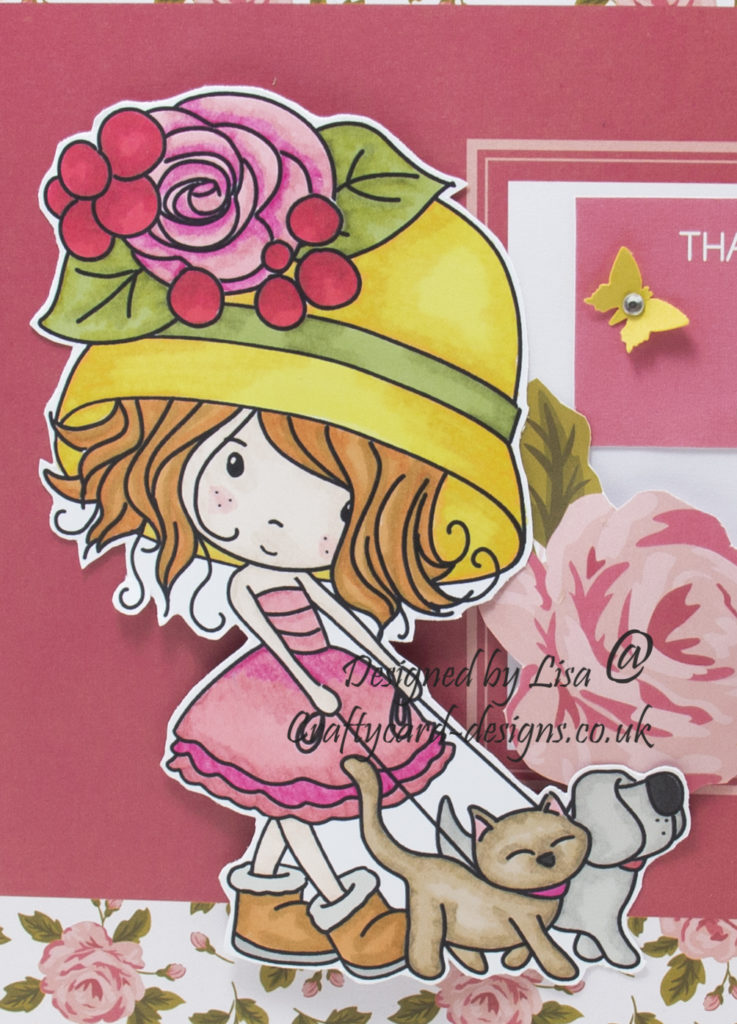
Cut around the digital image, leaving a small white border.
Attach to the card base using foam pads.
Layer four:
Using the butterfly punch, cut out two butterflies and attach to the card base.
Then add silver gems to the butterflies.
To finish add the second insert to the inside of the card base.
………………………………………………………………………….
Thank you for visiting my blog and please feel free to follow and make any of my handmade card tutorials.
If you would like to see other cards I have made please have a look here:
Victoria Reach For The Stars – Happy Birthday
The Magical Forest – Make A Wish
Georges Hammock Gnome – Happy Father’s Day
Winnie Sunshine Delight – Happy Birthday
………………………………………………………………………….