This handmade Christmas card has been created using the new paper and die collection called Once Upon A Christmas from Creative Crafting World.
For this card design I have made a triple easel card that will fit into an 8″ by 8″ envelope.
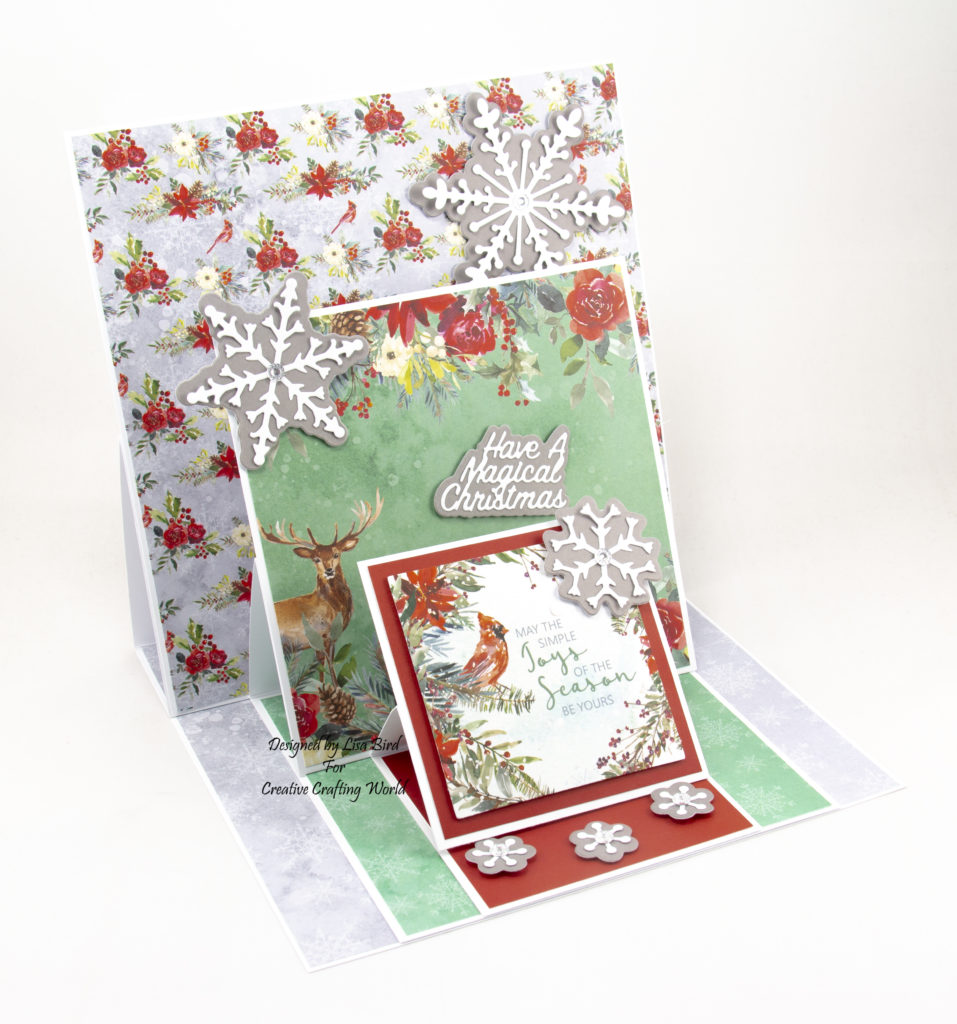
Here is a tutorial on how I created this card.
You will need :
8″ by 8″ White Card
6″ by 6″ White Card
4″ by 4″ White Card
The Paper Boutique Once Upon A Christmas – Paper Kit
The Paper Boutique Once Upon A Christmas – 6″ by 6″ Paper Pad
The Paper Boutique Once Upon A Christmas – Coloured Card Collection
The Paper Boutique Once Upon A Christmas – Snowfall Embellishment Die Collection
The Paper Boutique Once Upon A Christmas – Sentiments Volume XVI Die Collection
White Card
Silver Gems
Wet Glue / Double Sided Tape
Foam Pads
Instructions:
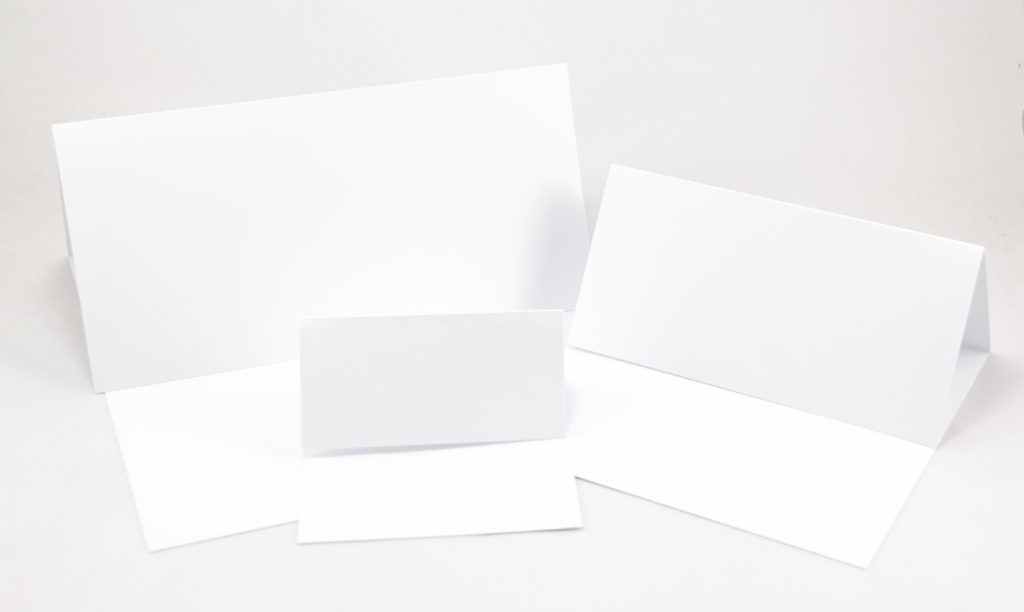
Fold the front of each card base in half to make them into easel cards.
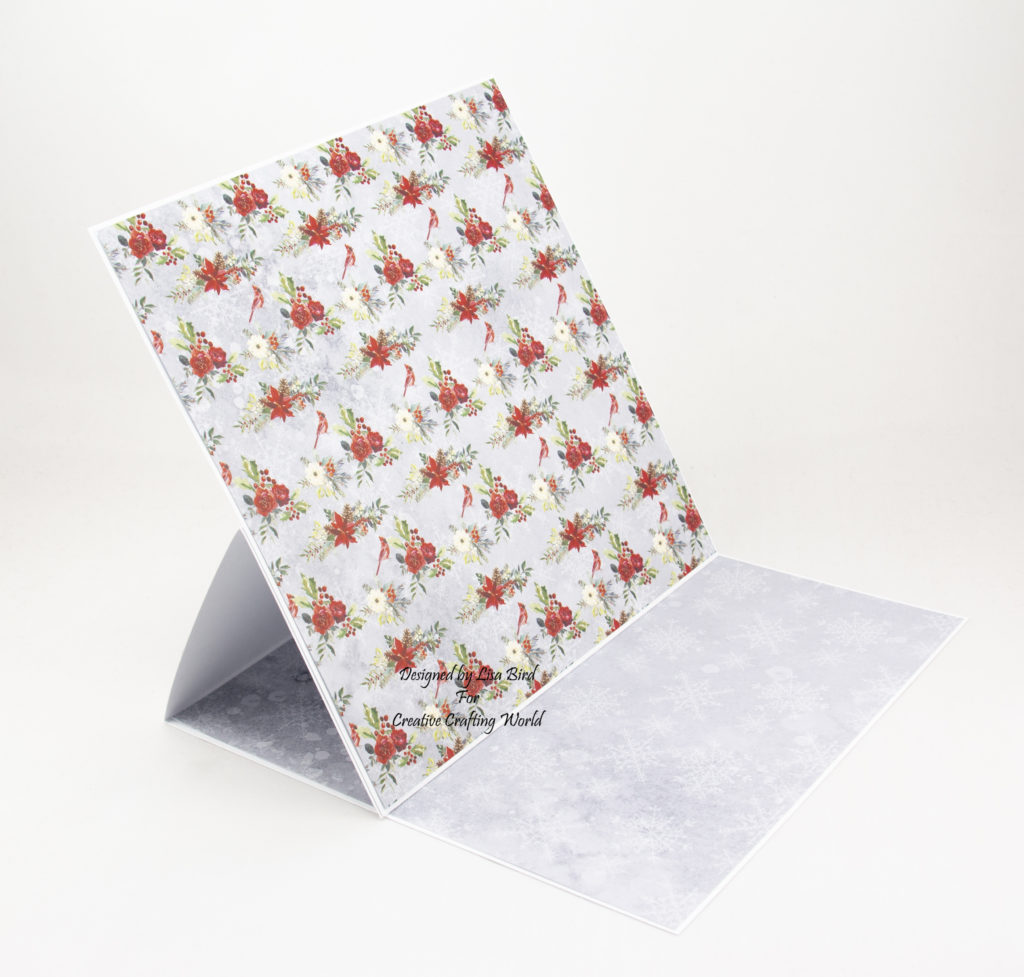
Cut a square from white card measuring 20.3 cms by 20.3 cms.
Choose two papers from the 8″ by 8″ paper kit.
Cut both papers to measure 20 cms by 20 cms.
Attach one paper to the white square and the other to the bottom of the 8″ by 8″ card base.
Next attach the white square to the front fold of the 8″ by 8″ card base.
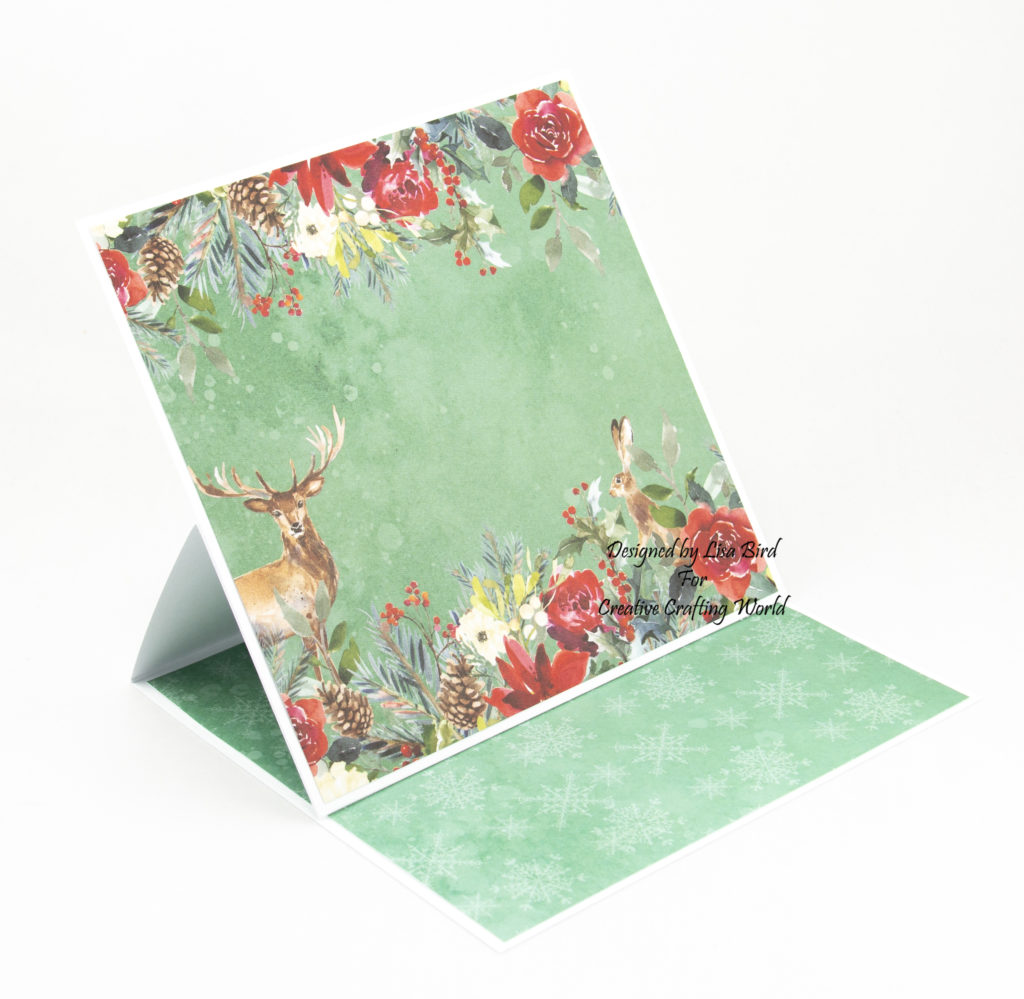
Cut a square from white card measuring 15 cms by 15 cms.
Choose two papers from the 6″ by 6″ paper pad.
Cut both papers to measure 14.5 cms by 14.5 cms.
Attach one paper to the white square and the other to the bottom of the 6″ by 6″ card base.
Next attach the white square to the front fold of the 6″ by 6″ card base.
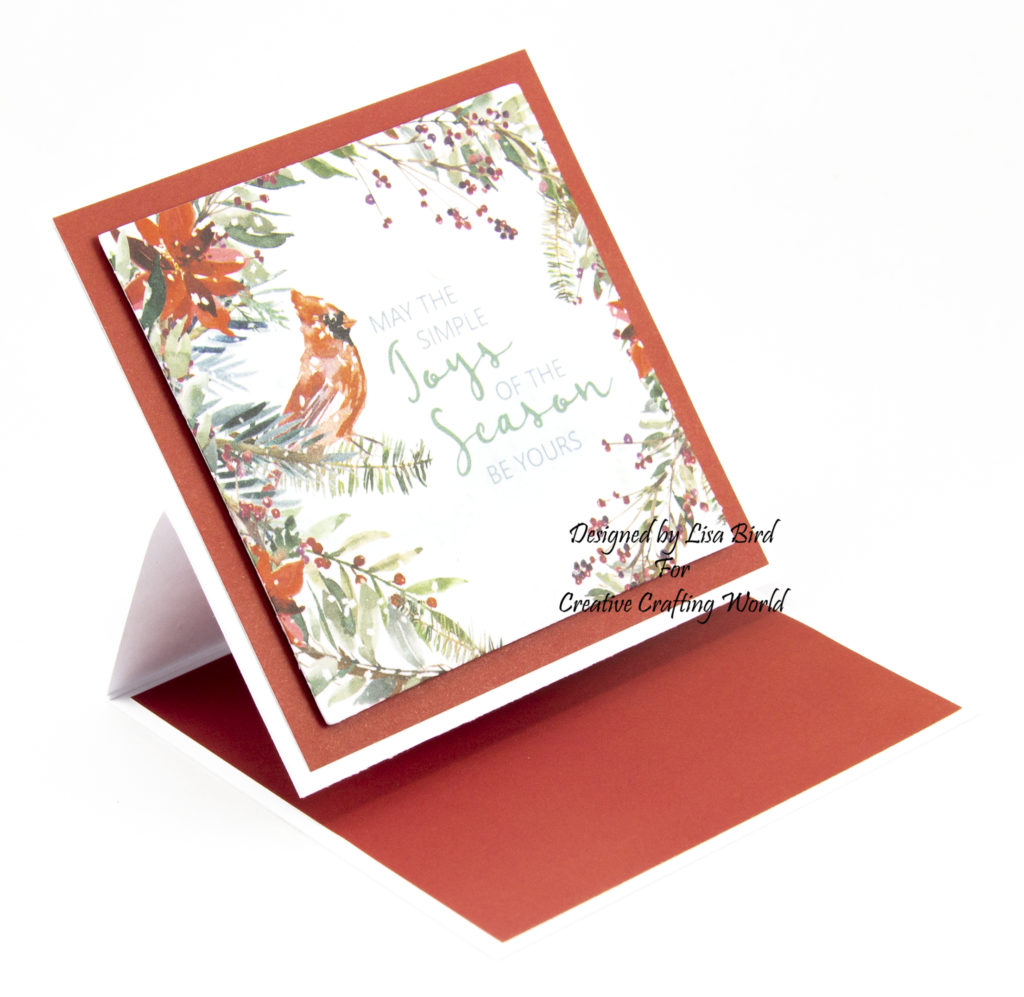
Cut a square from white card measuring 9.5 cms by 9.5 cms.
Choose a coloured card from the coloured card collection.
Cut two pieces from the coloured card measuring 9 cms by 9 cms.
Attach one piece to the white square and the other to the bottom of the 4″ by 4″ card base.
Choose a square topper from the paper kit and attach to the white square using foam pads.
Next attach the white square to the front fold of the 4″ by 4″ card base.
Next attach the 6″ by 6″ card base to the bottom of the 8″ by 8″ card base. Make sure that the 6″ by 6″ card does not over lap the front edge of the 8″ by 8″ card base.
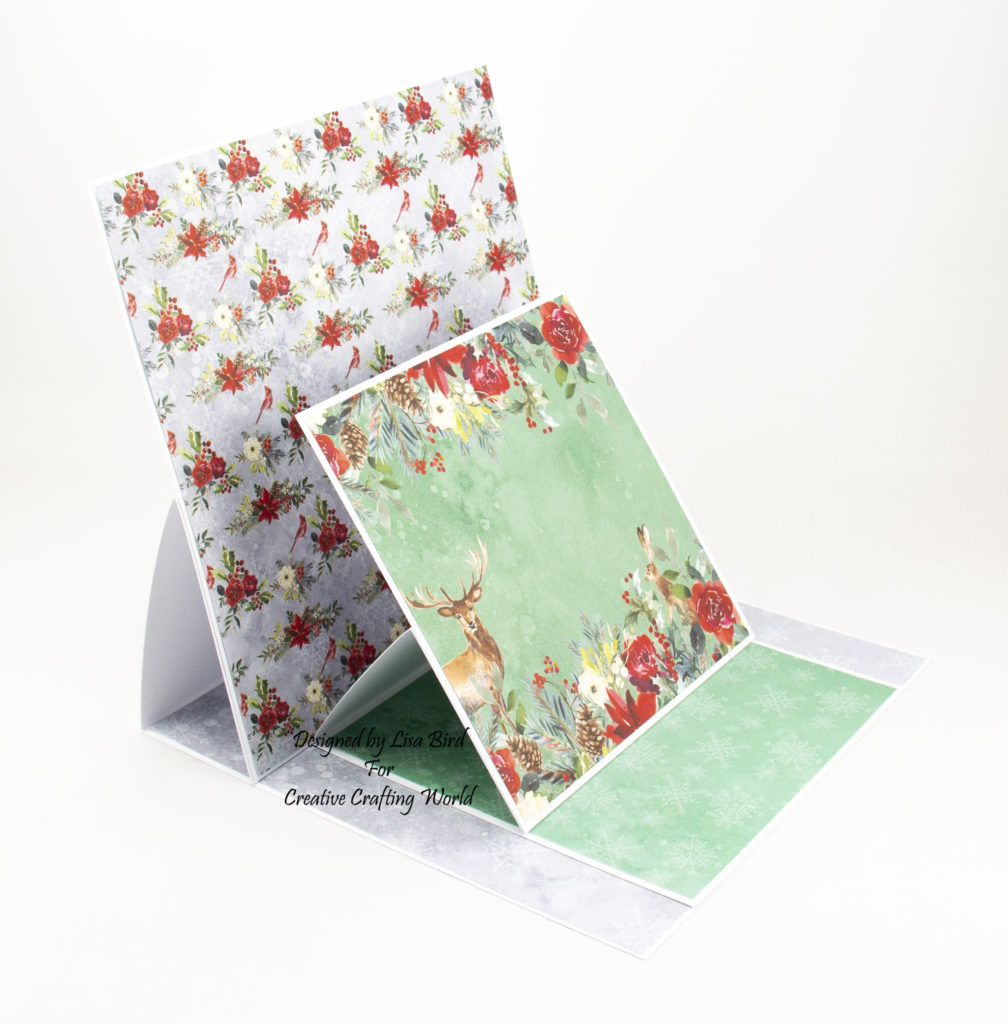
Next attach the 4″ by 4″ card base to the 6″ by 6″ card base.
Making sure that the card does not over lap the front edge of the 6″ by 6″ card base.
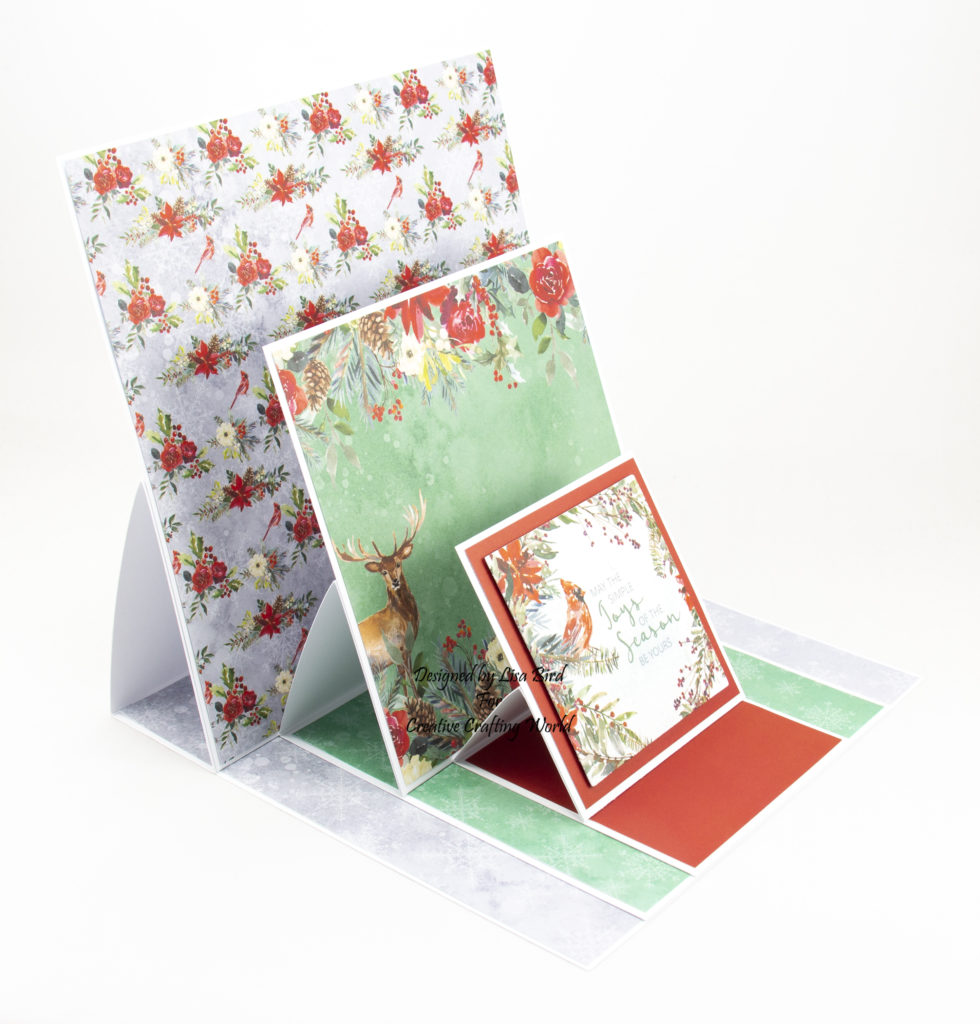
The back of the 6″ by 6″ card base will act as a stopper for the 8″ by 8″ card base and the back of the 4″ by 4″ card base will act as a stopper for the 6″ by 6″ card base.
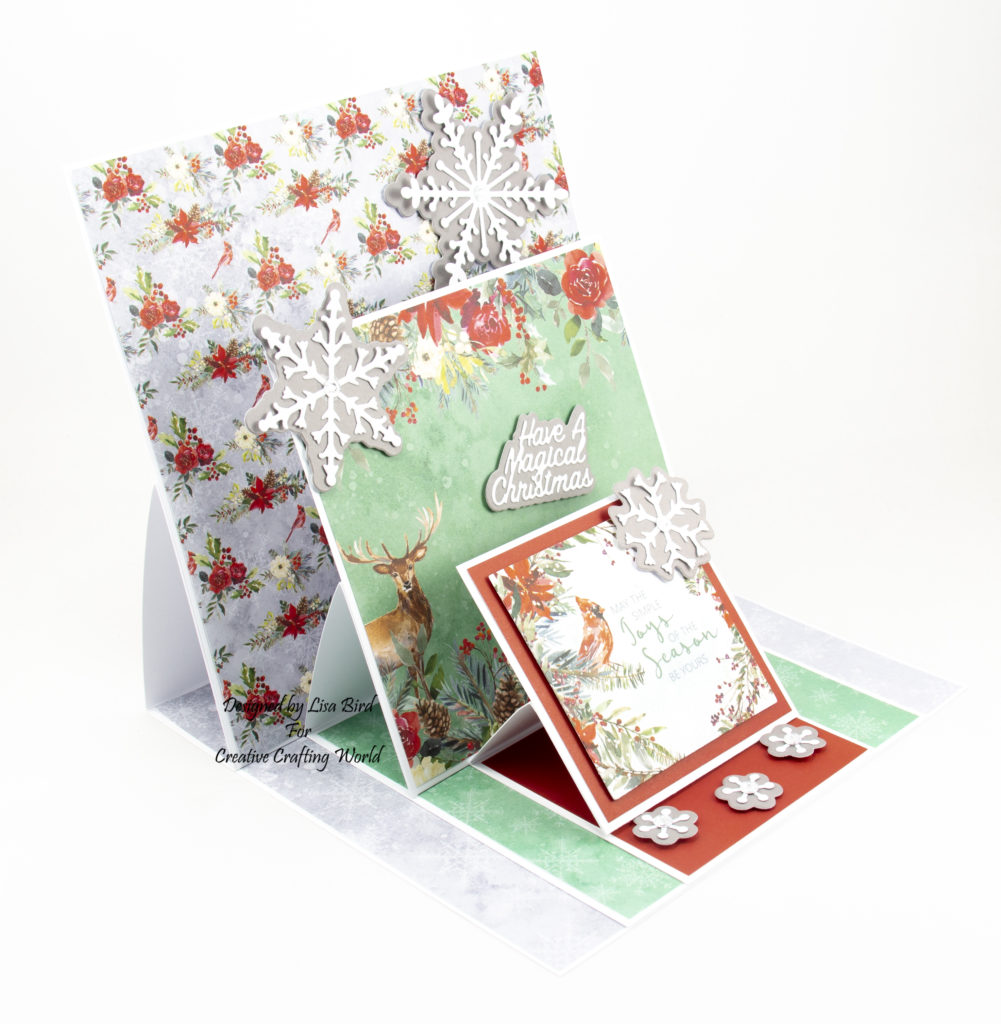
Next using the smallest snowflake from the snowfall embellishment die collection, cut three matt layers out in a coloured card.
Then cut the snowflake out three times in white card.
Matt and layer them together and attach to the bottom of the 4″ by 4″ card base using foam pads to make a stopper for the card front.
Using the other three snowflake dies, cut the matt layers out in a coloured card.
Cut the snowflakes out in white card.
Matt and layer them together and decorate the card bases.
Choose a sentiment from the sentiments volume XVI die collection.
Cut the matt layer out in coloured card.
Then cut the sentiment out in white card.
Matt and layer together and attach to the 6″ by 6″ card base using foam pads.
To finish add silver gems to the center of the snowflakes.
………………………………………………………………………….
Thank you for visiting my blog and please feel free to make any of my card designs.
If you would like to see other cards using Creative Crafting World products please have a look here:
British Wild At Heart – The Deer
A Sprinkle Of Winter – Season’s Greetings
A Christmas Visitor – Mum And Dad
A Sprinkle Of Winter – Sparkling Season
………………………………………………………….
Challenges I would like to enter are:
The Holly And Ivy Christmas Challenge 52 : Anything Christmas Goes
Crafty Hazel Nuts Christmas Challenge 446 : Anything Goes As long As It’s Christmas, Optional Theme – Use Some Red
Cute N Crafty Christmas Challenge 15 – Christmas / Winter
Creative Moments Challenge 172 : Anything Goes
Lovely work. Thank you for joining Crafty Hazelnut’s Christmas challenge. Hope to see you again next time.