Today’s handmade card has been created for the new challenge at I Love Promarkers Blog Challenge #426 that starts today.
I have used a digi image from Ike’s Art called Peony Corner
The theme for this challenge is Anything Goes.
You must use either promarkers, flexmarkers, aquamarkers or trias on your work.

Here is a tutorial on how I created this card.
You will need :
8″ By 8″ White Card
Promarkers
Ike’s Art Digital Image called Peony Corner
The Paper Boutique Lovely Lattice – Sentiments Volume XV Die Collection
Crafter’s Companion – Flutterby Butterfly 8″ by 8″ Embossing Folder
Coloured Card
White Card
Corner Punch
Glue / Double Sided Tape
Foam Pads
Instructions:
Layer one:
Cut a square from coloured card measuring 19 cm by 19 cms.
Cut a square from white card measuring 18.5 cms by 18.5 cms.
Using the embossing folder, embossing the white card.
Matt and layer together and attach to the card base.
Layer two:
Cut a square from white card measuring 6 cm by 6 cms.
Cut a square from coloured card measuring 5.5 cms by 5.5 cms.
Cut each in half and matt and layer together making four triangles.
Attach each to a corner using foam pads.
Layer three:
Cut a square from white card measuring 15.5 cm by 15.5 cms.
Cut a square from coloured card measuring 15 cms by 15 cms.
Using the embossing folder, embossing the coloured card.
Then use the corner punch to shape each corner on both squares.
Matt and layer together and attach to the card base using foam pads.
Layer four:
Colour in the Peony Corner digital image using promarkers.
Flowers: Cornflower, bluebell, lavender.
Leaves: Holly, emerald, bright green.
Swirls: Sunflower.
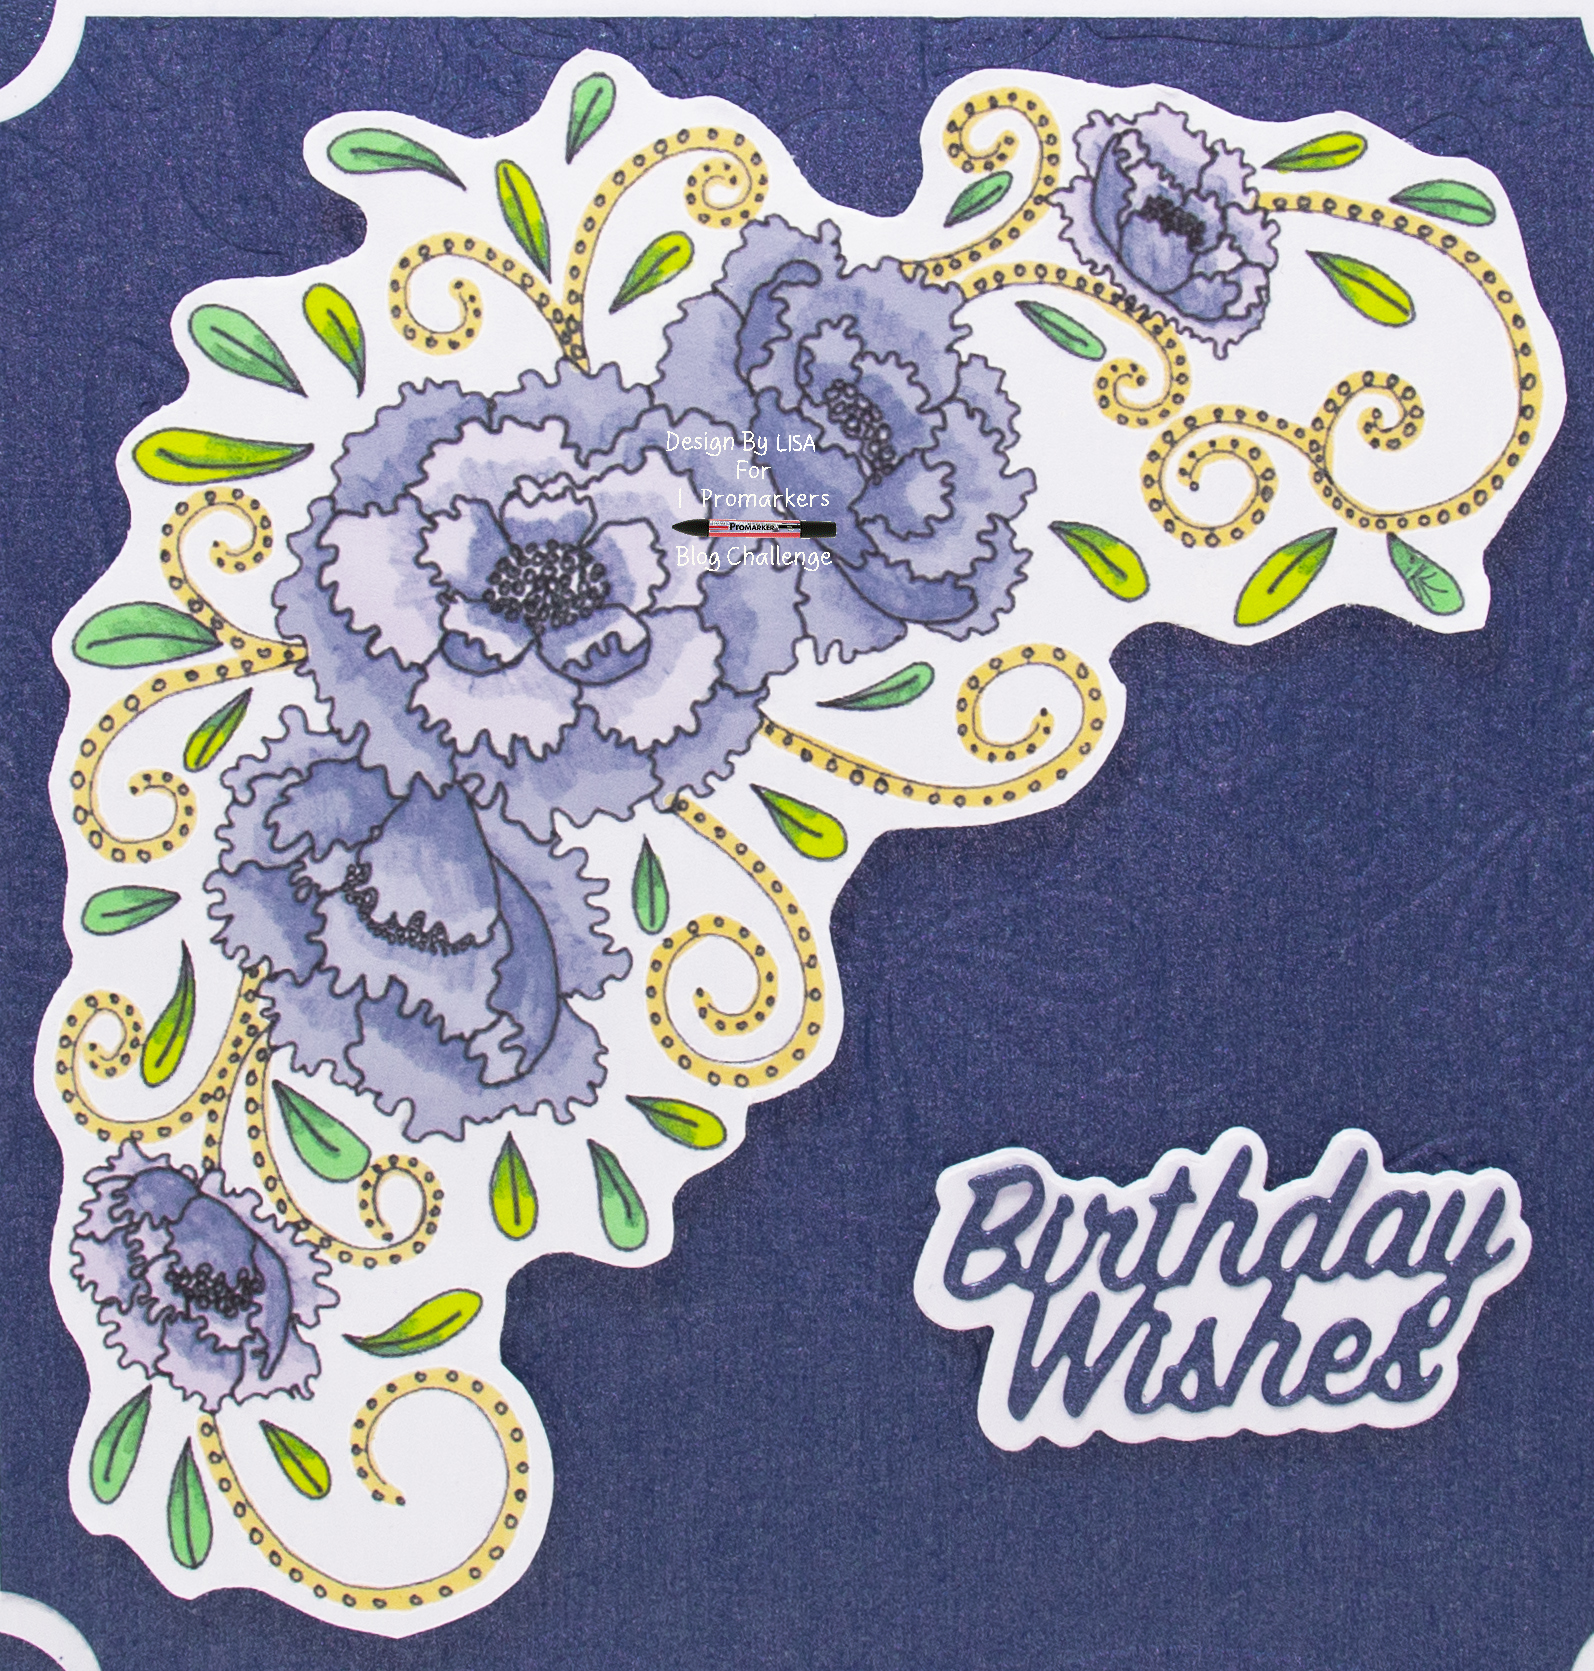
Cut around the digital image, leaving a small white border.
Attach to the top left corner of layer three using foam pads.
Layer five:
Using a sentiment die, cut the matt die from white card.
Cut the sentiment die from coloured card.
Matt and layer together and attach to layer three using foam pads.
………………………………………………………………………….
Thank you for visiting my blog and please feel free to follow and make any of my handmade card tutorials.
If you would like to see other cards using promarkers please have a look here:
Rusty And Ruffles – Sending Love This Christmas
Holiday Friends – Festive Wishes
………………………………………………………….
Challenges I would like to enter are:
Passion For Promarkers Challenge Week 573 – Birthdays
Ike’s World Challenge #140 – Friends/Friendship Or Anything Goes
Lemon Shortbread Challenge #136 – Anything Goes
Through The Craft Room Door Challenge January 5th – Anything Goes
Very pretty. Thanks for joining Passion for Markers. Elaine
Beautiful card Ginny x
My Blog As I do Rodos
Such lovely colour tones on this pretty floral card, Lisa…
Thanks for playing along with my challenge this week over at Passion for Promarkers! Lisa x
Such a pretty card and great deta thanks for sharing at Passion for Markers in our Birthday Challenge. Good luck in the draw.
Lovely card with lovely colours. Thanks for joining us over at Passion for Markers.
Love n hugs
Marie, DT-PFM
Such a delightful design!
Hugz Tinz
Awesome Lisa, the flowers are coloured beautifully 🙂 Thank you for joining us this month at IKEsWORLD. Hugs Mimi xx