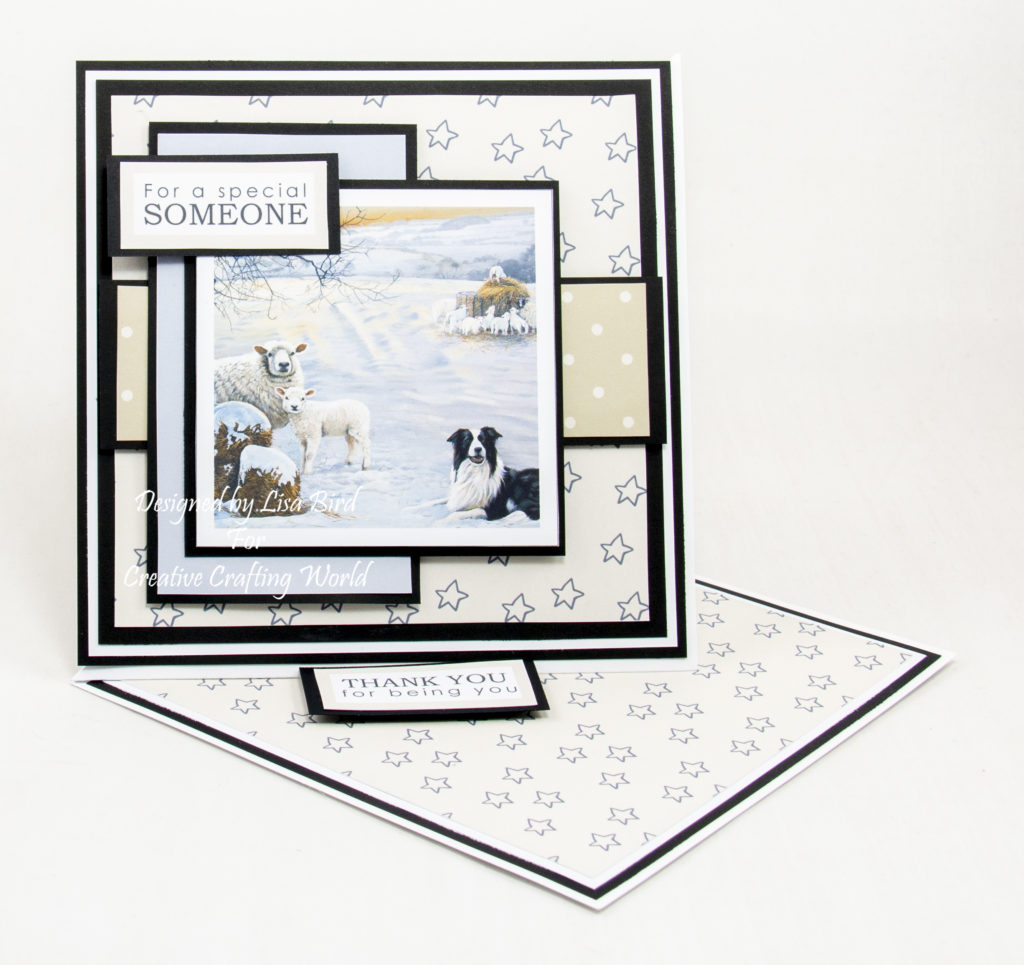
Today’s handmade card has been created using a cd-rom called Winter Day’s from Creative Crafting World.
This cd-rom is full of beautiful paintings by Pollyanna Pickering.

Here is a tutorial on how I created this card.
You will need :
6″ by 6″ White Card
Pollyanna Pickering Winter Days’ Cd-Rom
White Card
Black Card
Wet Glue / Double Sided Tape
Foam Pads
Instructions:
From the cd-rom select the Collie and Sheep set, go to the third page and print off the fifth image sheet.
Cut out all elements from the image sheet.
Next go to the fourth page and print off the eighth paper.
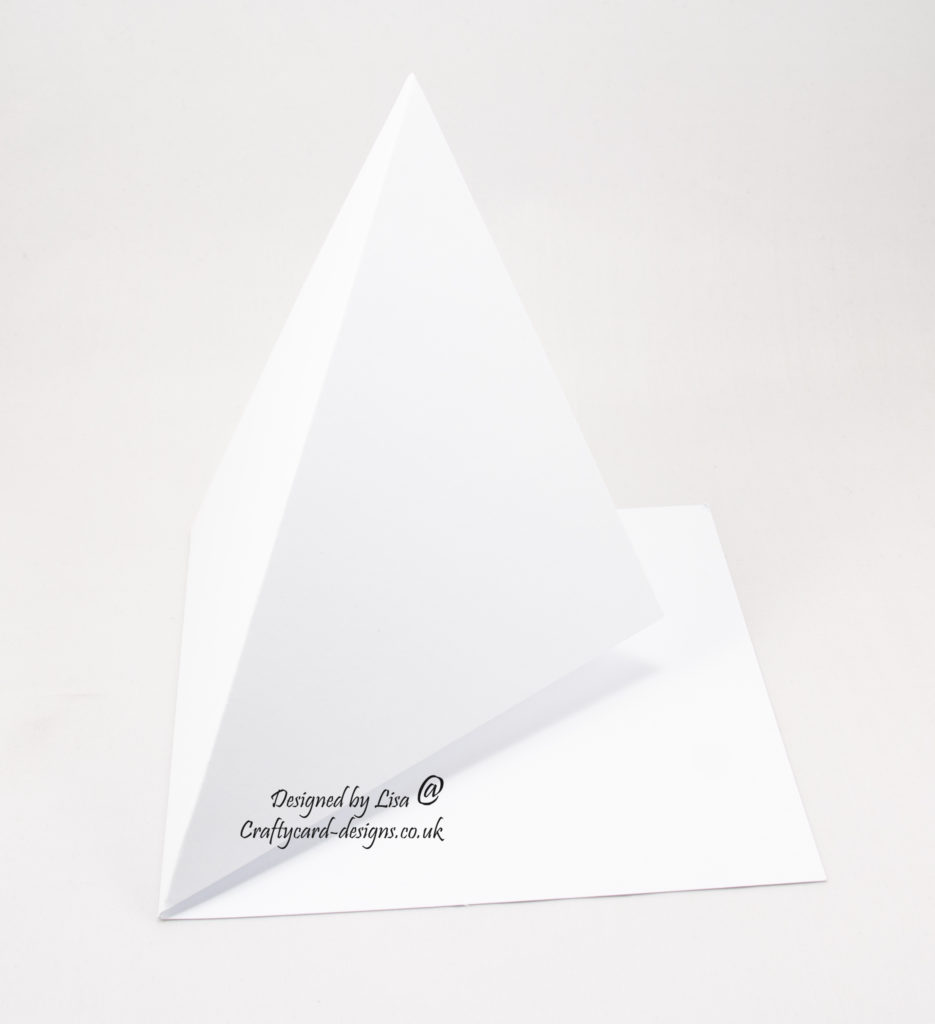
Score the front of the card base from corner to corner and fold inwards.
This will make the twisted easel card base for this design.

Layer one:
Cut a square from black card measuring 14.5 cms by 14.5 cms.
Cut a square from white card measuring 14 cms by 14 cms.
Cut a square from the paper measuring 13.5 cms by 13.5 cms.
Matt and layer together and attach to the bottom of the card base.
Layer two:
Cut piece from black card measuring 13.5 cms by 13.5 cms.
Matt and layer with the square paper from the image sheet.
Layer three:
Cut piece from black card measuring 4 cms by 13.5 cms.
Matt and layer with the thinner rectangle paper from the image sheet.
Layer four:
Cut piece from black card measuring 11.5 cms by 6.5 cms.
Matt and layer with the wider rectangle paper from the image sheet.
Layer five:
Cut piece from black card measuring 9 cms by 9 cms.
Matt and layer with the square topper from the image sheet.
Layer six:
Cut two pieces from black card measuring 2.5 cms by 5.5 cms.
Matt and layer each with two sentiments from the image sheet.
Layer seven:
Cut a square from black card measuring 14.5 cms by 14.5 cms.
Cut a square from white card measuring 14 cms by 14 cms.
Matt and layer together.
Next attach layer two to the white card.
Attach layer three across the centre.
Then attach layer four on the left using foam pads.
Attach layer five slightly over lapping all layers using foam pads.
Next attach one of the sentiments to the top left using foam pads.
Then attach the whole matt and layer to the front fold of the card base.
Layer eight:
Using the second sentiment, attach to the bottom of the card base using foam pads.
This will become the stopper for the front of the card.
………………………………………………………………………….
Thank you for visiting my blog and please feel free to follow and make any of my handmade card tutorials.
If you would like to see other cards using Creative Crafting World products please have a look here:
A Whisper Of Autumn – Sending You Best Wishes
Once Upon A Christmas – Have A Magical Christmas
Pollyanna Pickering – Family Portraits Dogs – The West Highland Terrier
Rainbow Buddies – Birthday Wishes
Stunning card Ginny ♥
My Blog As I do Rodos