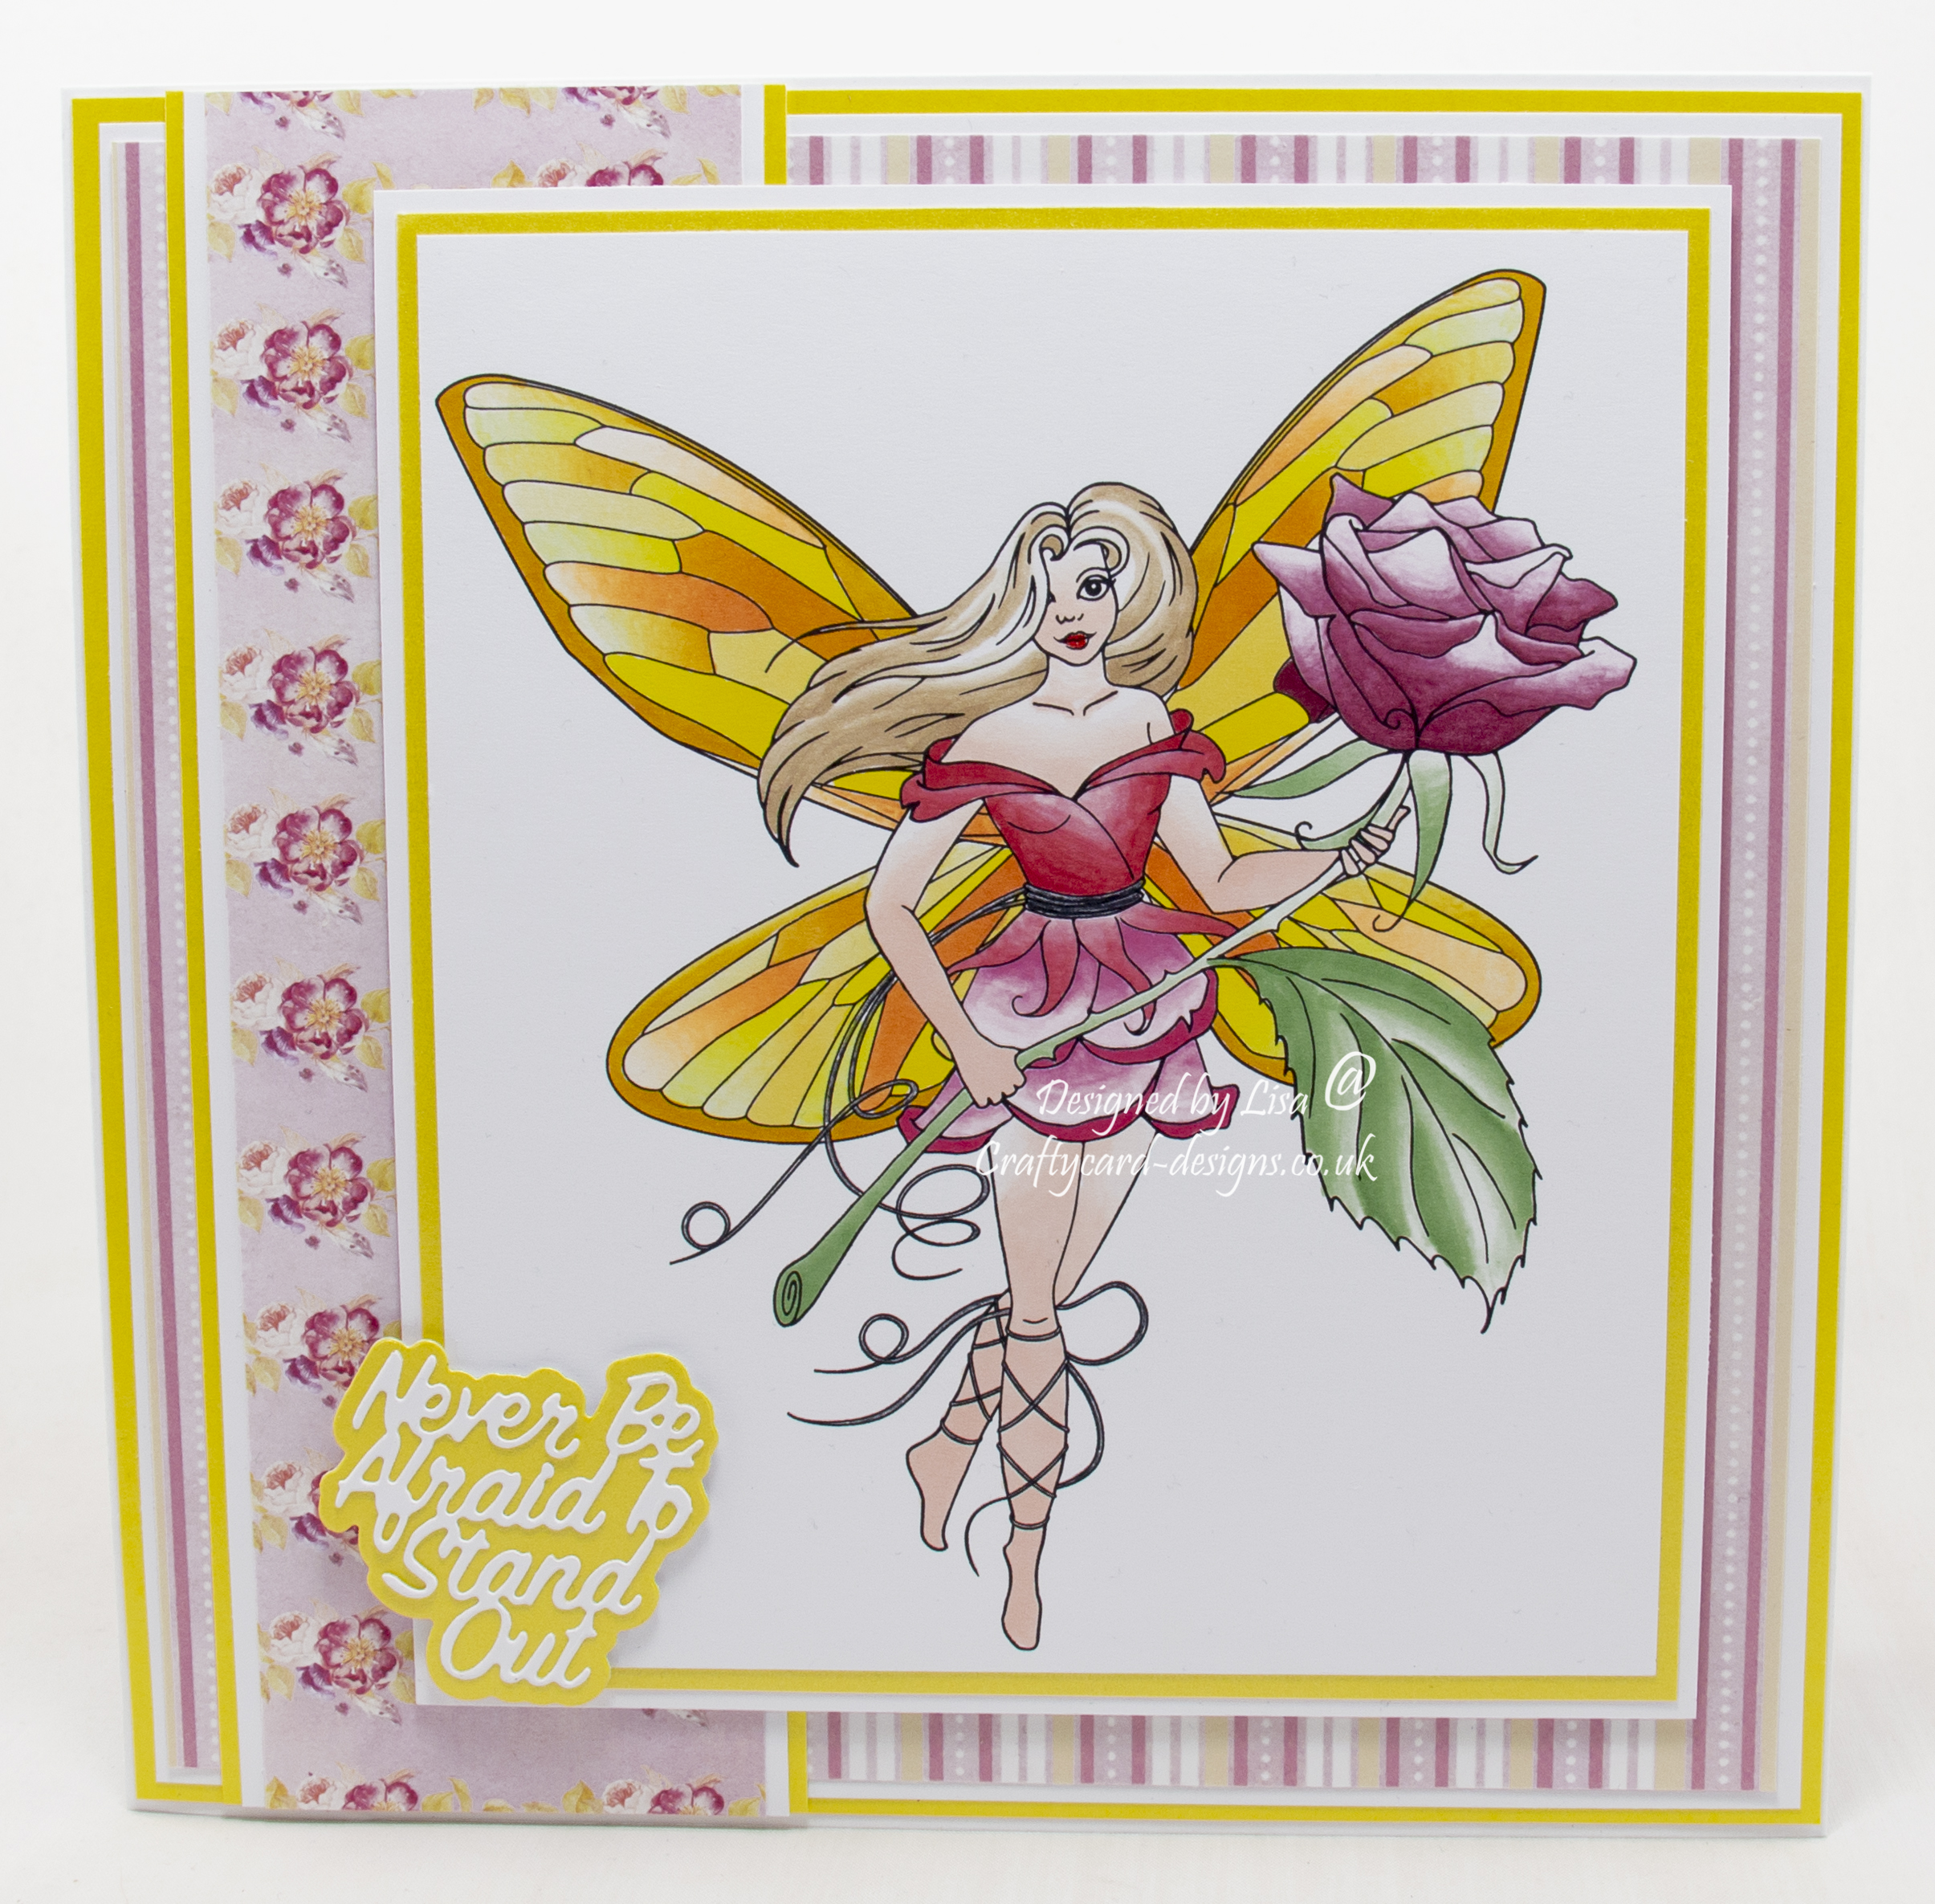
Today’s handmade card has been created using a digi image design from Craftsuprint called Rose Fairy Stamp (ref cup1065479_88163) by Lauren C. Waterworth.
Here is a tutorial on how I created this card.
You will need :
8″ By 8″ White Card
Rose Fairy Stamp Digi Image
Chameleon Pens
The Paper Boutique Summer Blooms – Paper Pad
The Paper Boutique Garden Visitors – Sentiment Volume XVII Die Collection
Yellow Card
White Card
Glue / Double Sided Tape
Foam Pads
Instructions:
Print off the Rose Fairy digi image and cut to measure 16.5 cms by 14 cms.
Choose two backing papers and one sentiment die set.
Layer one:
Cut a square from yellow card measuring 20 cms by 20 cms.
Cut a square from white card measuring 19.5 cms by 19.5 cms.
Cut a square from the first paper measuring 19 cms by 19 cms.
Matt and layer together and attach to the card base.
Layer two:
Cut a piece from yellow card measuring 20 cms by 7 cms.
Cut a piece from white card measuring 20 cms by 6.5 cms.
Cut a piece from the second paper measuring 20 cms by 6 cms.
Matt and layer together and attach to the left of layer one.
Layer three:
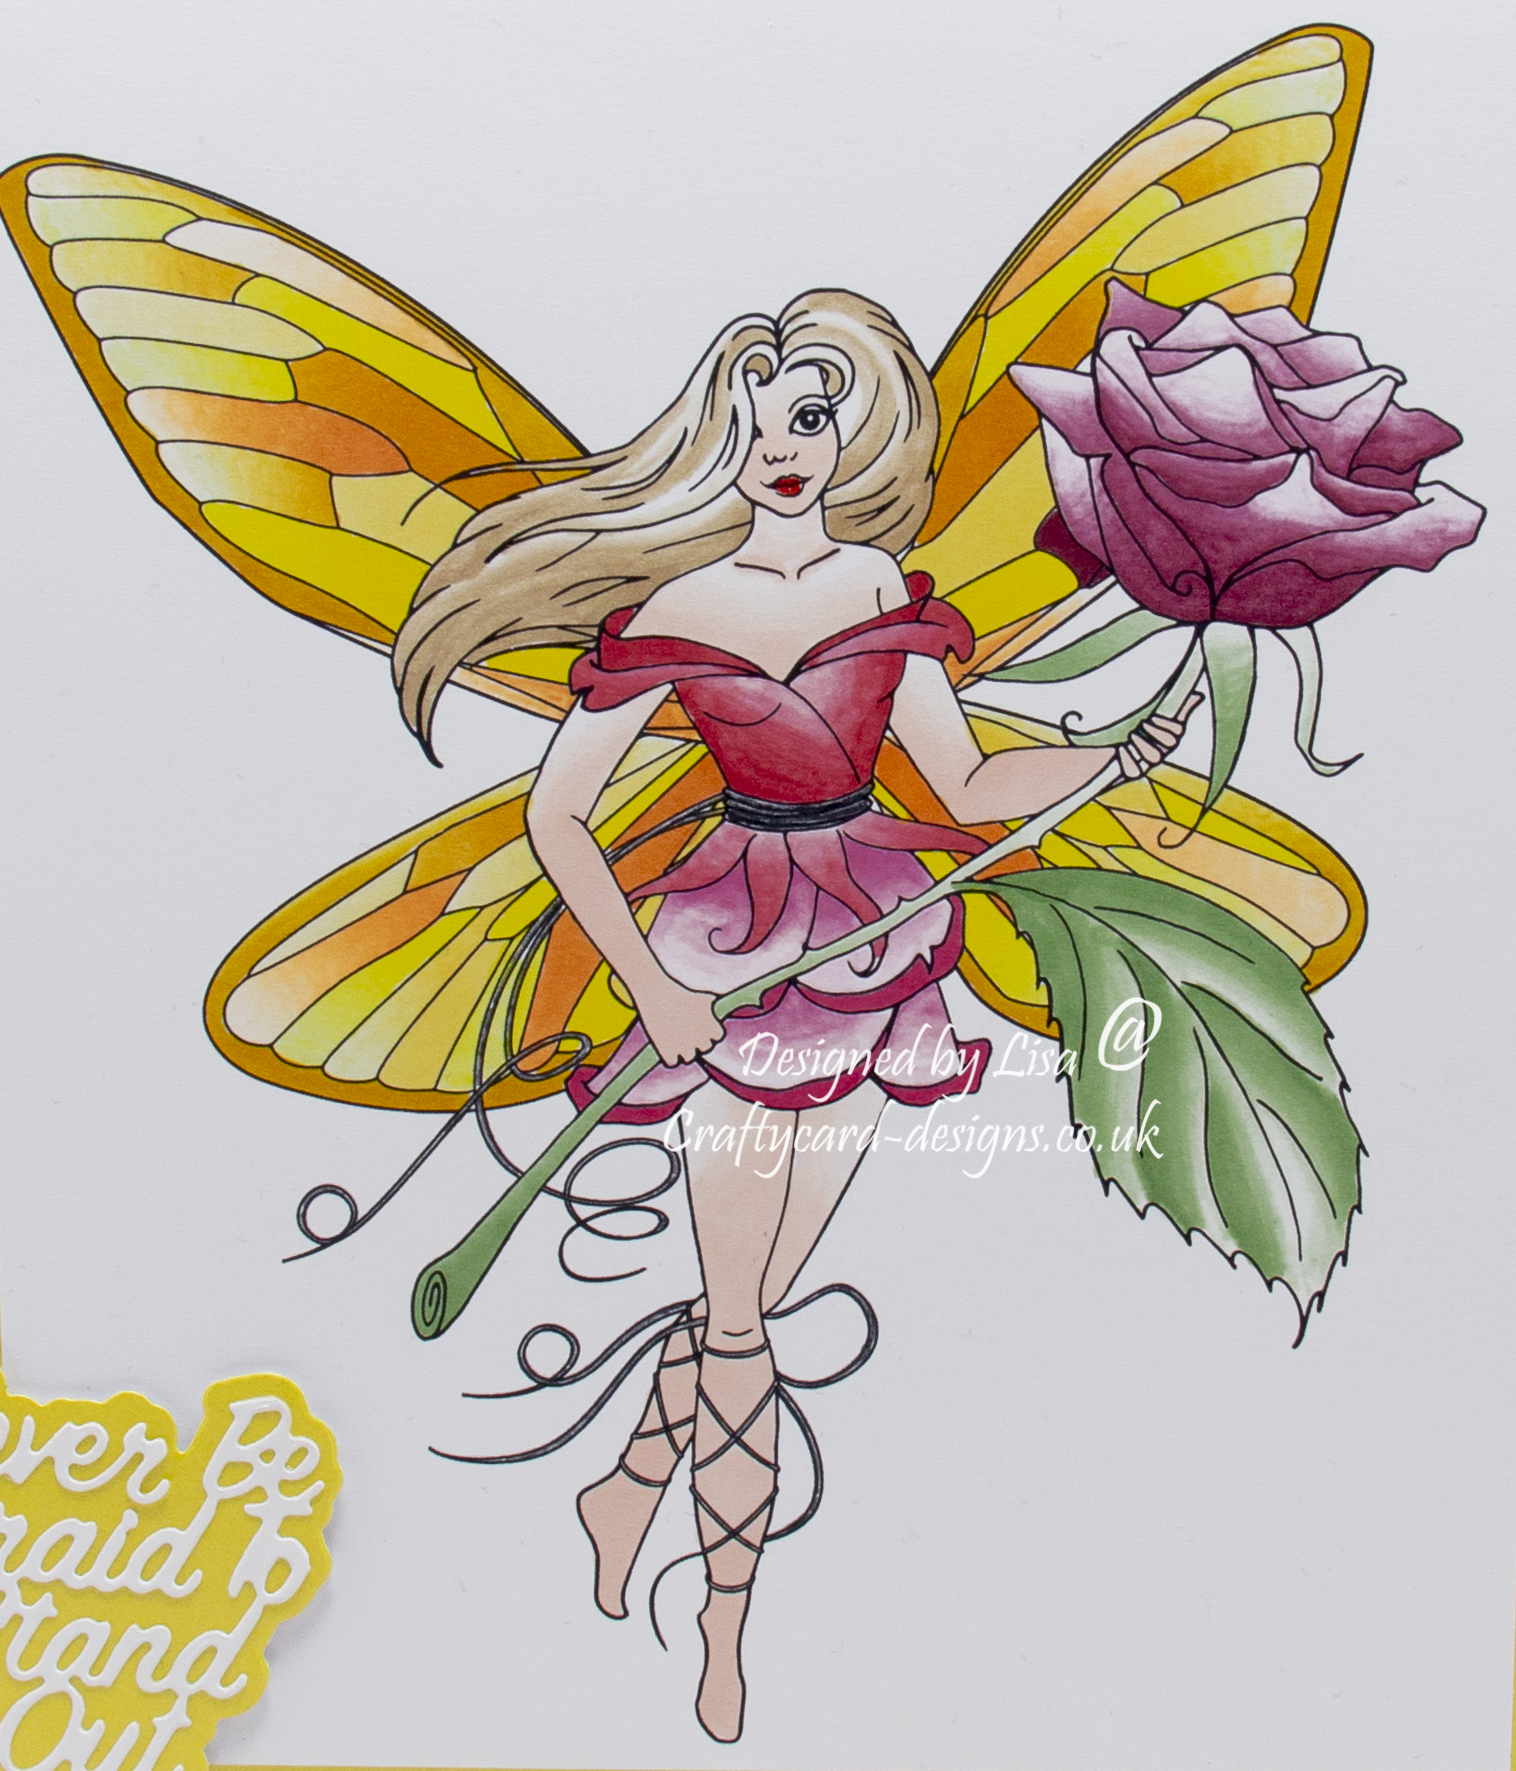
Colour in the Rose Fairy digi image, I have used Chameleon pens.
Wings: YL2, YO2, YO3, OR3, OR4
Skin: NU1
Hair: BR1
Dress: RD4, RD2
Rose: RD5, GR2
Next cut a piece from white card measuring 17.5 cms by 15 cms.
Cut a piece from yellow card measuring 17 cms by 14.5 cms.
Matt and layer together along with the digi image.
Attach to the card base using foam pads, slightly over lapping layers one and two.
Layer four:
Using the sentiment die, cut the matt die from yellow card.
Cut the sentiment from white card.
Matt and layer together and attach to the bottom corner of layer three using foam pads.
Layer five:
Cut a square from yellow card measuring 19 cms by 19 cms.
Cut a square from white card measuring 18.5 cms by 18.5 cms.
Matt and layer together and attach to the inside of the card base.
……………………………………………………………………….
Thank you for visiting my blog and please feel free to follow and make any of my handmade card tutorials.
If you would like to see other cards I have made please have a look here:
Christmas Panda – Happy Holidays
Springtime Pals – Wishing You A Lovely Day
Knitty Kitty : Did someone say cream cake – Merry Christmas
………………………………………………………………………….
Challenges I would like to enter are:
Creative Fingers Challenge #193 : Anything Goes
Love To Craft Challenge #50 : Anything Goes
Colour Crazy Challenge Wk 37 – Anything Goes
Lovely image and the color scheme blends so well together. Thanks for sharing at The Colour Crazy Craft Challenge and Best of Luck in the draw! Donna, DT
Beautiful card Ginny x
My Blog As I do Rodos
Cute card and I am so shared over at Colour Crazy.
Beautiful – and great sentiment too,
Hugz Tinz
Very pretty card a great sentiment and love the color choices. Thanks for sharing over at Colour crazy
Awesome project! Thanks so much for sharing with us in our challenge over at Love To Craft Challenge Blog this month! We appreciate you joining us!
Hugs,
Leslie, LTCCB DT
Love To Scrap 2
Wonderful card, love the pink and yellow, the sentiment and your art. Thanks so much for sharing it with us at Love to Craft Challenge! XXO, Aimeslee DT
What a lovely card I love the colour theme and the sentiment is so right!, thanks for sharing it at Colour crazy craft challenge, x