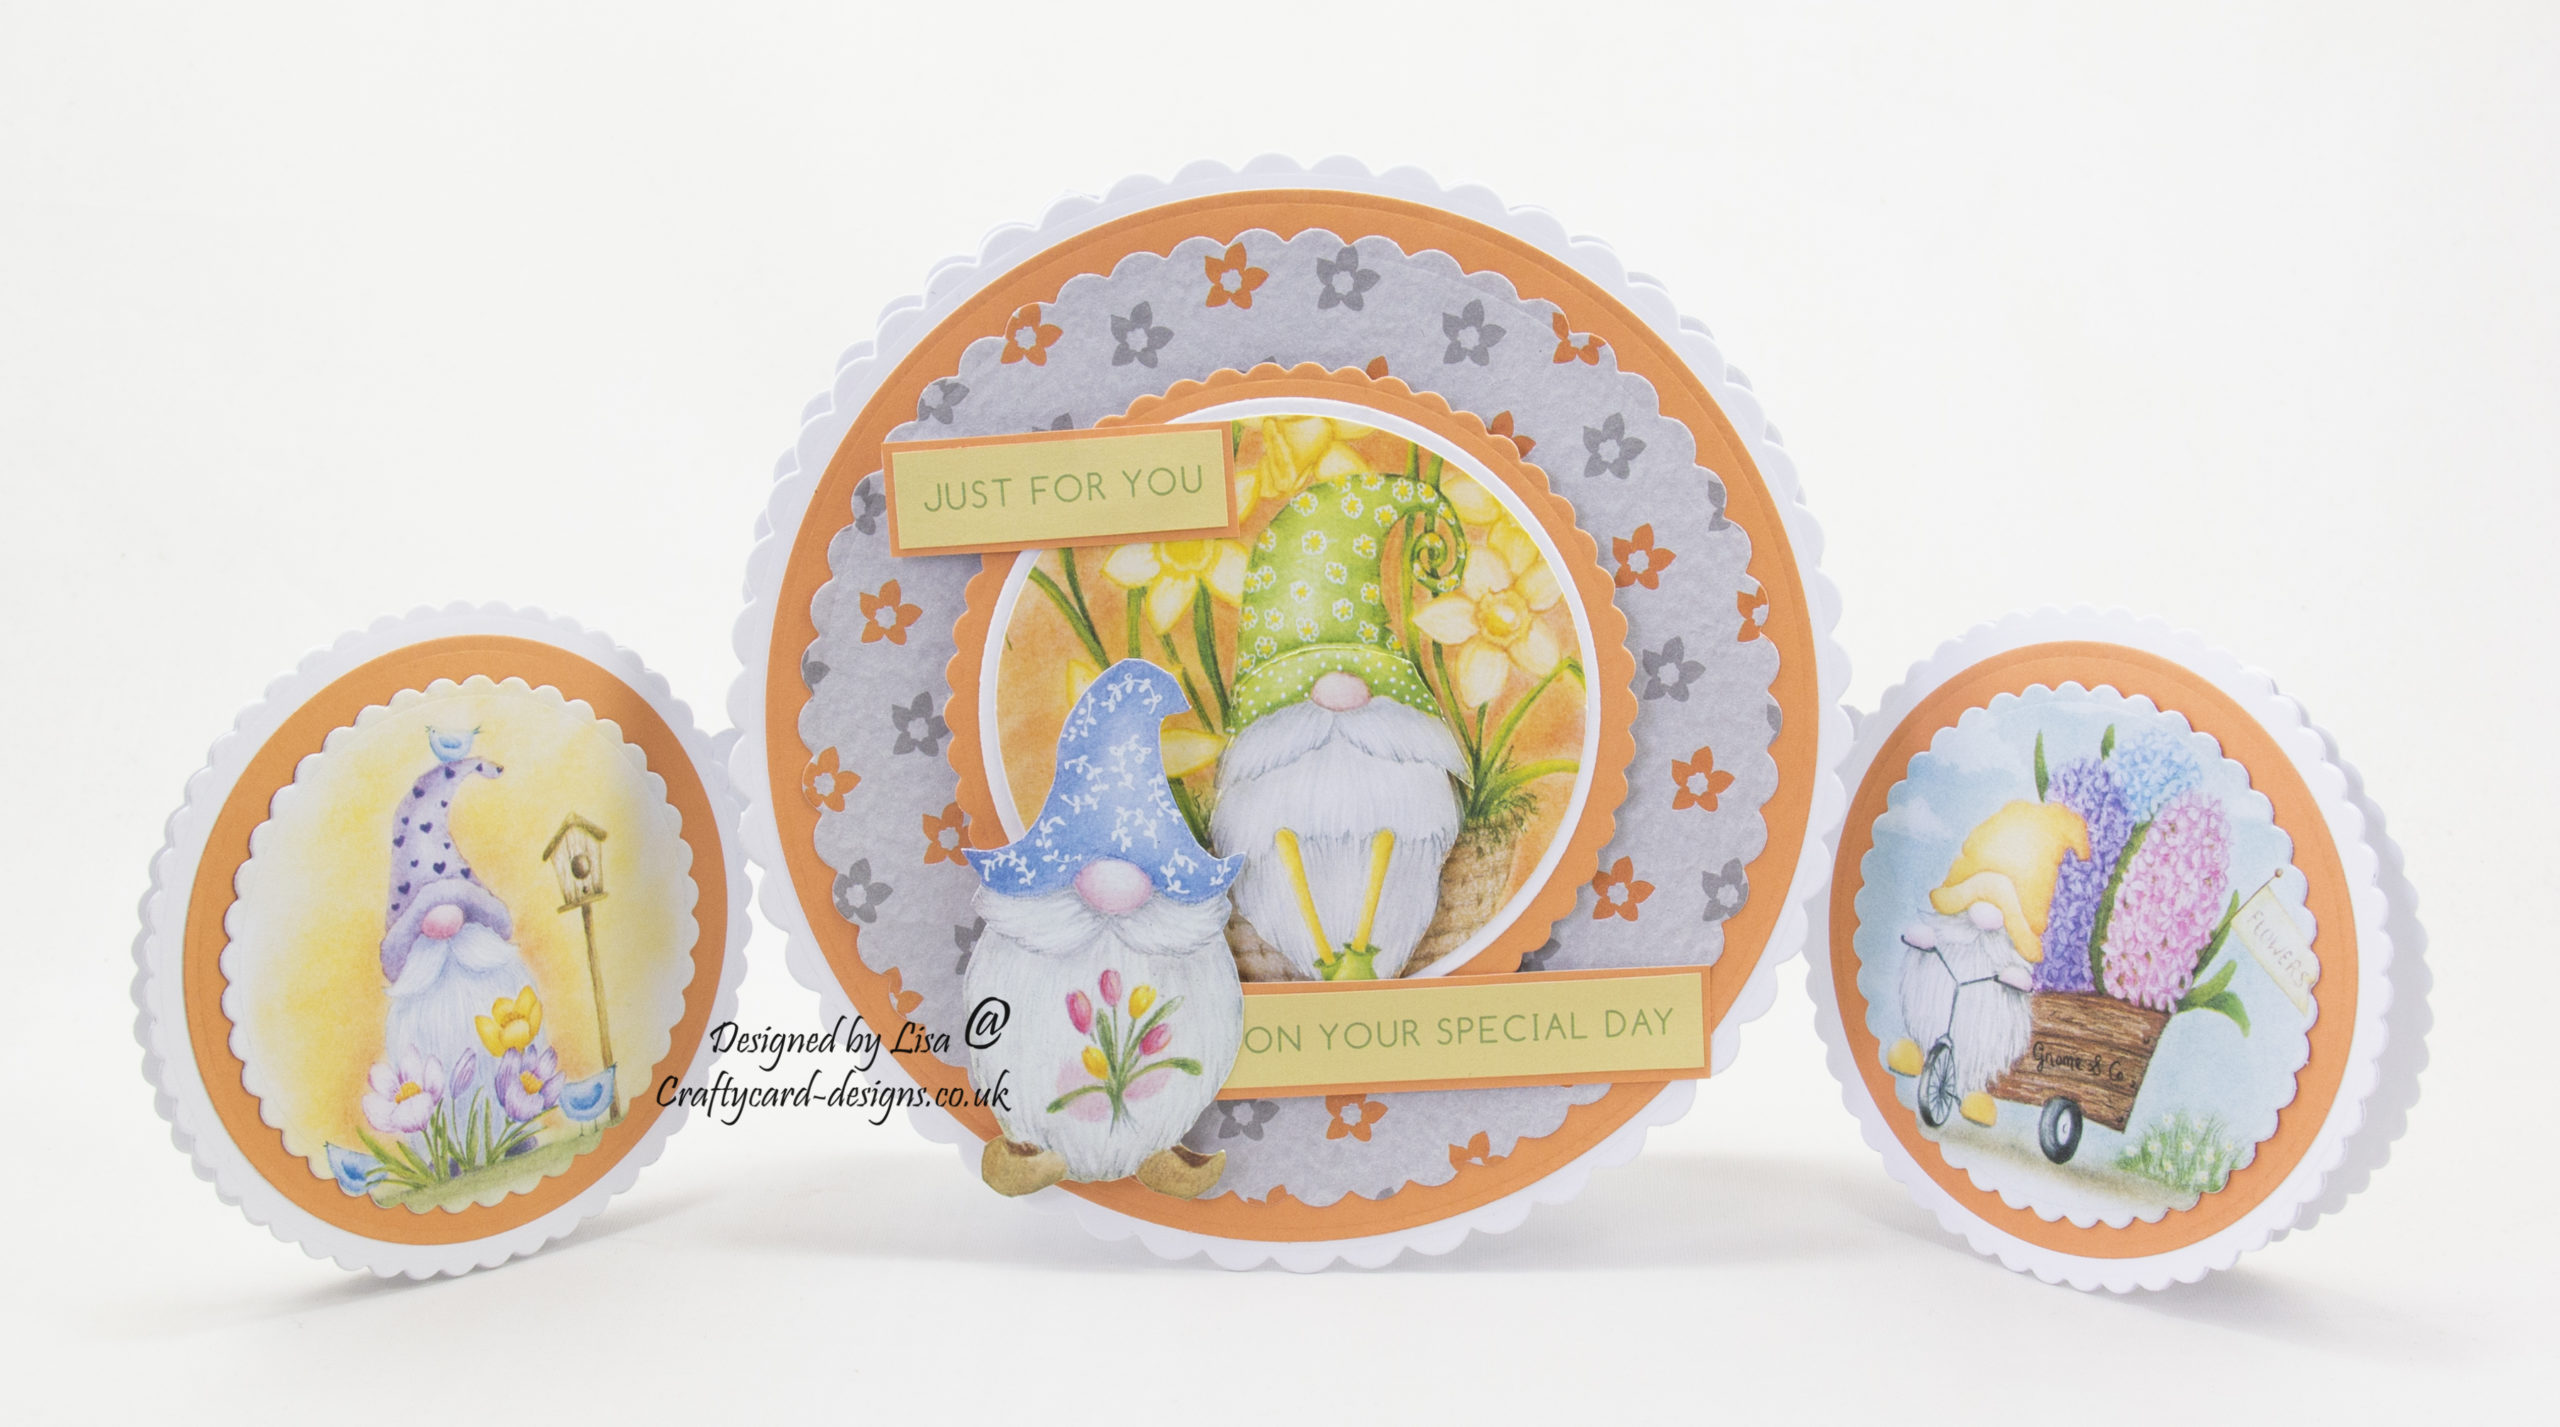
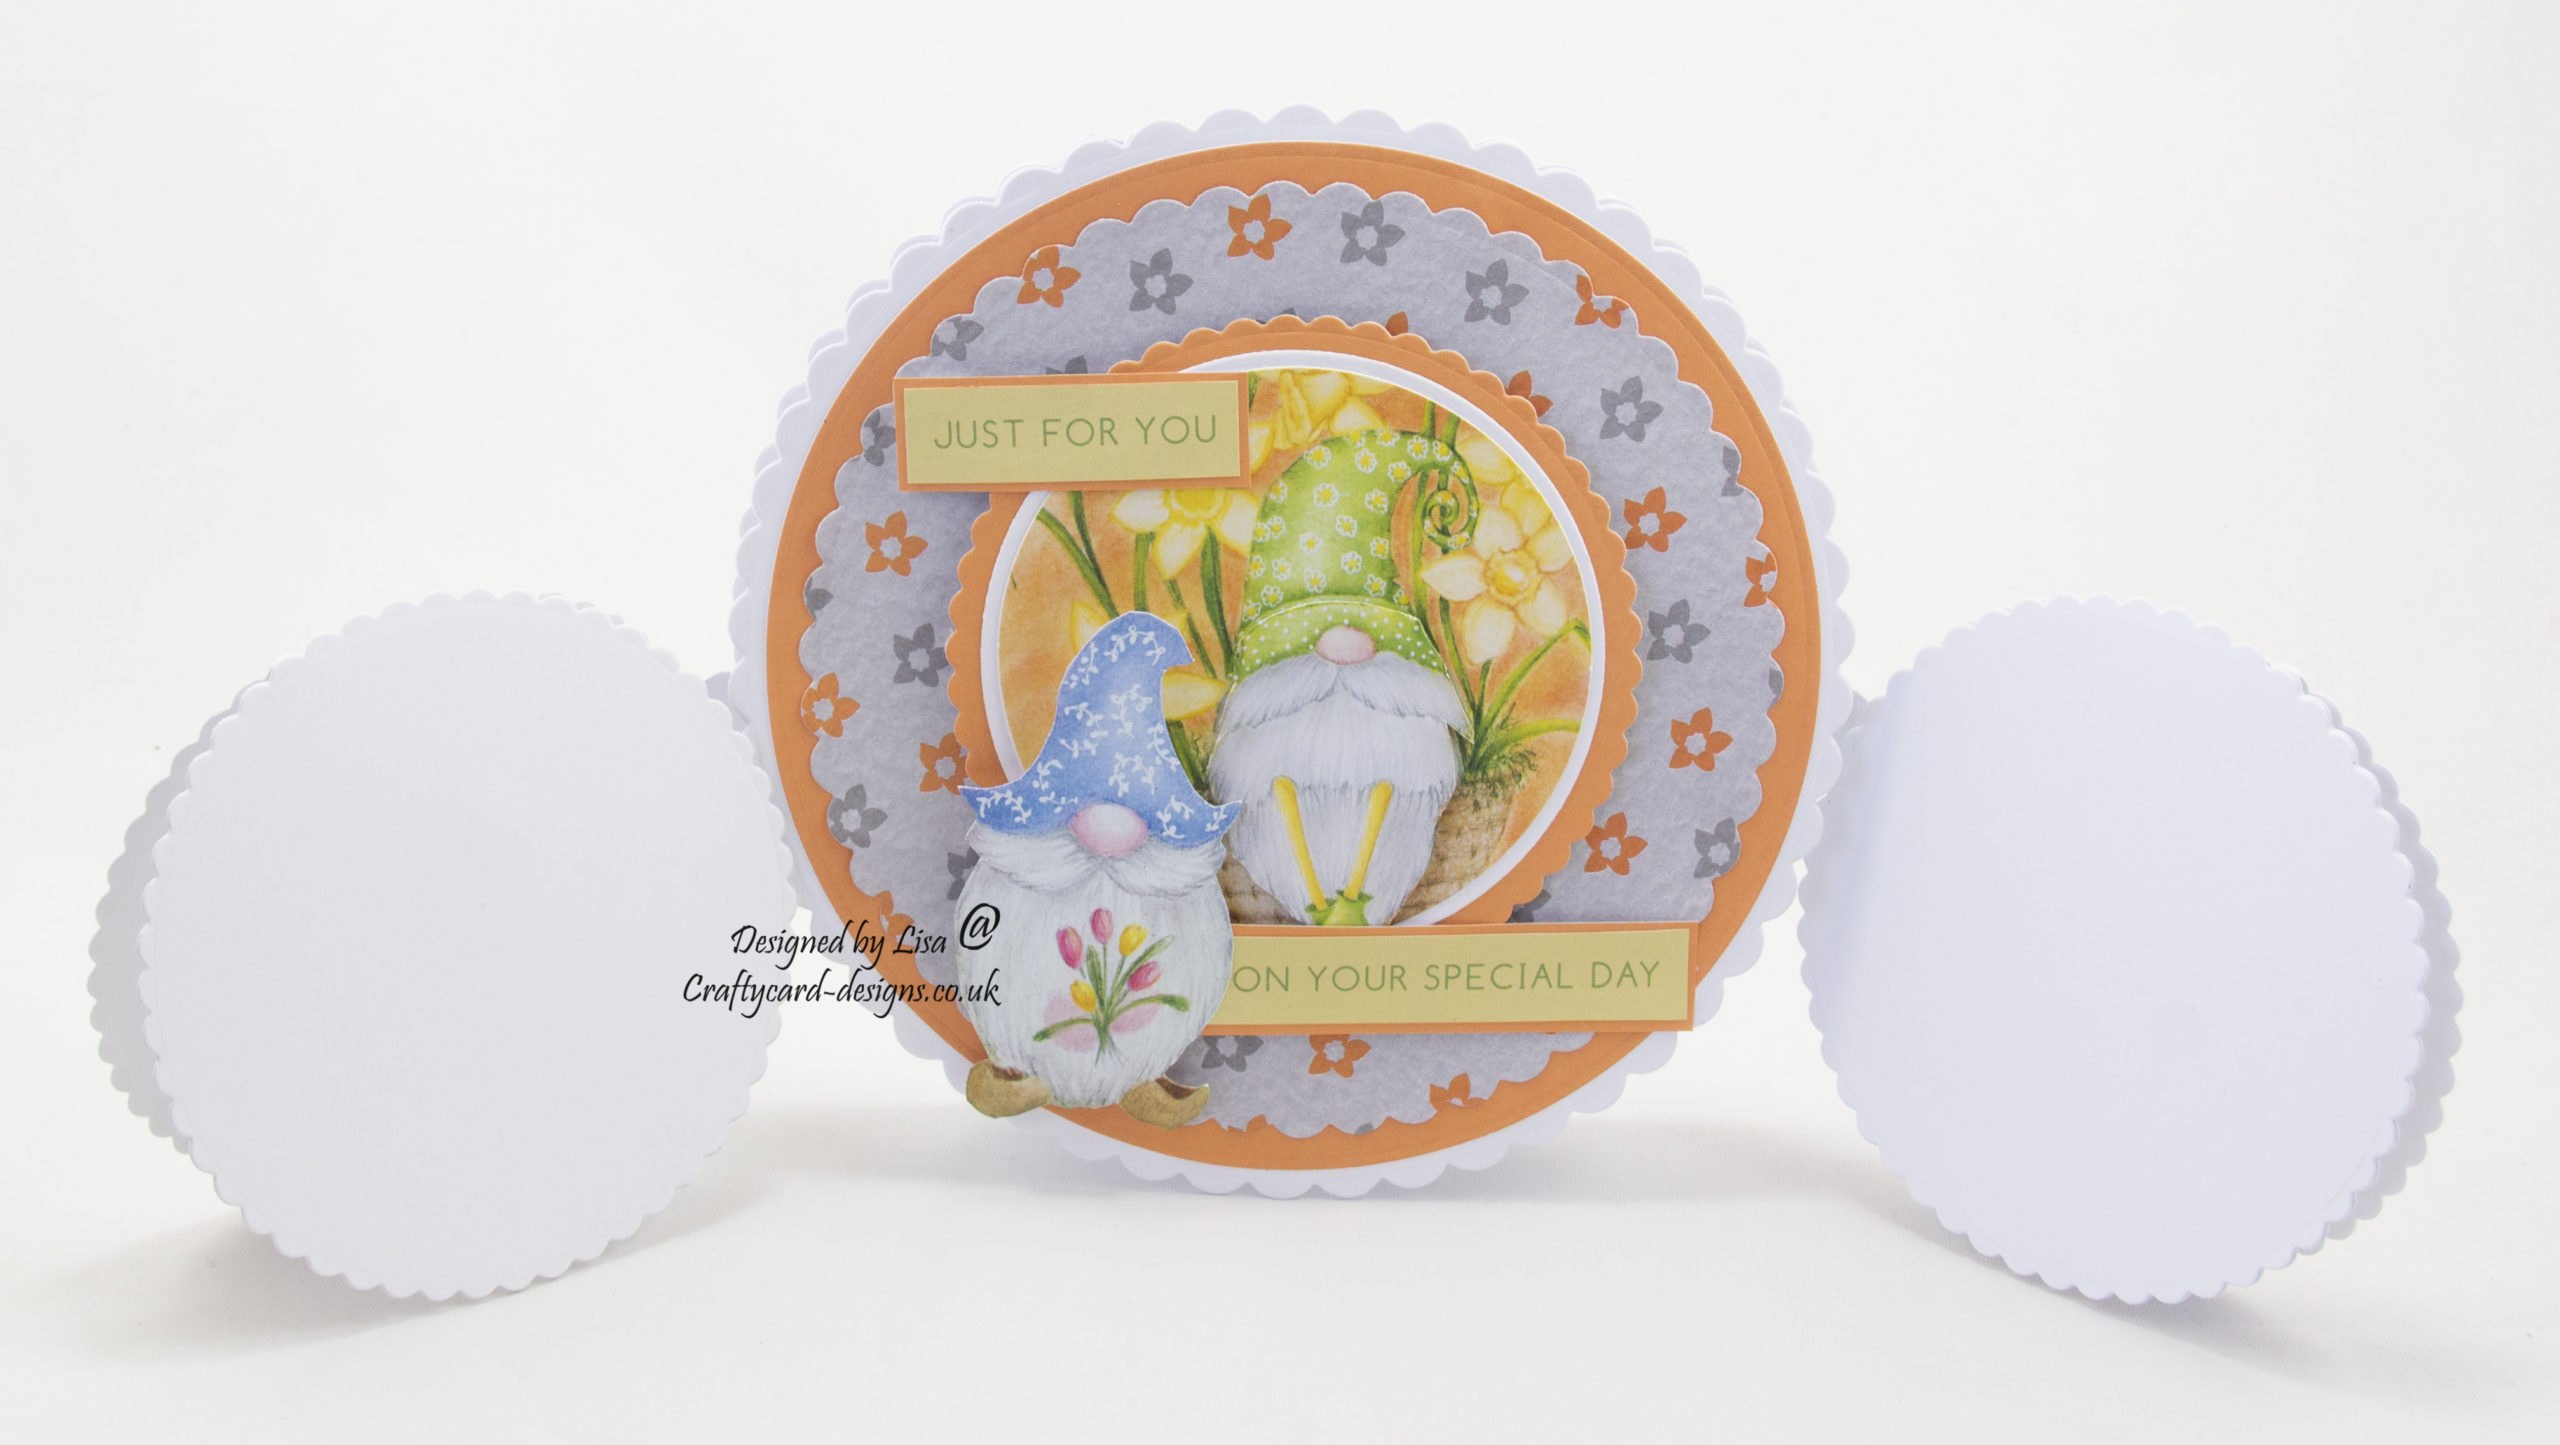
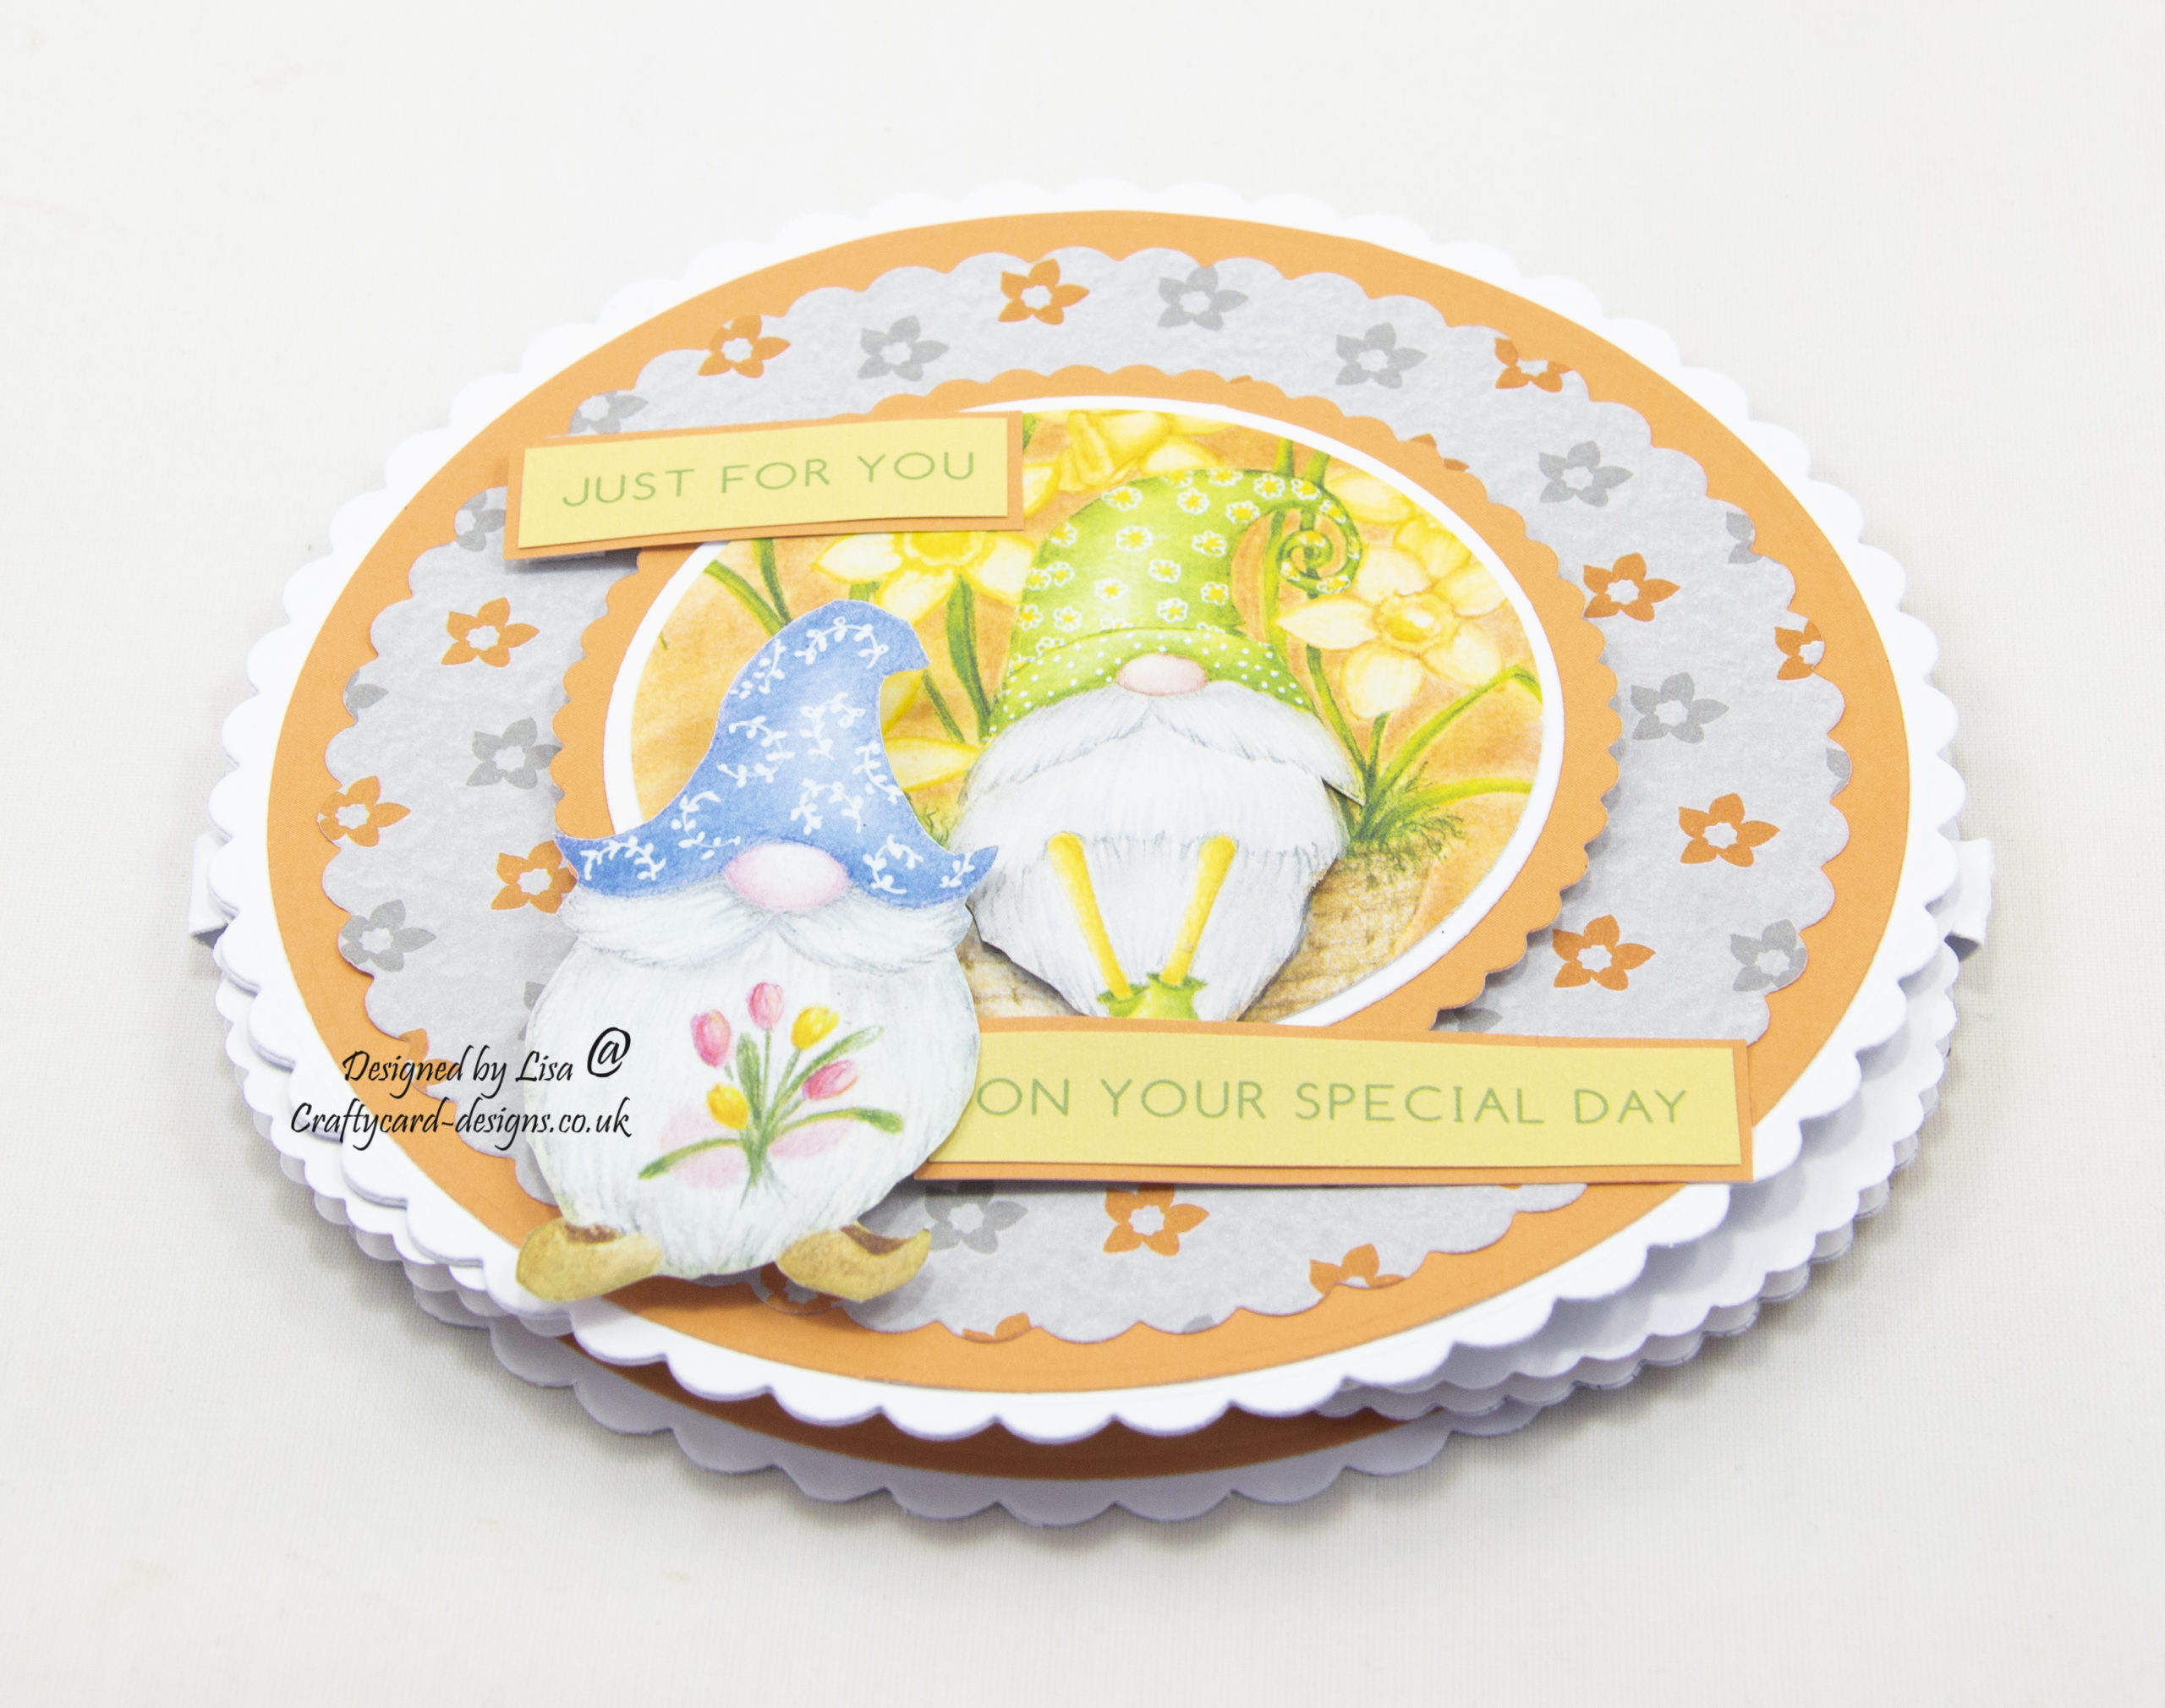
Today’s handmade card is a triple circle card, using Spring Gnomes paper collection from Creative Crafting World.
You will need :
8″ By 8″ White Card
2 x A6 White Cards
A4 White Card
The Paper Boutique Spring Gnome – Solid Papers
The Paper Boutique Spring Gnome– Finishing Touches
The Paper Boutique Spring Gnome – Decorative Papers
The Paper Boutique Essential Nesting Dies Volume I
The Paper Boutique Essential Nesting Dies Volume IX
Glue / Double Sided Tape
Foam Pads
Instructions:
Choose one coloured paper, one patterned paper, four toppers and two sentiments.
Card Base:
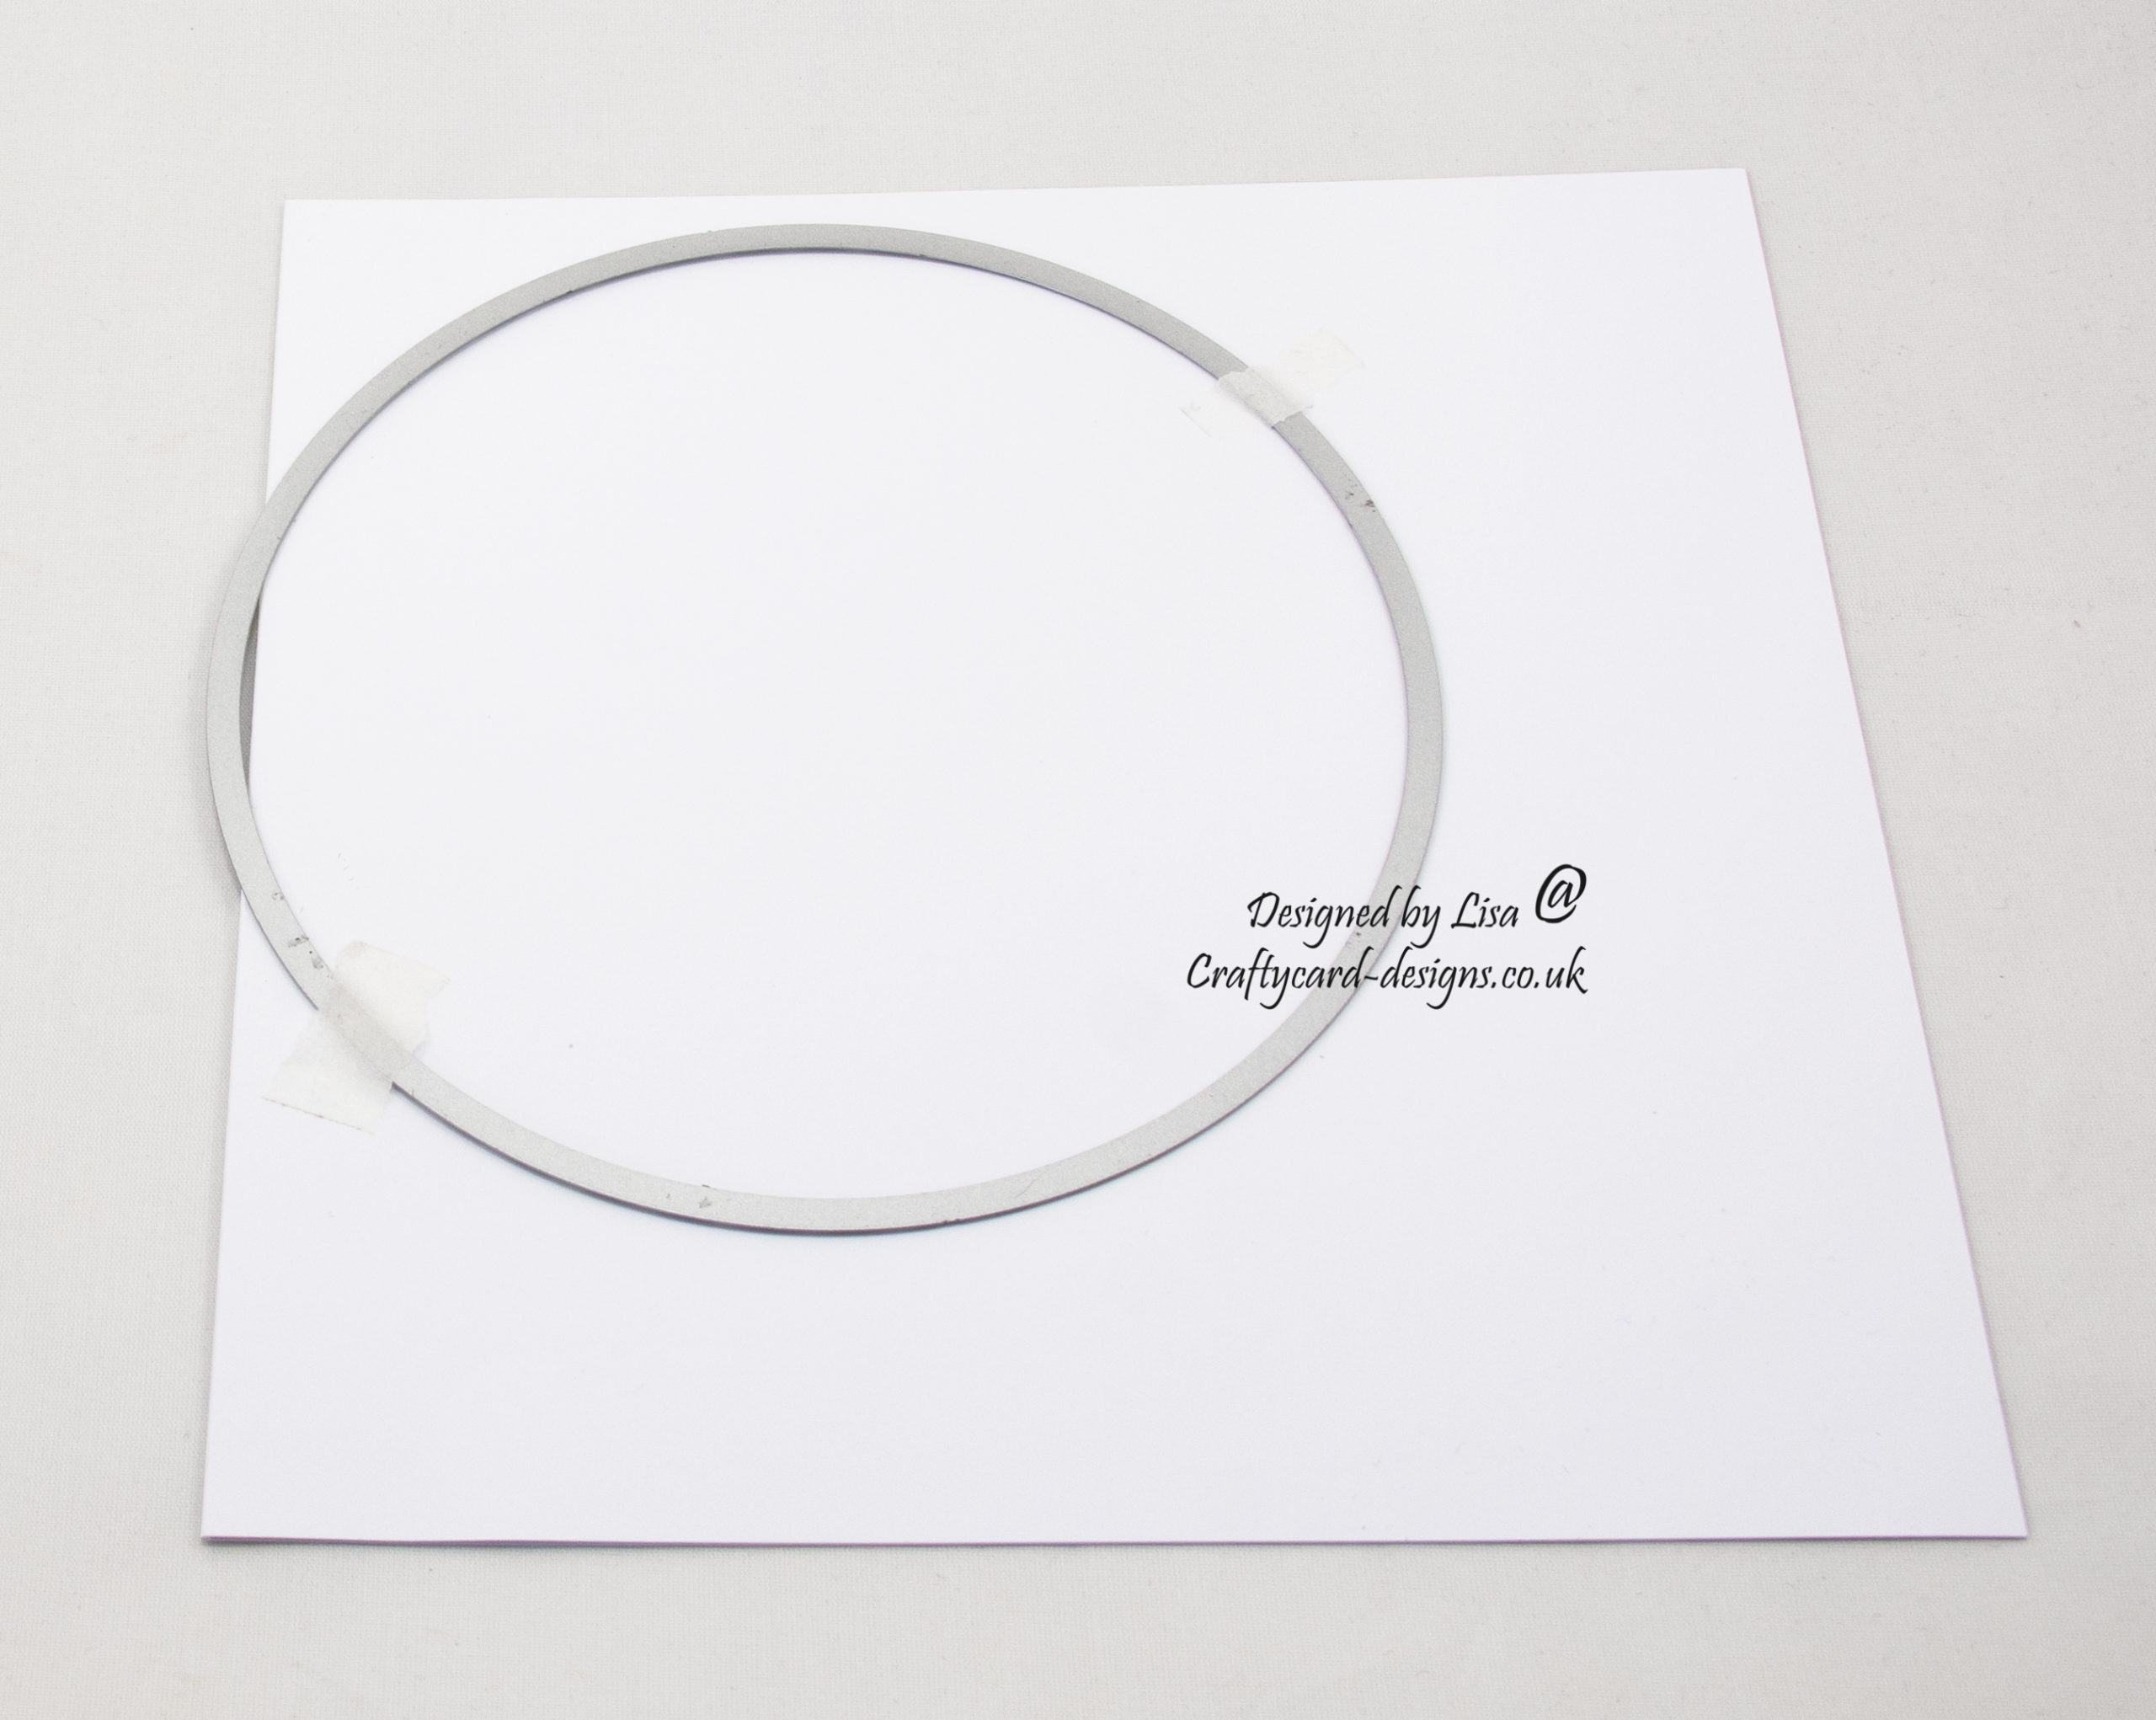
Using a 15.5 cm circle die, cut a circle card.
Place the circle die on to the 8″ by 8″ white card, slightly overlapping the centre fold and run through your die cutting machine.
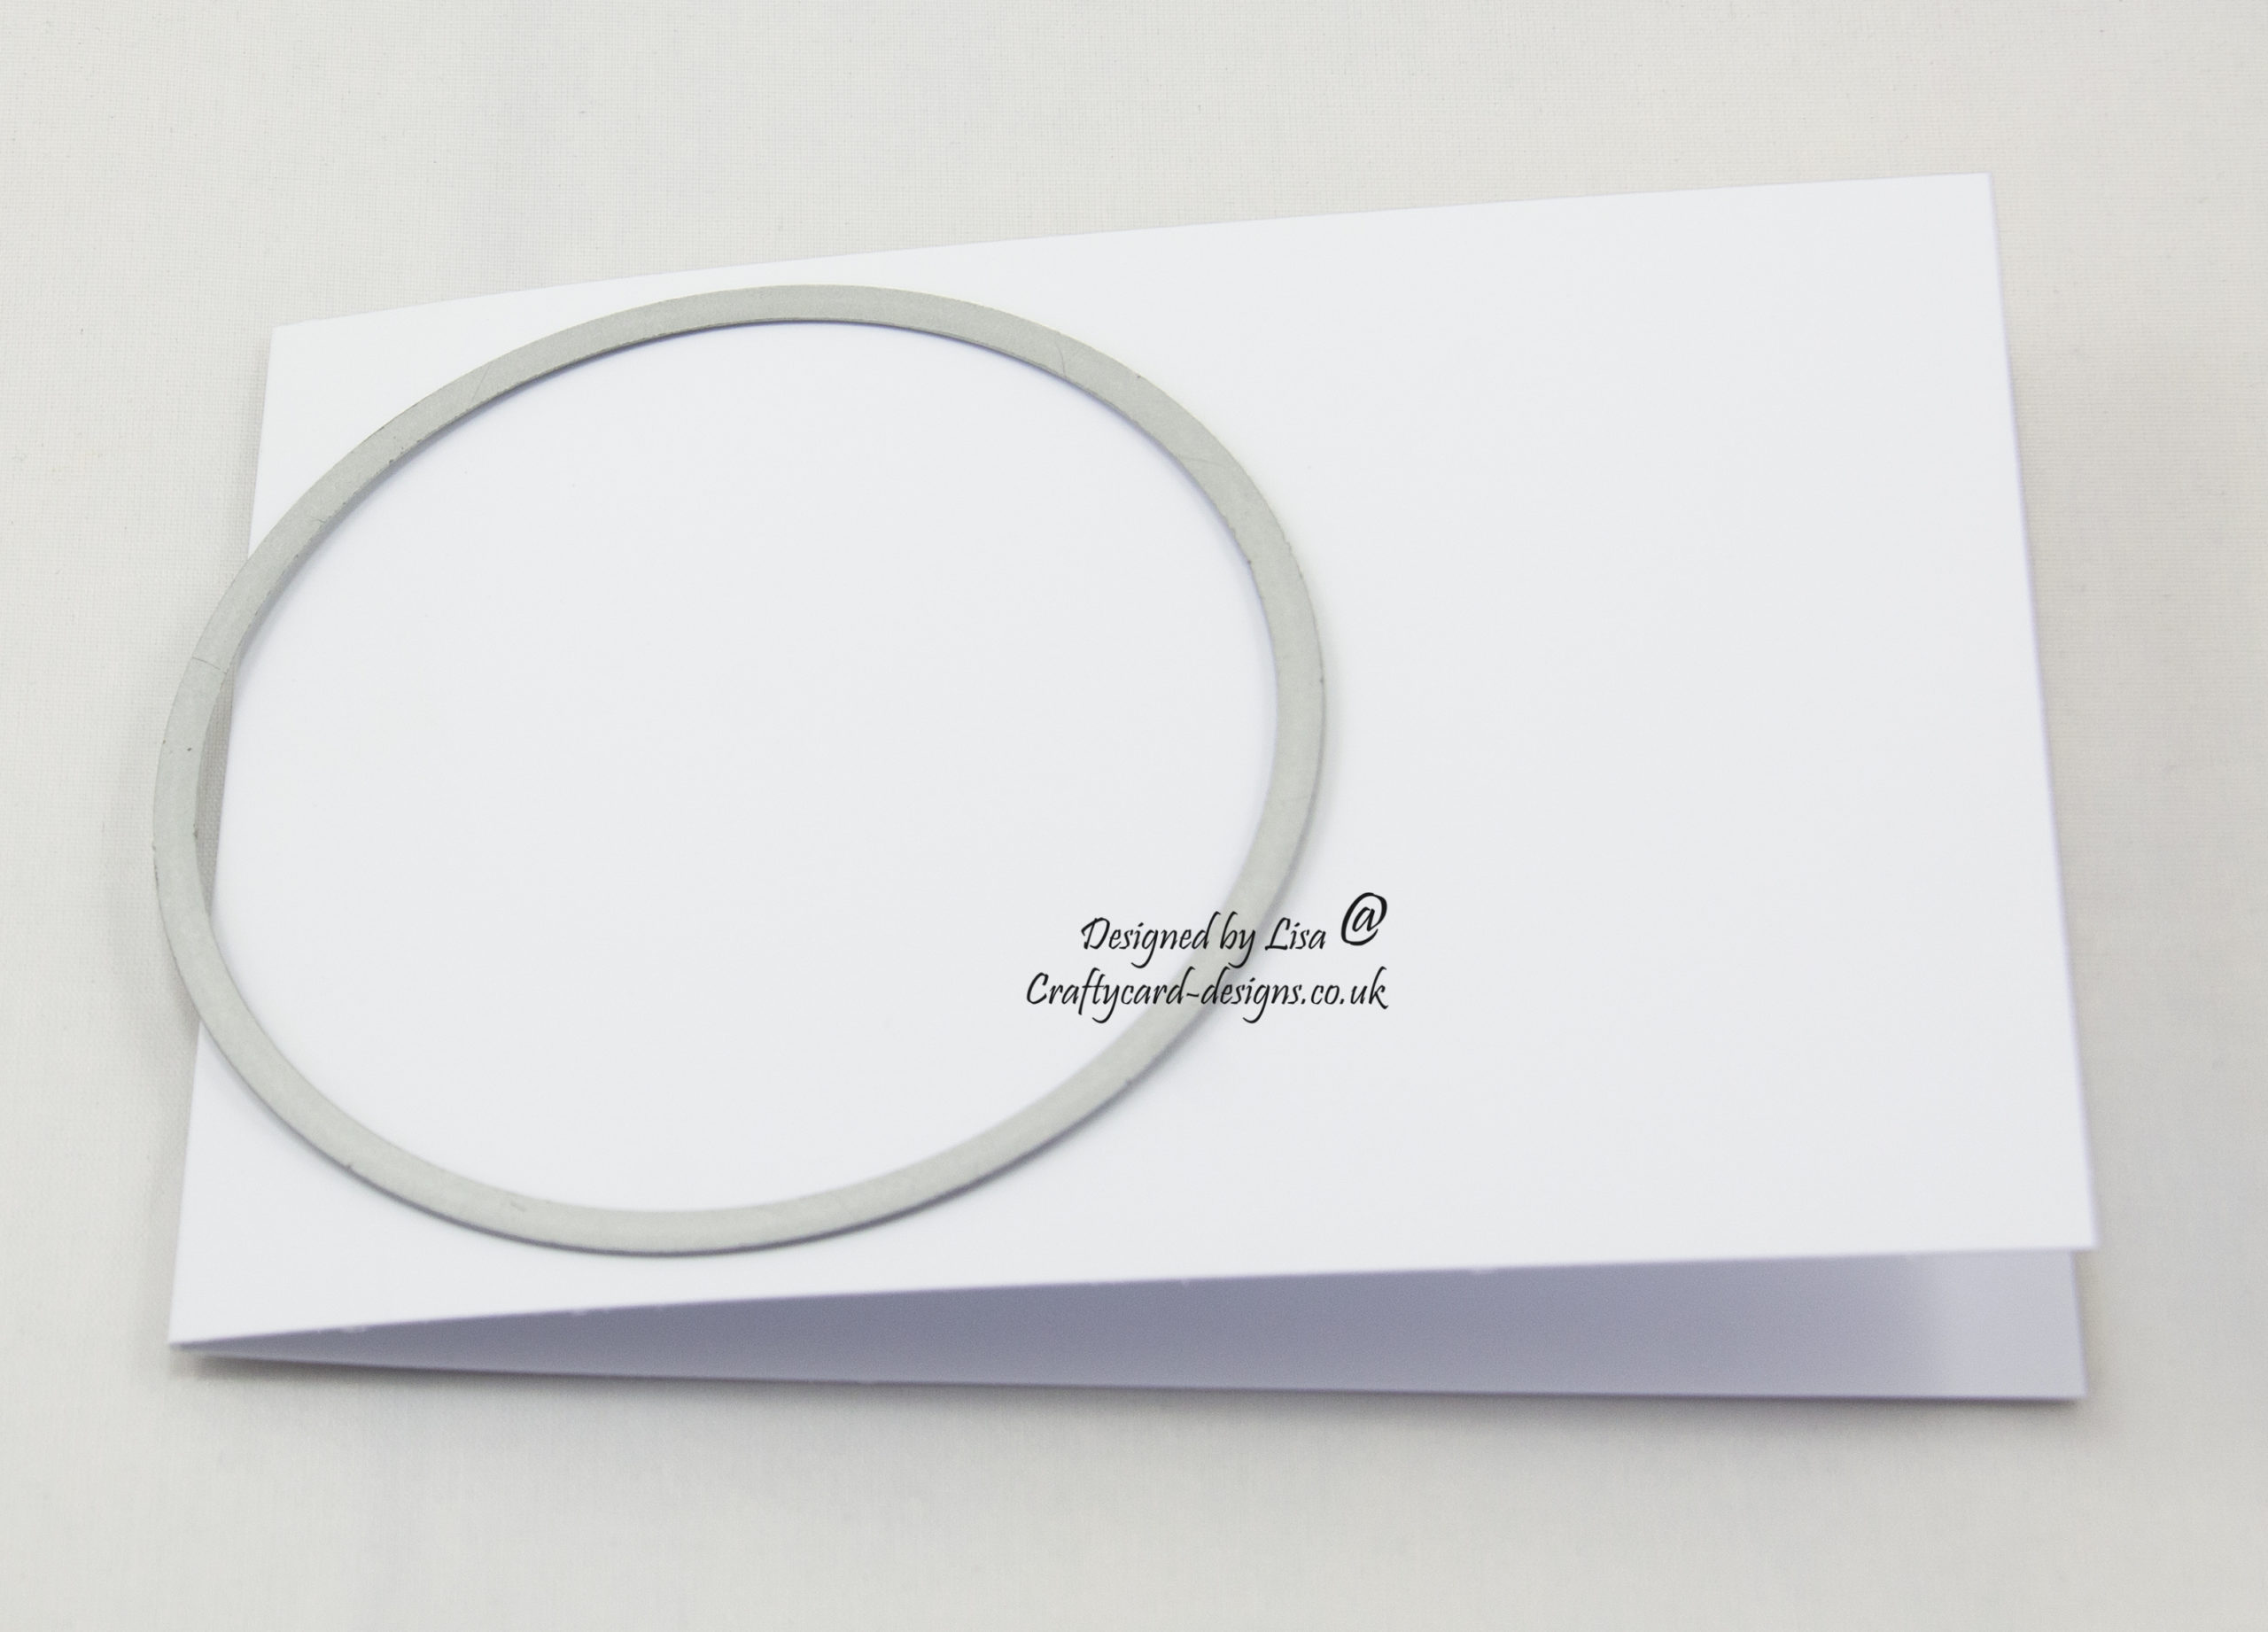
Using a 9.5 cm circle die, cut two circle cards.
Place the circle die on to the A6 white cards, slightly overlapping the centre fold and run through your die cutting machine.
Next cut out a strip from white card using one of the border dies from volume IX.
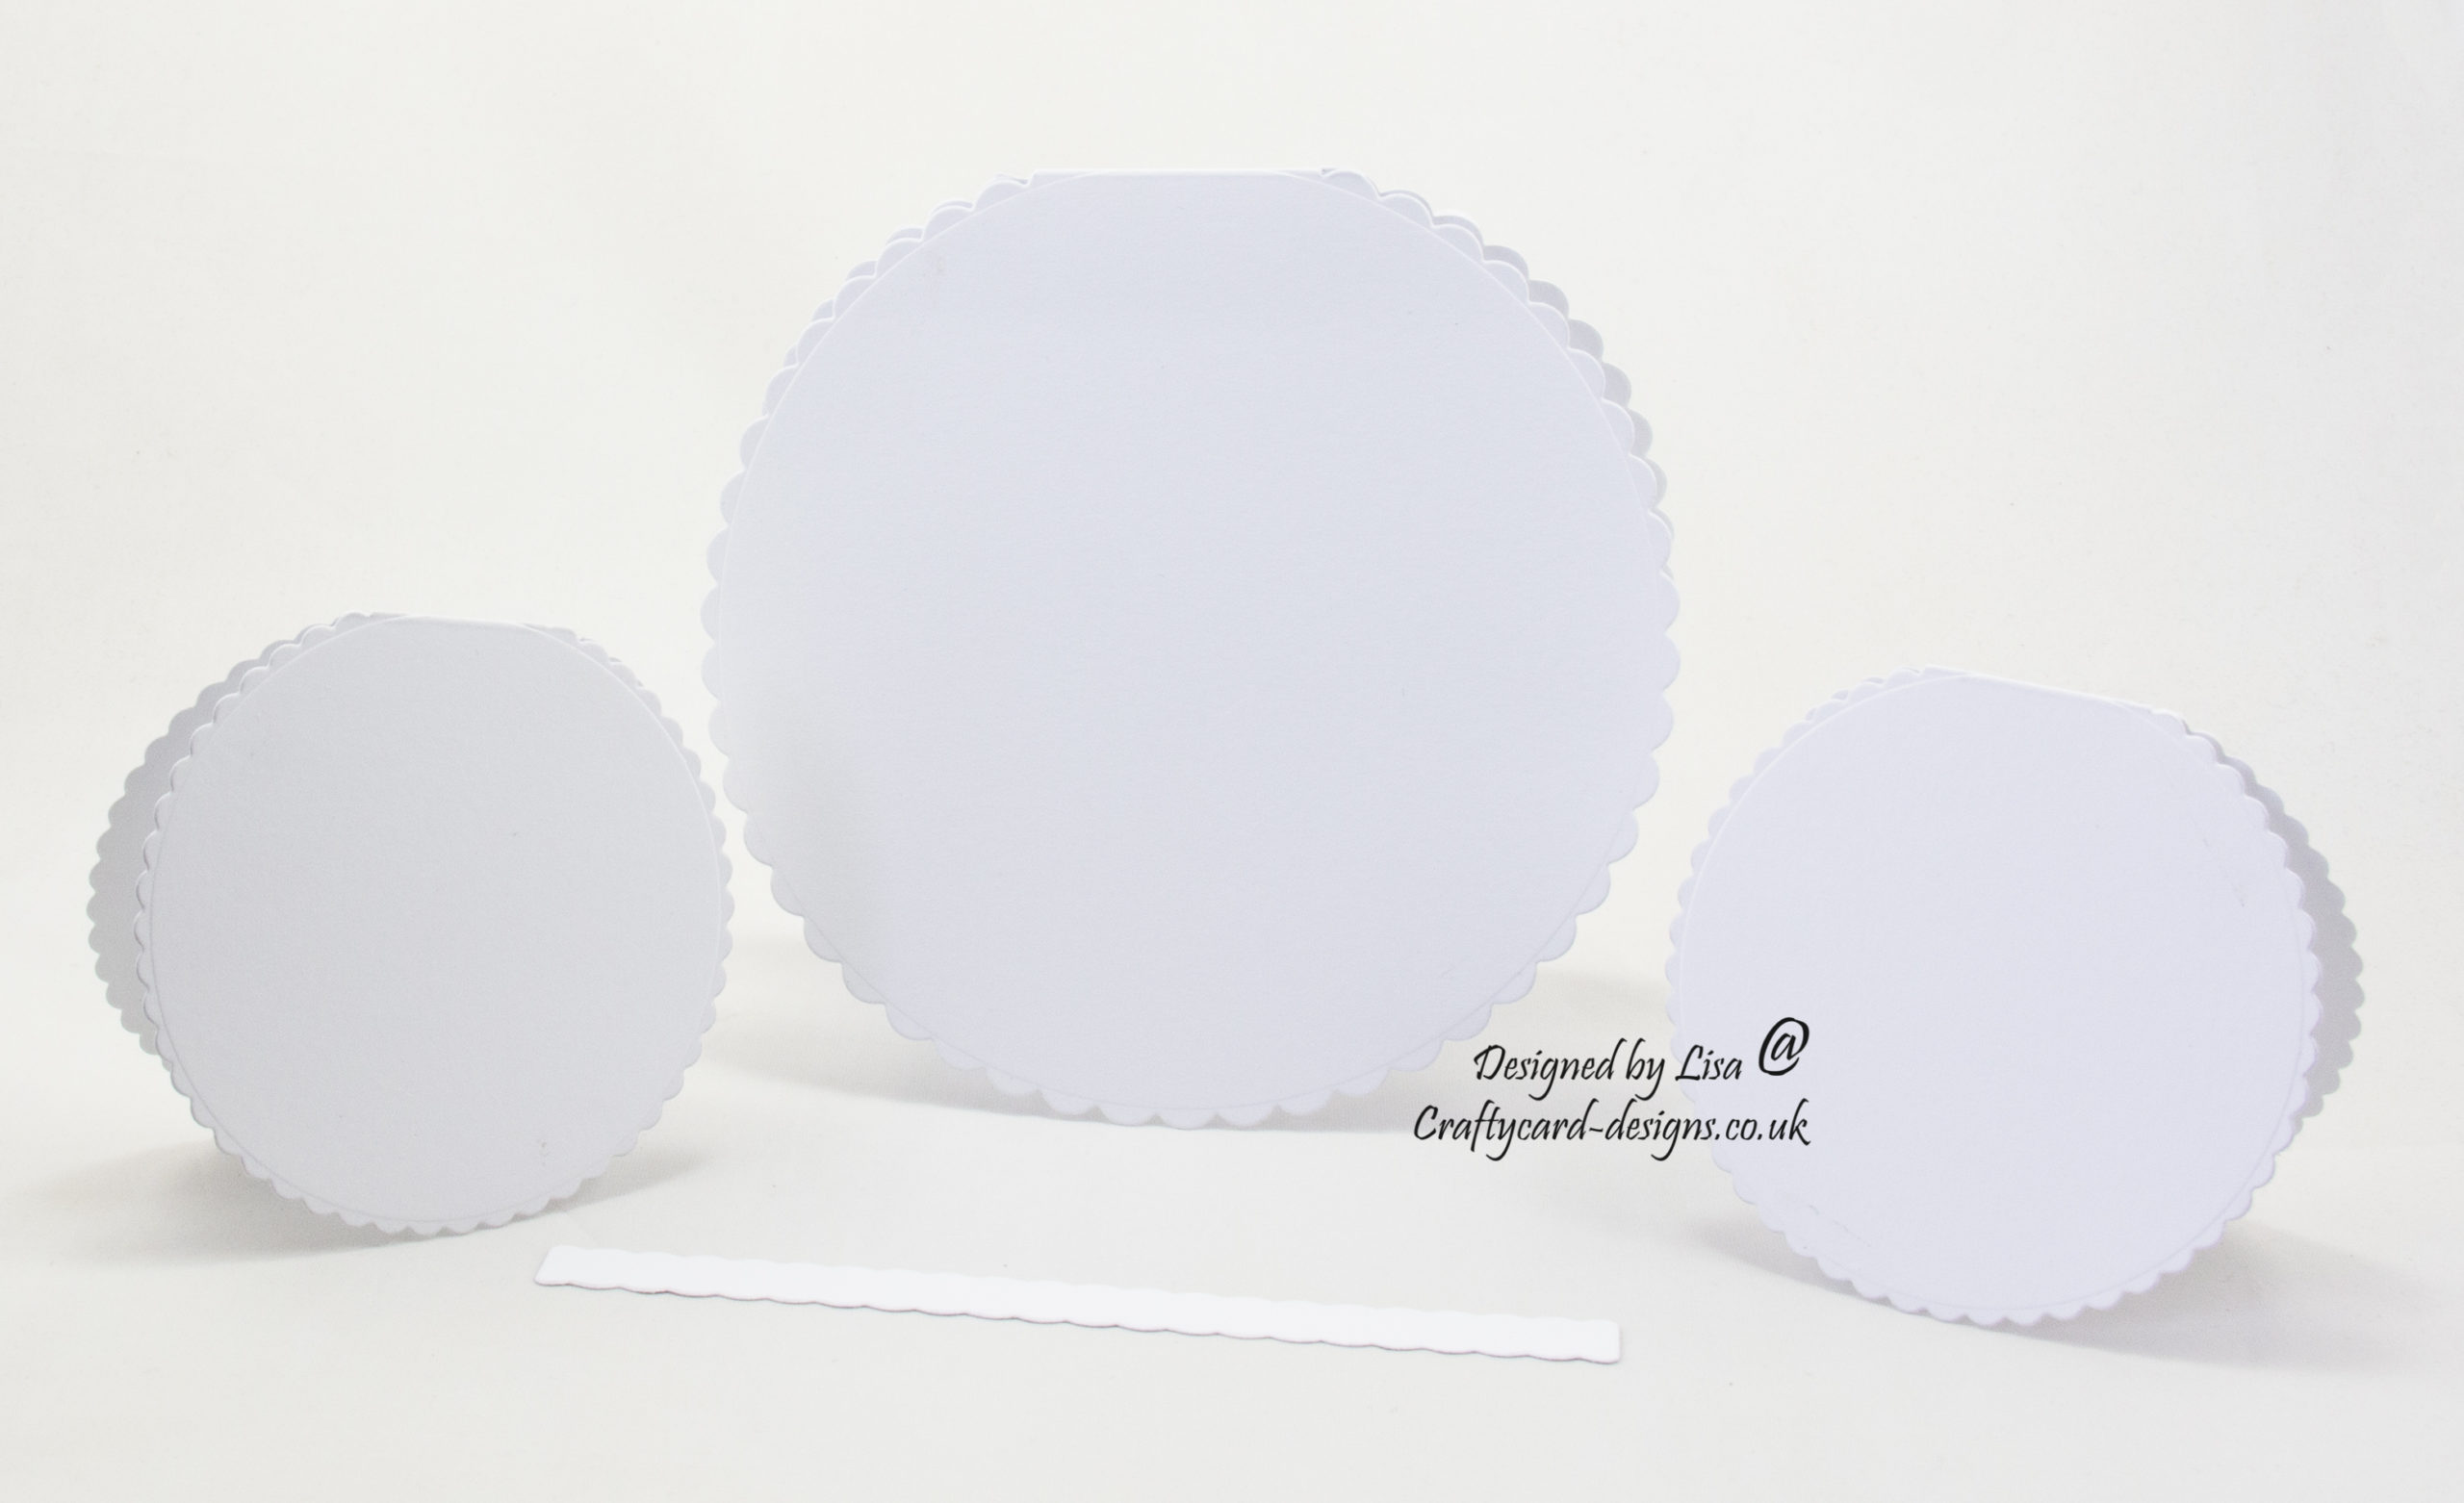
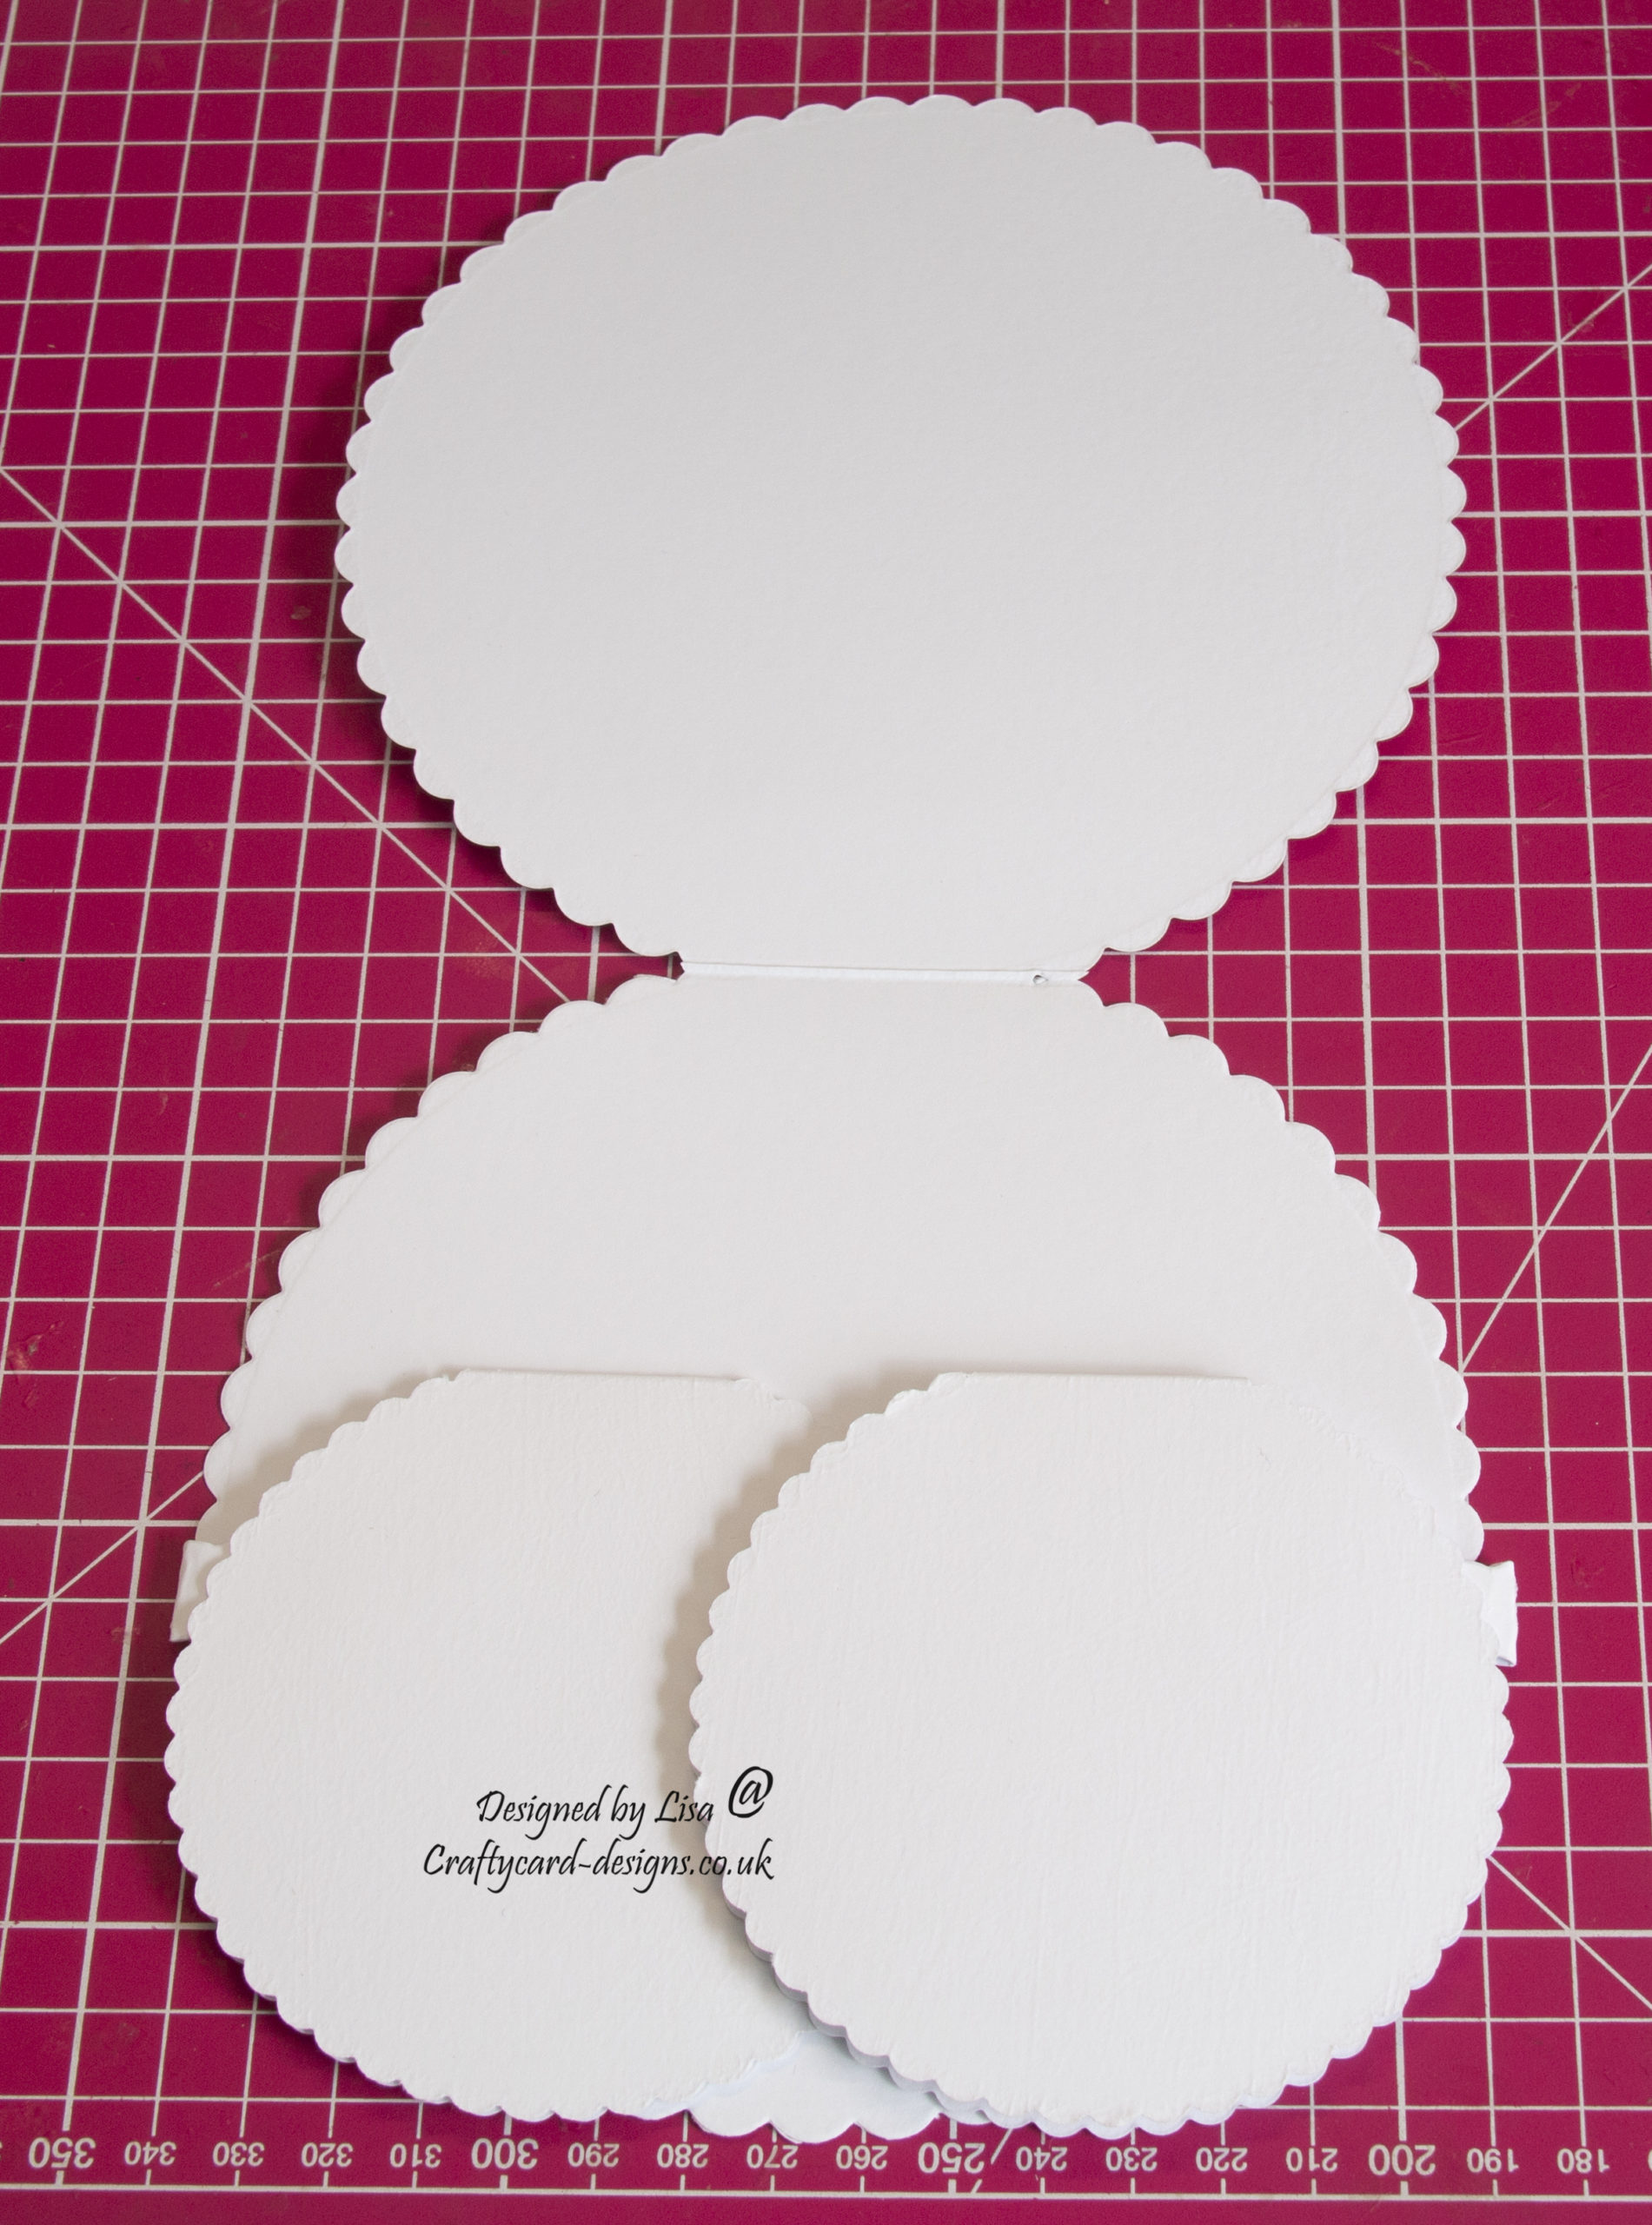
Lay each of the cards flat, leaving a small gap between each.
Cut the white strip in half and fold each piece in half.
Attach to each side of the circle cards.
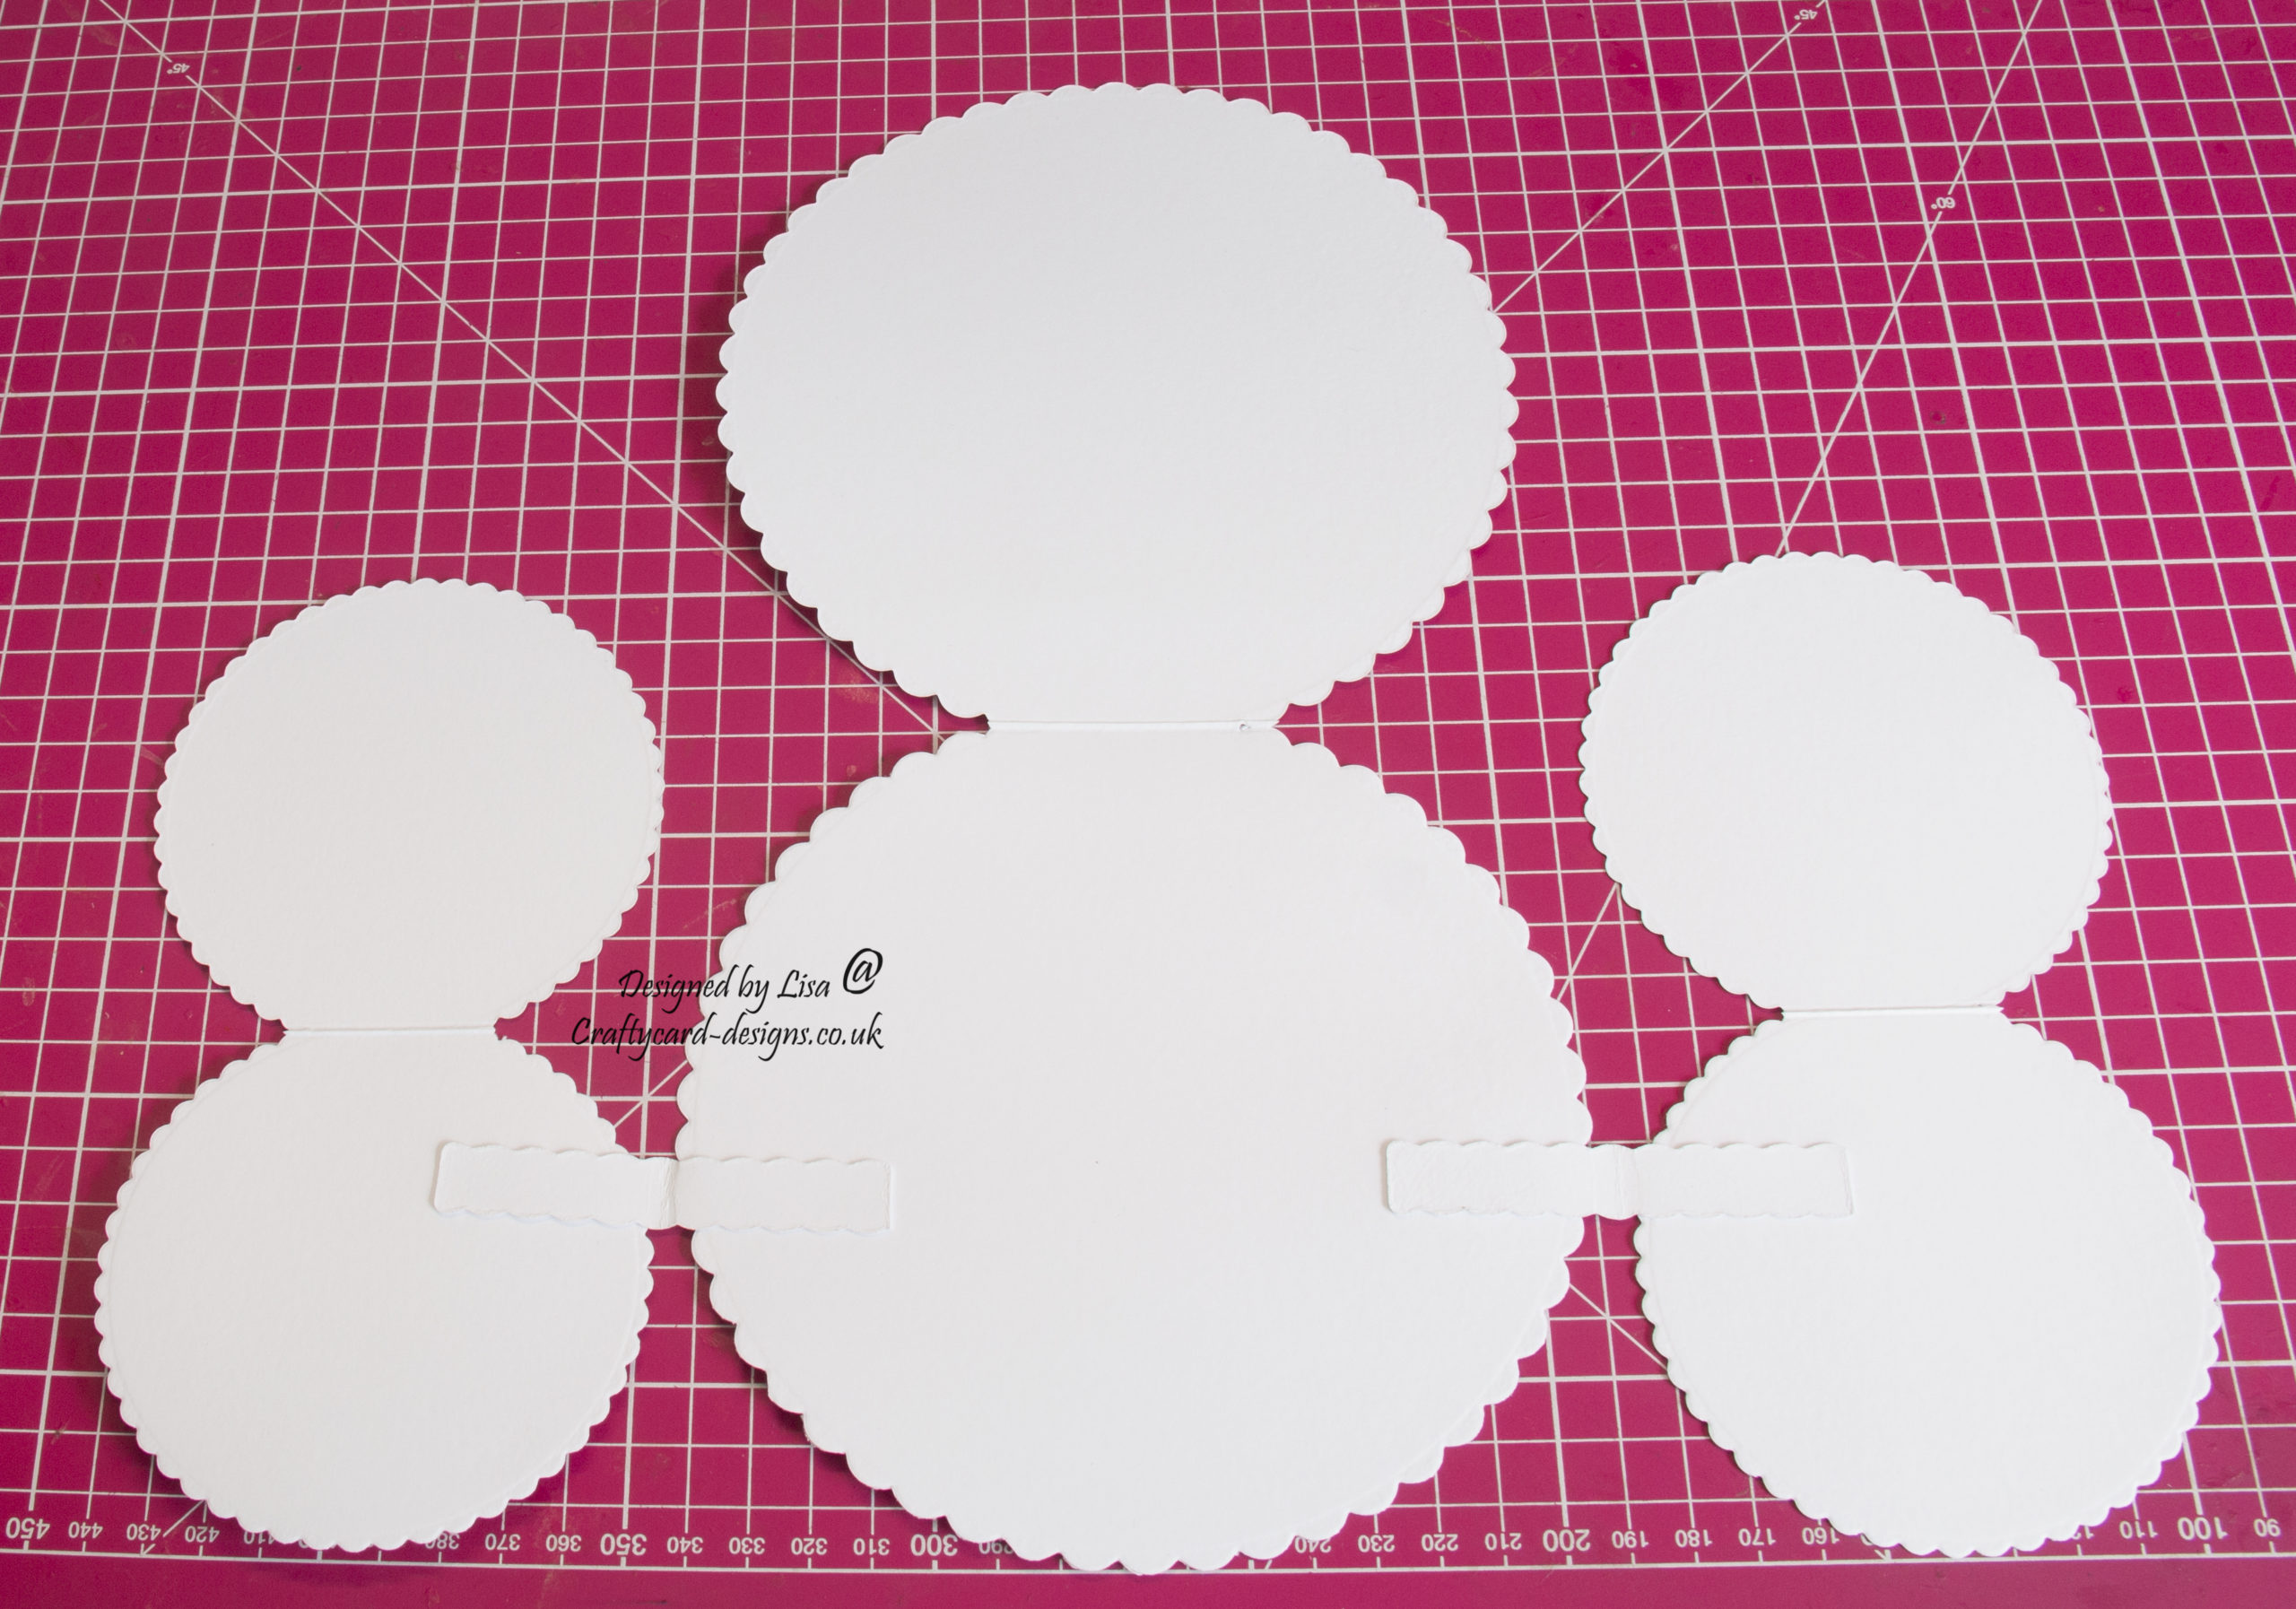
Each of the smaller circle cards will then fold in to the centre of the larger circle card to fit into an envelope.
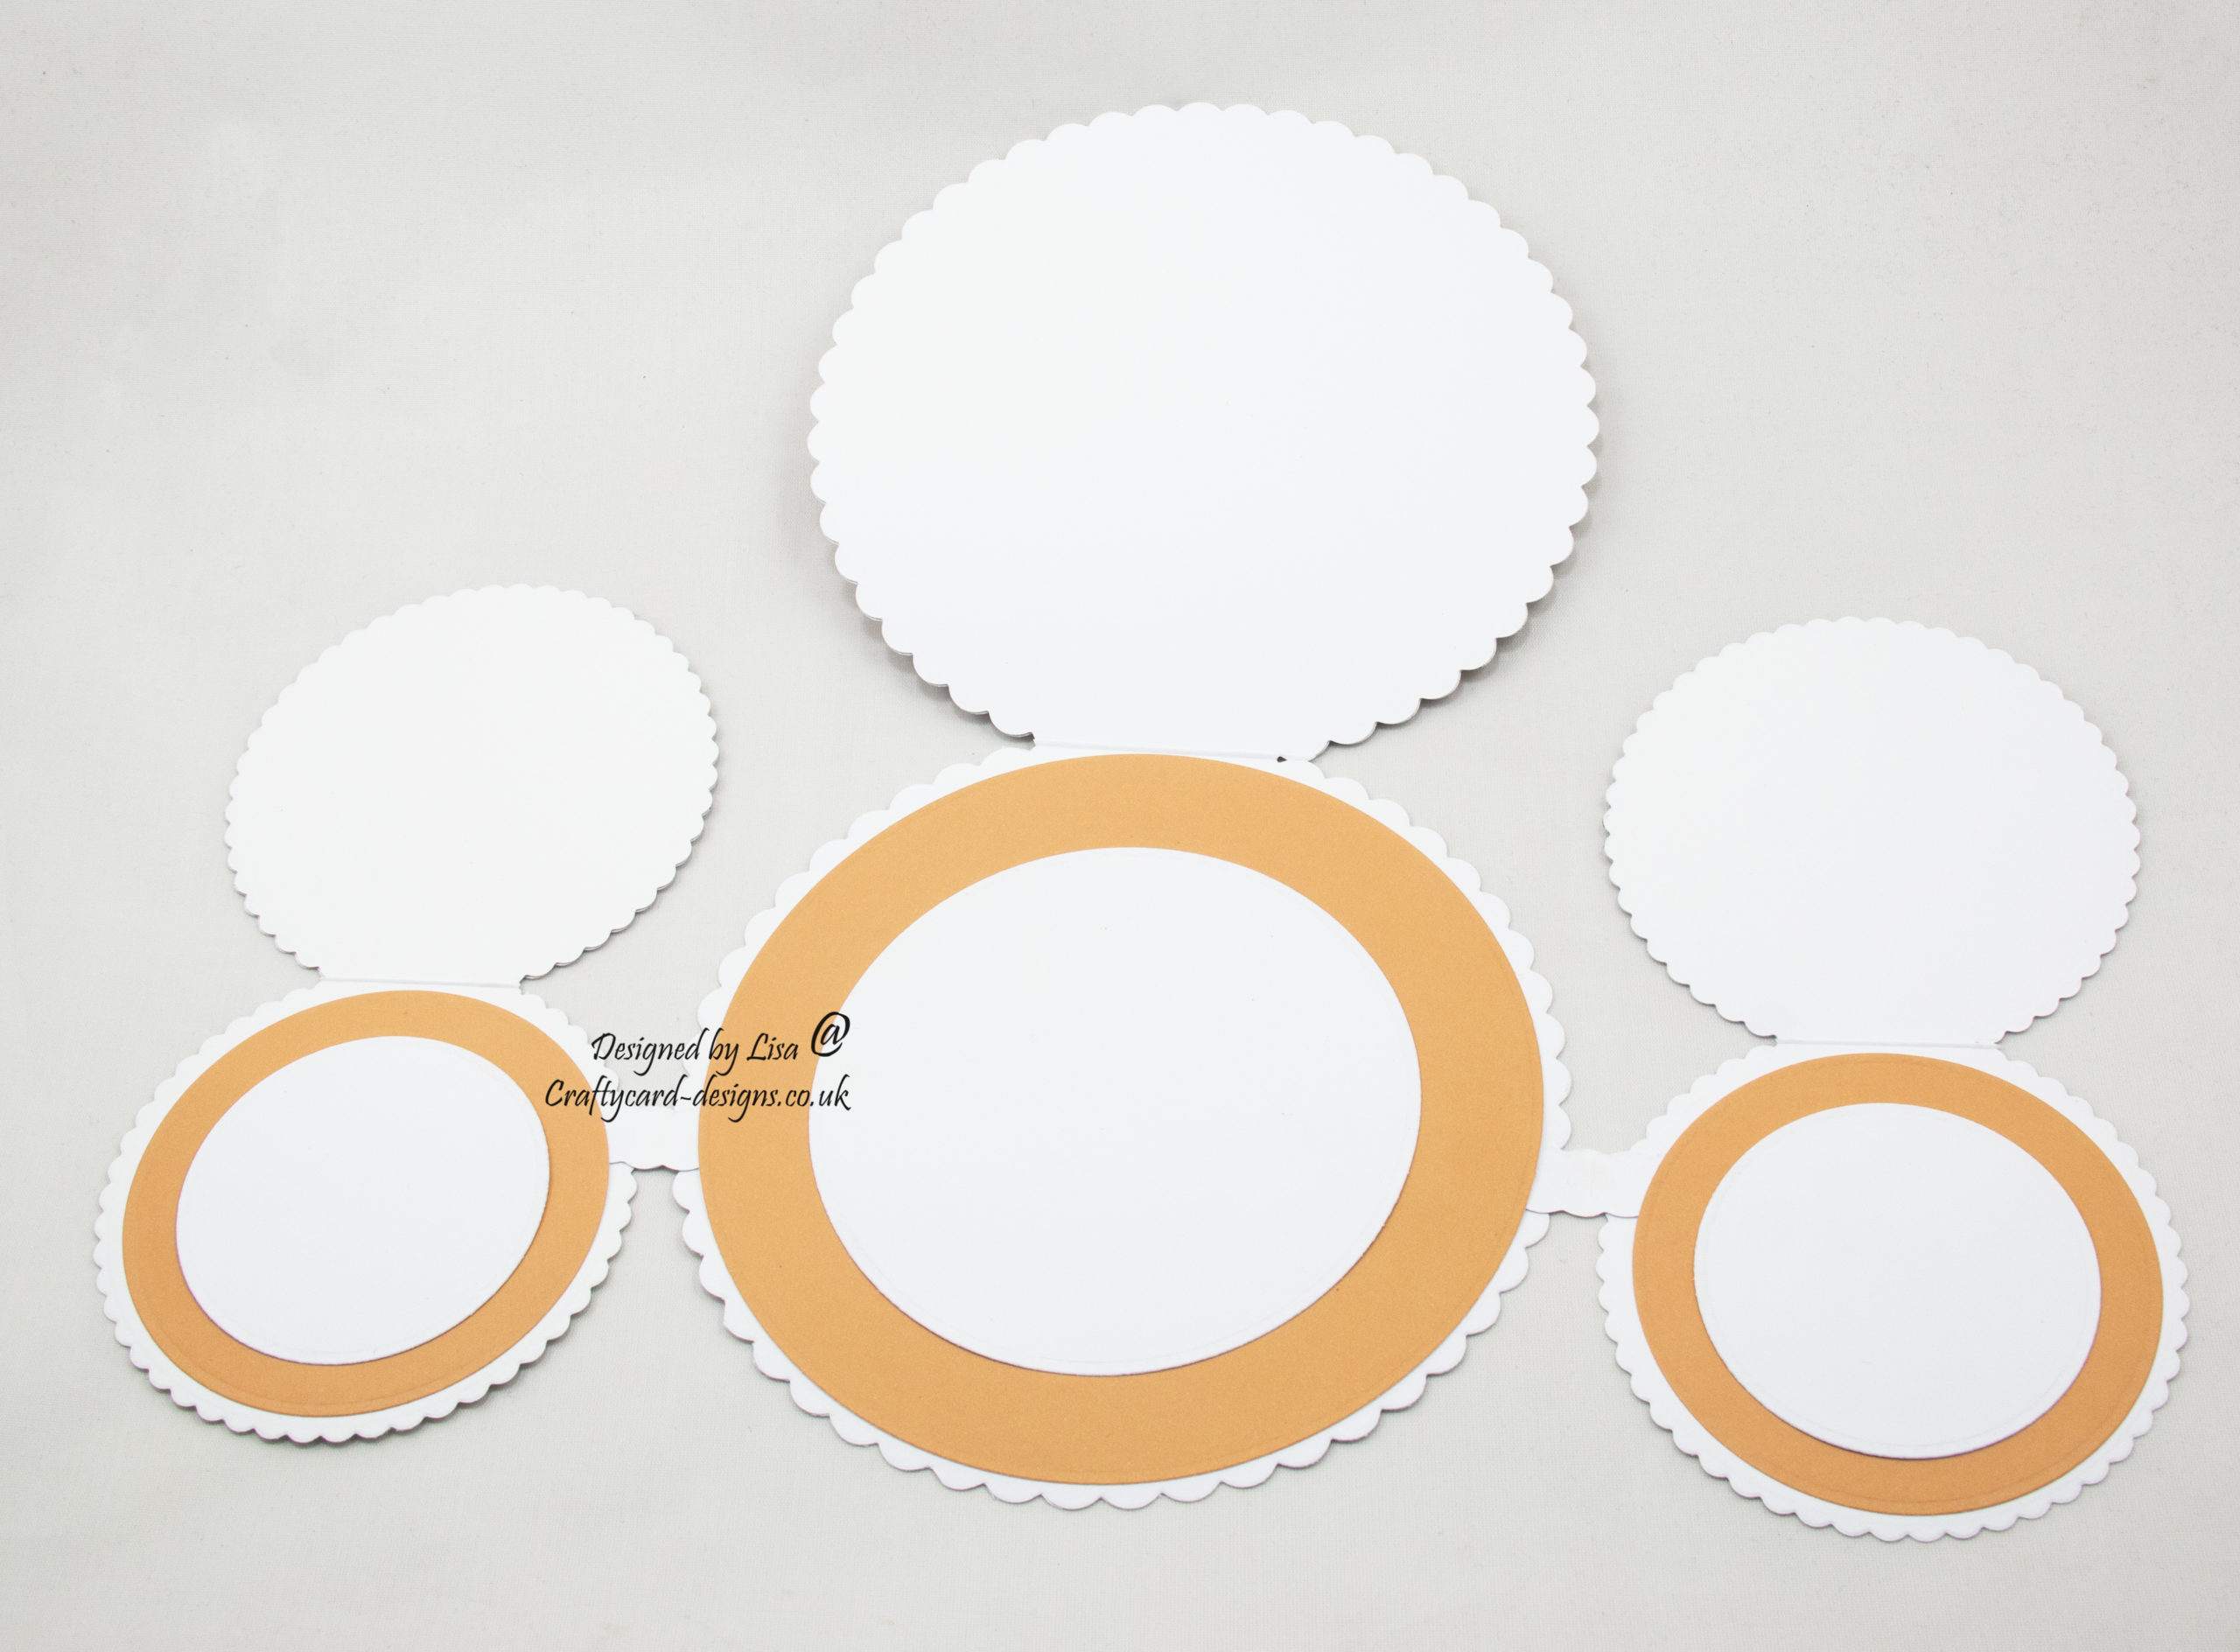
Layer one:
Using a 15.5 cm circle die, cut a circle from white card.
Using a 14.5 circle die, cut a circle from coloured paper.
Using a 13.5 circle die, cut a circle from patterned paper.
Matt and layer together and attach to the centre circle card base.
Layer two:
Using a 9.5 circle die, cut a circle from coloured paper.
Using a 8.5 circle die, cut a circle from white card.
Matt and layer together along with a topper.
Attach to the centre circle card base using foam pads.
Layer three:
Cut a gnome from one of the toppers and attach to the centre card base using foam pads.
Next cut two matt layers from coloured paper for the two sentiments.
Matt and layer together and attach to the centre card base.
Layer four:
Using a 9.5 cm circle die, cut two circles from white card.
Using a 8.5 circle die, cut two circles from coloured paper.
Using a 7.5 circle die, cut two circle toppers.
Matt and layer together, making two toppers.
Attach to the two smaller circle card bases.
Layer five:
Using a 14.5 cm circle die, cut a circle from coloured paper.
Using a 10.5 cm circle die, cut a circle from white card.
Matt and layer together and attach to the inside of the large circle card base.
Layer six:
Using a 8.5 cm die, cut two circles from coloured paper.
Using a 7.5 circle die, cut two circle toppers.
Matt and layer together and attach to the two smaller circle card bases.
When folded the card will fit into a 7″ by 7″ envelope.
………………………………………………………………………….
Thank you for visiting my blog and please feel free to follow and make any of my handmade card tutorials.
If you would like to see other cards I have made please have a look here:
Spring Celebration – Birthday Wishes
Spring Celebration – Handbag Design
Gnome For Christmas – Happy Christmas
Cute Whimsical Spring Garden – Happy Birthday
Journey To Wonderland – Have A Wonderful Birthday
Winter Gnomes – The Best Gift Is Friendship
………………………………………………………………………….
Challenges I would like to enter are:
Corrosive Challenge #5 – Anything Goes
Bizzy Becs Challenge May – Anything Goes
Love To Craft Challenge #68 – Anything Goes
The Creative Crafters Challenge #52 – Anything Goes
Fabulous card, Love your gnomes and choice of papers and elements to compliment. Very creative and adorable.
Thanks for joining us at Bizzy Becs for our Anything Goes Challenge.
Karen DT
Fabulous project Lisa. Thank you for sharing with us over here at The Creative Crafters Challenge and best of luck with your entry.
Wendy DT Member for https://creativecrafterschallenge.blogspot.com/
Beautiful work and thank you for sharing tutorial as well. Thank you for entering into the challenge. This is DT Alka from The Creative Crafters Challenge.