Here are two handmade cards I have created using the new die collection from Creative Crafting World called ‘Steampunk Romance’.
This collection will be on Create and Craft, Monday the 13th at 8am.
Card One
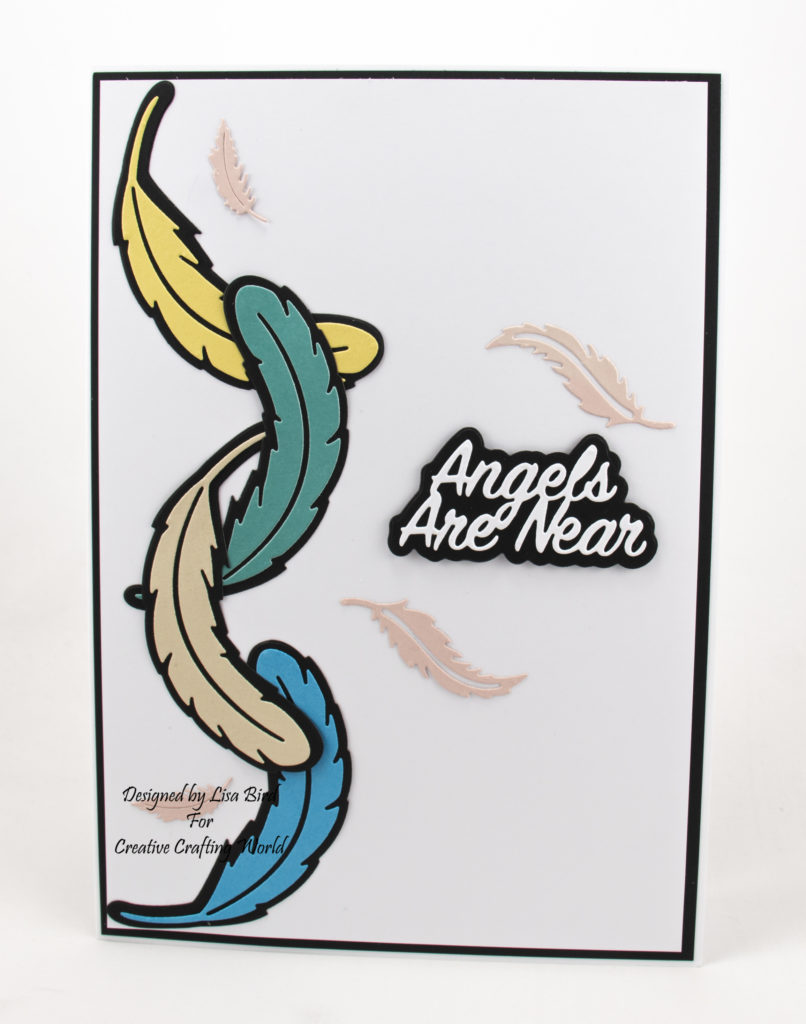
This is a simple card design just using woodstock card, white and black card.

Here is a tutorial on how I created this card.
You will need :
7″ by 10″ White Card
The Paper Boutique Steampunk Romance – Romance Embellishment Die Collection
The Paper Boutique Steampunk Romance – Angels Are Near Die Collection
Black Card
White Card
Woodstock Card
Wet Glue / Double Sided Tape
Foam Pads
Instructions:
Cut a piece of black card measuring 25 cms by 17.3 cms.
Then cut a piece of white card measuring 24.5 cms by 16.8 cms.
Matt and layer together and attach to the card base.
Using the feather die from the romance embellishment die collection, cut the matt layer die out of black card four times.
Cut the feather die out of four different coloured cards from the woodstock card collection.
Matt and layer each piece together.
Attach the feathers in a pattern on the left side of the card base.
Please see picture for reference.
Next using the sentiment from the angels are near die collection, cut the matt layer die out in black card.
Cut the sentiment out in white card.
Matt and layer together.
Attach to the card base on the right using foam pads.
Using the small feather dies from the angels are near die collection, cut a couple of each out in woodstock card.
Attach to the card base.
Card Two
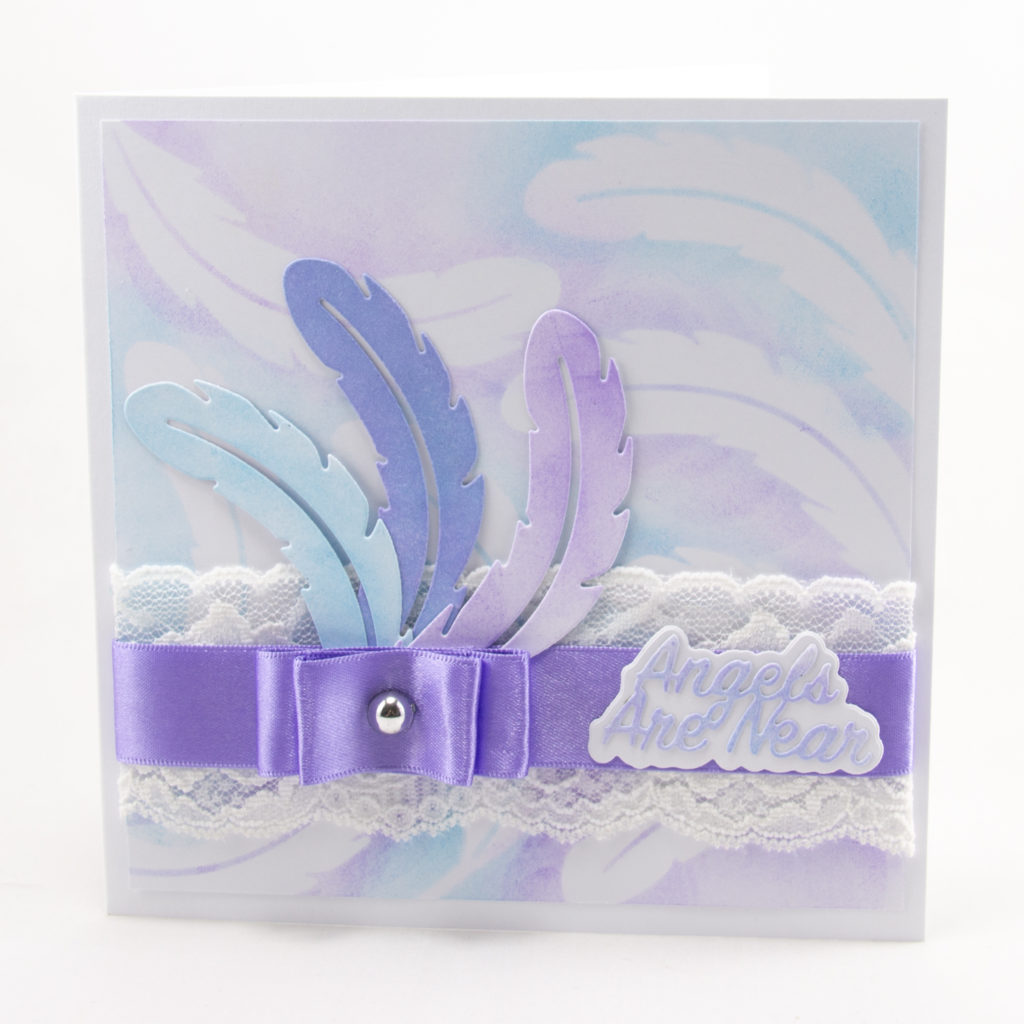
This card is made using a feather die cut as a stencil to make a background.

Here is a tutorial on how I created this card.
You will need :
6″ by 6″ White Card
The Paper Boutique Steampunk Romance – Romance Embellishment Die Collection
The Paper Boutique Steampunk Romance – Sentiment Volume XIV
White Card
White Lace Ribbon
Lilac Ribbon
Lilac Ink Pad
Cyan Ink Pad
Silver Pearl Bead
Wet Glue / Double Sided Tape
Foam Pads
Instructions:
Cut a square out of white card measuring 14 cms by 14 cms.
Cut a feather out of white card using the large feather from the romance embellishment die collection.
Use this feather as a stencil to make a background on the white square card.
Lay the feather die cut on the white square and add ink around the outside of the feather.
It doesn’t matter if you cover the feather die cut.
Move the feather die cut around the card using both inks.
Next add a piece of white lace across the white square.
Then add a piece of lilac ribbon over the centre of the lace.
Using foam pads attach the white square to the card base.
Cut two feathers out of white card.
Add ink to each of the feathers.
Add all three feather die cuts (including the one used as a stencil) to the card base.
Over lapping the white lace and lilac ribbon.
Please see picture for reference.
Using lilac ribbon make a bow.
Attach the bow to the bottom of the feather die cuts.
Add a silver pearl bead to the centre of the bow.
Here is a video on how to make the bow I have used on this card.
Next using a sentiment from the sentiment volume XIV collection, cut the matt layer out in white card.
Then cut the sentiment out in white card and add both coloured inks across the top.
This then makes the sentiment match the background.
Matt and layer together.
Attach to the card base over lapping the lilac ribbon.
………………………………………………………………………….
Thank you for visiting my blog and please feel free to make any of my card designs.
Please leave a comment and let me know you’ve visited.
If you would like to see other cards using Creative Crafting World products please have a look here:
Steampunk Romance – Love And Romance
The Magical Forest- Especially For you
Two wonderful cards Ginny
My Blog As I do Rodos