Today’s handmade card has been created for the new challenge at I Love Promarkers Blog Challenge #383 that starts today.
The optional theme for this challenge is to add embossing but you must use either promarkers, flexmarkers, aquamarkers or trias on your work.
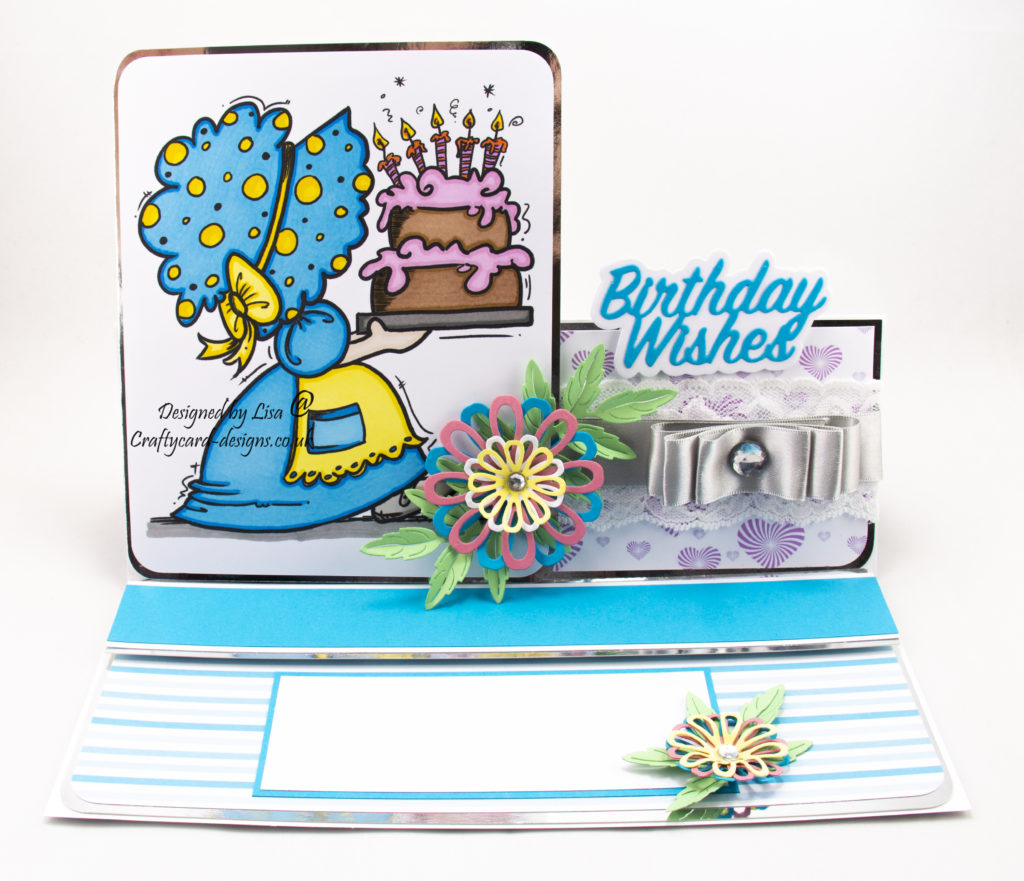
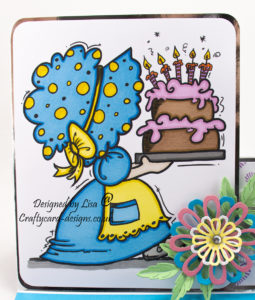
I have used a digi image from Bugaboo Stamps called Sunbonnet Birthday Cake
Here is a tutorial on how I created this card.
You will need :
7″ by 10″ White Card
Promarkers
Bugaboo Stamps Digi Image – Sunbonnet Birthday Cake
Perfect Forever Companions Cd Rom
The Paper Boutique Lovely Lattice – Posy Embellishments Die Collection
The Paper Boutique Lovely Lattice – Birthday Wishes Die Collection
White Card
Blue Card
Pink Card
Yellow Card
Green Card
Silver Mirri Card
Silver Ribbon
White lace
Silver Gems
Wet Glue / Double Sided Tape
Foam Pads
Instructions:
Print off the digi stamp and colour in with promarkers.
The promarkers used were :
Dress / Hat: True blue, sky blue, canary, yellow
Shoe: Cool grey 2, cool grey 4
Cake: Burnt sienna, cinnamon, rose pink, pink carnation
Candles: Canary, bright orange, fushsia pink
Score and fold the front of the card base in half.
This is to make an easel shape card for this design.
Choose and print off two backing papers from the Perfect Forever Companions cd rom.
Cut a piece from mirri card measuring 17.3 cms by 25 cms.
Cut a piece from one of the backing papers measuring 16.8 cms by 24.5 cms.
Matt and layer together and attach to the bottom of the card base.
Next cut a piece from silver mirri card measuring 8.5 cms by 25 cms.
Cut a piece from one of the backing papers measuring 8 cms by 24.5 cms.
Matt and layer together.
Add a piece of white lace and then a piece of silver ribbon on top.
Attach to the front fold of the card base.
Cut a piece from silver mirri card measuring 17.5 cms by 14.5 cms.
Matt and layer with the digi topper using foam pads.
Attach to the front fold of the card base on the left using foam pads.
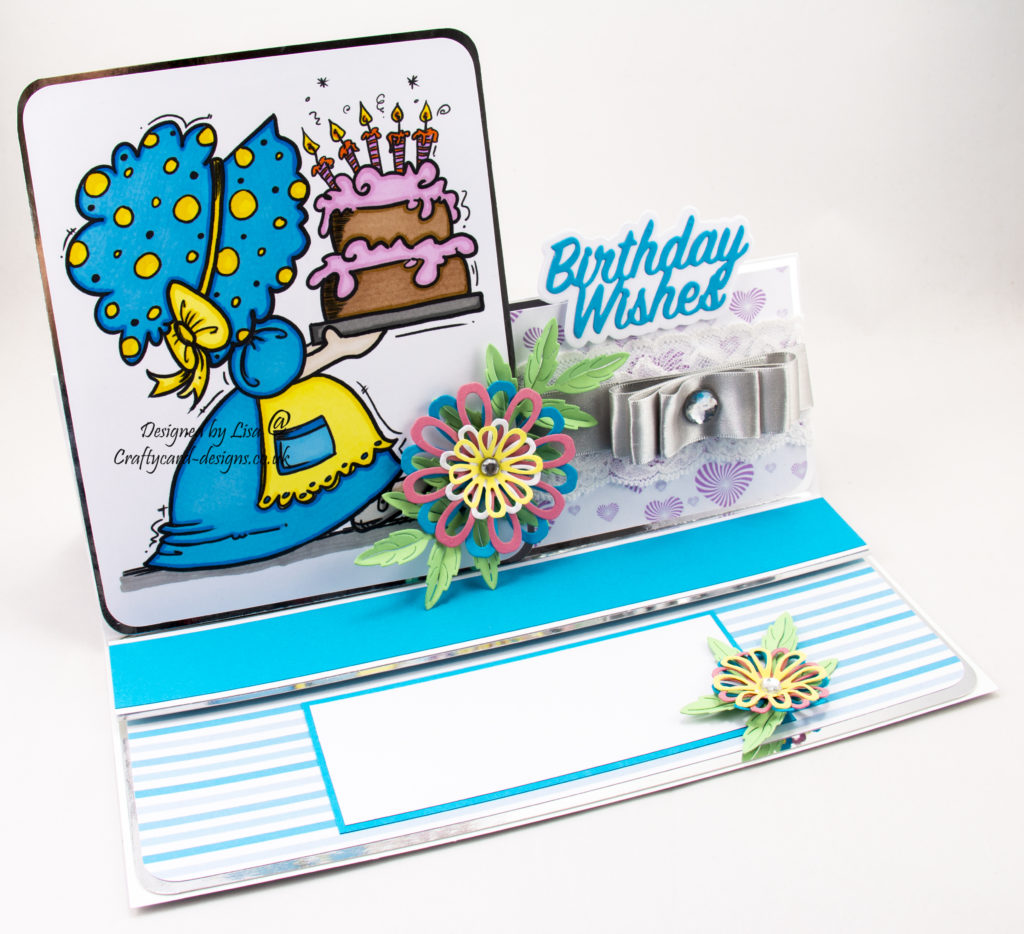
Using silver ribbon make a bow.
Attach to the right of the front fold overlapping the silver ribbon.
Add a silver gem to the centre.
Here is a video on how to make this type of bow.
I have added three layers to this bow and not two like in the video
Using the sentiment from the Birthday Wishes die collection, cut the matt layer out in white card.
Cut the sentiment out in blue card.
Matt and layer together and attach foam pads to the bottom.
Then attach to the right of the front fold slightly over lapping the top.
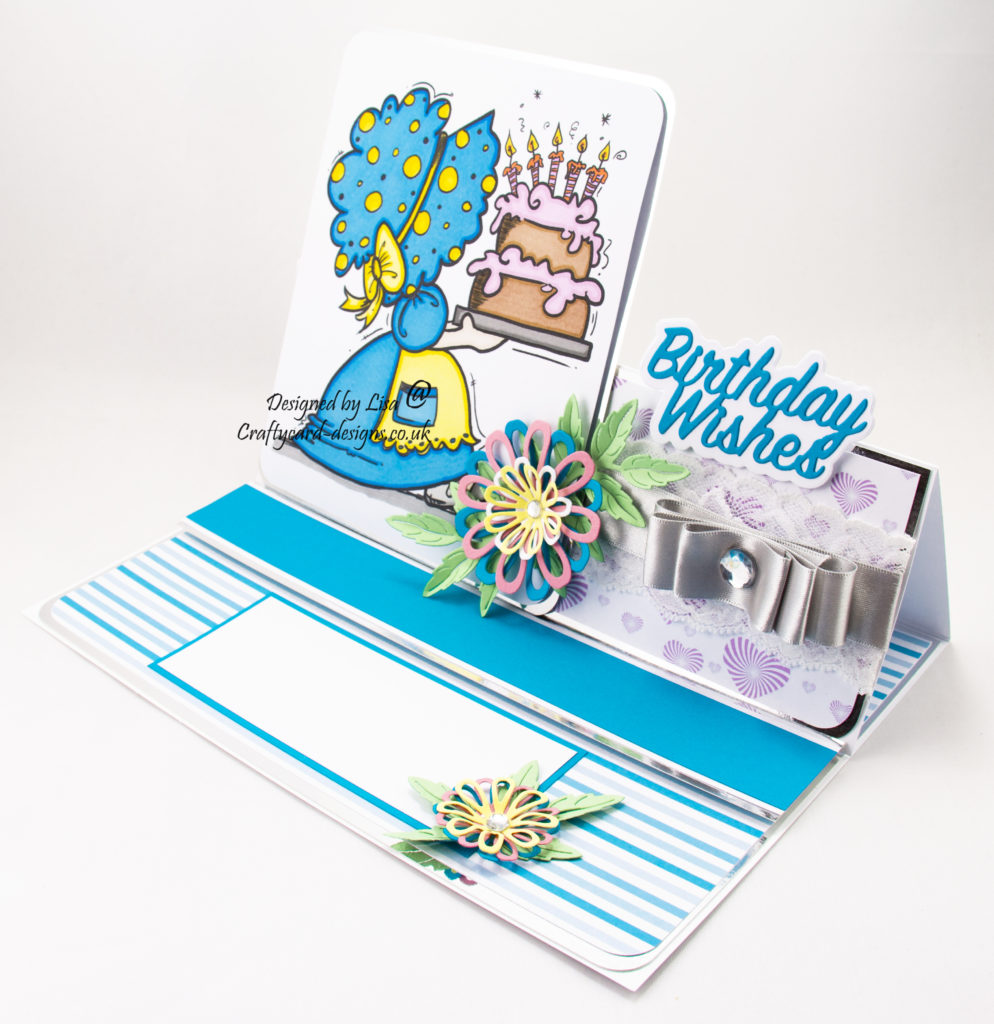
Next cut a piece from silver mirri measuring 4 cms by 25 cms.
Cut a piece from white card measuring 3.5 cms by 25 cms.
The cut a piece from blue card measuring 3 cms by 25 cms.
Matt and layer together.
Attach to the bottom of the card base using foam pads approximately in the centre.
This will make a stopper for the front fold.
Cut a piece from blue card measuring 5.5 cms by 13.5 cms.
Cut a piece from white card measuring 5 cms by 13 cms.
Matt and layer together.
Attach to the bottom of the card base.
This is where you can write a message.
To finish make two flowers using the Posy Embellishments die collection.
One large flower using blue, pink, yellow and white card.
One small flower using blue, pink and yellow card.
Cut out three leaves using green card.
Attach two leaves to the bottom right corner of the topper.
Then attach the large flower adding a silver gem to the centre.
Cut up the third leaf and attach to the bottom right corner of the last matt and layer.
Next attach the small flower adding a silver gem to the centre.
Thank you for visiting my blog and please feel free to make any of my card designs.
Please leave a comment and let me know you’ve visited.
If you would like to see other cards made for I love Promarkers please have a look here:
………………………………………………………….
Challenges I would like to enter are:
CD Sunday Challenge 9 : Anything Goes using something from a Cd
Lil Patch Of Crafty Friends Challenge 104 : Anything Goes
Die Cuttin Diva’s Challenge 418 : Anything Goes But Must Have At Least One Die Cut
Digi Choosday Craft Challenge Wk 18 : Anything Goes
Passion For Promarkers Challenge 491 : Lots Of Layers
Beautiful card Ginny
My Blog As I do Rodos
love the image and your tutorial, thank you for joining in at CD Sunday
Hi Lisa, a superb birthday card, love the silver mirri card as the layers behind the image and the pretty layered flowers… thank you for sharing with us at Lil Patch of Crafty Friends… good luck in the prize draw…
Megan DT LPoCF
Great card, Lisa! Love the bright colour tones, so refreshing and your colouring is fab too! Thanks for playing along with my challenge this week at Passion for Promarkers! Lisa x
What a lot of work Lisa. A great card and beautifully explained. Thank you for sharing with us at CD Sunday.
Carol xx
CD Sunday DT
So pretty! Those delicate die cut flowers are the perfect finishing tough. Thank you for sharing at CD Sundays.
Beautiful card, with a lot of work and such detail on how you made it.
Thank you for joining us
Margaret
CD Sunday DT
I do love your summertime colours and fab layout!
Hugz Tinz
I love that shade of blue and there are some lovely embellishments too. Thank you for joining us at CD Sunday.
Jocelyn x
CD Sunday DT
Very cute card
Thanks for joining us at Digi Choosday
Julie T
Such an adorable card and wonderful directions. Thanks for sharing at Die Cuttin’ Divas Anything Goes challenge.
So stunning Ginny. I love the sweet image and your design and bright colours are fantastic.
Thanks for joining us this week at PFP
I love the bright colour palette you’ve used Lisa and thank you for the video too…..very useful. Thank you for sharing it with us at CD Sunday Wynn DT.