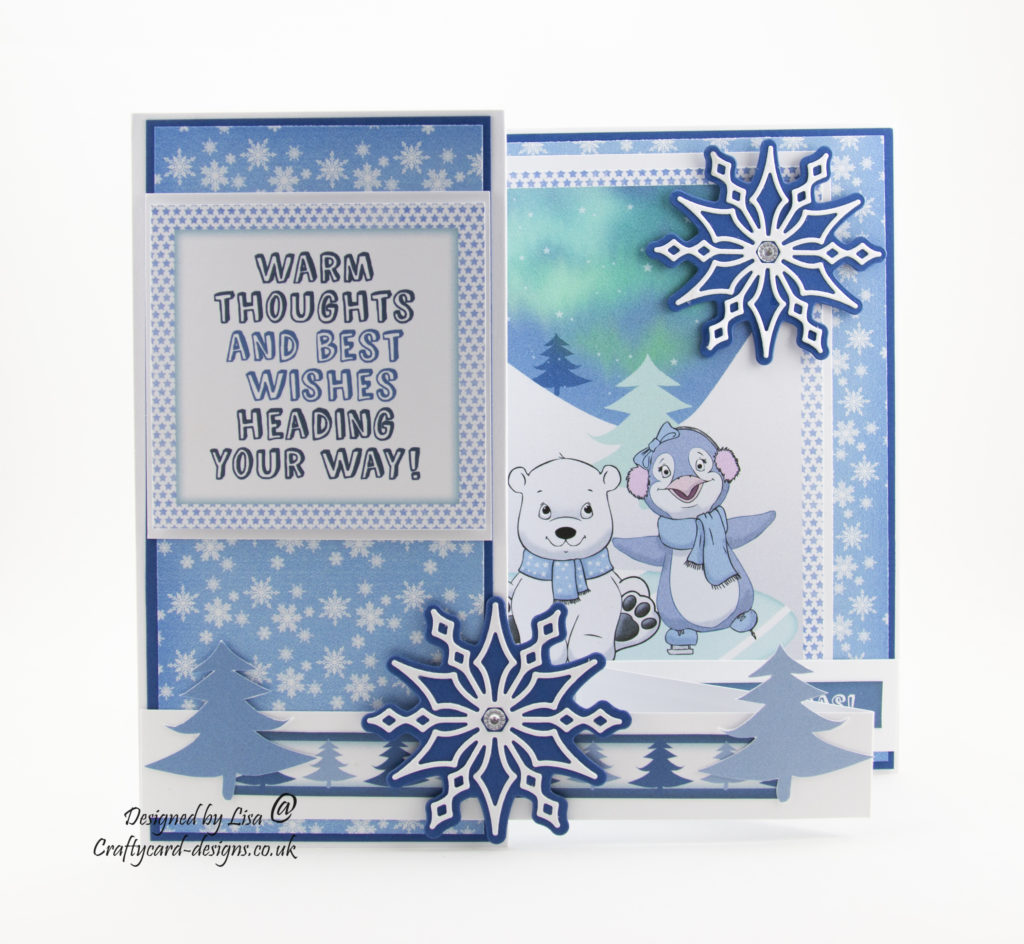
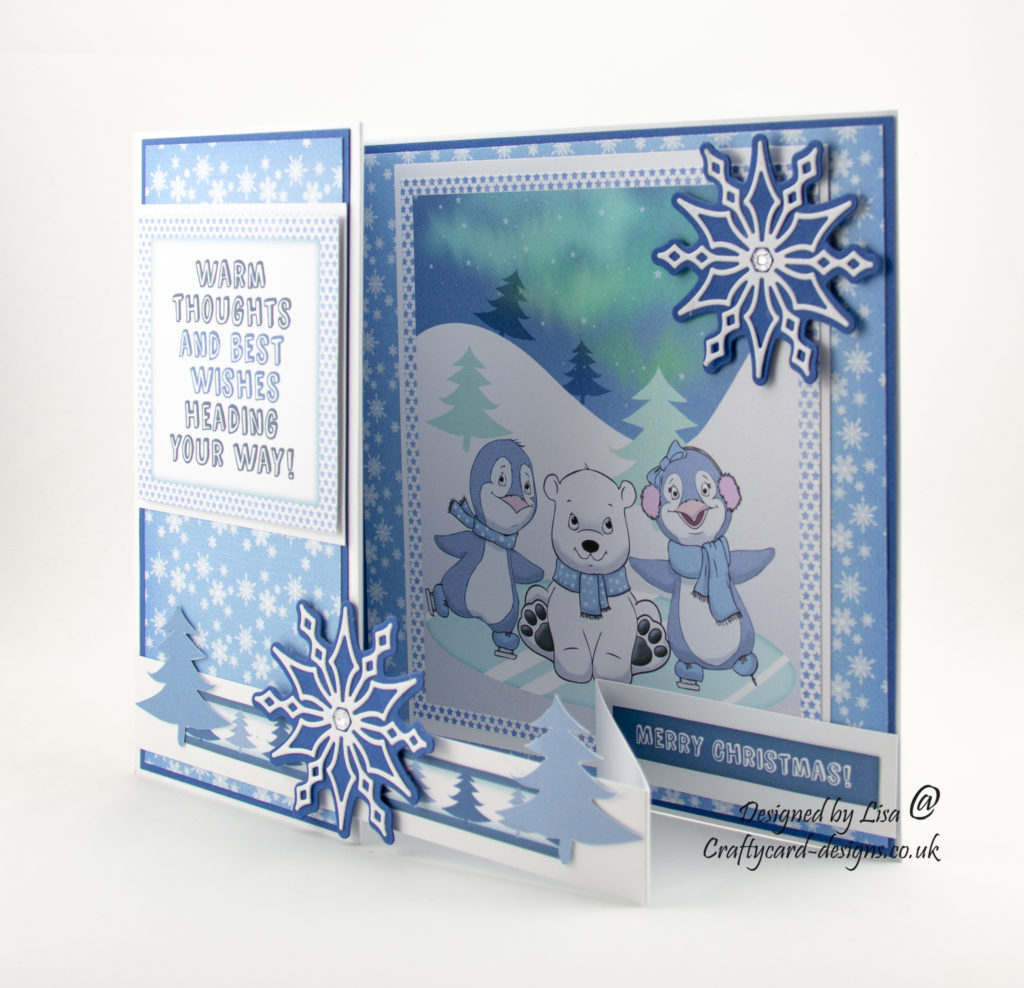
Today’s handmade Christmas card has been created using ‘Cool Cuties’ cd-rom by Debbi Moore Designs.

Here is a tutorial on how I created this card.
You will need :
2 x 8″ by 8″ White Card
Cool Cuties Cd-Rom
White Card
Dark Blue Card
The Paper Boutique A Whisper Of Winter Die Collection ‘Softly, Softly Snowflake Cutting Dies‘
Silver Gems
Wet Glue / Double Sided Tape
Foam Pads
Instructions:
Score the front of both 8″ by 8″ cards in half and fold.
This will make a z fold card.
Using one of the 8″ by 8″ cards cut off 3 cms to make the bottom strip.
Keep the rest of this card for another project or to make more z fold cards.
From the cd-rom print off one design sheet and one backing paper.
The design sheets have sentiments, border, small trees and the main image topper, cut all these out.
Cut a square from dark blue card measuring 20 cms by 20 cms.
Cut a sqaure from the paper measuring 19.5 cms by 19.5 cms.
Matt and layer together and attach to the inside of the card base.
Cut a piece from dark blue card measuring 20 cms by 9.5 cms.
Cut a piece from the paper measuring 19.5 cms by 9 cms.
Matt and layer together and attach to the front fold of the card base.
Next make a matt layer for the topper from white card measuring 16 cms by 18.5 cms.
Matt and layer together and attach to the inside of the card base leaving a small border all around.
Make a matt layer for the sentiment topper from white card measuring 9.5 cms by 9.5 cms.
Matt and layer together using foam pads and attach to the front fold of the card base.
Attach the 3 cms piece of card to the bottom of the card base.
The longest part is attached to the front fold and the shortest part to the inside of the card base.

Decorate the front with the border and trees.
Then add a sentiment to the back piece that is attached to the inside of the card base.
Using one of the snowflake cutting dies from the softly, softly snowflake cutting die collection, cut the matt layer from dark blue card and the snowflake from white card.
Matt and layer together and attach one to the front fold and one to the inside of the card base.
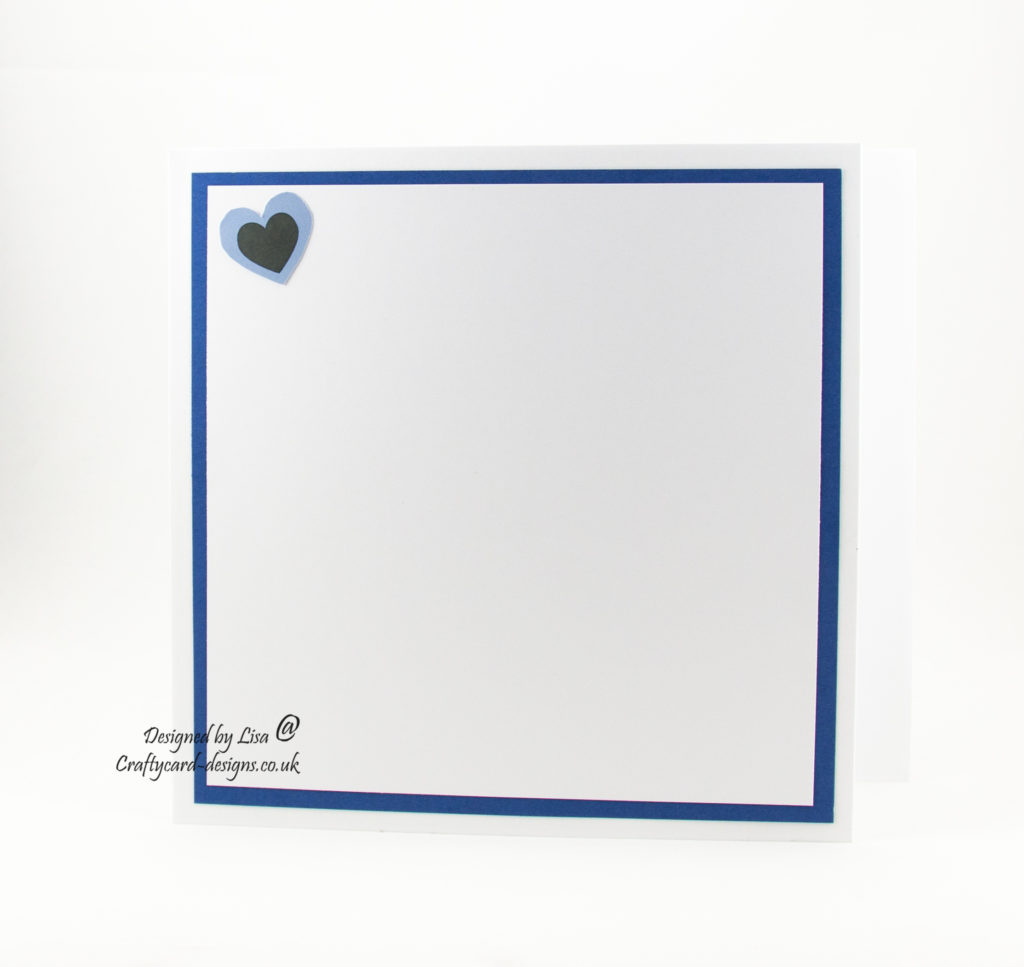
To add a place to write your message, cut a square from dark blue card measuring 19 cms by 19 cms.
Then a square from white card measuring 18 cms by 18 cms.
Matt and layer together and attach to the back of the card base.

Thank you for visiting my blog and please feel free to make any of my card designs.
If you would like to see other cards using Debbi Moore Designs products please have a look here:
Once Upon A Fairytale : Just For You
Summer Fairies : Just For You
Rudolph And Friends : Merry Christmas
Please leave a comment and let me know you’ve visited.
………………………………………………………….
Challenges I would like to enter are:
CD Sunday Challenge : Blue and White
The Holly and Ivy Christmas Challenge : Anything Christmas Goes
Welcome To Crafting From The Heart Challenge 231 : Anything Goes
Crafty Hazel Nuts Christmas Challenge 414 : Anything Christmas Goes
Beautiful card Lisa. Thanks for joining in with the challenge.
Pamela
CD Sunday DT.
Lovely card. Very unusual and beautifully made. Thank you for your continued support.
Carol xx
CD Sunday DT
Beautiful card, lovely image and design
Thank you for joining in my challenge
Margaret
CD Sunday DT
Sweet penguin and polar bear Lisa, a great image and card, thanks for joining in at CD Sunday
What a gorgeous card, I love the image, the fold and the beautiful die cuts. Thank you for sharing at CD Sundays.
Jane
A fun card Lisa, an adorable image and great design.
Pauline – Crafting with Cotnob
x
I love the design you’ve used for your card Lisa. The image is so cute too. Thank you for sharing it with us at CD Sunday WynnDT