Today’s handmade card has been created for the new challenge at Aud Sentiments Challenge Blog #288
The theme for this challenge is Anything Goes+ A Sentiment.
You can make any type of project such as a card, tag, scrapbook layout, pocket letter, box etc.
The theme must be follow and a sentiment included.
Aud Sentiments is sponsoring this challenge so we could use any products.
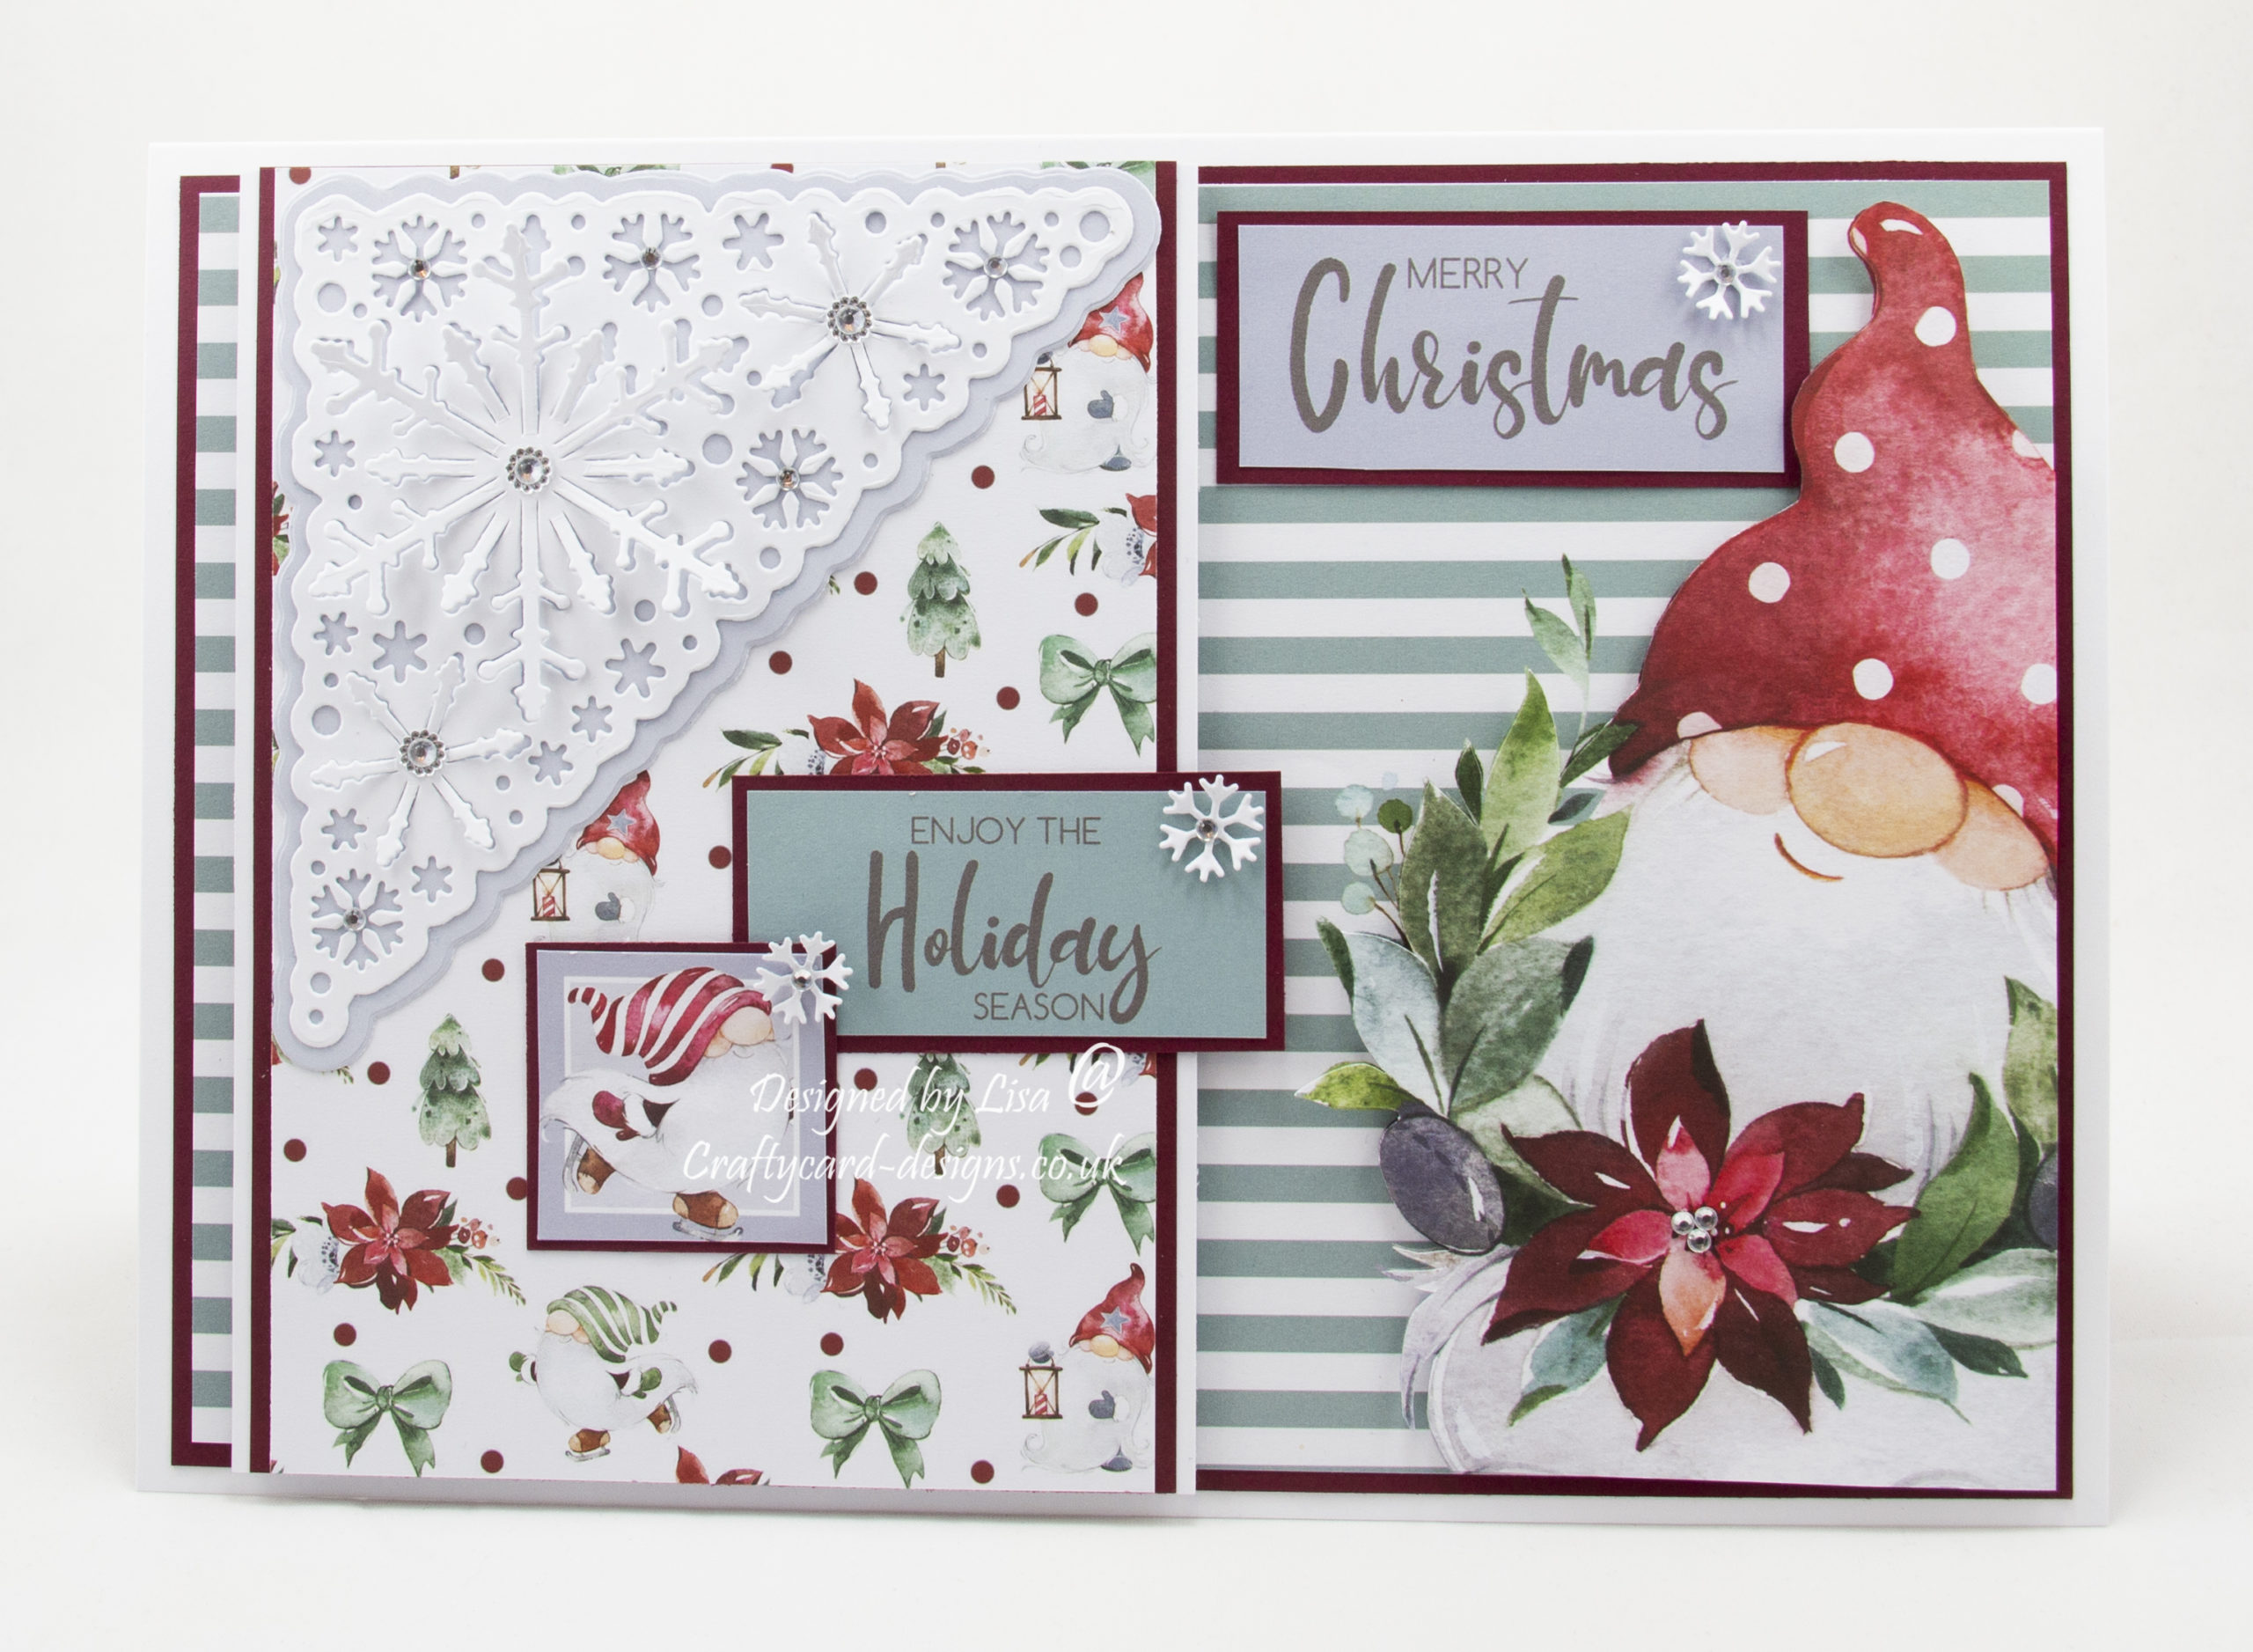
Here is a tutorial on how I created this card.
You will need :
7″ By 10″ White Card
The Paper Boutique Winter Gnome – Paper Pad
The Paper Boutique Winter Gnome – Insert Collection
The Paper Boutique Winter Gnome – Embellishment Pad
The Paper Boutique A Winter Wonder Collection – Let It Snow Beyond Corner Die
White Card
Red Card
Silver Gems
Glue / Double Sided Tape
Foam Pads
Instructions:
Choose two of the same inserts, one patterned paper, one coloured card, two sentiments and one small square image.
Layer one:
Cut a piece from red card measuring 17 cms by 24.5 cms.
Cut one of the inserts to measure 16.5 cms by 24 cms.
Matt and layer together and attach to the card base.
Layer two:
Cut a piece from white card measuring 17 cms by 12.5 cms.
Cut a piece from red card measuring 17 cms by 12 cms.
Cut a piece from patterned paper measuring 17 cms by 11.5 cms.
Matt and layer together and attach to the card base on the left, using foam pads.
Layer three:
Using the corner die, cut the second matt die from coloured card.
Cut the decorative die from white card, you will need the second matt die along with the decorative die as otherwise the decorative die will only cut into the card.
Matt and layer together and attach to the top left of layer two.
Layer four:
Using the second insert, cut out the gnome image.
Attach to the same image on the card base using foam pads.
Layer five:
Cut a piece from red card measuring 3.5 cms by 7.5 cms.
Matt and layer with the first sentiment and attach to the top of layer one on the right.
Layer six:
Cut a piece from red card measuring 3.5 cms by 7 cms.
Matt and layer with the second sentiment and attach to layer two.
Layer seven:
Cut a square from red card measuring 4 cms by 4 cms.
Matt and layer with the small square topper and attach to layer two, slightly over lapping the corner of the second sentiment.
Layer eight:
To finish add a snowflake to the corners of layer three, four and five.
Then add silver gems to all the snowflakes.
……………………………………………………………………….
Thank you for visiting my blog and please feel free to follow and make any of my handmade card tutorials.
Any comments that you leave are really appreciated and always read.
Winter Gnomes – Festive Wishes
I Dream Of Genie – Happy Birthday
Chibi Open Gift – Season’s Greetings
The Paper Pantry – Beverley Eden – Summer Gnomes USB
Winter Gnomes – Wonderful Time Of The Year
Beach Flamingo Sand – Sending You Birthday Wishes
Winter Gnomes – For A Special Someone
………………………………………………………….
Challenges I would like to enter are:
This is stunning – great design and layout,
Hugz Tinz