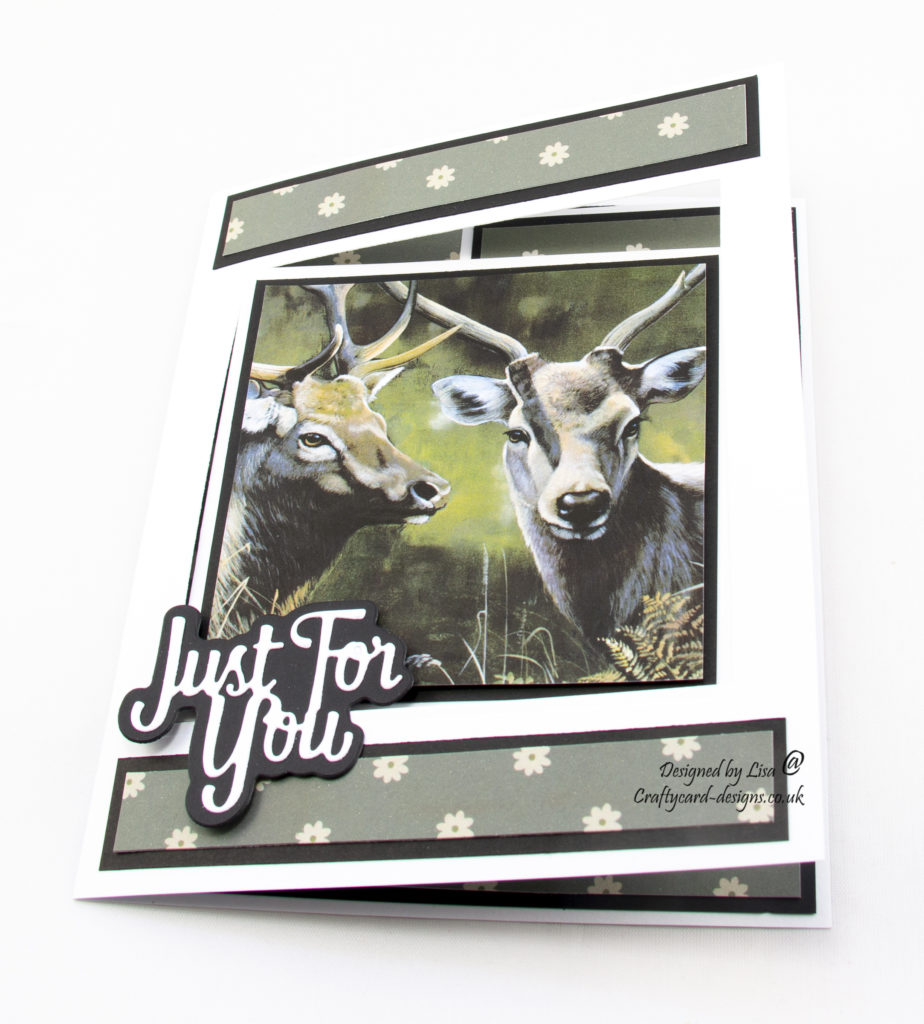
Today’s handmade card has been created using Pollyanna Pickering World Wildlife Volume III dvd-rom from Creative Crafting World.
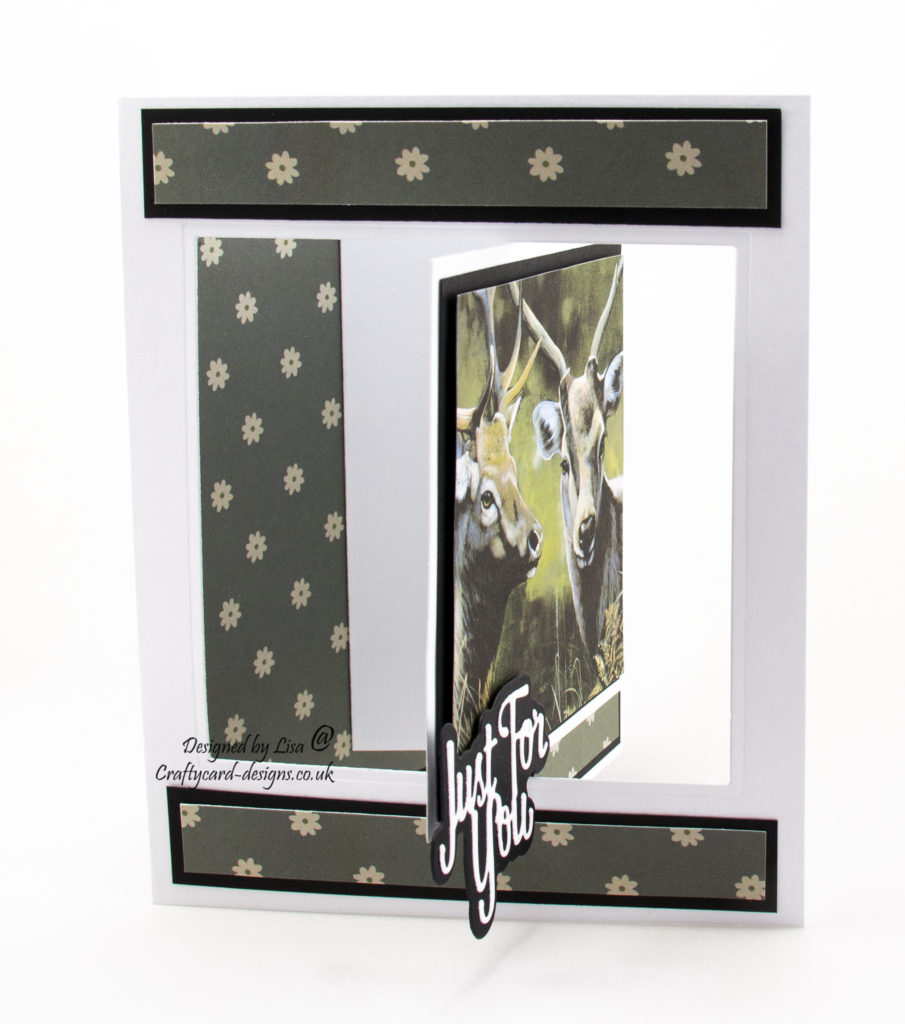
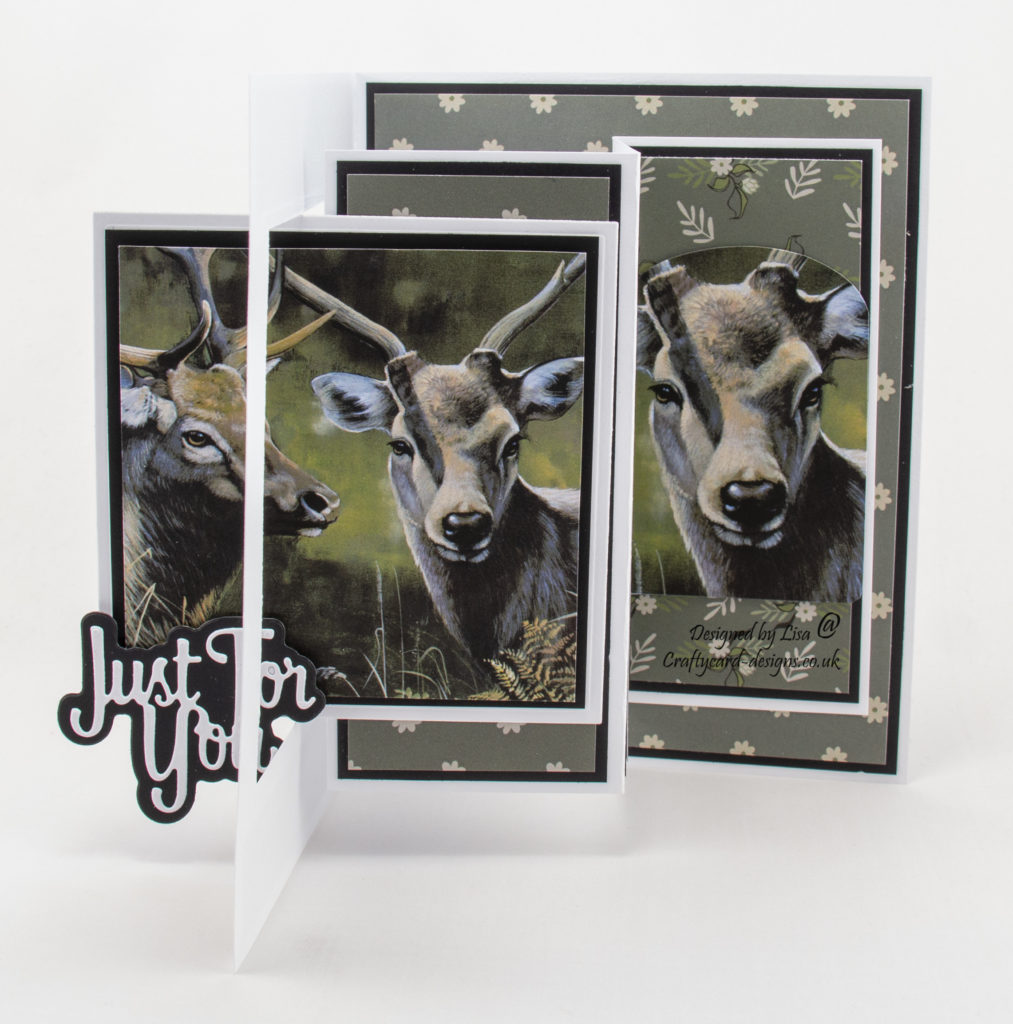
This card shape is called a swing card and this is the first one that I have made.
I also made a step by step video (my first video) only to find out at the end that I had forgot to click record.
As you can probably guess I am feeling quite stupid and upset with myself.
However I did remember to take step by step pictures for this tutorial.
Here is a tutorial on how I created this card.
You will need :
White Card
World Wildlife Volume III Dvd-Rom
The Paper Boutique Sentiments Volume II Die Collection
Black Card
Square Die
Wet Glue / Double Sided Tape
Foam Pads
Instructions:
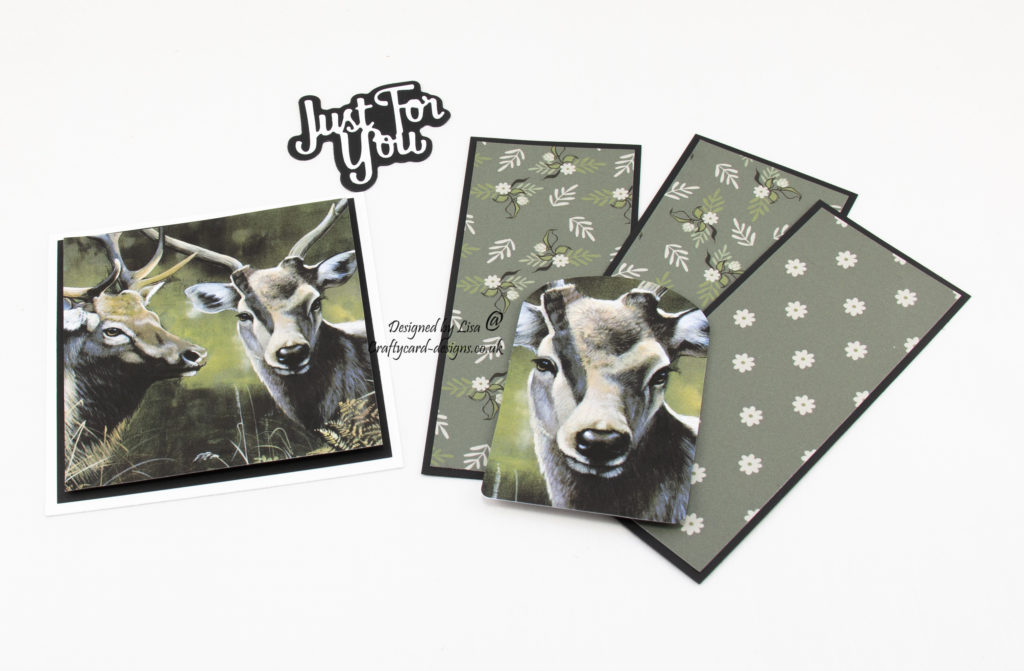
From the dvd-rom choose and print off three pattern papers and an image sheet that includes a square image.
To make the card base, cut a piece from white card measuring 16 cms by 26 cms
Score and fold at 13 cms.
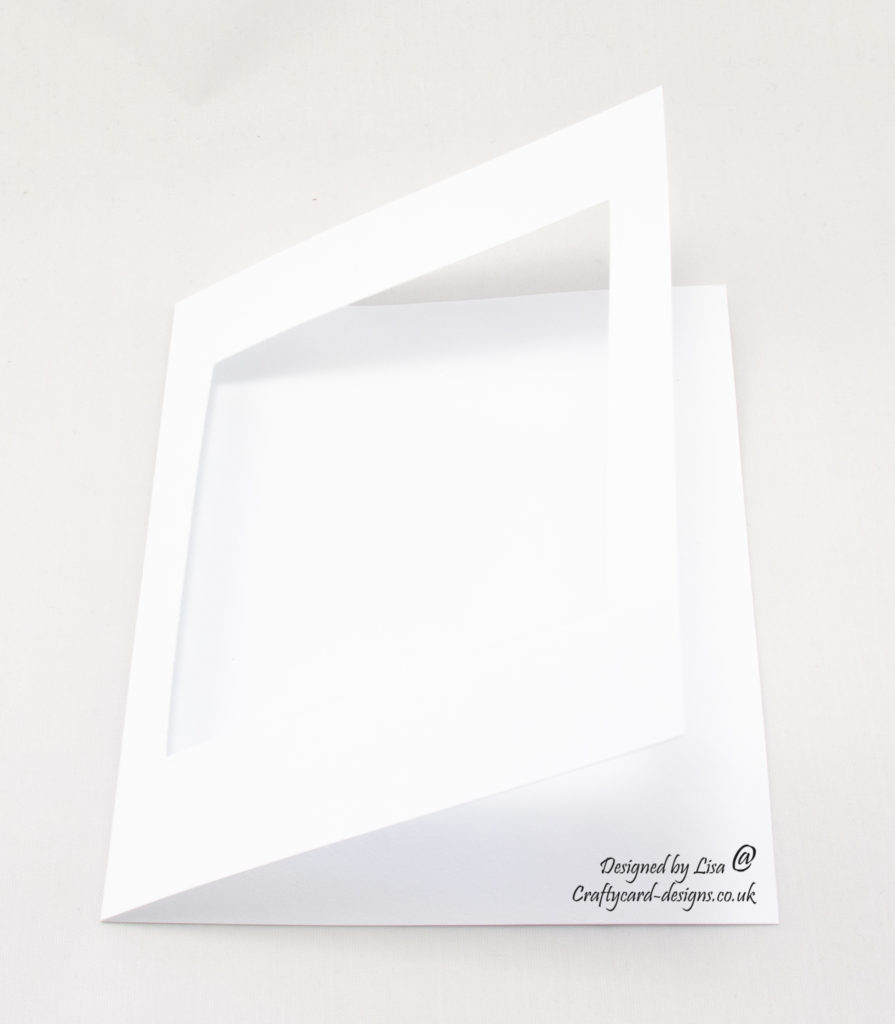
Next place a square die in the centre and run through a cutting machine.
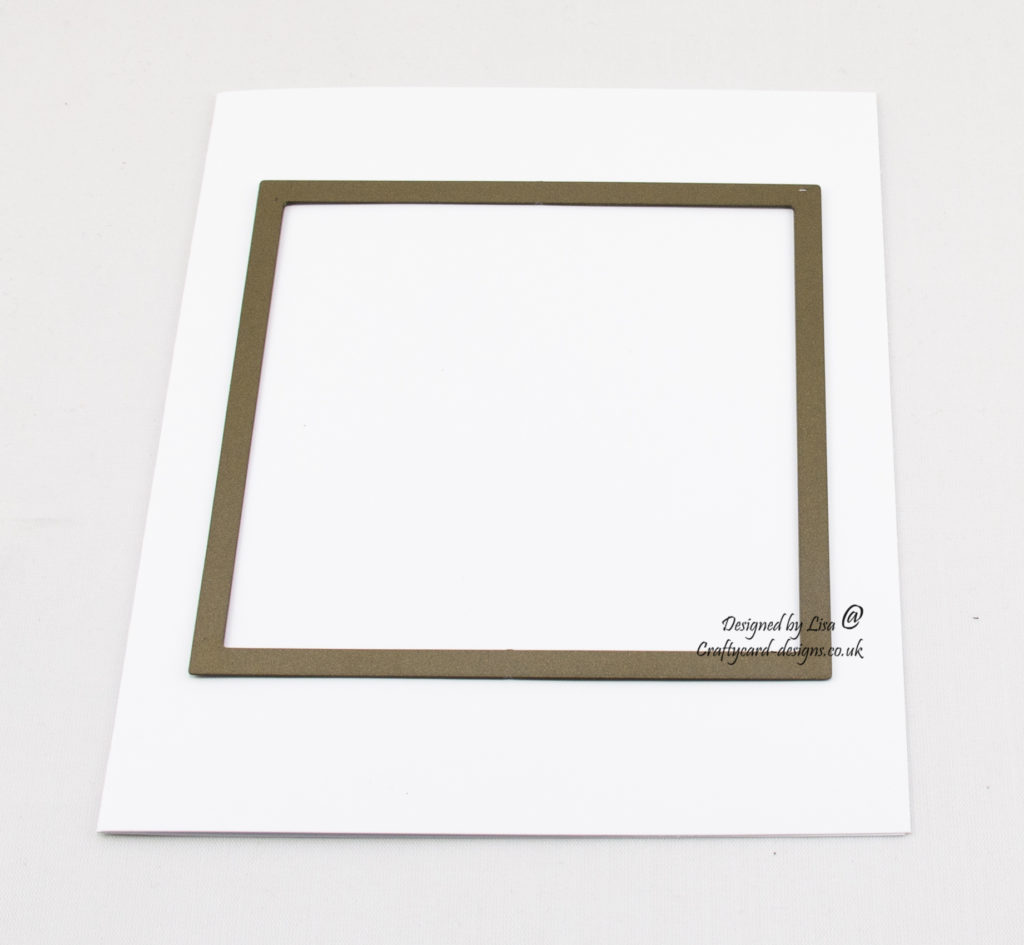
Keep the square that is cut out as it will be used later.
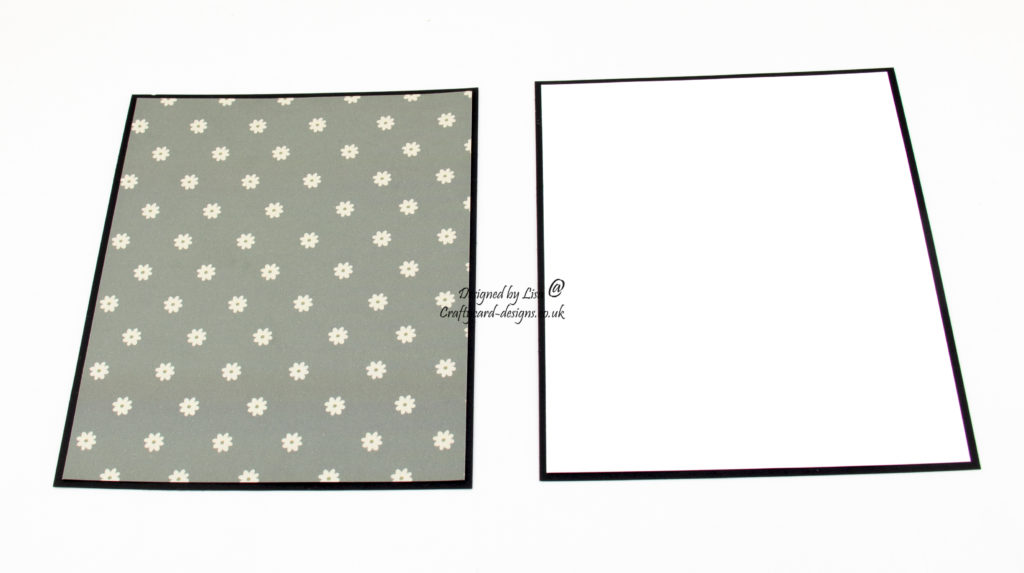
Next cut a piece of black card measuring 15.5 cms by 12.5 cms.
Cut a piece from one of the papers measuring 15 cms by 12 cms.
Matt and layer together and attach to the inside of the card base.
Cut a piece of black card measuring 15.5 cms by 12.5 cms.
Cut a piece of white card measuring 15 cms by 12 cms.
Matt and layer together and attach to the back of the card base.
This makes a perfect place to write a message.
Cut two pieces from black card measuring 2 cms by 12 cms.
Cut two pieces from one of the papers measuring 1.5 cms by 11.5 cms.
Matt and layer together and attach to the front of the card base.
One across the top and one across the bottom.
Next using white card cut a piece measuring 18 cms by 13 cms.
Score at 6 cms and 12 cms.
Fold along each score line in a zig zag shape.

Cut three pieces from black card measuring 12.5 cms by 5.5 cms.
Cut three pieces from the papers measuring 12 cms by 5 cms.
Matt and layer together and attach to the white zig zag card.
Next fold and attach the zig zag card to the inside of the card base on the right.
Cut a square from black card measuring 9.5 cms by 9.5 cms.
Matt and layer this to the white square that was created from the card base.
Then attach the square topper using foam pads.
Add double sided tape to the right half of the topper layer on the back.
Close the card base and attach the topper layer to the inside zig zag card, as if the square was going back on the front of the card base.
Using a sentiment die, cut the matt layer out of black card.
Cut the sentiment out of white card.
Matt and layer together and attach to the left corner of the topper using a small foam pad.
The sentiment will work as a stopper when opening the card up.
………………………………………………………………………….
Thank you for visiting my blog and please feel free to make any of my card designs.
If you would like to see other cards using Creative Crafting World products please have a look here:
World Wildlife Volume III – Thank you For Being A Great Friend
The Magical Forest – Especially For You
World Wildlife Volume III – 6″ By 6″ Card Designs
………………………………………………………….
Challenges I would like to enter are:
CD Sunday Challenge 13 – Anything Goes As Long As A Craft CD Has Been Used Somewhere.
Aud Sentiments Challenge 230 : Anything Goes + A Sentiment
The Creative Crafters Challenge 17 : Anything Goes
A Bit More Time To Craft Challenge 95 : Anything Goes
Penny’s paper-Crafty Challenge 436 : Anything Goes
Love this Lisa thankyou.❤
Fabulous card, love the shape of your card and gorgeous images, thank you for the instructions on making your card
Thank you for joining us
Margaret
CD Sunday DT
This is a great interactive card. Thank you for the tutorial. Love the images you’ve used too. Thank you for sharing it with us at CD Sunday Wynn DT
A stunning card and a really clever fold. How frustrating for you to find out you’d forgotten to press the record button! Thank you for sharing at CD Sundays.
Gorgeous – really clever card design,
Thanks for playing along over at Aud Sentiments,
Hugz Tinz
A great card and well done with the step by step photos and tutorial. I love the images you have chosen.
Jocelyn x
CD Sunday DT
A great card Lisa and I must admit to a smile when I thought my sound wasn’t working. I look forward to future cinema epics. Thank you for joining us.
Carol xx
Fabulous creation, love the design! Thank you for sharing with us over at The Creative Crafters. We hope to see you again.
~ Sherry DT/Admin xx – https://creativecrafterschallenge.blogspot.com/
Great card. So different to what I have seen before. Thank you for sharing how you made it.
Thanks for joining us at Aud Sentiments.
Narelle DT