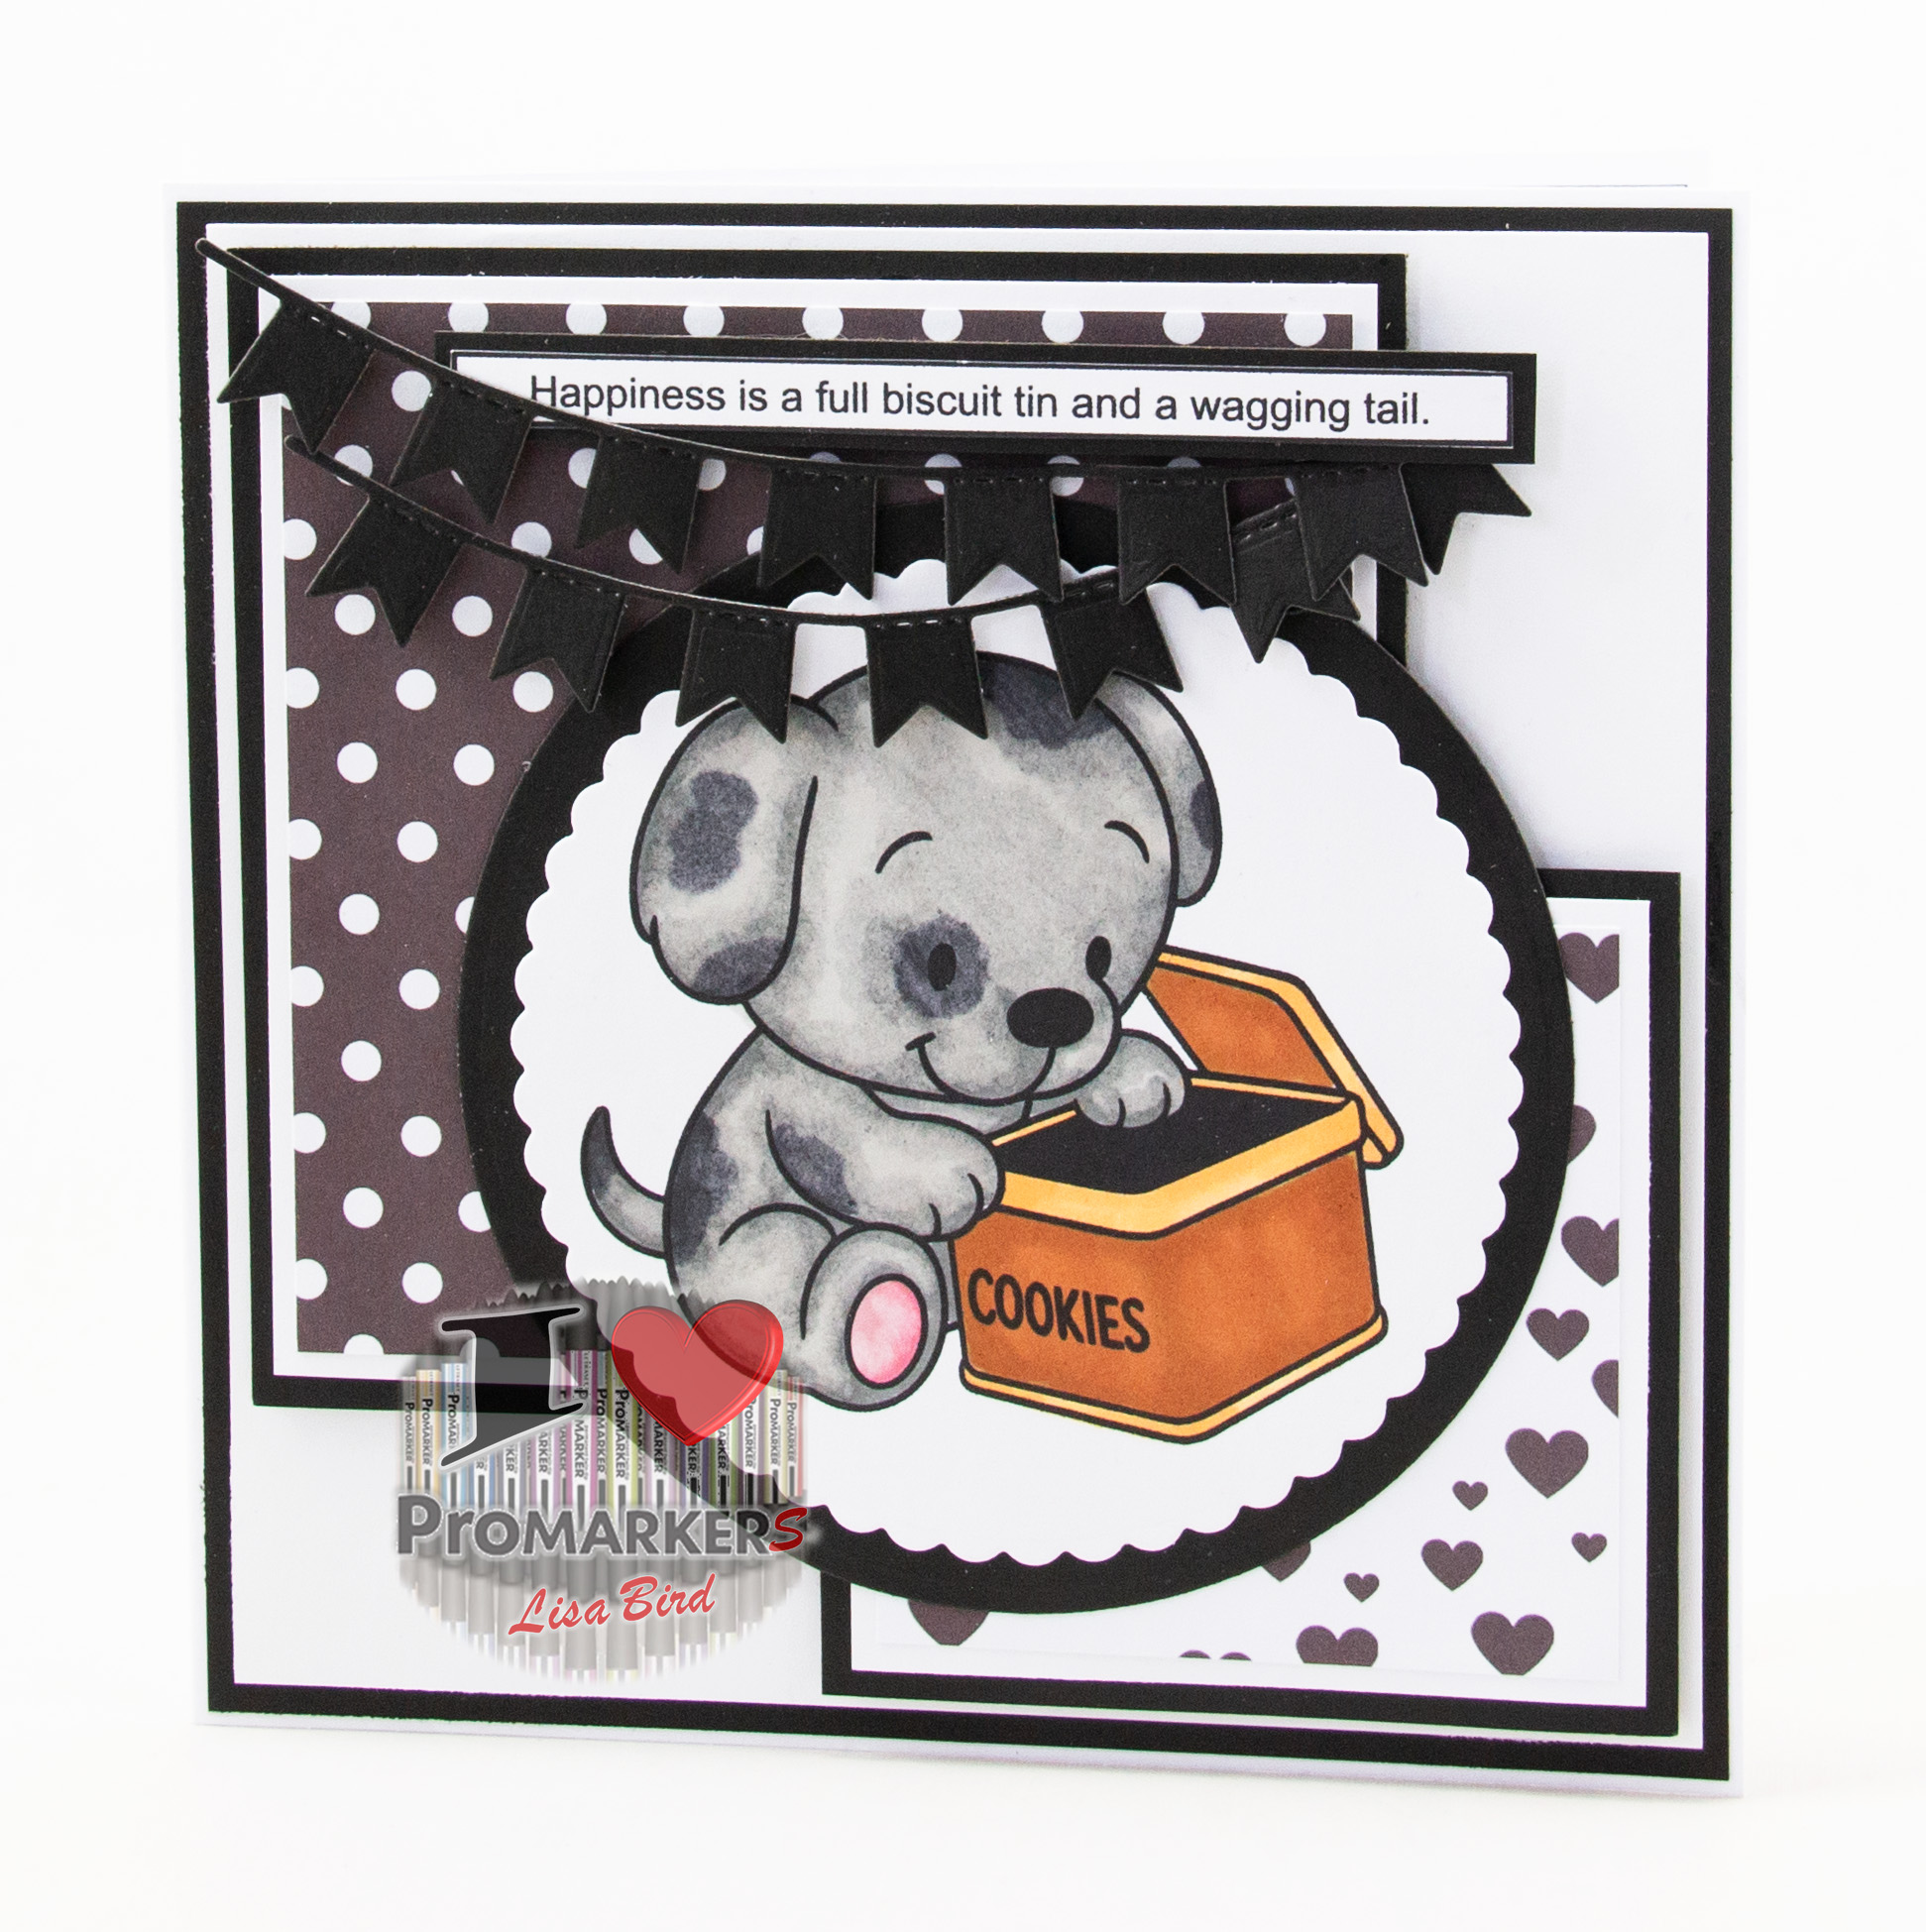
Today’s handmade card has been created for the challenge at I Love Promarkers Challenge #591.
The theme for this challenge is Anything Goes with the option of Add A Banner.
You must use alcohol markers on your work to join in the fun, any brand is excepted.
Our sponsor for this challenge is Last Minute Manda.
For my card I have used one of their digital images from Cuddles Tea Party Time collection.
You Will Need:
6″ x 6″ White Card Base
Last Minute Manda – Cuddles Tea Party Time
The Crafty Witches – Spellbinding Classics Mocha Magic
Promarker Pens
Microsoft Word (or similar) – to create your sentiments
White Card
Black Card
Banner Die
Circle Nesting Dies
Glue / Double Sided Tape
Foam Pads
Instructions:
Print and Prepare the Digital Image:
Print the digital image onto white card.
Print two patterned papers.
Create Layer One:
Cut the black card to 14.5 cm x 14.5 cm.
Cut the white card to 14 cm by 14 cm.
Matt and layer together and attach to the card base.
Create Layer Two
Cut a piece from black card to 11 cm x 11 cm.
Cut a piece from white card to 10.5 cm x 10.5 cm.
Cut a piece from the first patterned paper to 10 cms x 10 cms.
Matt and layer together and attach to the card base using foam pads.
Create Layer Three
Cut a piece from black card to 8 cm x 8 cm.
Cut a piece from white card to 7.5 cm x 7.5 cm.
Cut a piece from the second patterned paper to 7 cms x 7 cms.
Matt and layer together and attach to the card base using foam pads.
Create Layer Four: – Colour the Digital Image:
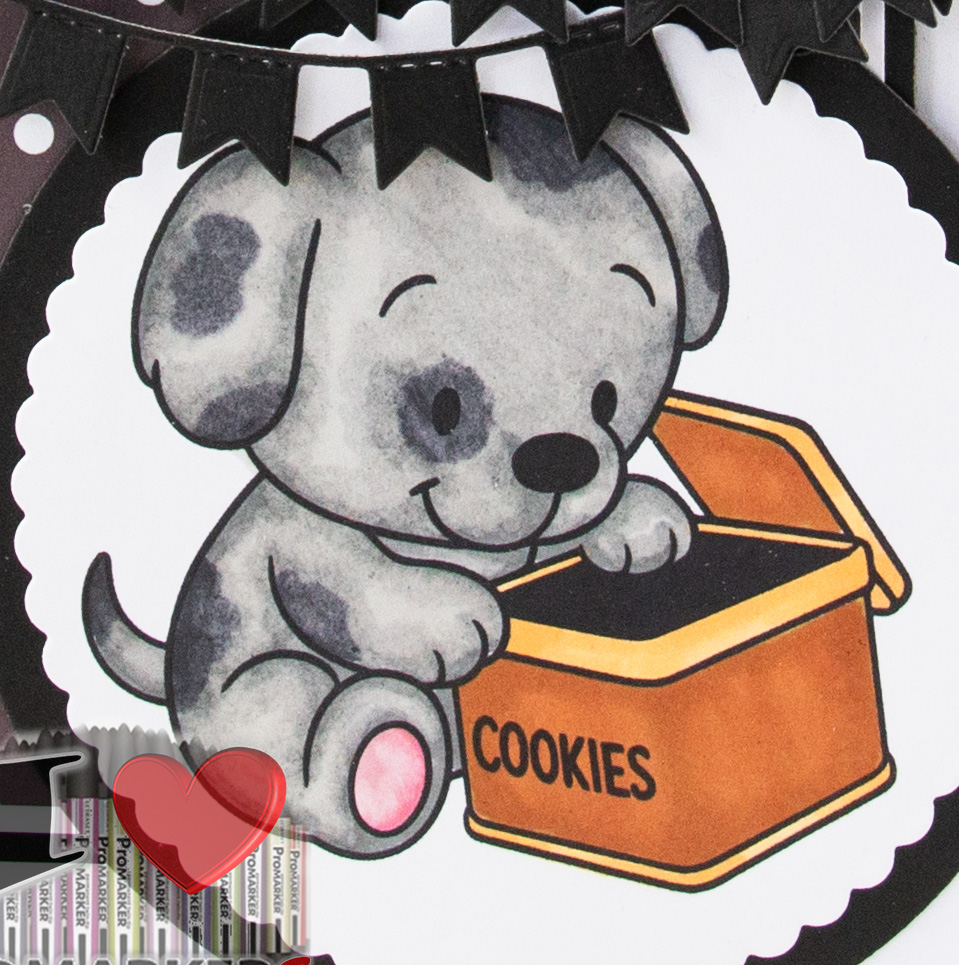
I used promarker pens to colour in the digital image.
Puppy : Black, cool grey 3, 4, 5, dusky rose, antique pink.
Biscuit Tin : Burnt sienna, saddle brown, honeycomb, gold.
Cut the image out using one of the nesting dies.
Then using a slightly larger die cut a circle from black card.
Matt and layer together and attach to the card base.
Create Layer Four:
Use Microsoft Word (or your preferred text editor) to create a sentiment for your card.
Mount the sentiment on to black card to create a border, then attach to the card base.
Then cut the banner die from black card twice, adding them to the top of the card design.
Final Touches:
Finish by adding an insert inside the card base so you can write a personal message.
………………………………………………………………………….
Thank you for visiting my blog – I hope you’ve enjoyed this tutorial!
Feel free to follow me and try out any of my handmade card tutorials.
To see more cards I’ve made, please click here:
Boy And Girl Wizard – Enjoy Yourself
Flossie – Happy Birthday To You
Cool Couple – Enjoy Every Moment
………………………………………………………………………….
Challenges I would like to enter are:
Crafty Animals Challenge #98 – Anything Goes Must Include An Animal
Cd Sunday Challenge #167 – Anything Goes Using A CD, USB. Digital Download
Ally’s Angels #98 – Anything Goes
A Perfect time to craft challenge #9-2025 – Anything Goes
The Paper Fun Challenge #80 – Anything Goes / Option Changing Seasons
I like how you’ve coloured the dog! A great card as always from you Lisa.
Pamela
CD Sunday Plus DT.
I like how you’ve coloured the dog! A great card as always from you Lisa.
Pamela
CD Sunday Plus DT.
(Third attempt at commenting!)
Cuddles is so adorable, and I love the patterns and colors in your project too. We’re delighted you’ve shared your card with us at The Paper Funday Challenge and we invite you to share again soon.
Donna xx
Paper Funday Challenge
Inspiration Station Challenge
Beautiful Blossoms Challenge
Classic Design Challenge
Hi, I have updated my blog so hopefully this stops the trouble you have been having commenting
Such a beautiful card, thanks for sharing it with us at the Ally’s Angels Challenge Blog.
Ilonka DT