These 6″ by 6″ handmade Christmas cards have been created using a new paper collection called A Christmas Visitor.
This paper collection is from The Paper Boutique range from Creative Crafting World.
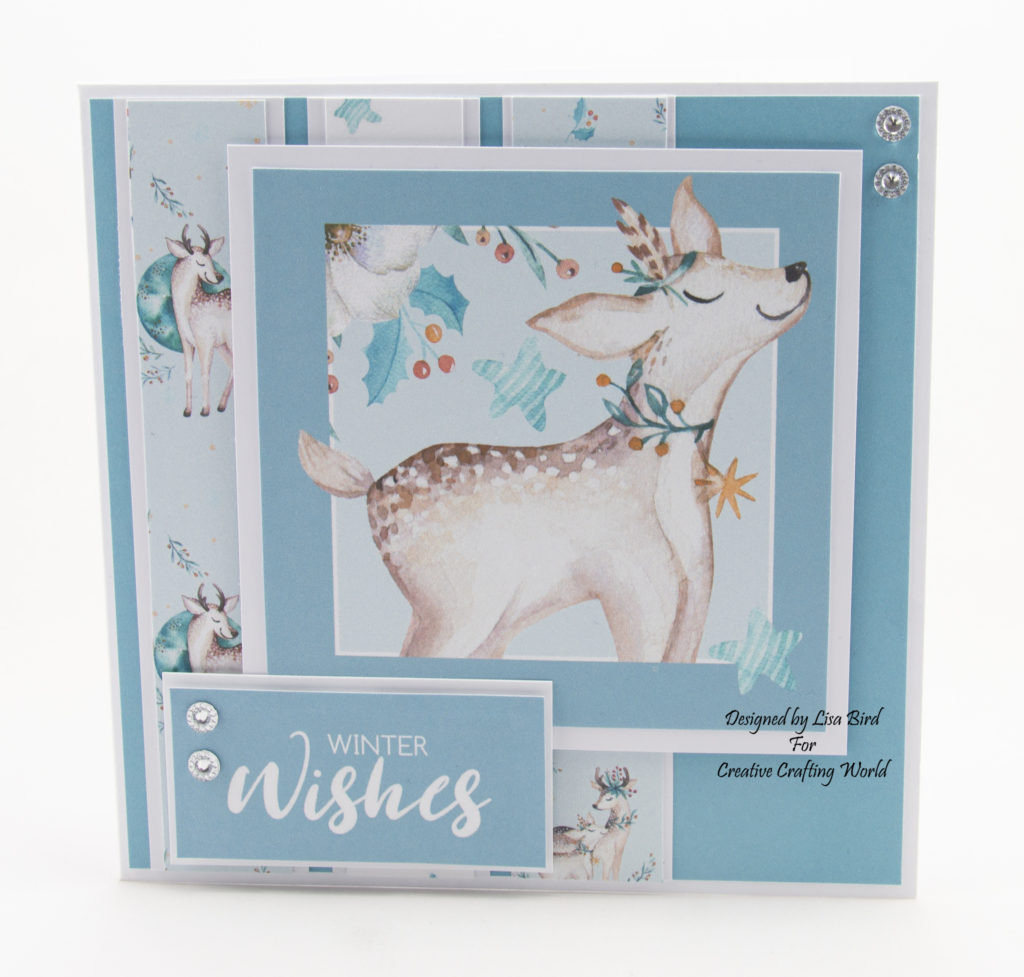
Card Design 1
Here is a tutorial on how I created this card.
You will need :
6″ by 6″ White Card
The Paper Boutique A Christmas Visitor – Coloured Card Collection
The Paper Boutique A Christmas Visitor – Embellishment Paper Pad
White Card
Silver Gems
Wet Glue / Double Sided Tape
Foam Pads
Instructions:
Choose a blue coloured card from the coloured card collection.
Cut a square measuring 14.5 cms by 14.5 cms.
Attach to the card base.
Next cut three pieces from white card measuring 14.5 cms by 3 cms.
Choose three borders from the embellishment pad.
Cut all to measure 14.5 cms in length.
Matt and layer together.
Attach to the card base using foam pads.
Choose a square topper from the embellishment pad.
Cut a square from white card measuring 11 cms by 11 cms.
Matt and layer together.
Attach to the card base slightly over lapping all layers using foam pads.
Next choose a sentiment from the embellishment pad.
Cut a piece out of white card measuring 5 cms by 7.5 cms.
Matt and layer together.
Attach to the bottom of the topper using foam pads.
To finish off this design add a couple of silver gems.
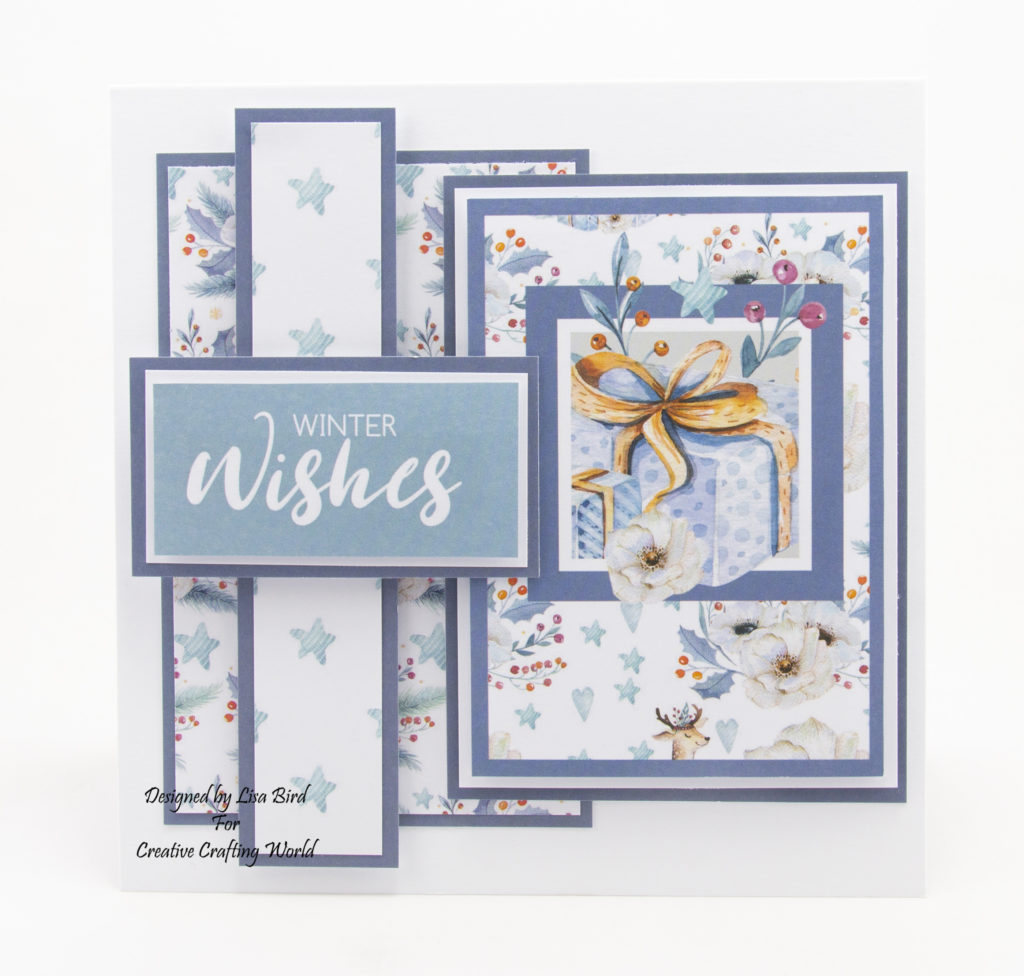
Card Design 2
Here is a tutorial on how I created this card.
You will need :
6″ by 6″ White Card
The Paper Boutique A Christmas Visitor – Coloured Card Collection
The Paper Boutique A Christmas Visitor – Embellishment Paper Pad
The Paper Boutique A Christmas Visitor – Decorative Papers
White Card
Wet Glue / Double Sided Tape
Foam Pads
Instructions:
Choose one coloured card from the coloured card collection and two papers from the decorative paper pad.
Cut a piece from the coloured card measuring 12.5 cms by 8 cms.
Cut a piece from one of the papers measuring 12 cms by 7.5 cms.
Matt and layer together.
Attach to the card base on the left.
Next cut a piece from the coloured card measuring 14 cms by 3 cms.
Cut a piece from the second paper measuring 13.5 cms by 2.5 cms.
Matt and layer together.
Attach to the card base using foam pads over lapping the last matt and layer.
Cut a rectangle topper from the embellishment pad.
Cut a piece from the coloured card measuring 11.5 cms by 8.5 cms.
Cut a piece from white card measuring 11 cms by 8 cms.
Matt and layer together.
Attach to the card base on the right using foam pads slightly over lapping the first matt and layer.
Cut a sentiment from the embellishment pad.
Cut a piece from coloured card measuring 4 cms by 7.5 cms.
Cut a piece from white card measuring 3.5 cms by 7 cms.
Attach to the card base using foam pads.
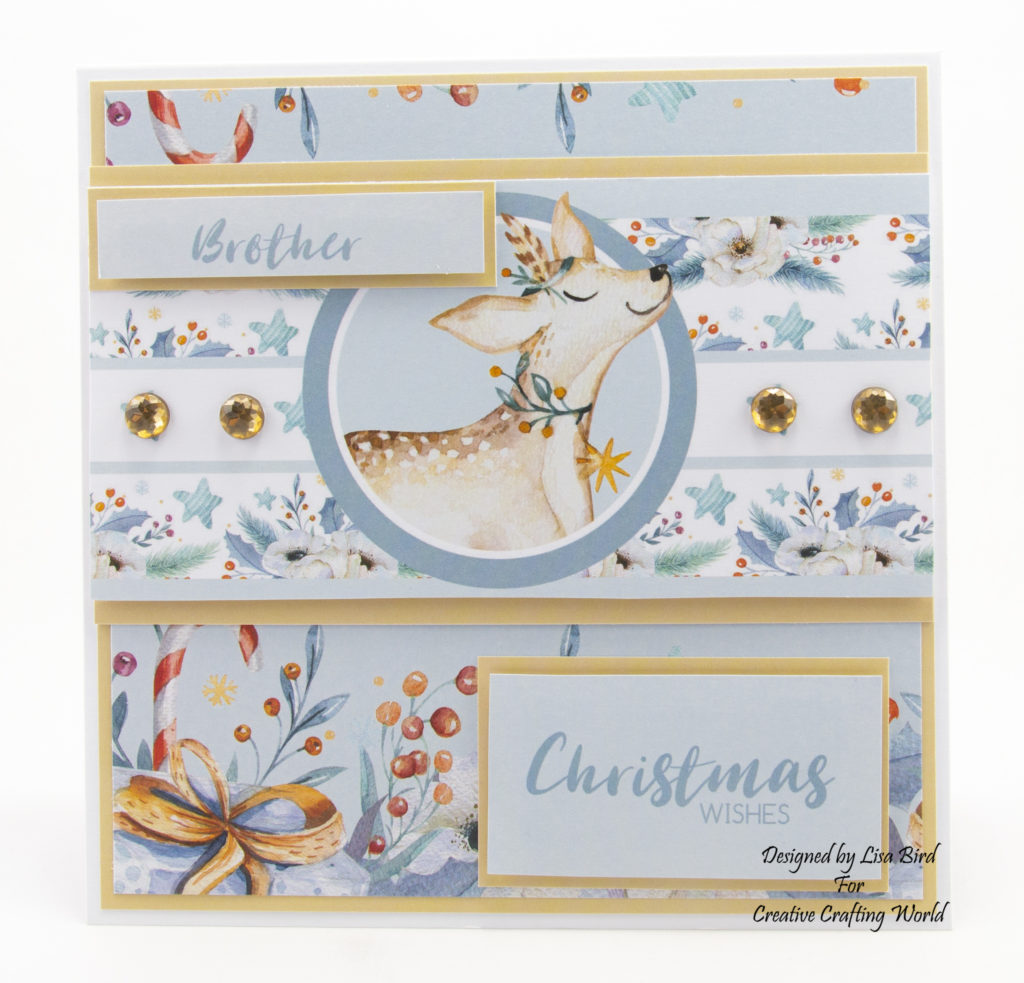
Card Design 3
Here is a tutorial on how I created this card.
You will need :
6″ by 6″ White Card
The Paper Boutique A Christmas Visitor – Coloured Card Collection
The Paper Boutique A Christmas Visitor – Embellishment Paper Pad
The Paper Boutique A Christmas Visitor – 7″ by 7″ Paper Pad
Gold Gems
Wet Glue / Double Sided Tape
Foam Pads
Instructions:
Choose one coloured card from the coloured card collection and one paper from the 7″ by 7″ paper pad.
Cut a square from the coloured card measuring 14.5 cms by 14.5 cms.
Cut a square from the paper measuring 14 cms by 14 cms,
Matt and layer together.
Attach to the card base.
Cut out the large rectangle topper from the embellishment pad and cut to measure 14.5 cms.
Cut a piece from the coloured card measuring 8 cms by 14.5 cms.
Matt and layer together using foam pads.
Attach to the card base leaving a small border at the top and a larger border at the bottom.
Cut out two sentiments from the embellishment pad.
Using the coloured card cut out matt layers for each sentiment.
Matt and layer together using foam pads.
Attach one to the bottom of the card base and one to the topper.
To finish this design add a couple of gold gems to the topper.
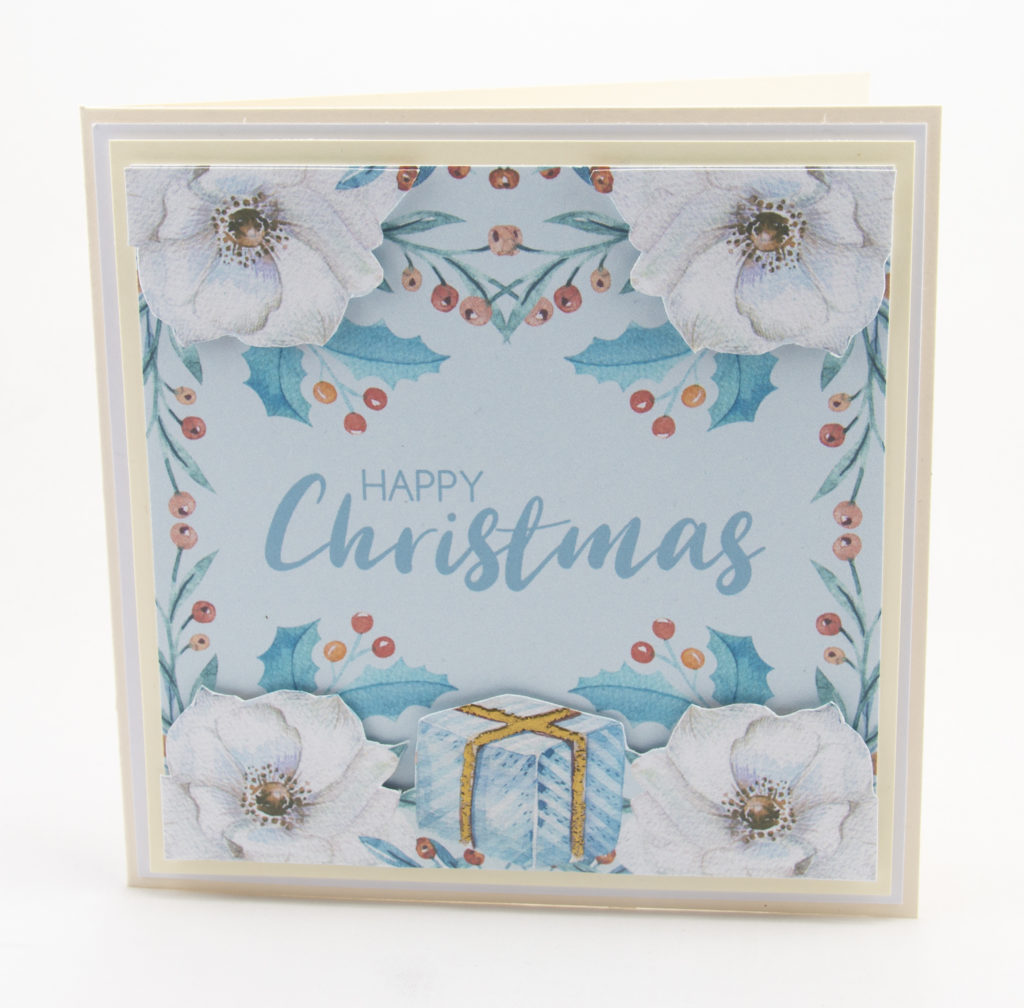
Card Design 4
Here is a tutorial on how I created this card.
You will need :
6″ by 6″ Cream Card
The Paper Boutique A Christmas Visitor – 7″ by 7″ Paper Pad
Cream Card
White Card
Gold Embossing Powder
Wet Glue / Double Sided Tape
Foam Pads
Instructions:
Use two of the same papers from the 7″ by 7″ paper pad.
Cut a square out of white card measuring 14.5 cms by 14.5 cms
Cut a square out of cream card measuring 14 cms by 14 cms.
Matt and layer together along with the other paper.
Attach to the card base.
Fussy cut out the two top flowers and bottom image from the second paper.
Add gold embossing powder to the ribbon on the present.
Using foam pads add the images to the card base over laying the matching image.
………………………………………………………………………….
Thank you for visiting my blog and please feel free to make any of my card designs.
If you would like to see other cards using Creative Crafting World products please have a look here:
A Christmas Visitor – Mum And Dad
A Christmas Visitor – Sending Best Wishes
Tropical Dreams – Enjoy The Little Things
Beautiful card Ginny
My Blog As I do Rodos
Oh Lisa, these are gorgeous – I *knew* you would have some inspiration for me! I’ve just received a very generous gift from a friend of cards and papers from this range, so I’m off to CASE your designs to get me started on the goodies.
Hi Jane, that is a very nice friend you have 🙂 I do hope you find some inspiration on my blog.
Happy Crafting xx