Today’s handmade card has been created using a Paper Boutique paper collection from Creative Crafting World called A Bouquet Of Sunshine.
Here is a tutorial on how I created this card.
You will need :
2 x A4 White Card
The Paper Boutique A Bouquet Of Sunshine – Coloured Card Collection
The Paper Boutique A Bouquet Of Sunshine – Paper Kit
The Paper Boutique A Bouquet Of Sunshine – Embellishment Pad
White Card
Glue / Double Sided Tape
Instructions:
Choose four coloured cards, three papers and four square toppers from the paper kit and two square toppers and eight small square toppers from the embellishment pad.
Card Base:
The instruction pictured are using kraft card just so the adhesive shows up clearly
Using the A4 white card cut two pieces measuring 20 cms by 20 cms.
Then cut each piece in half, making four pieces measuring 20 cms by 10 cms.
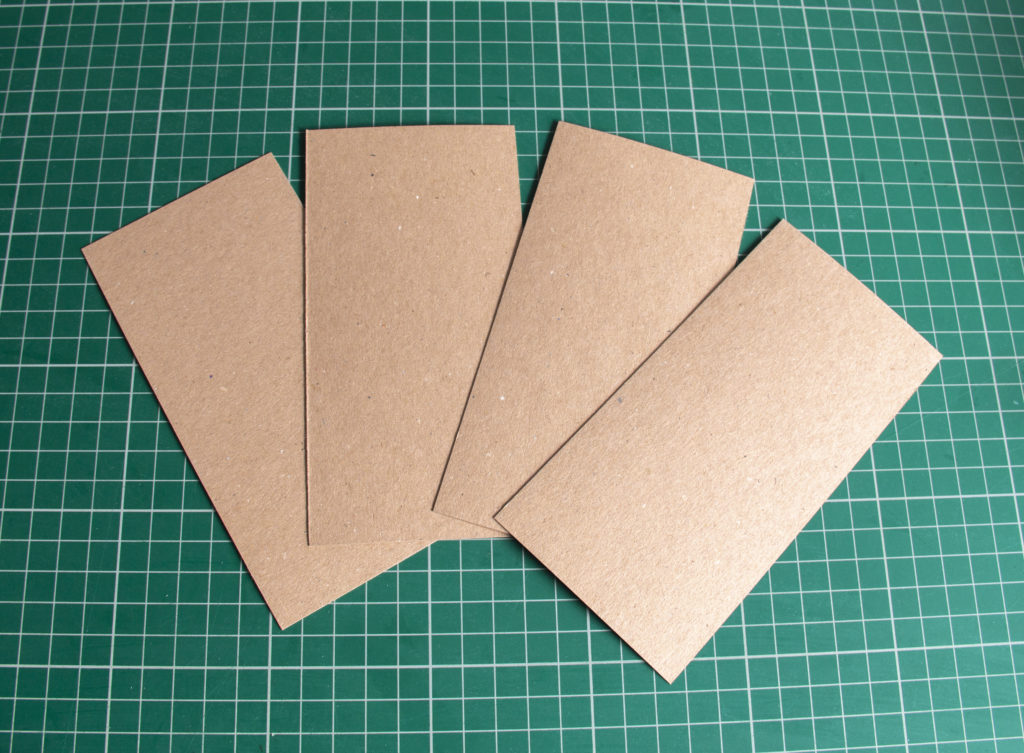
Next score each end of the four pieces at 5 cms.
Score and fold each side forward and backwards to ensure the movement of the card.
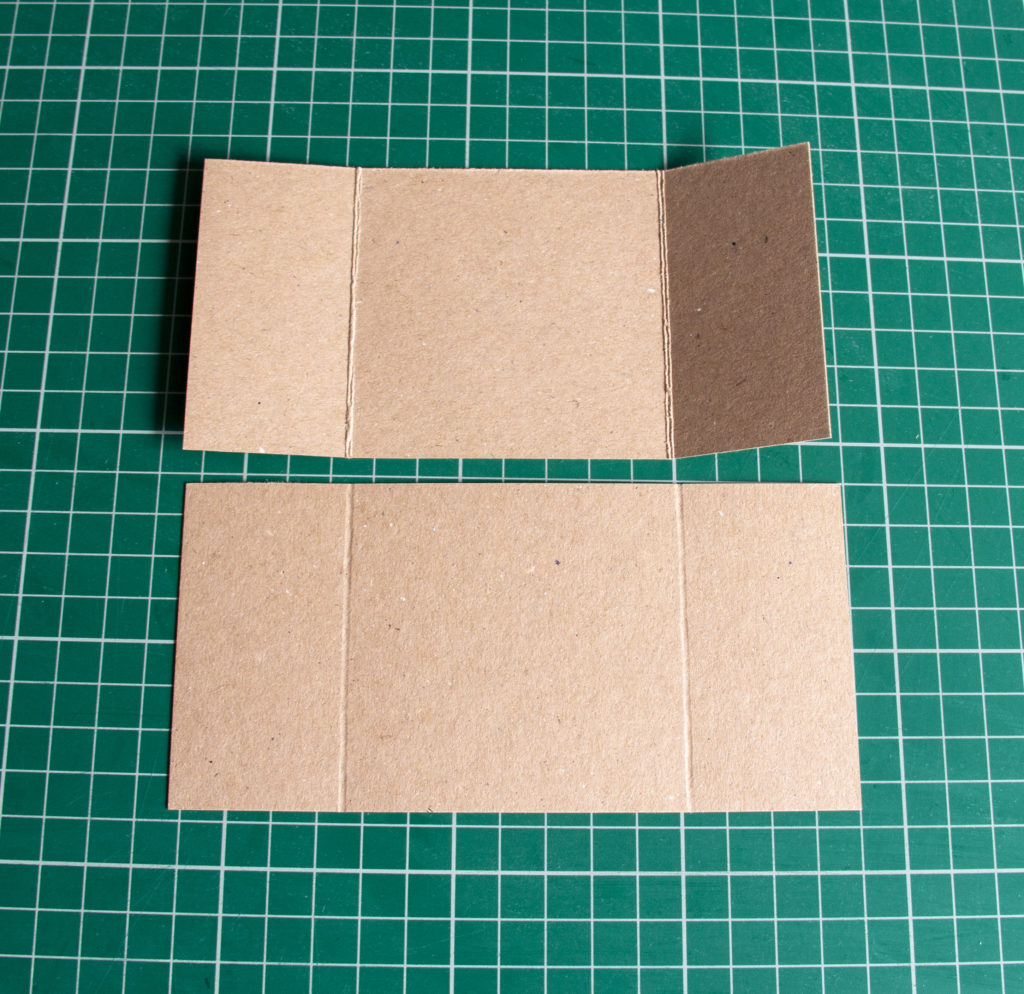
Lay two of the card pieces horizontal as in the below picture.
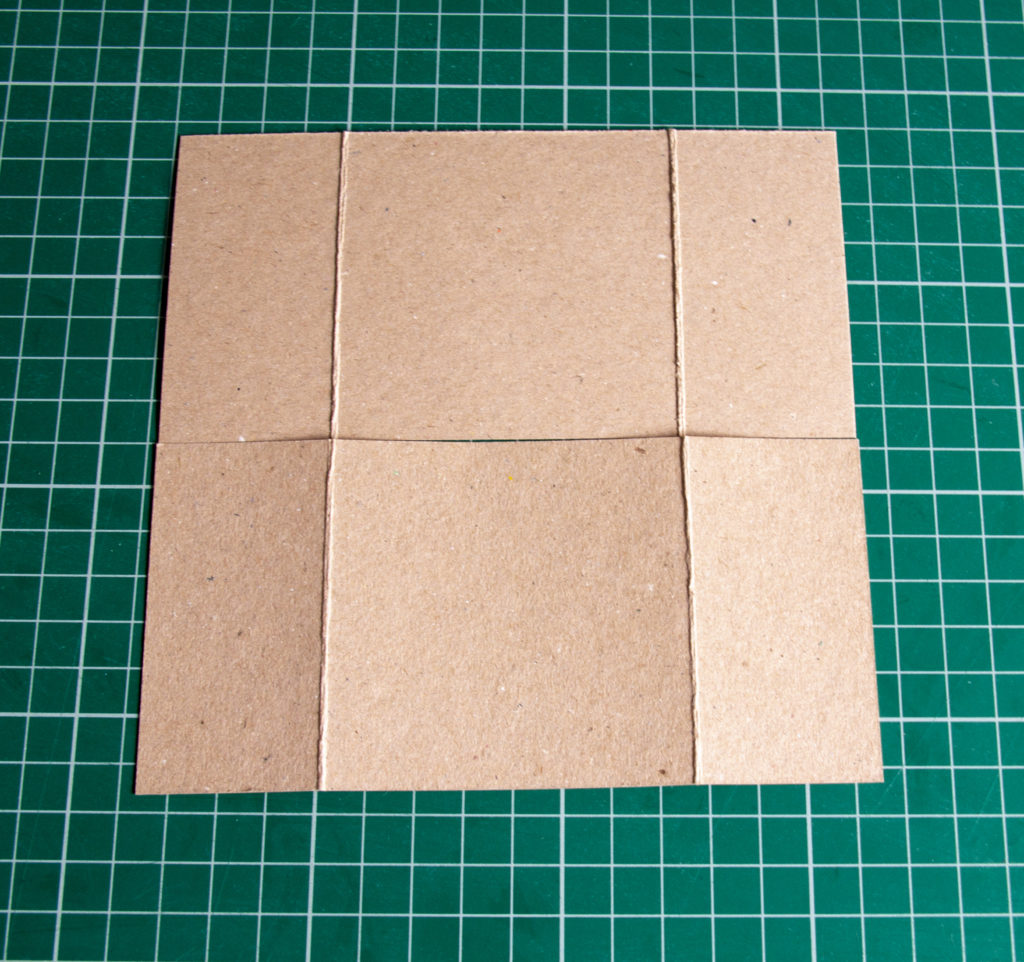
Next put a small amount of glue on each of the corners. No more than covering about a 2 cm square.
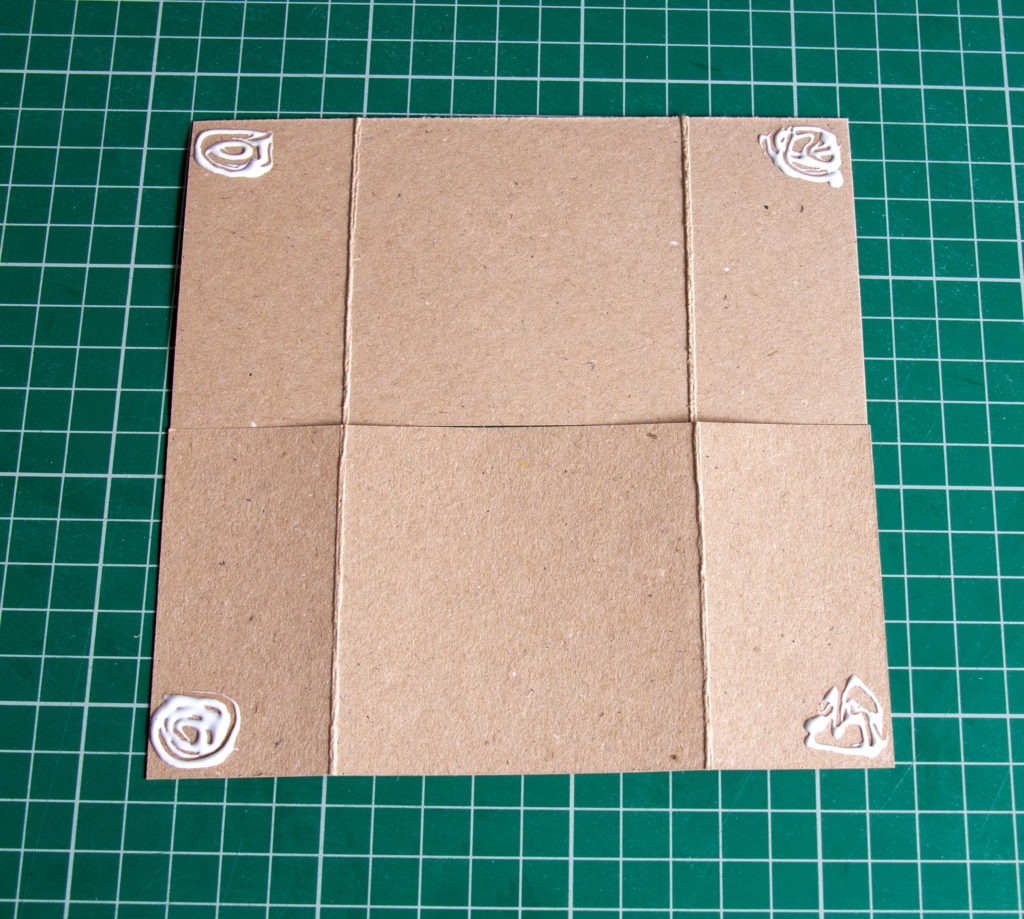
Then lay the last two card pieces vertical over the other two pieces and allow to dry.
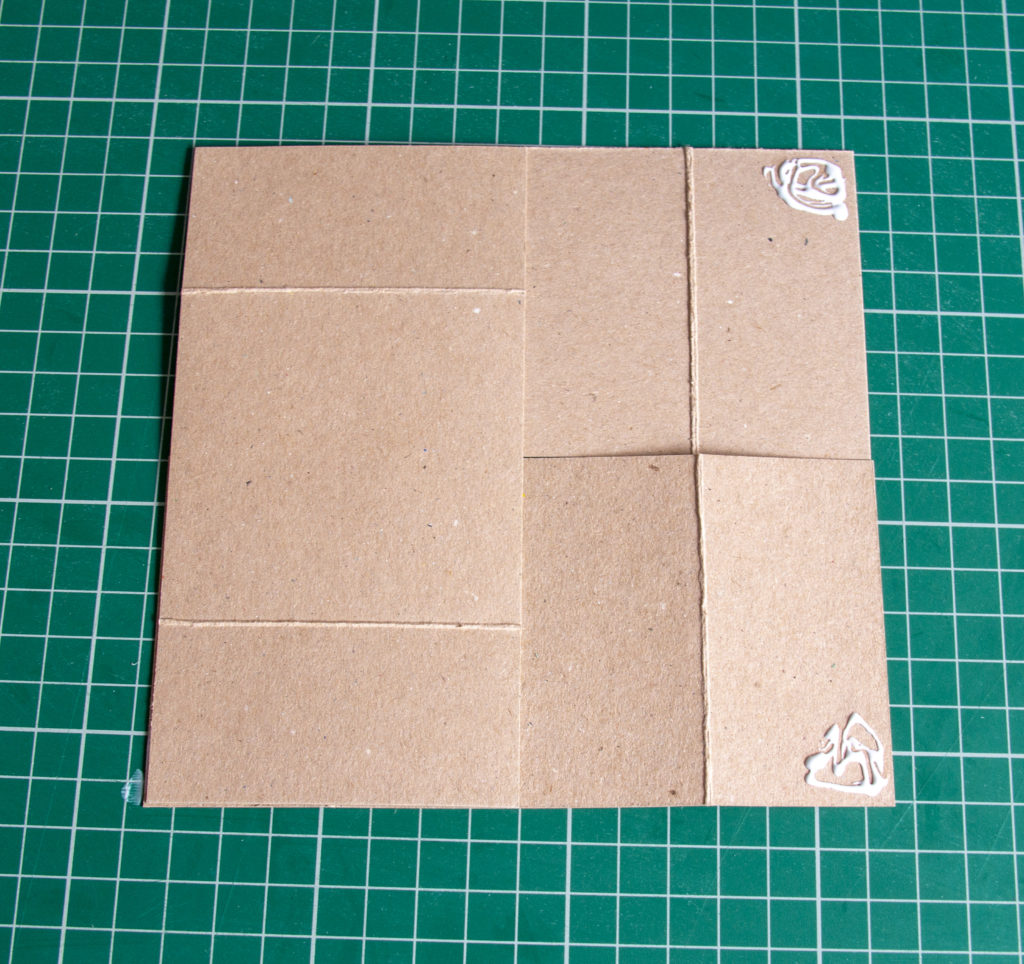
Now you have made the never ending card it’s time to decorate.
Layer one:
Cut four pieces from the first coloured card measuring 4.5 cms by 9.5 cms.
Cut four pieces from the first paper measuring 4 cms by 9 cms.
Matt and layer together and attach to the card base on the top and bottom.
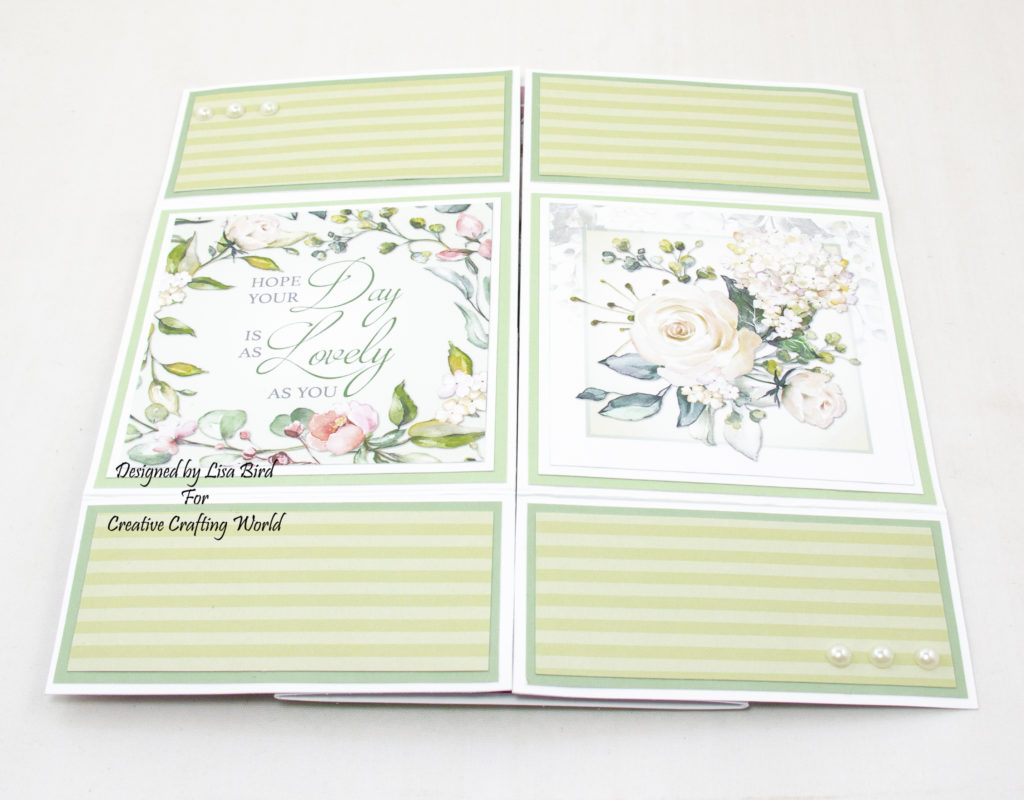
Cut two pieces from the second coloured card measuring 9.5 cms by 9.5 cms.
Cut two pieces from white card measuring 9 cms by 9 cms.
Matt and layer together along with two square toppers.
Attach to the card base in the centre.
Layer two:
Cut four pieces from the third coloured card measuring 9.5 cms by 4.5 cms.
Cut four pieces from the second paper measuring 9 cms by 4 cms.
Matt and layer together and attach to the card base on the sides.
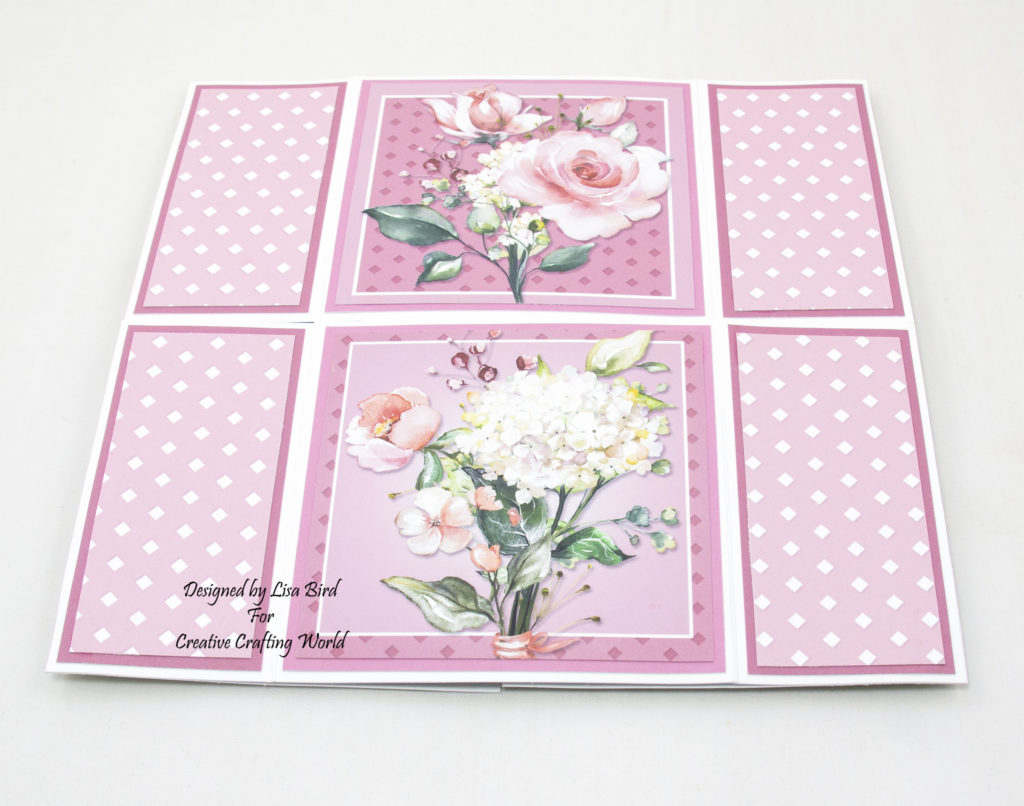
Cut two squares from the fourth coloured card measuring 9.5 cms by 9.5 cms.
Cut the two embellishment toppers to measure 9 cms by 9 cms.
Matt and layer together and attach to the card base in the centre.
If you would like to write a message, instead of using two toppers replace one with a piece of white card measuring 9 cms by 9 cms.
Layer three:
Cut four squares from the fourth coloured card measuring 4.5 cms by 4.5 cms.
Cut four squares from white card measuring 4 cms by 4 cms.
Matt and layer together along with four small toppers.
Attach to the card base in the four corners.
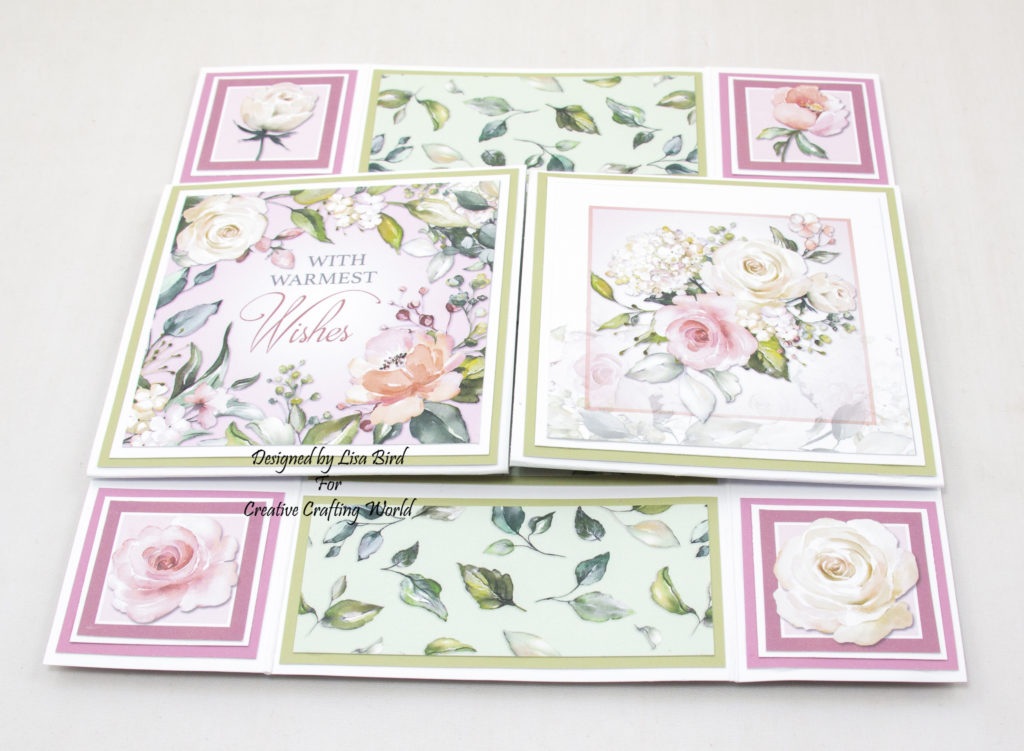
Cut two pieces from the second coloured card measuring 4.5 cms by 9.5 cms.
Cut two pieces from the third paper measuring 4 cms by 9 cms.
Matt and layer together and attach to the card base on the top and bottom.
Cut two pieces from the second coloured card measuring 9.5 cms by 9.5 cms.
Cut two pieces from white card measuring 9 cms by 9 cms.
Matt and layer together along with two square toppers.
Attach to the card base in the centre.
Layer four:
As the card is opened for the last time the middle top and bottom layers from layer three will show.
Cut two pieces from the second coloured card measuring 4 cms by 9 cms.
Cut two pieces from the third paper measuring 4 cms by 9 cms.
Matt and layer together and attach to the card base in the centre, leaving a small white border between each matt and layer.
Cut two pieces from the first coloured card measuring 3 cms by 5.5 cms.
Matt and layer with the sentiments and attach to on of the centre layers.
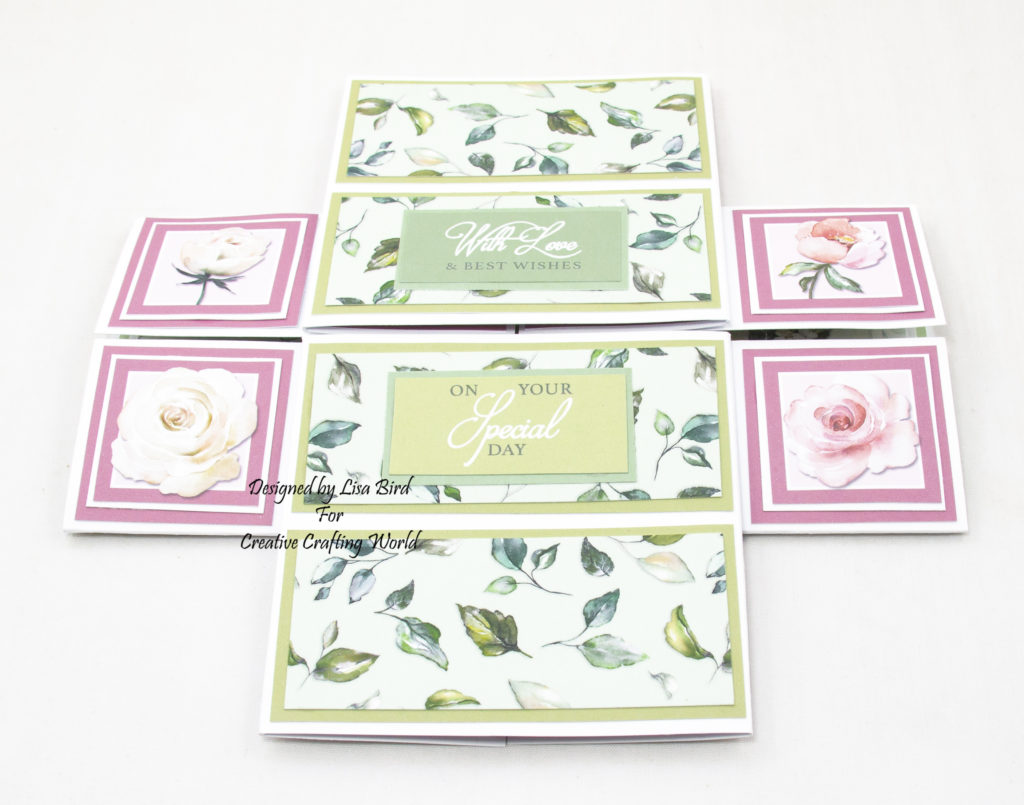
Cut four squares from the third coloured card measuring 4.5 cms by 4.5 cms.
Cut four squares from white card measuring 4 cms by 4 cms.
Matt and layer together along with four small toppers.
Attach to the card base in the four corners.
………………………………………………………………………….
Thank you for visiting my blog and please feel free to follow and make any of my handmade card tutorials.
If you would like to see other cards using Creative Crafting World products please have a look here:
Farmyard Friends – Good Times & Crazy Friends
Pretty Poppies – Have A Lovely Day
Wow this really is amazing – thanks for the tutorial!
Hugz Tinz