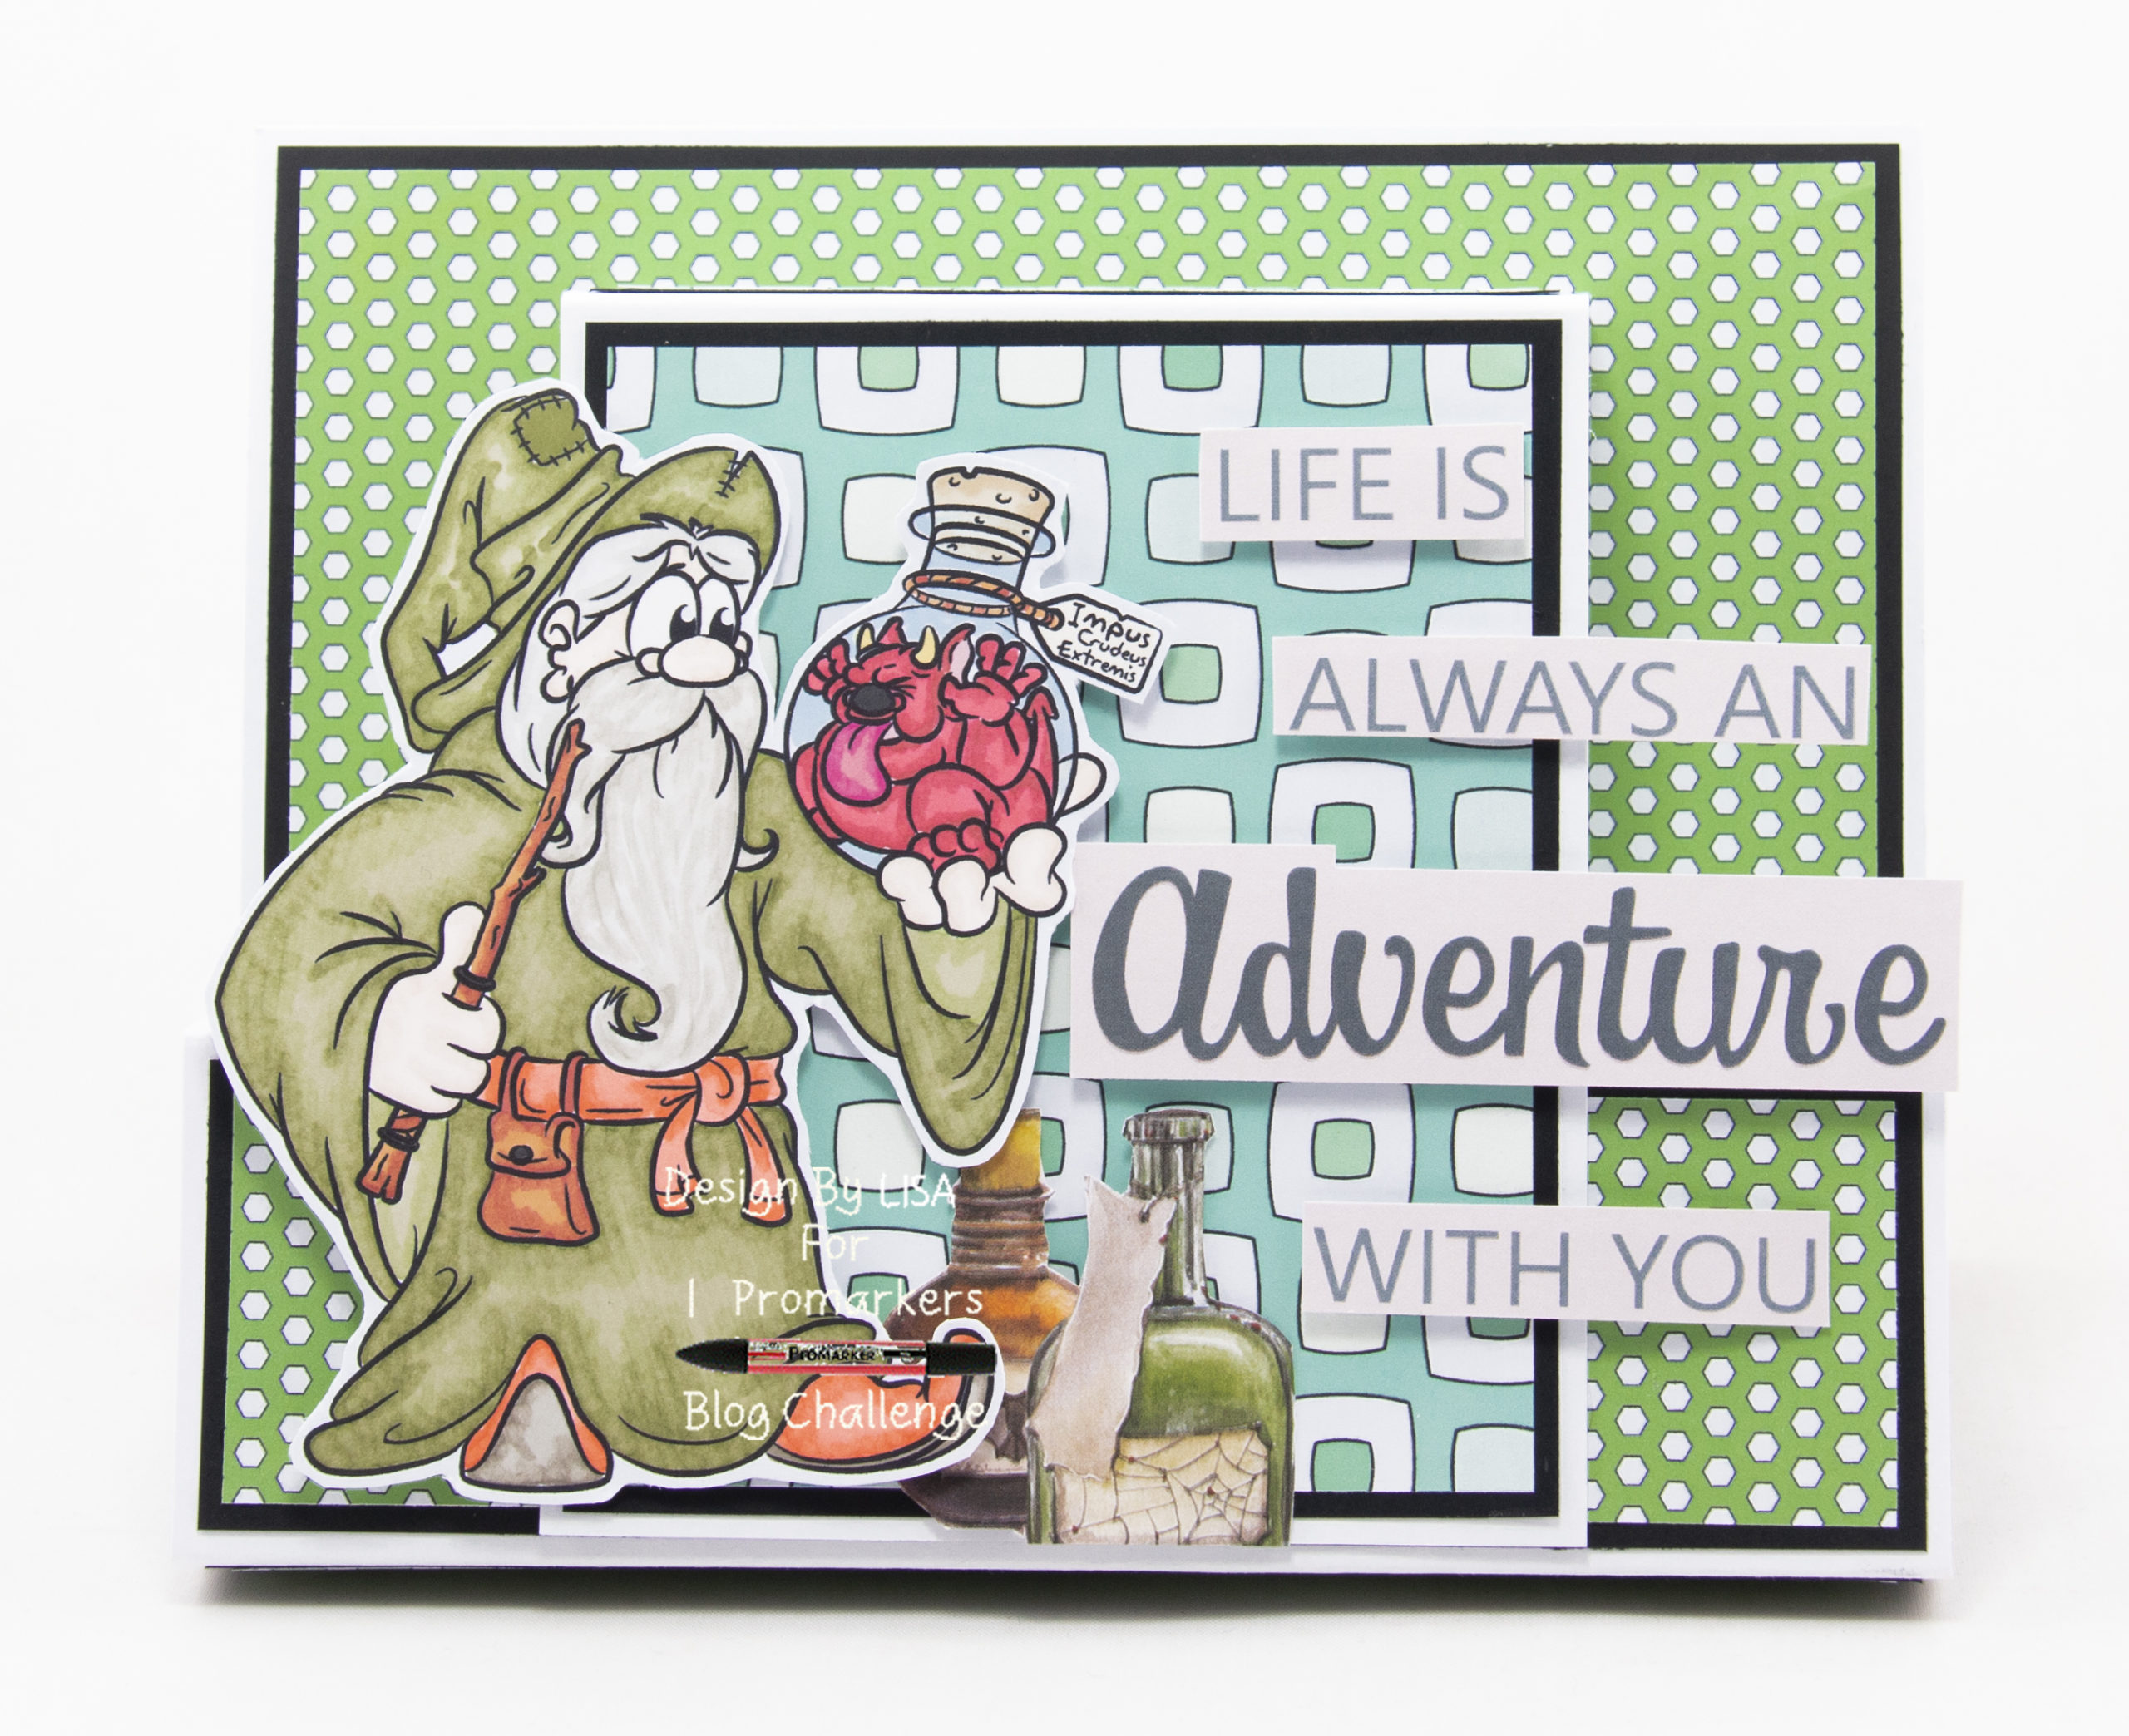
Today’s handmade card has been created for the new challenge at I Love Promarkers Challenge #441
The theme for this challenge is Anything Goes with the option of For A Boy.
You must use either promarkers, flexmarkers, aquamarkers or trias on your work.
Our sponsor for this challenge is Dr. Digi’s House Of Stamps.
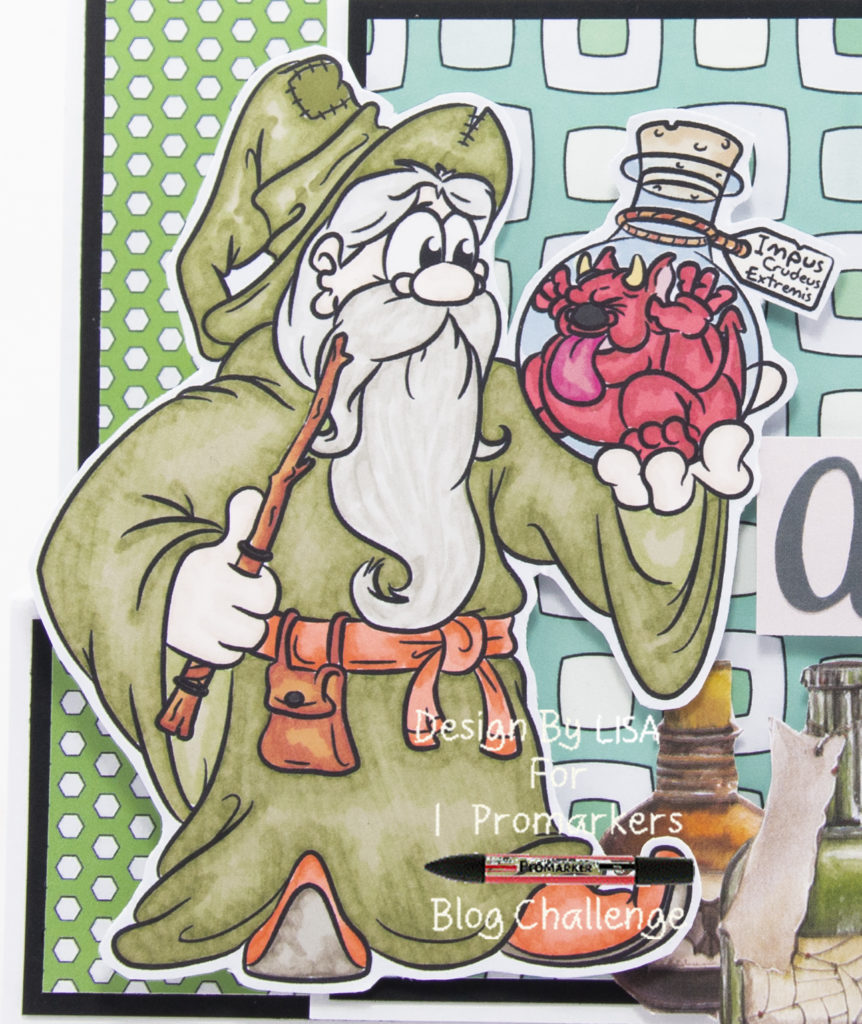
I have used one of their digital images called Cheeky Devil.
Here is a tutorial on how I created this card.
You will need :
A4 White Card
Dr. Digi’s House Of Stamps Digital Stamp Called Cheeky Devil
The Big One Backgrounds Cd-Rom
Promarkers
The Paper Boutique Wickedly Wonderful – Scene And Sentiment Topper Pad
Black Card
Glue / Double Sided Tape
Foam Pads
Instructions:
Choose one sentiment topper and then two papers from the cd-rom.
Card Base:
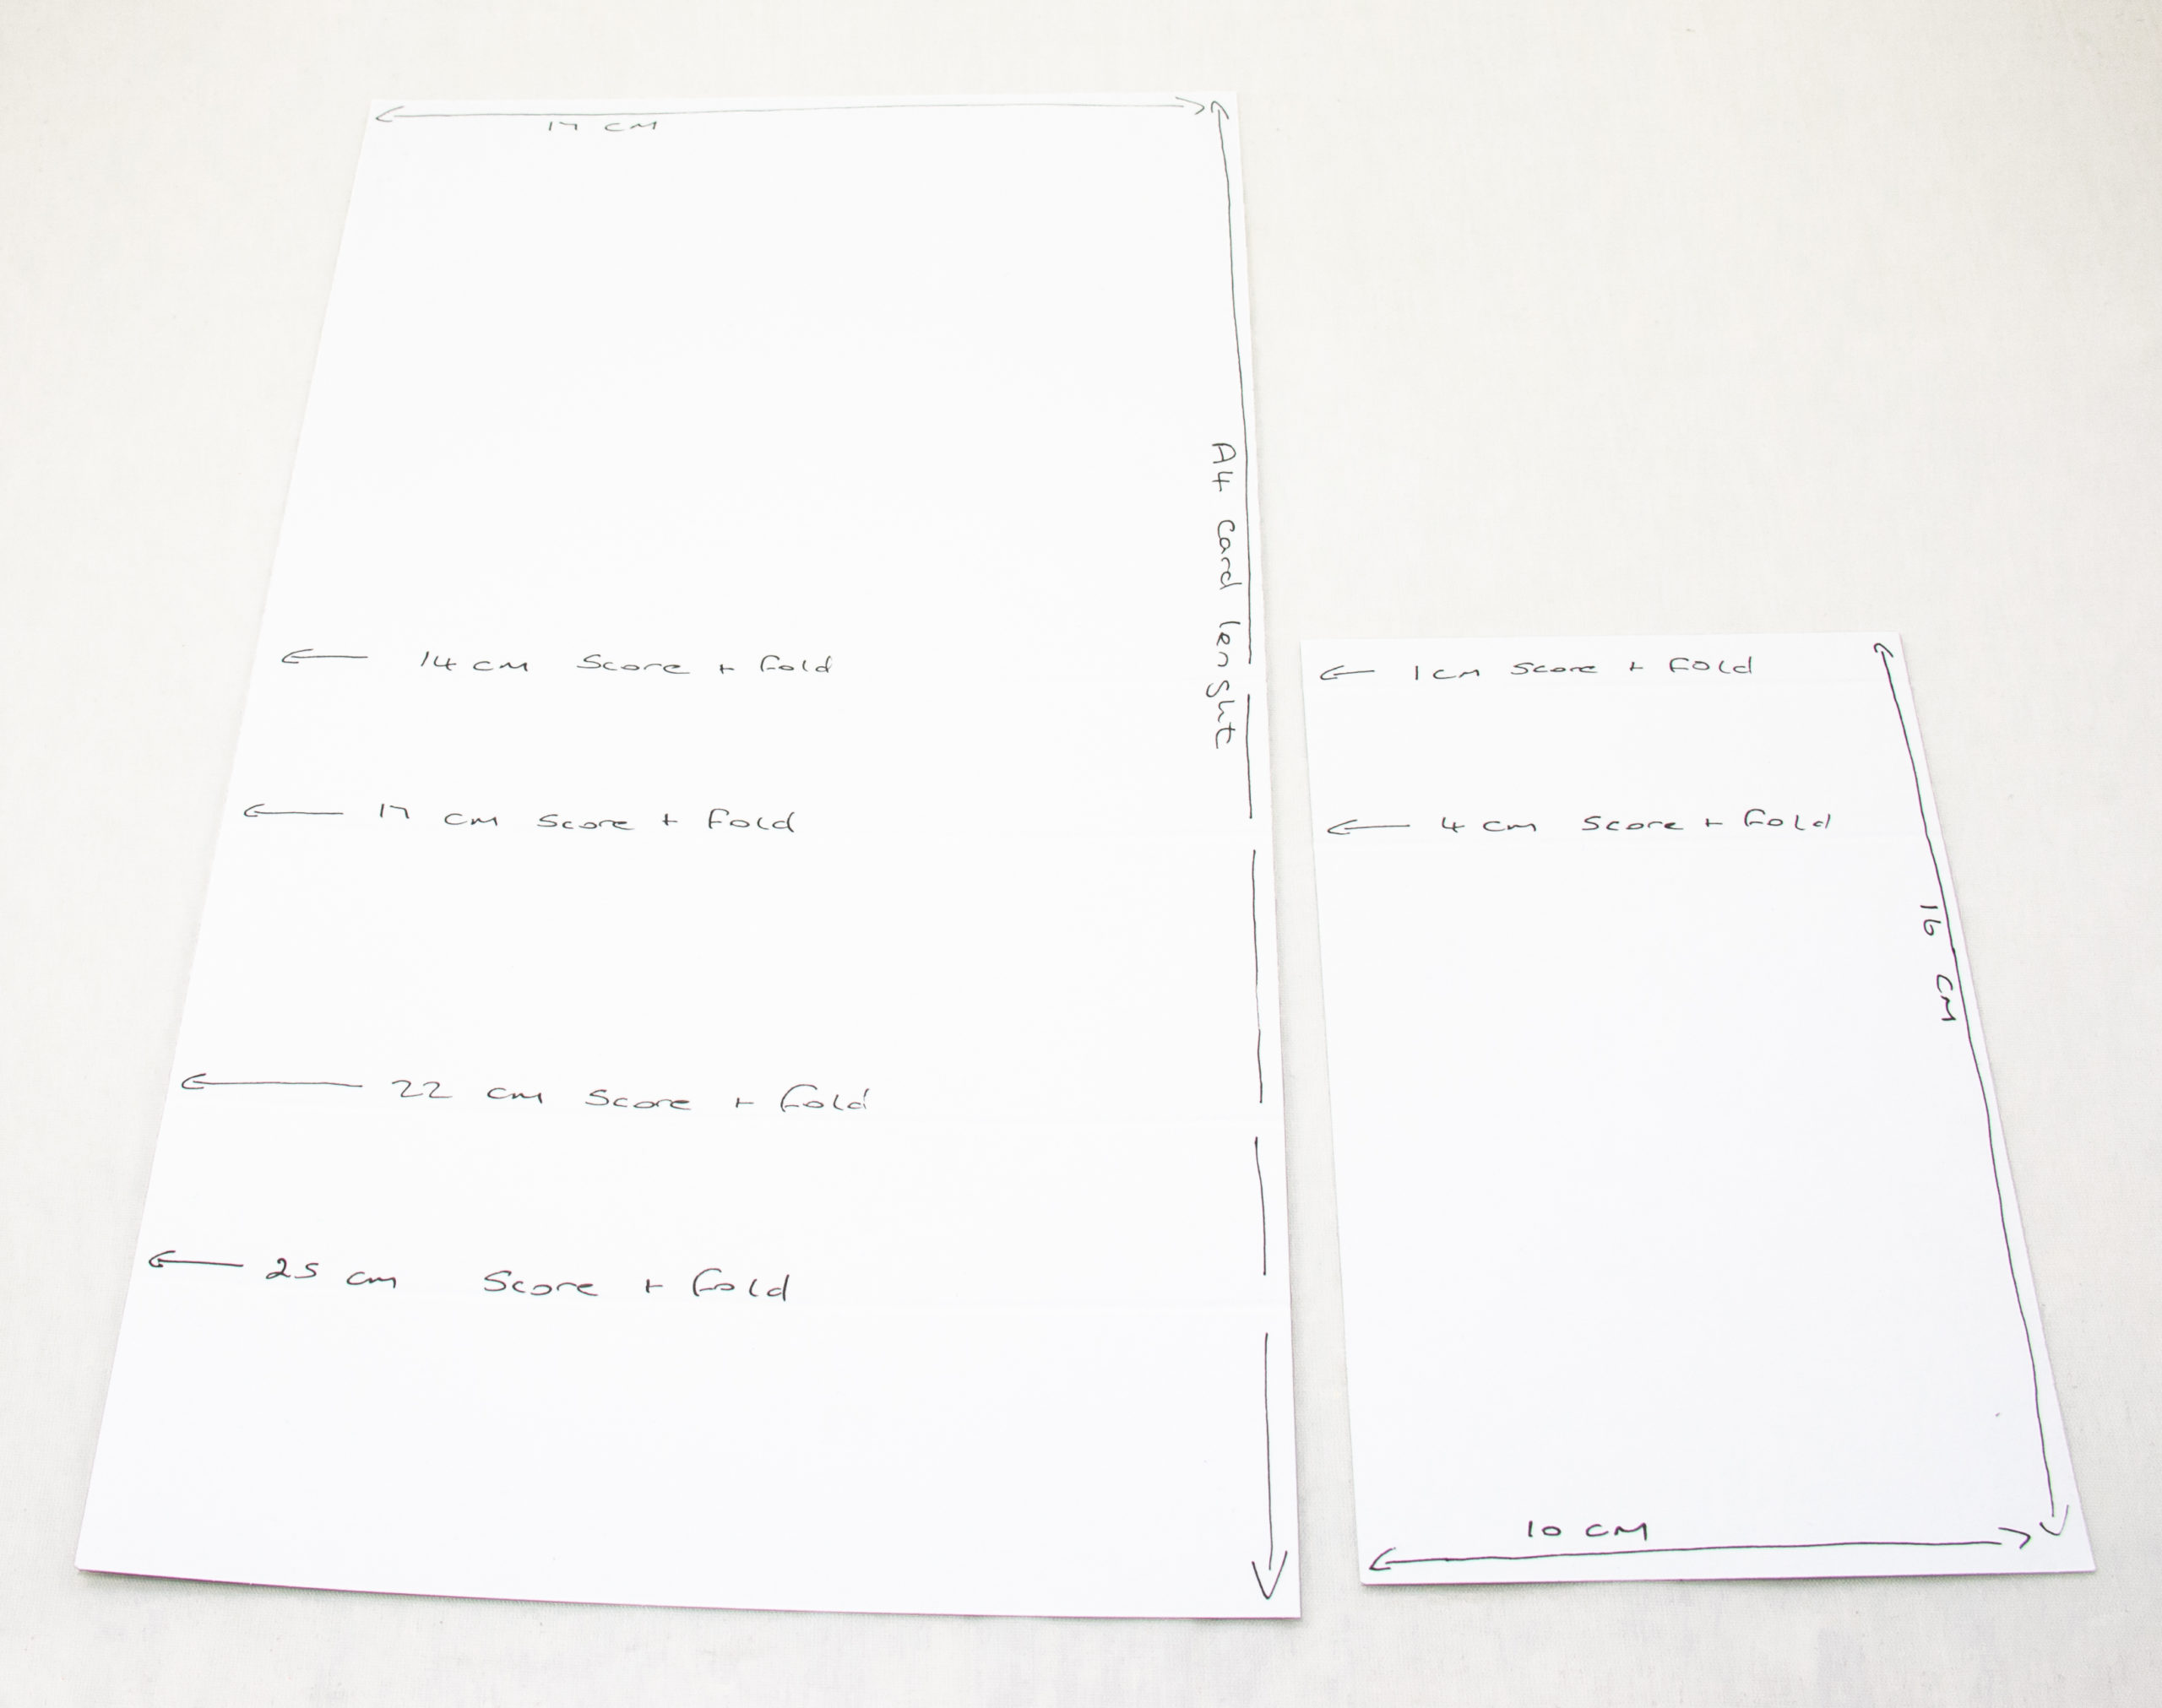
For the card base, cut a piece of A4 card to measure 17 cms but keep the length.
Score at 14 cms, 17 cms, 22 cms and 25 cms.
Then cut another piece of A4 card to measure 16 cms by 10 cms.
Score at 1 cm and 4 cms.
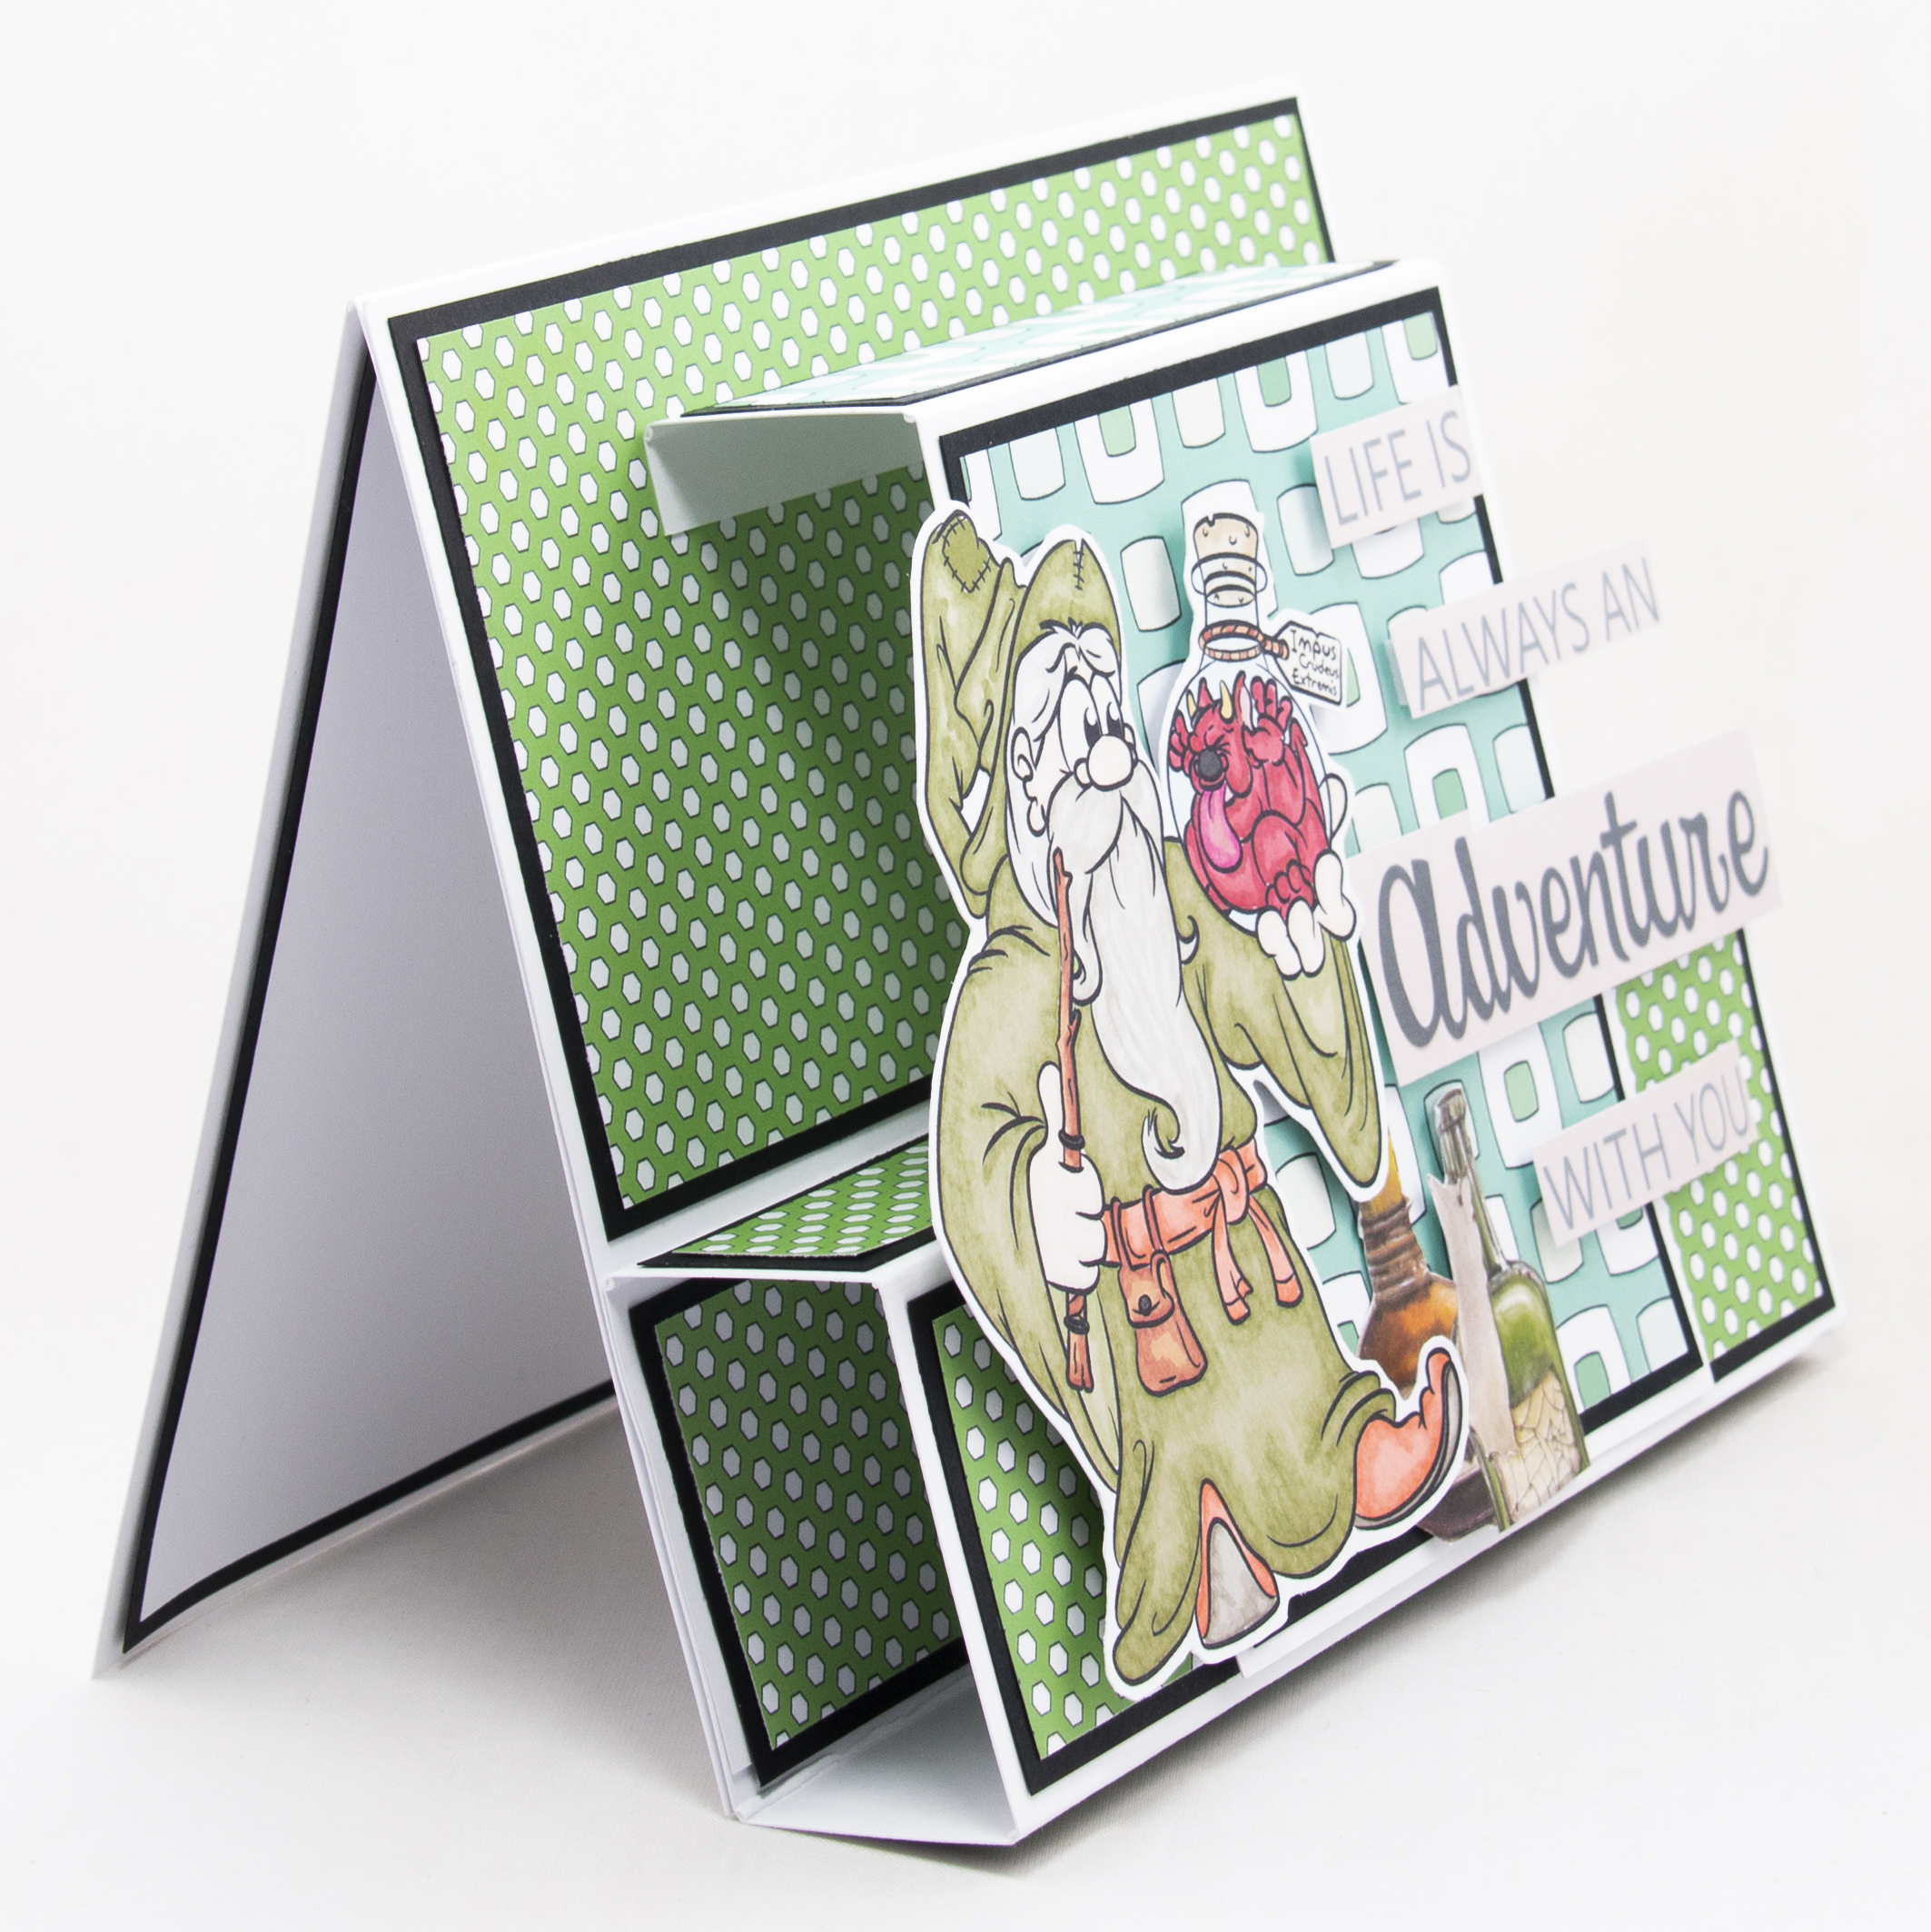
Fold the first piece of card to make a tunnel base.
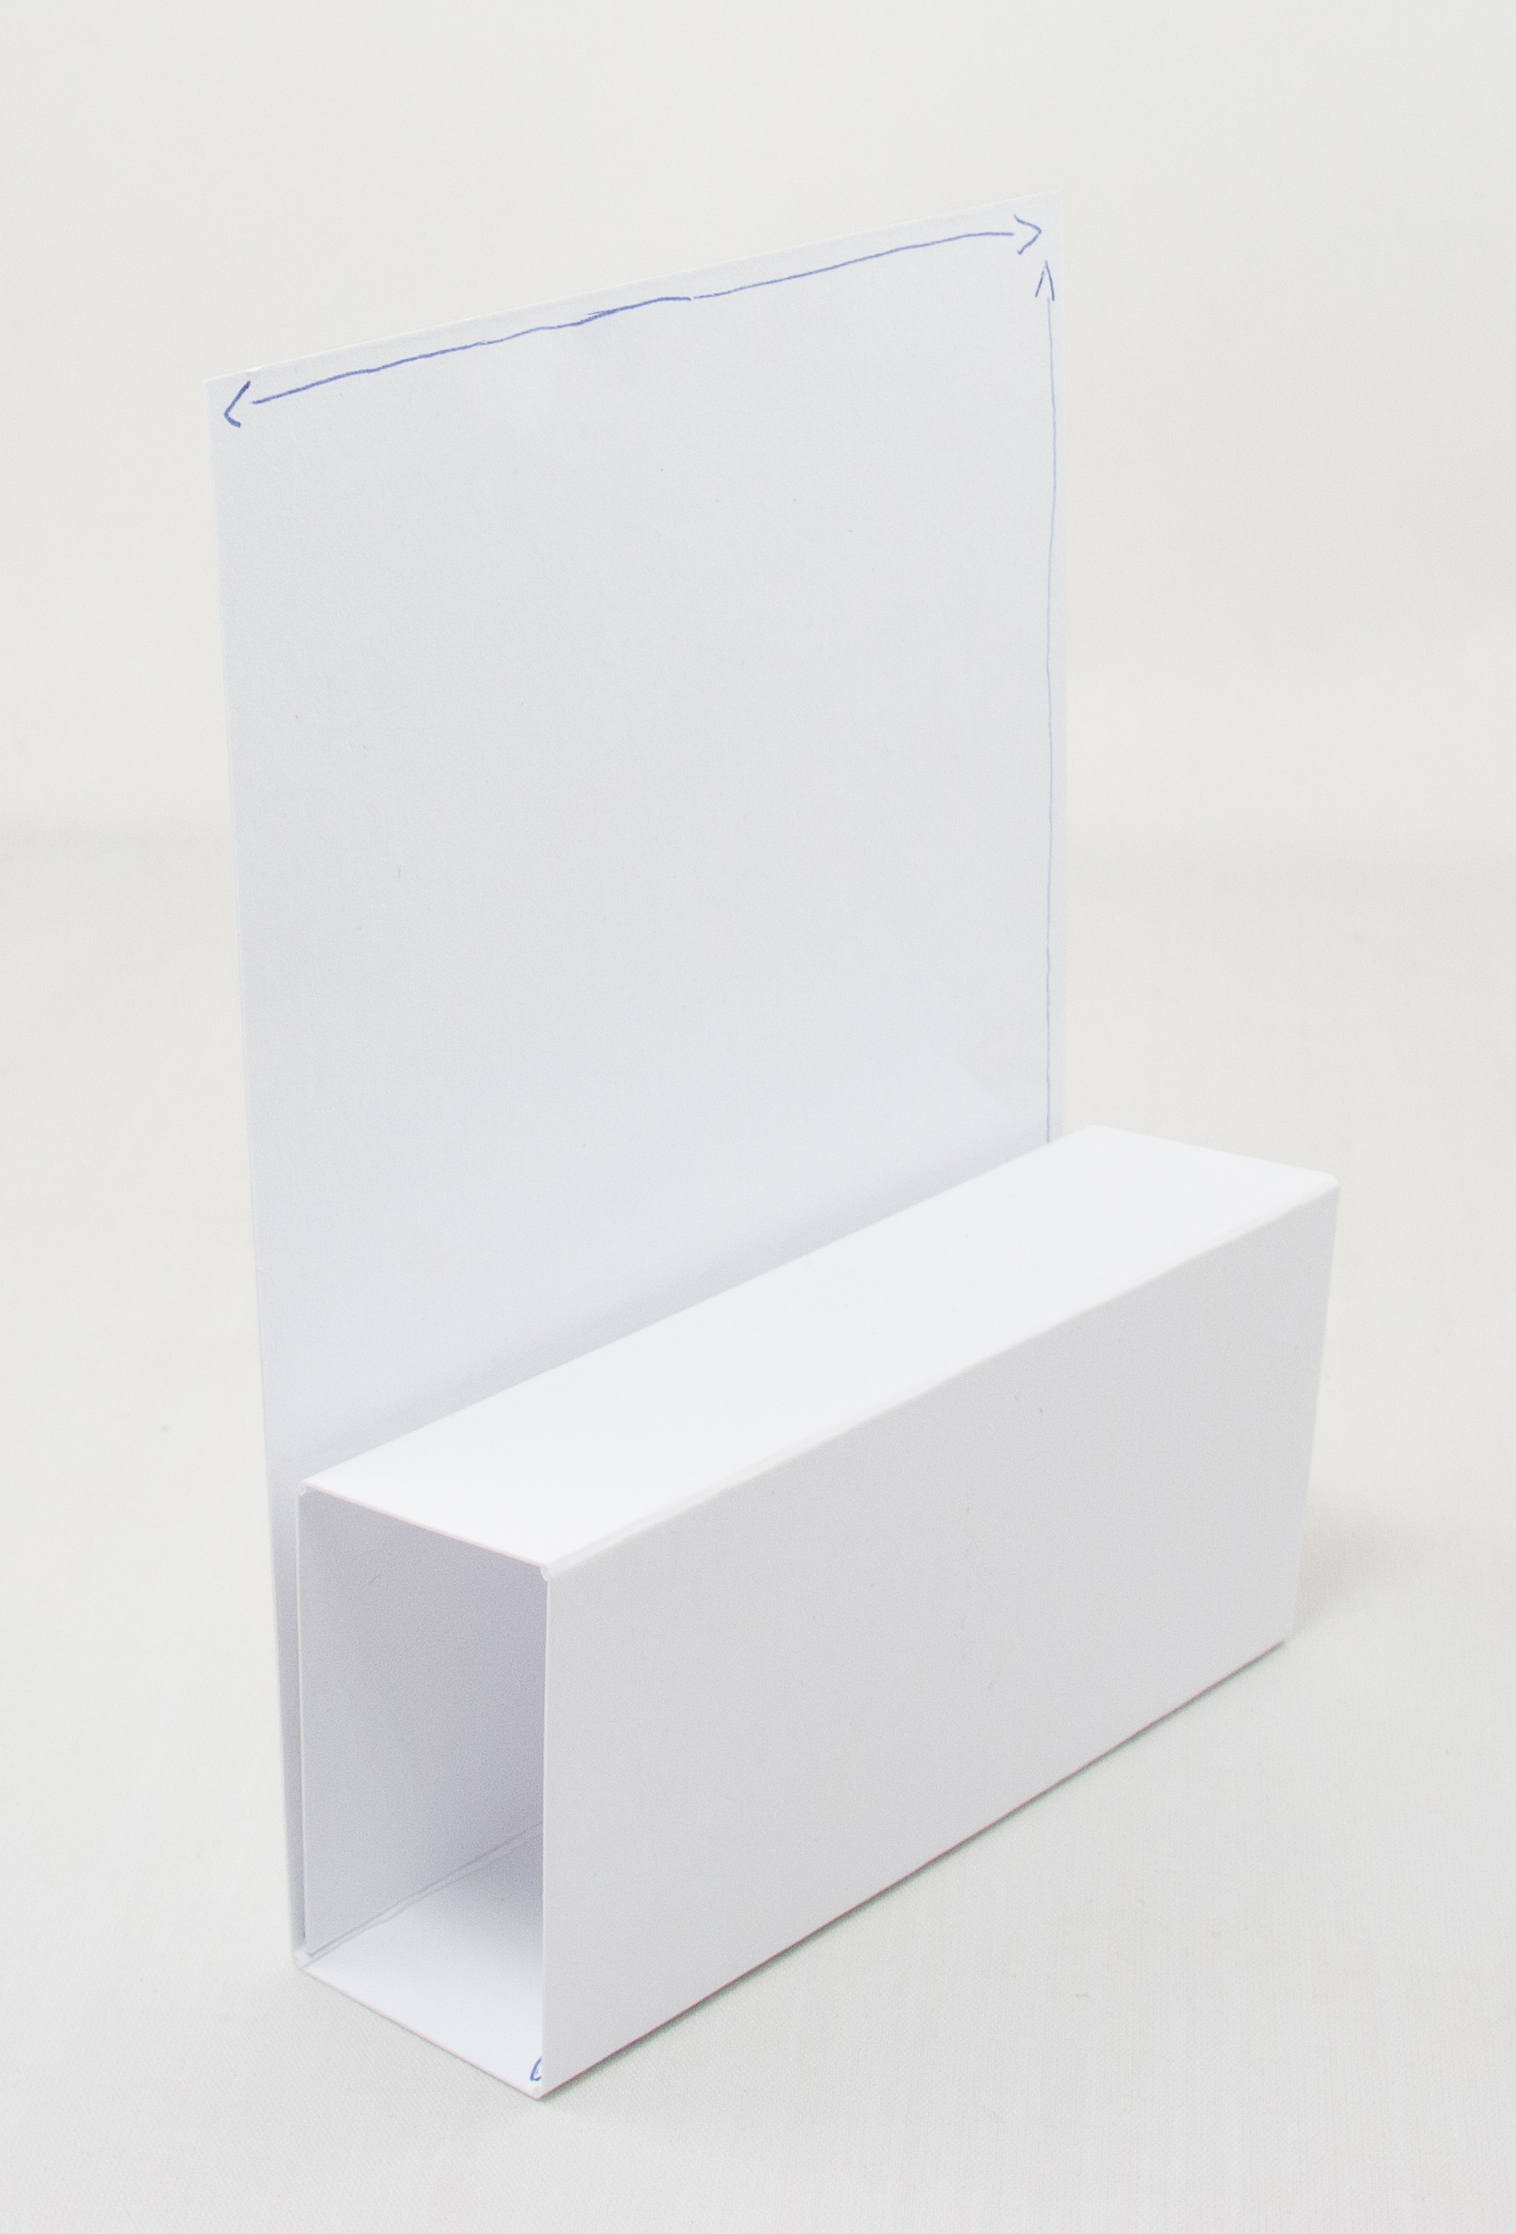
Then the second piece of card is attached to the top and bottom.
But it is best to matt and layer both pieces before attaching together.
Layer one:
Cut a piece from black card measuring 8.5 cm by 16.5 cms.
Cut a piece from the first paper measuring 8 cm by 16 cms.
Matt and layer together and attach to the first card base at the top.
Layer two:
Cut two pieces from black card measuring 2.5 cm by 16.5 cms.
Cut two pieces from the first paper measuring 2 cm by 16 cms.
Matt and layer each together and attach to the first card base, one at the top of the tunnel and one underneath.
Layer three:
Cut a piece from black card measuring 4.5 cm by 16.5 cms.
Cut a piece from the first paper measuring 4 cm by 16 cms.
Matt and layer together and attach to the first card base on the front of the tunnel.
Layer four:
Cut a piece from black card measuring 4.5 cm by 16.5 cms.
Cut a piece from the first paper measuring 4 cm by 16 cms.
Matt and layer together and attach to the first card base on the inside of the tunnel.
Layer five:
Cut a piece from black card measuring 2.5 cm by 9.5 cms.
Cut a piece from the second paper measuring 2 cm by 9 cms.
Matt and layer together and attach to the second card base on the top.
Layer six:
Cut a piece from black card measuring 11.5 cm by 9.5 cms.
Cut a piece from the second paper measuring 11 cm by 9 cms.
Matt and layer together and attach to the second card base on the front.
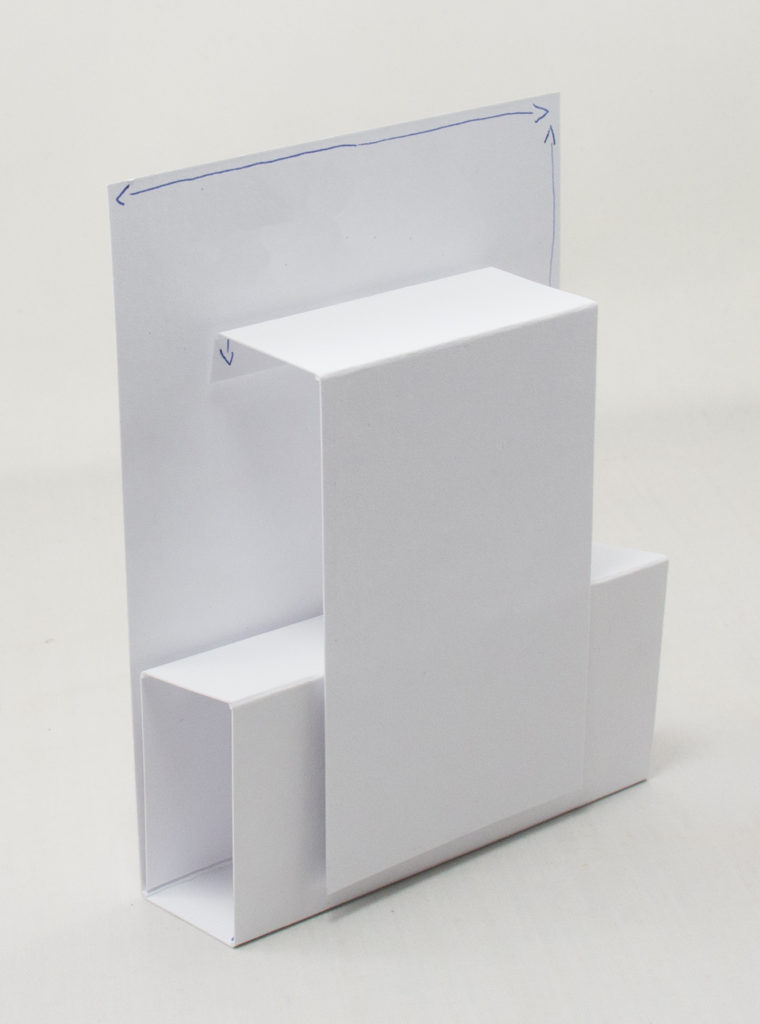
Then attach to the first card base as in the picture above.
Attach the top of the second card base first then fold the first card base flat and attach the bottom of the second card base.
Keeping the first card base flat while attaching the second card base will make the card design fold perfectly flat to fit in to a 7″ by 7″ envelope.
Layer seven:
Colour in the digital image Cheeky Devil.
I used promarkers.
Clothes: Pesto, marsh green, khaki
Shoes / Belt: Orange, mango, warm grey 3, 5
Skin: Dusky pink, blush
Hair: Warm grey, 1, 2, 4, Cool grey 1, 3
Wand / bag: Burnt umber, raw sienna, black
Bottle: Powder blue, caramel, sandstone, champagne
Devil: Crimson, lip stick red, hot pink, antique pink, dusky rose, sunflower
Cut around the image, leaving a small white border.
Attach to the card base using foam pads.
Layer eight:
Using the sentiment topper, cut out the sentiment and image then attach to the card base using foam pads.
Layer nine:
Score and fold a piece of A4 card in half to make an A5 card base.
Attach to the back of the first card base cutting off any extra card.
Then cut a piece from black card measuring 13.5 cm by 16.5 cms.
Cut a piece from white card measuring 13 cm by 16 cms.
Matt and layer together and attach to the inside of the card base.
……………………………………………………………………….
Thank you for visiting my blog and please feel free to follow and make any of my handmade card tutorials.
Any comments that you leave are really appreciated and always read.
Gnome For Christmas – Happy Christmas
It’s A Cats Life – Enjoy Your Special Day
………………………………………………………….
Challenges I would like to enter are:
The Fairy And The Unicorn Challenge August Challenge – Anything Goes A Long As It’s A Fantasy Creation
Di’s Digi Challenge – Include A Sentiment Challenge
Crafter’s Castle Challenge #44 – Anything Goes
Unicorn Challenge #68 – Anything Goes
CD Sunday Plus Challenge #66 – Anything Goes Must Include Something From A Cd, Usb, Digital Download
I love the base design of your card Lisa and the ‘cheeky devil’ in the bottle is so cute!
Pamela
CD Sunday Plus DT.
The card shape is amazing and the colouring is perfect. Thank you for sharing with us.
Carol xx
CD Sunday Plus DT
Great image and colouring, amazing card shape, you’ve given very useful instructions on how to make it too. Thanks for joining us at the Fairy and Unicorn challenge this month, good luck with your entry Claire DT
Such a great card shape and a fab image.
Jo
CD Sunday Plus DT