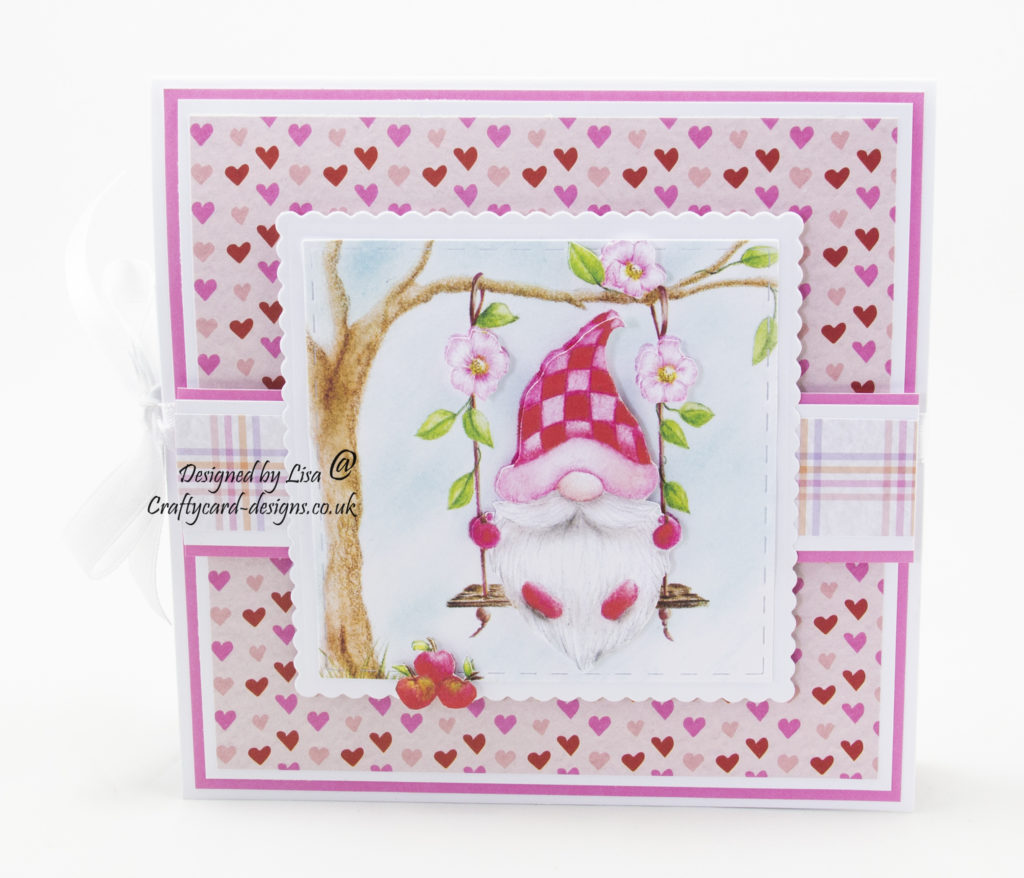
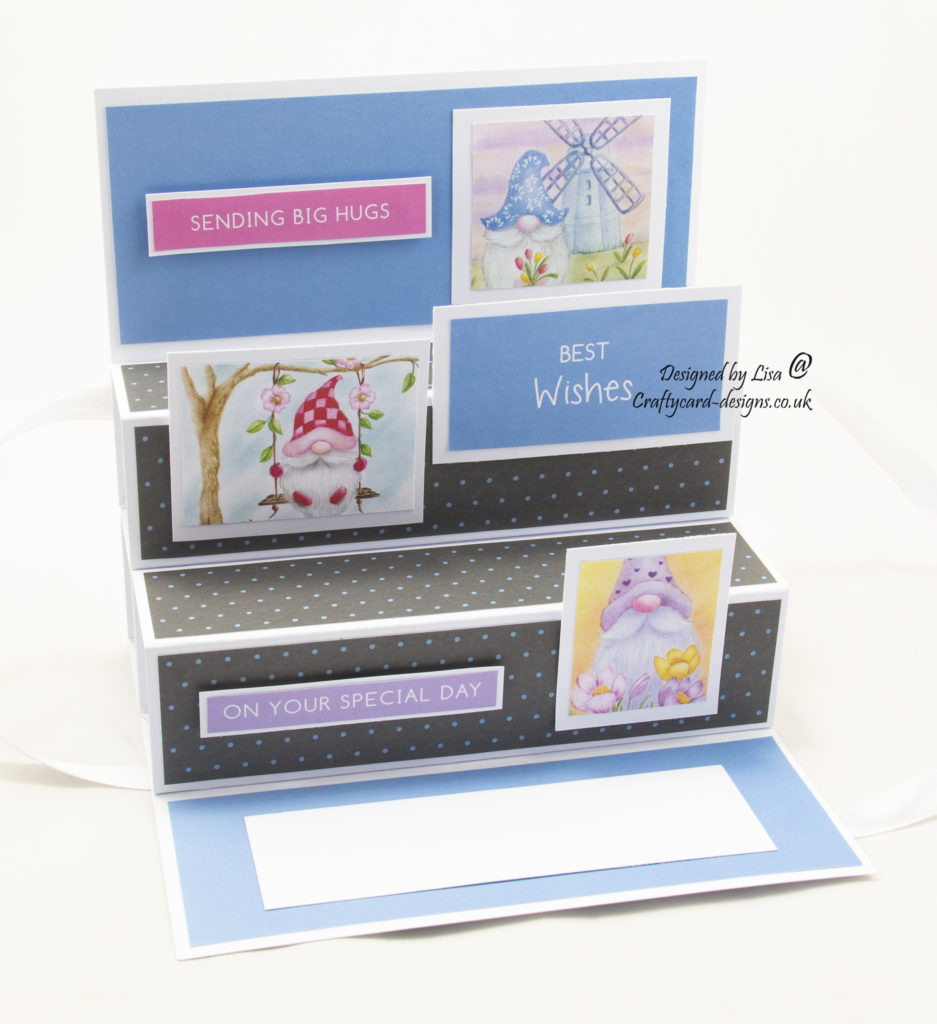
Today’s handmade card is an inside popup card, using Spring Gnomes paper collection from Creative Crafting World.
You will need :
6″ By 6″ White Card
A4 White Card
The Paper Boutique Spring Gnome – Solid Papers
The Paper Boutique Spring Gnome– Finishing Touches
The Paper Boutique Spring Gnome – Decorative Papers
The Paper Boutique Essential Nesting Dies Volume II
White Ribbon
Glue / Double Sided Tape
Foam Pads
Instructions:
Choose two coloured cards, three patterned papers, three small toppers, three sentiments and two of the same large topper.
Layer one:
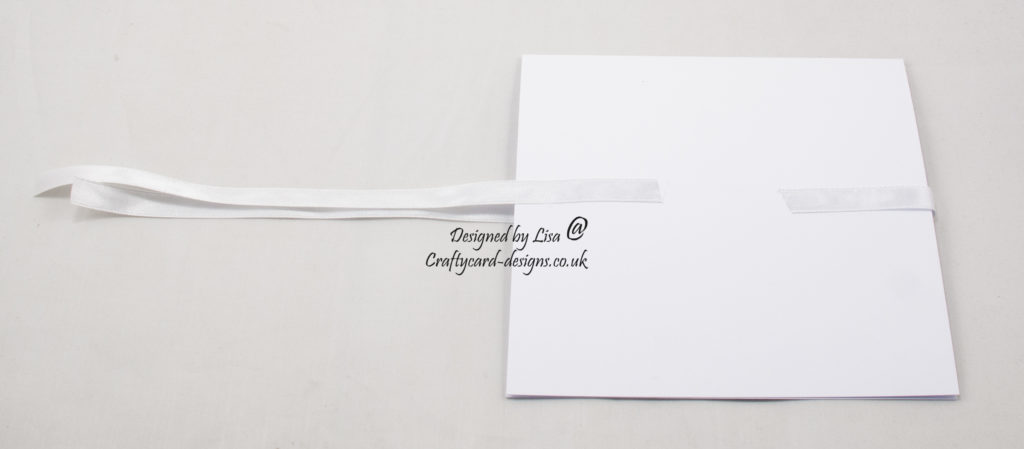
Using the card base with the fold at the top, add ribbon to the front of the card base on the left and the right. Making the right side ribbon enough to go all the way round the back of the card base.
Then cut a square from the first coloured card measuring 14.5 cms by 14.5 cms.
Cut a square from white card measuring 14 cms by 14 cms.
Cut a square from the first patterned paper measuring 13.5 cms by 13.5 cms.
Matt and layer together and attach to the front of the card base.
Layer two:
Cut a piece from the first coloured card measuring 3.5 cms by 14.5 cms.
Cut a piece from white card measuring 3 cms by 14.5 cms.
Cut a piece from the second patterned paper measuring 2.5 cms by 14.5 cms.
Matt and layer together and attach across the centre of the card base using foam pads.
Layer three:
Using the 10.1 cms by 10.1 cms die from volume II, cut a square from white card.
Using the 9.1 cm by 9.1 cm die from volume II, cut the larger topper out.
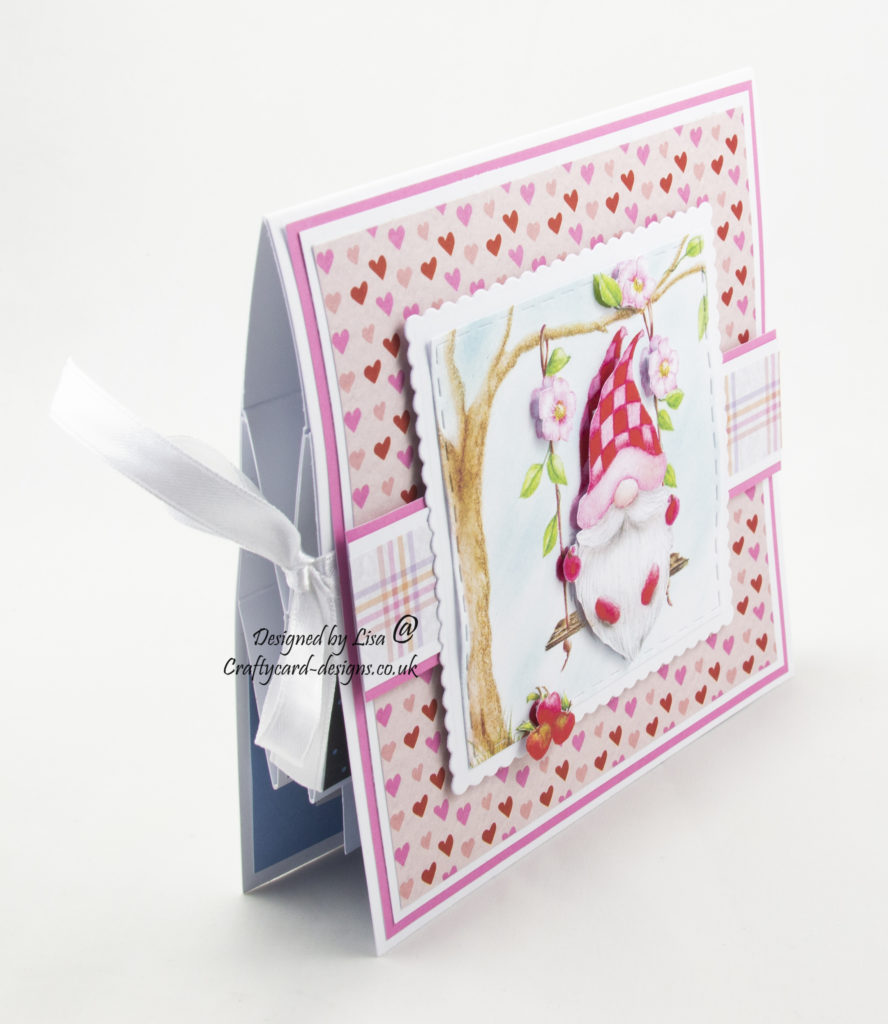
Matt and layer together and attach to the card base using foam pads.
Next decoupage the Gnome image using foam pads.
Layer four:
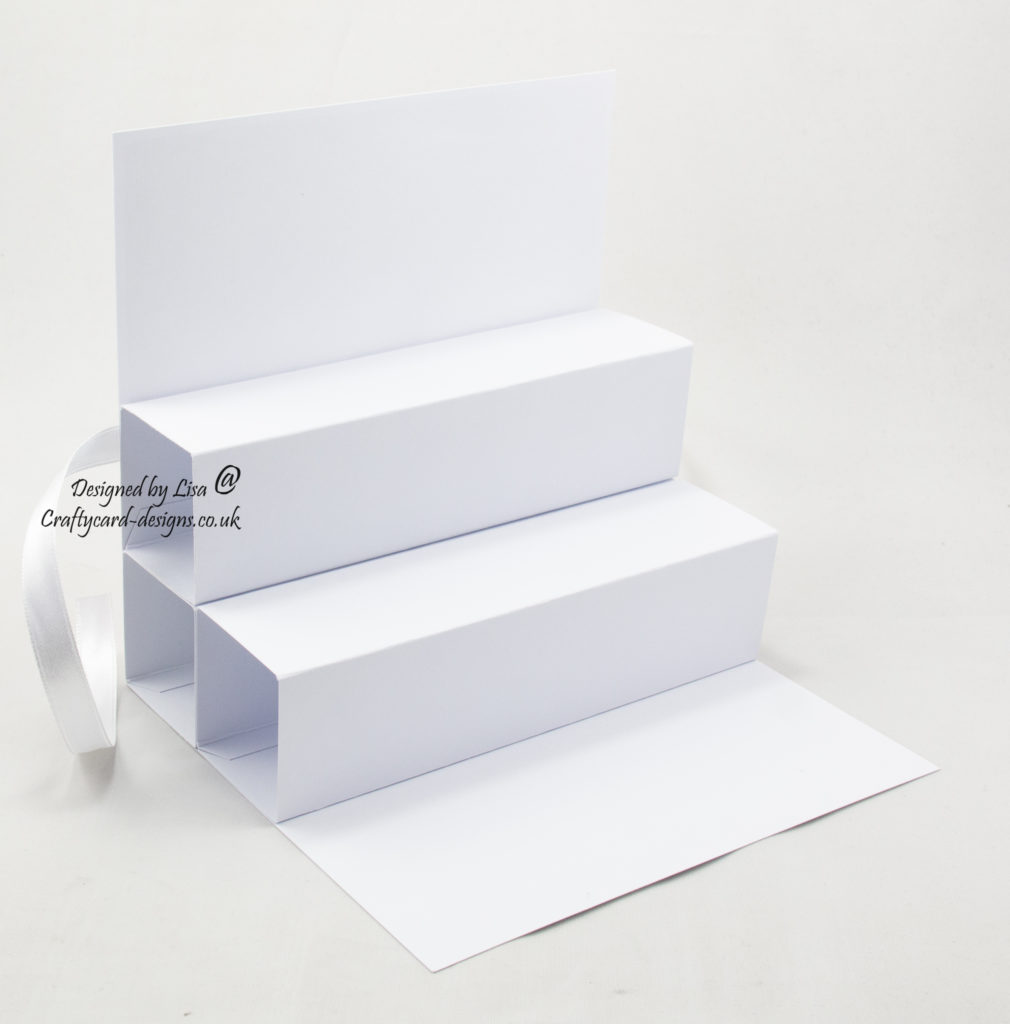
Cut three pieces from white card measuring 17 cms by 15 cms.
Score each piece at 4, 8, 12 and 16 cms.
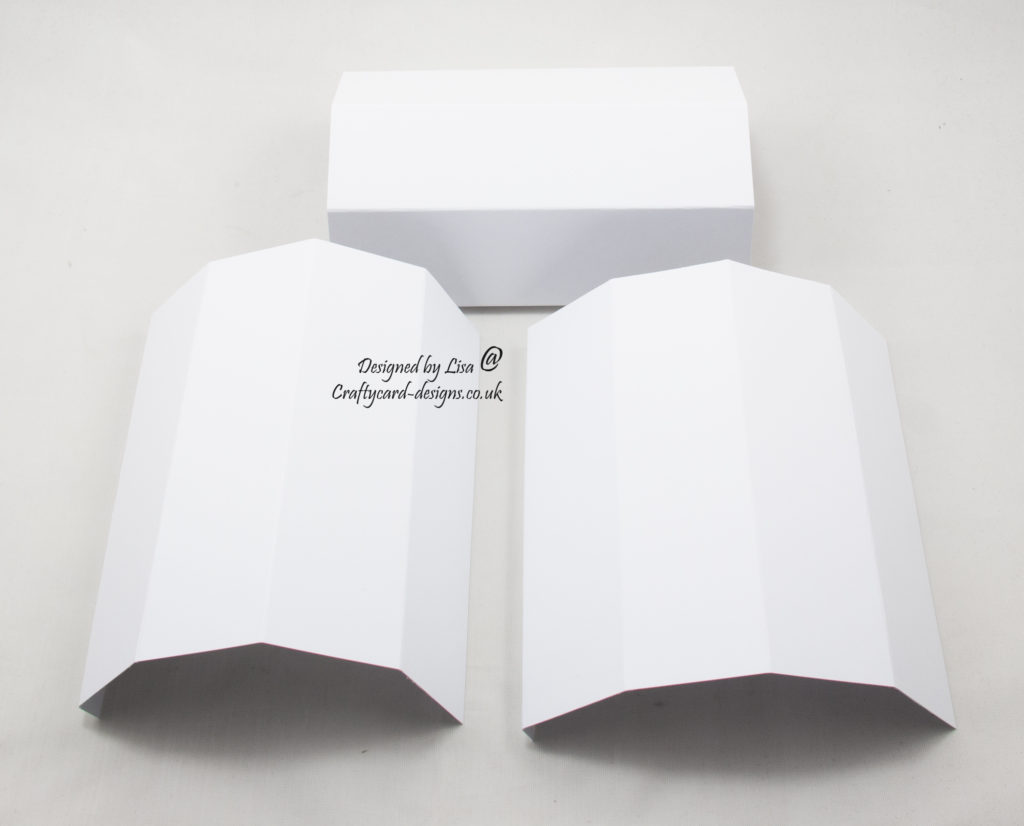
Attach each together to form three cuboids.
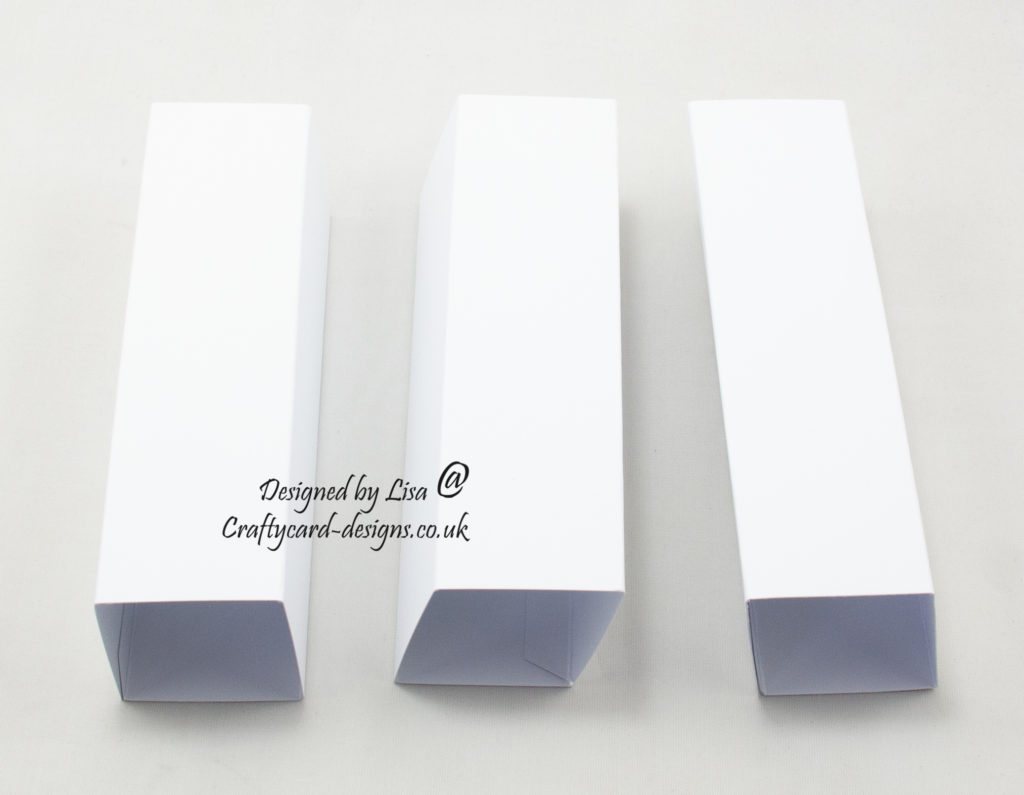
Layer five:
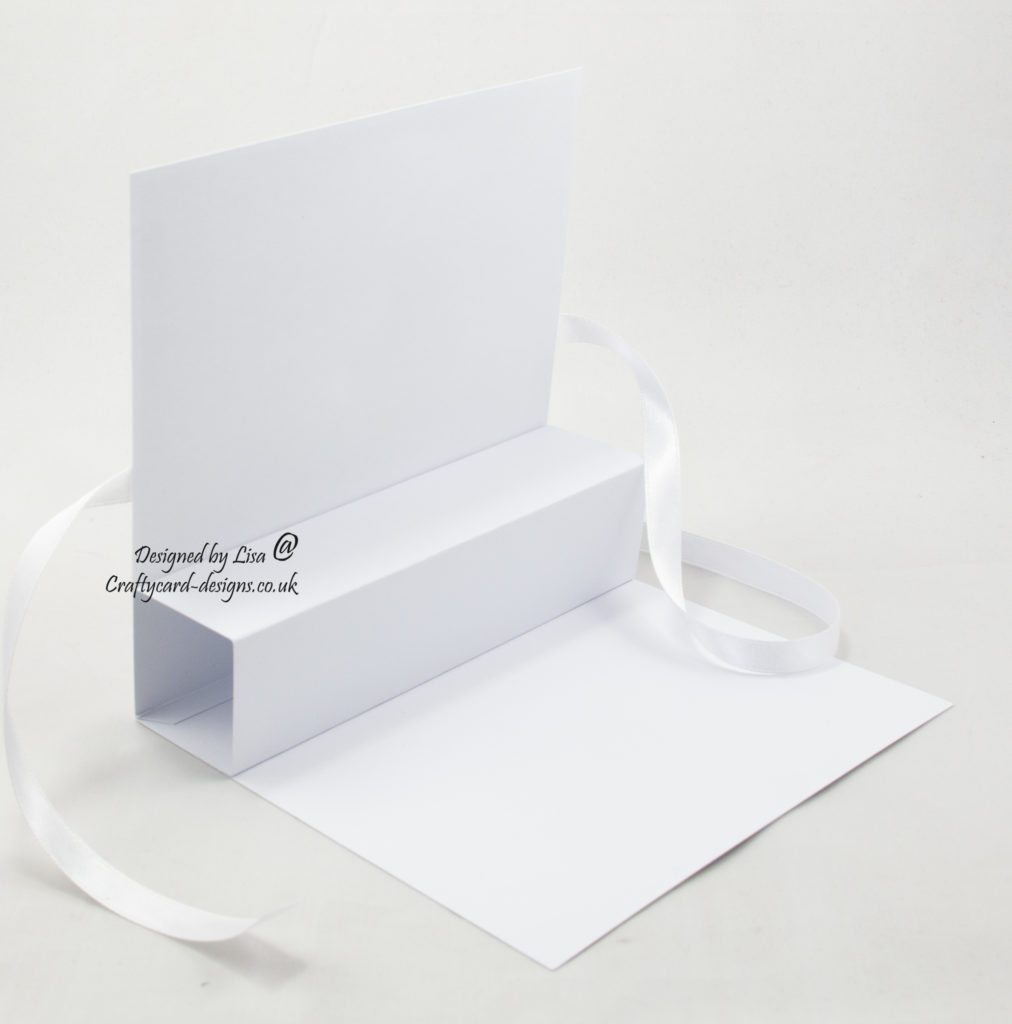
Attach the first cuboid to the inside of the card base, adding adhesive only to two sides.
Next add the second cuboid to the front of the first cuboid, adding adhesive only to two sides.
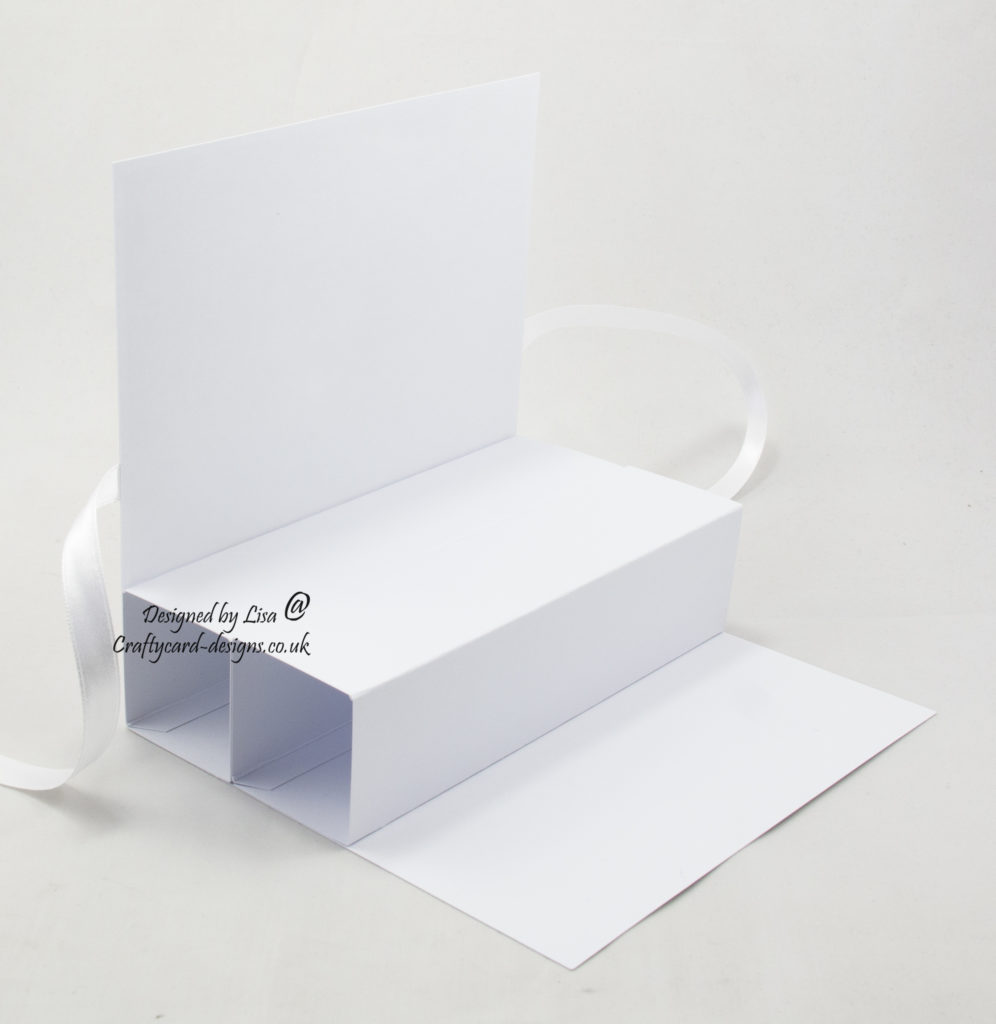
Next add the third cuboid to the top of the first cuboid, adding adhesive only to two sides.
Layer six:
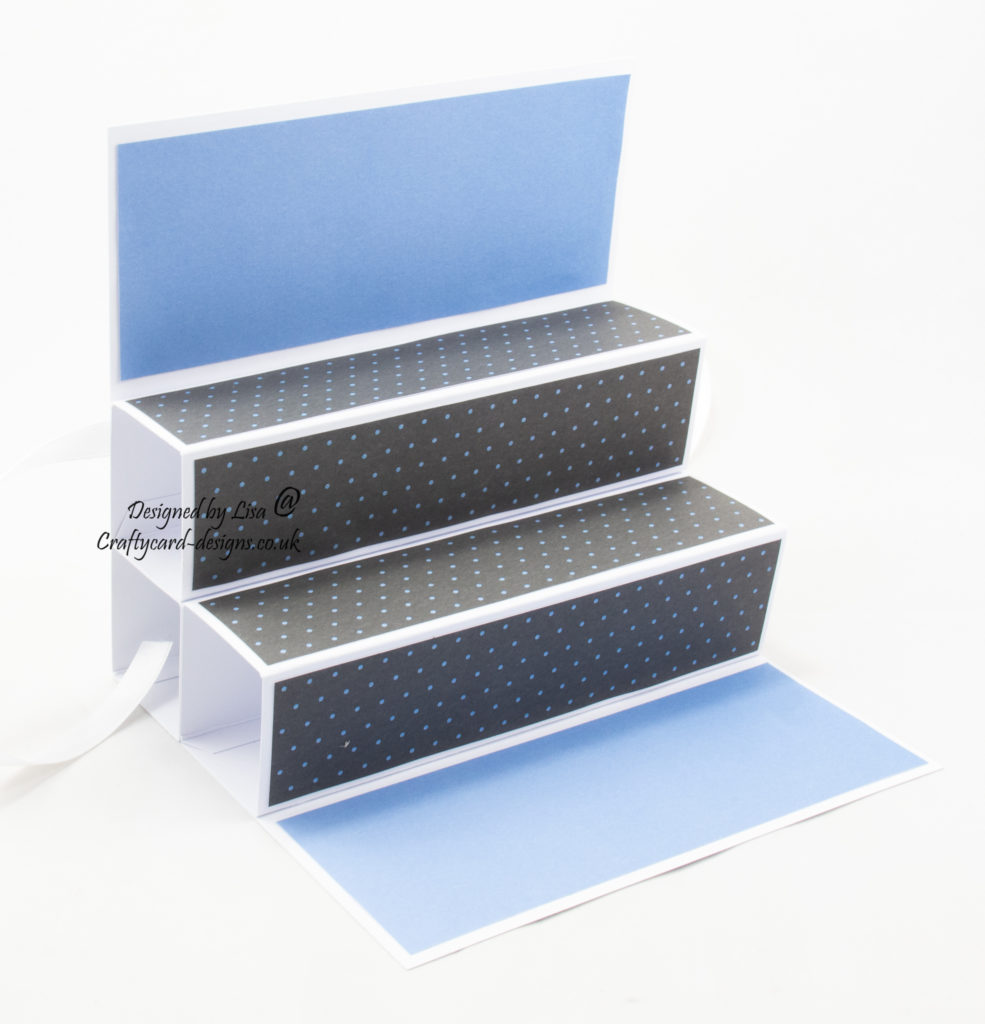
Cut two pieces from the second coloured card measuring 6 cms by 14.5 cms.
Attach to the inside of the card base one at the top and one bottom.
Cut a piece of white card measuring 4 cms by 11 cms.
Attach to the bottom coloured card.
Layer seven:
Cut four pieces from the third patterned paper measuring 3.5 cms by 14.5 cms.
Attach each to the cuboids.
Layer eight:
Cut matts from white card, for the three small toppers.
Matt and layer them together and attach to the inside of the card base.
Next cut matts for the three sentiments.
Matt and layer together and attach to the inside of the card base.

………………………………………………………………………….
Thank you for visiting my blog and please feel free to follow and make any of my handmade card tutorials.
If you would like to see other cards I have made please have a look here:
Cute Whimsical Spring Garden – Happy Birthday
Winter Gnomes – The Best Gift Is Friendship
Wearing Spring – Happy Birthday Sister
Garden Visitors : Sending You Birthday Wishes
Winter Gnomes – Wonderful Time Of The Year
Gnome For Christmas – Happy Christmas
………………………………………………………………………….
Challenges I would like to enter are:
Modsquad Challenge April 6th – Anything Goes
The Paper Funday Challenge #40 – Anything Goes / Optional Twist April Showers
Digi Choosday Challenge WK15 – Anything Goes
Through The Craft Room Door Challenge April 12th – Anything Goes
Crafting With Happiness Challenge #122 – Anything Goes
Oh my gosh, I am such a FAN of gnomes, and yours just make me smile. I love this step card, so creative and amazing! Lots of fabulous work here, thanks so much for playing along with us for the last time over at the Mod Squad. I am very sad that we are retiring, it has been a great ride. Hope to see you around the web!!
Judy~ MSC Designer
Thanks so much for the tutorial on this amazing card! Thanks for sharing with us at The Paper Funday Challenge and we hope to see more of your lovely projects again very soon. Happy Easter!
Donna
The Paper Funday Challenge
The Inspiration Station Challenge
Great tutorial – off to give this one a try. Love the design and colour combination.
Thank you for entering our Anything Goes Challenge at Through The Craft Room Door. Looking forward to see you again next challenge.
Hugs Sheryl xx
TTCRD DT
Wow this is amazing! The gnome is ever so cute too.
Hugz Tinz
What a fun pop-up card! I love it! Thanks for entering the Digi Choosday Challenge. Good luck!! – Linh (DT)
Fabulous card and great design! Thank you for joining with us at Digi Choosday Crafting challenge.
Good luck with your entry
Maritza DT