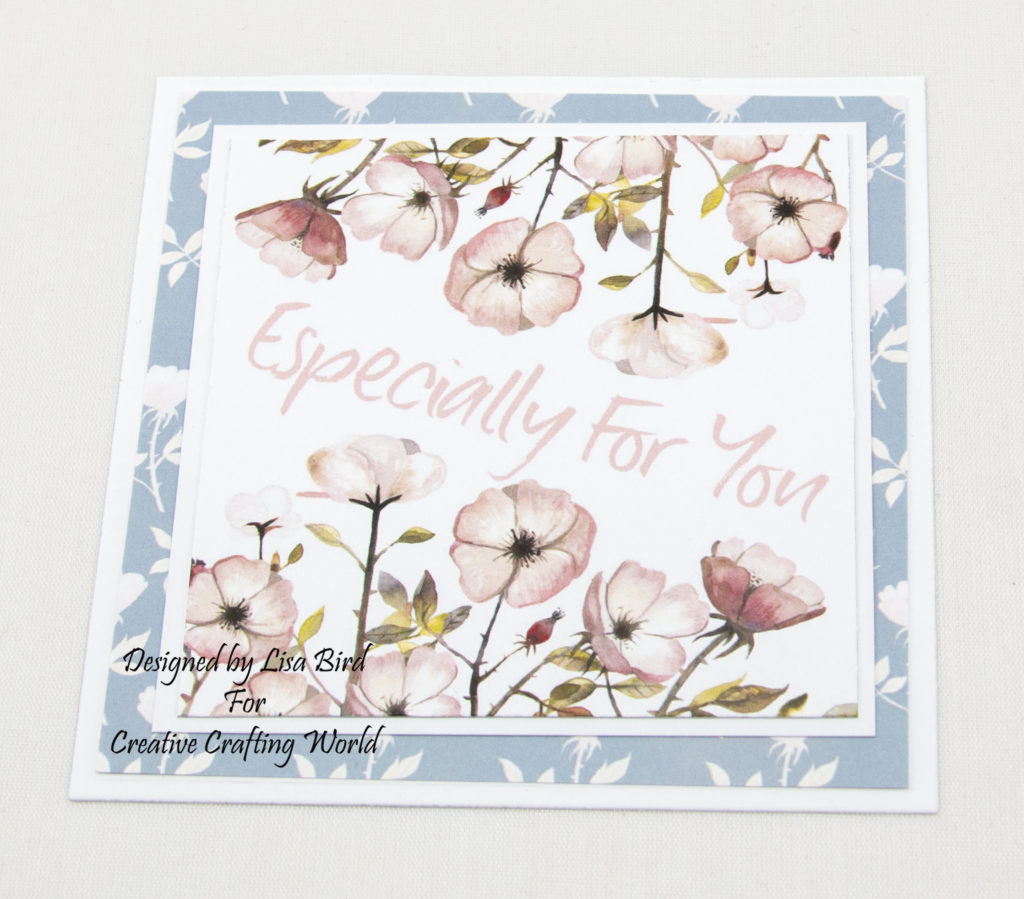
This handmade swing card has been created using a paper collection called Where Wild Roses Grow.
This collection is from The Paper Tree range from Creative Crafting World
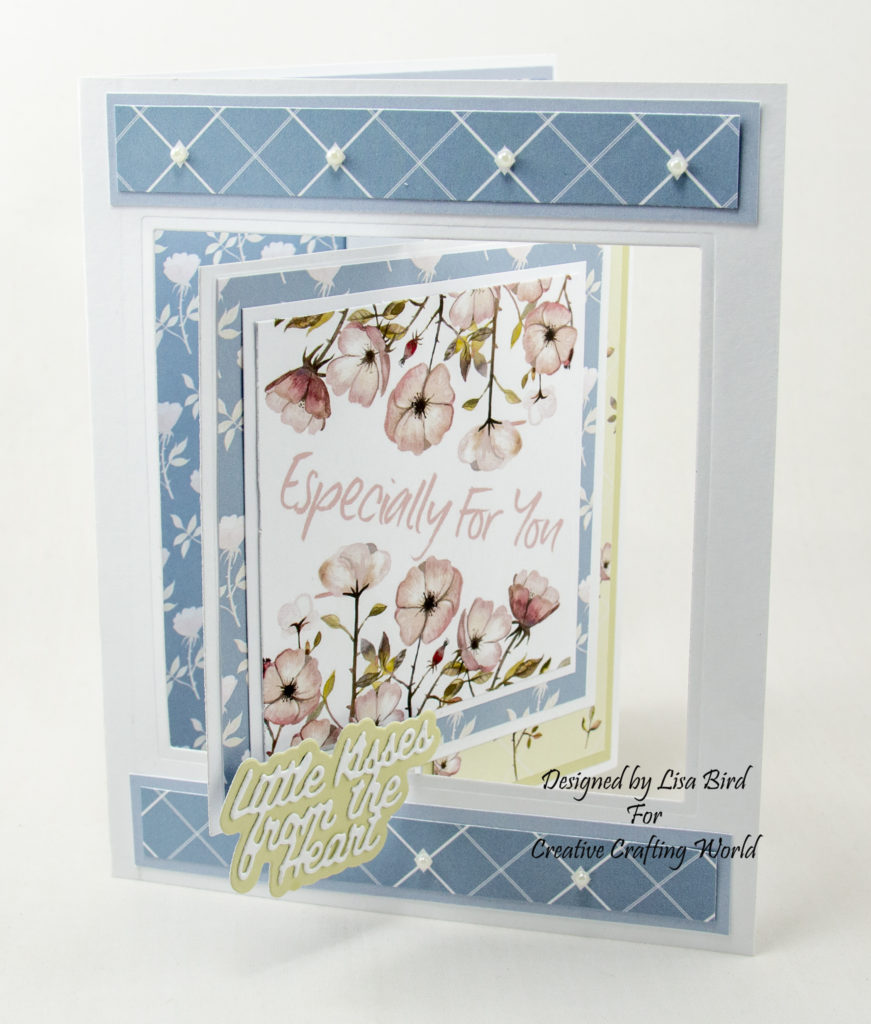
Here is a tutorial on how I created this card.
You will need :
2 x A4 White Card
The Paper Tree Where Wild Roses Grow – Topper / Paper Collection
The Paper Boutique Where Wild Roses Grow – Coloured Card Collection
The Paper Boutique The Butterfly Ballet Collection – Sentiment Volume XII
White Card
Wet Glue / Double Sided Tape
Foam Pads
Instructions:
Choose one square topper, three patterned papers, two coloured cards and a sentiment die.
Card Base:
Cut a piece from white card measuring 16 cms by 26 cms
Score and fold at 13 cms.
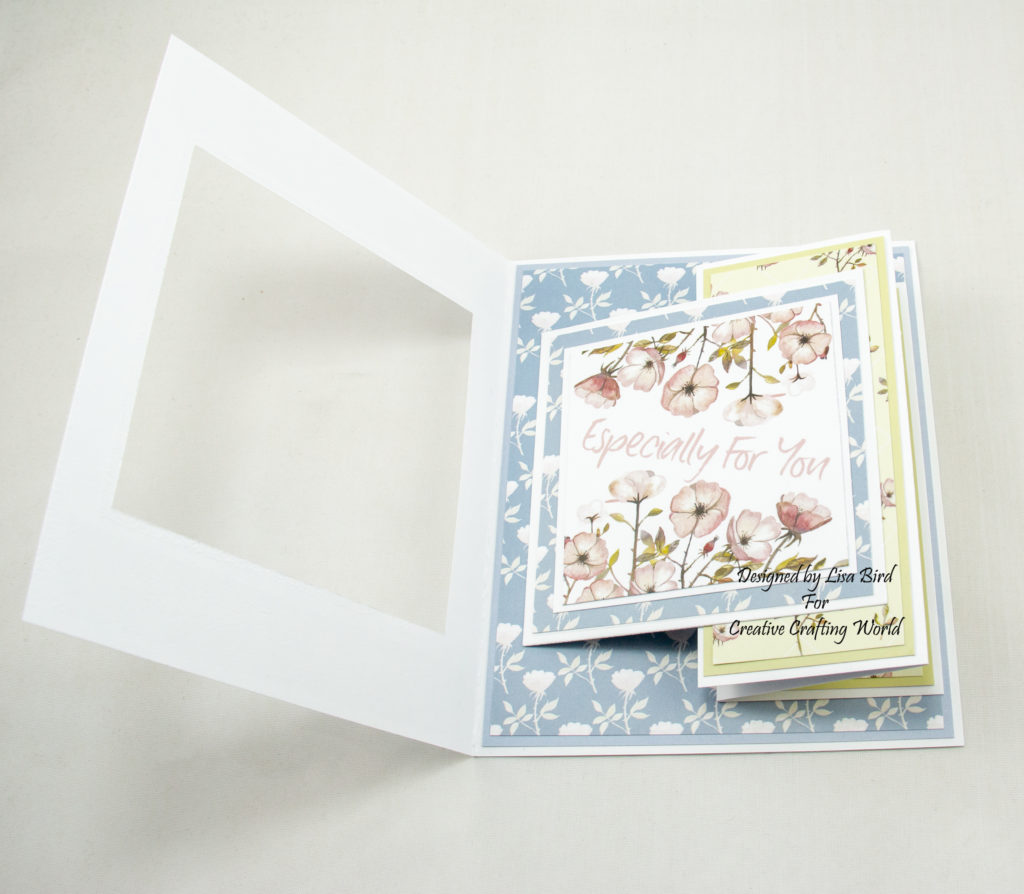
Next place a square die in the centre and run through a cutting machine.
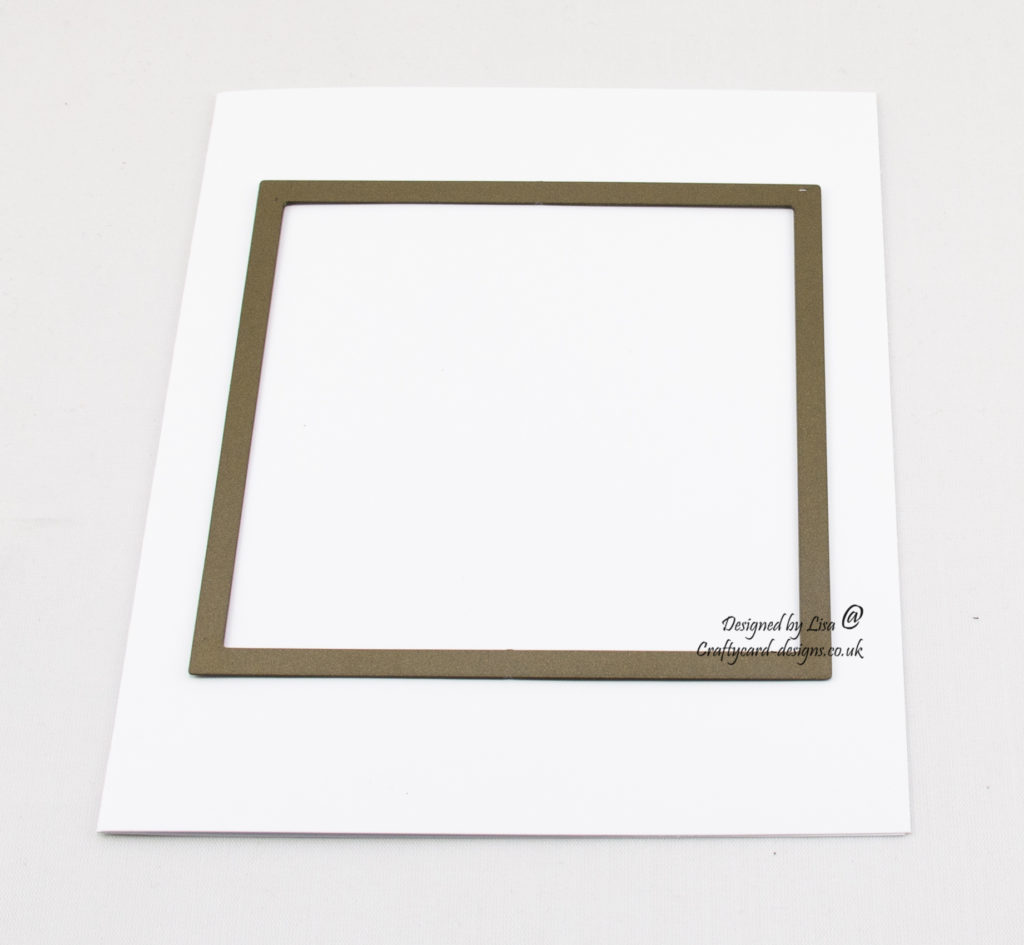
Keep the square that is cut out as it will be used later.
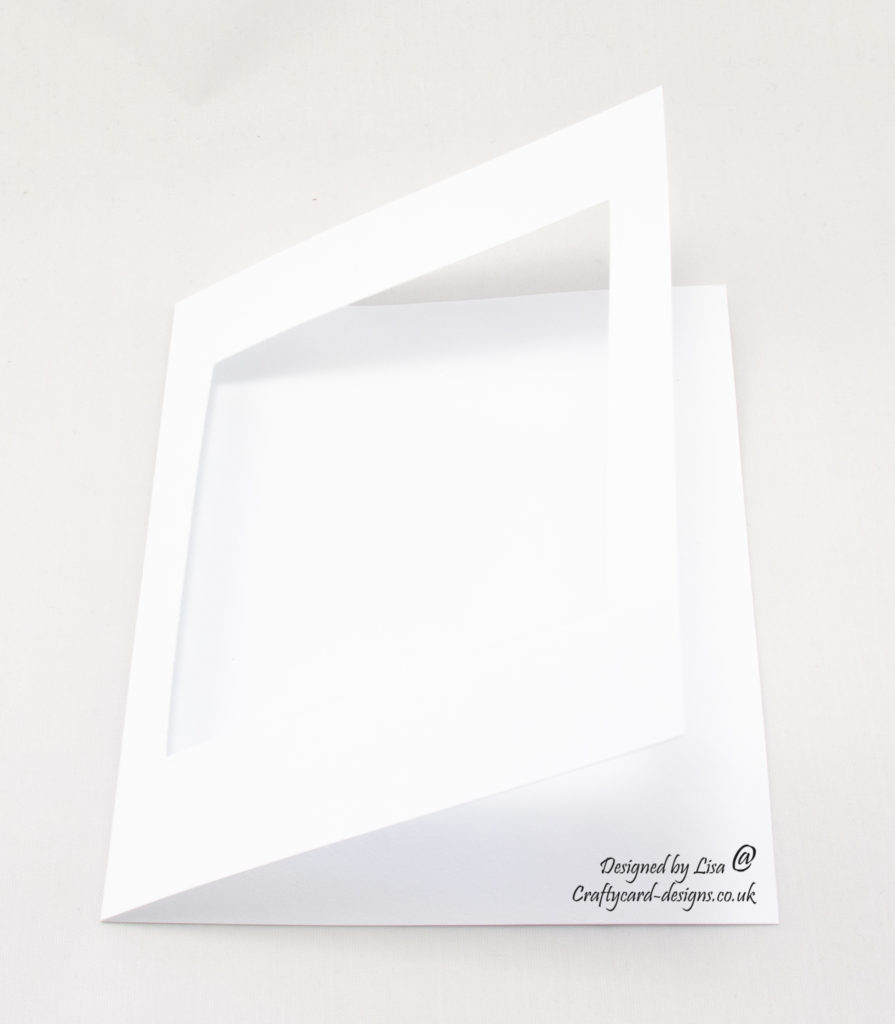
Next using white card cut a piece measuring 18 cms by 13 cms.
Score at 6 cms and 12 cms.
Fold along each score line in a zig zag shape.

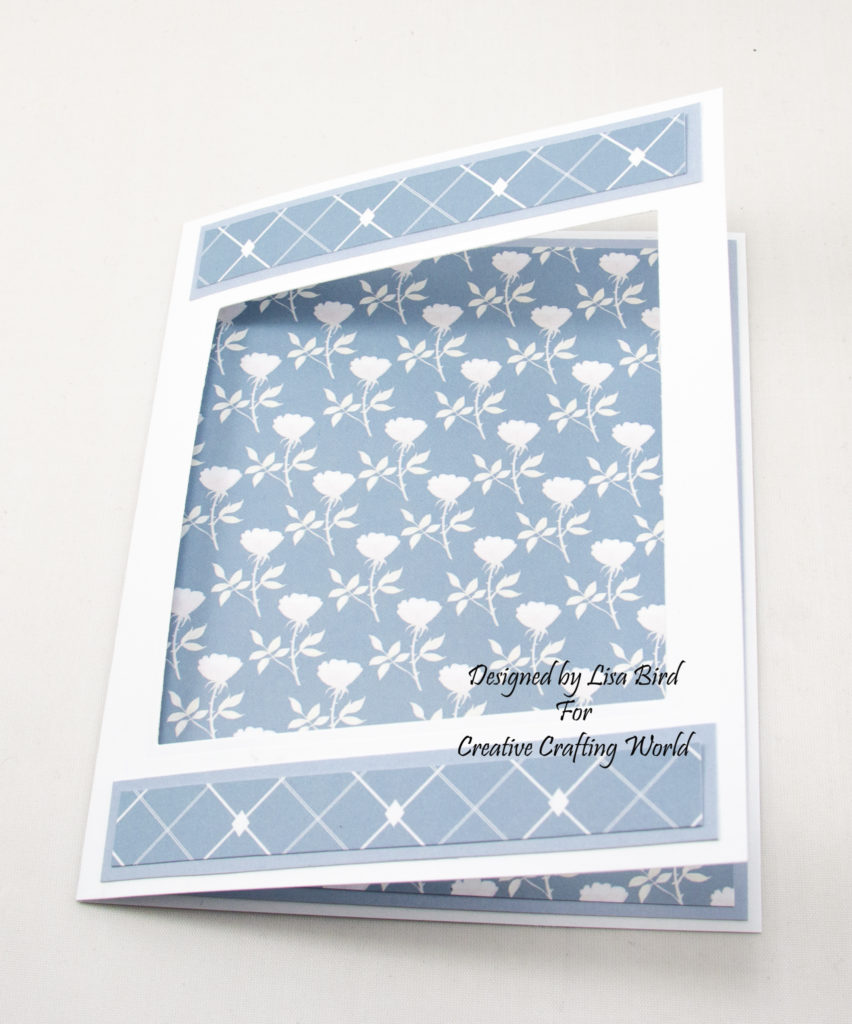
Layer one:
Cut a piece from one of the coloured cards measuring 15.5 cms by 12.5 cms.
Cut a piece from one of the papers measuring 15 cms by 12 cms.
Matt and layer together and attach to the inside of the card base.
Layer two:
Cut two pieces from the same coloured card measuring 2 cms by 12 cms.
Cut two pieces from the second paper measuring 1.5 cms by 11.5 cms.
Matt and layer together and attach to the front of the card base.
One across the top and one across the bottom.
Layer three:
Cut three pieces from the second coloured card measuring 12.5 cms by 5.5 cms.
Cut three pieces from the third paper measuring 12 cms by 5 cms.
Matt and layer together and attach to the white zig zag card.
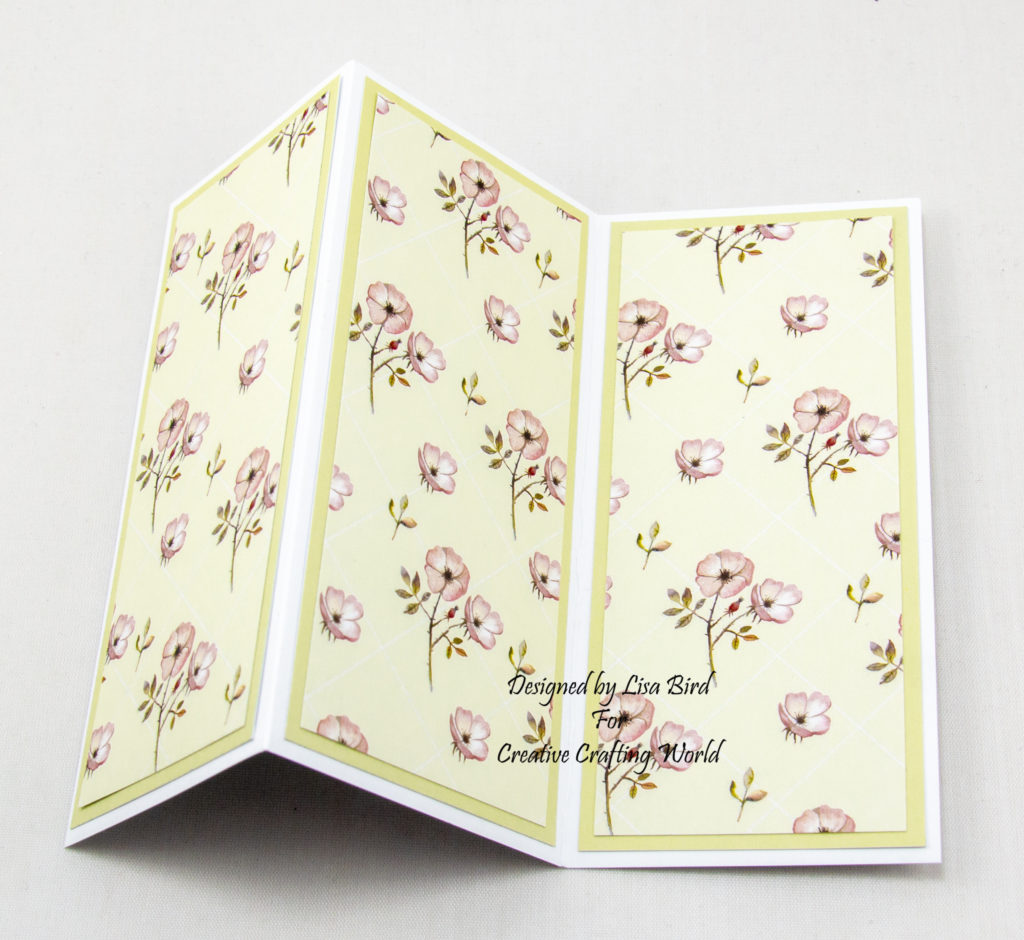
Next fold and attach the zig zag card to the inside of the card base on the right.

Layer four:
Cut a square from the first paper measuring 9.5 cms by 9.5 cms.
Then cut a square from white card measuring 9 cms by 9 cms.
Matt and layer this to the white square that was created from the card base.
Along with the square topper.
Add double sided tape to the right half of the topper layer on the back.
Close the card base and attach the topper layer to the inside zig zag card, as if the square was going back on the front of the card base.
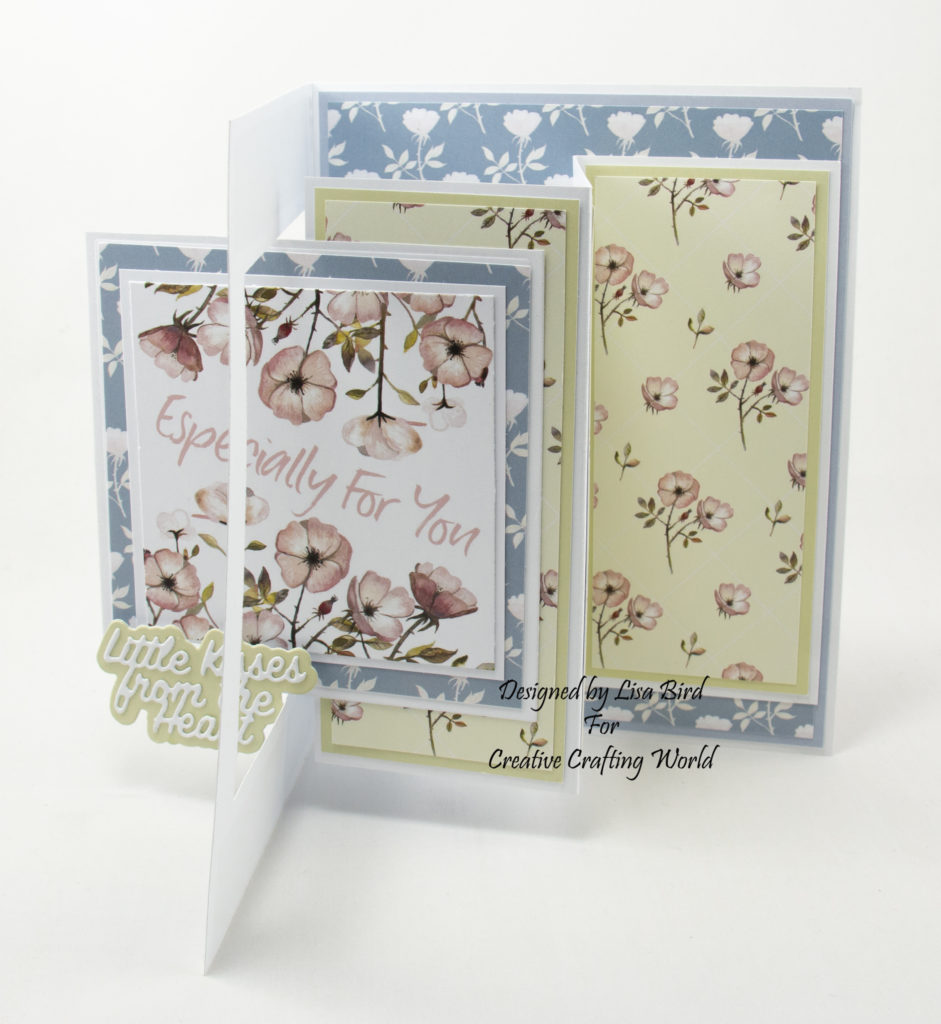
Layer five:
Using a sentiment die, cut the matt layer from the second coloured card.
Cut the sentiment out of white card.
Matt and layer together and attach to the left corner of the topper using a small foam pad.
The sentiment will work as a stopper when opening the card up.
Layer six:
Cut a piece from the first coloured card measuring 15.5 cms by 12.5 cms.
Cut a piece from white card measuring 15 cms by 12 cms.
Matt and layer together and attach to the back of the card base.
This makes a perfect place to write a message.
This card will fold flat for posting.

………………………………………………………………………….
Thank you for visiting my blog and please feel free to make any of my card designs.
If you would like to see other cards using Creative Crafting World products please have a look here:
Lavender Lane – Sending You Love
Pollyanna Pickering World Wildlife Volume III
A Garden In Provence – It’s Time For Celebration
A Christmas Visitor – Mum And Dad
………………………………………………………….
Challenges I would like to enter are:
A Bit More Time To Craft Challenge 102 – Anything Goes
Love To Craft Challenge 39 – Anything Goes
The Creative Crafters Challenge 21 – Anything Goes
Super make, fab design and thanks for sharing the details with us over at the Love To Craft Challenge Blog
Kathyk
DT @ LTCCB
A beautiful card Ginny
My Blog As I do Rodos
Beautiful,
Hugz Tinz
This is beautiful. I can see that I am going to love browsing your blog.
Stunning card beautiful topper and paper-love the fold and thank you for the step by step definitely going to try this
Carol x
Gorgeous project hunni hugs Aly xxx