Today’s handmade card has been created for the new challenge at Aud Sentiments Challenge Blog #307.
The theme for this challenge is Gift Tag / Packing / Or Christmas + A Sentiment.
You can make any type of project such as a card, tag, scrapbook layout, pocket letter, box etc.
The theme must be followed and a sentiment included.
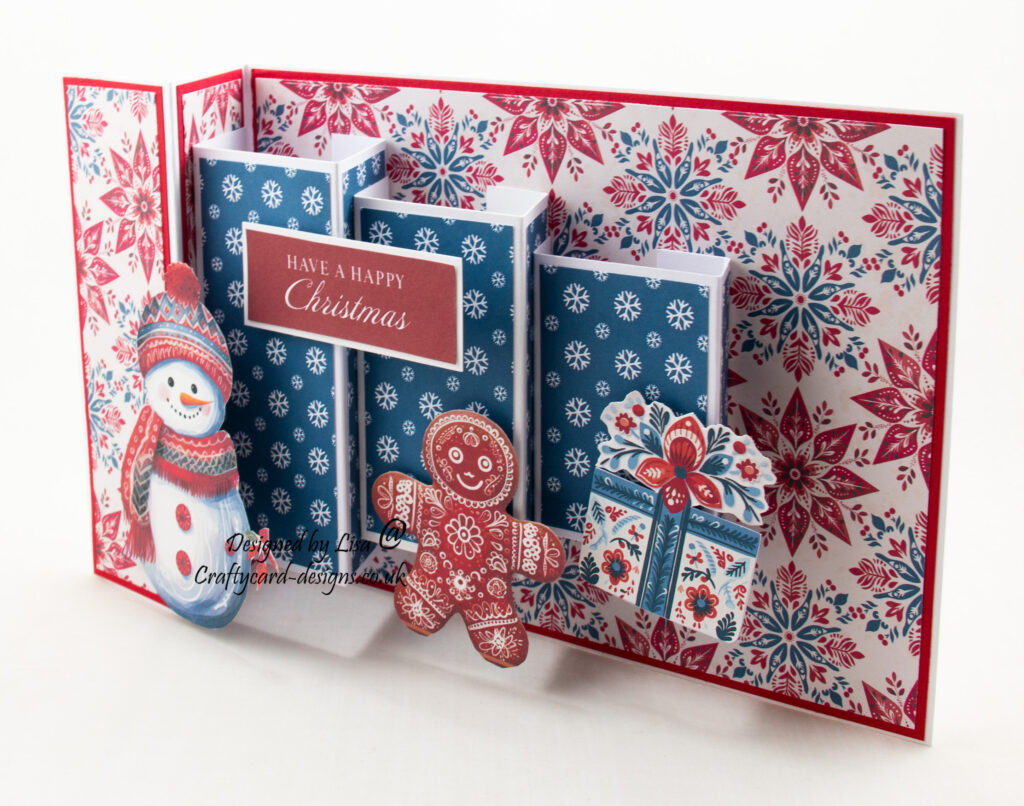
I chose to make a Christmas card using A Scandi Christmas digital download collection from The Crafty Witches.
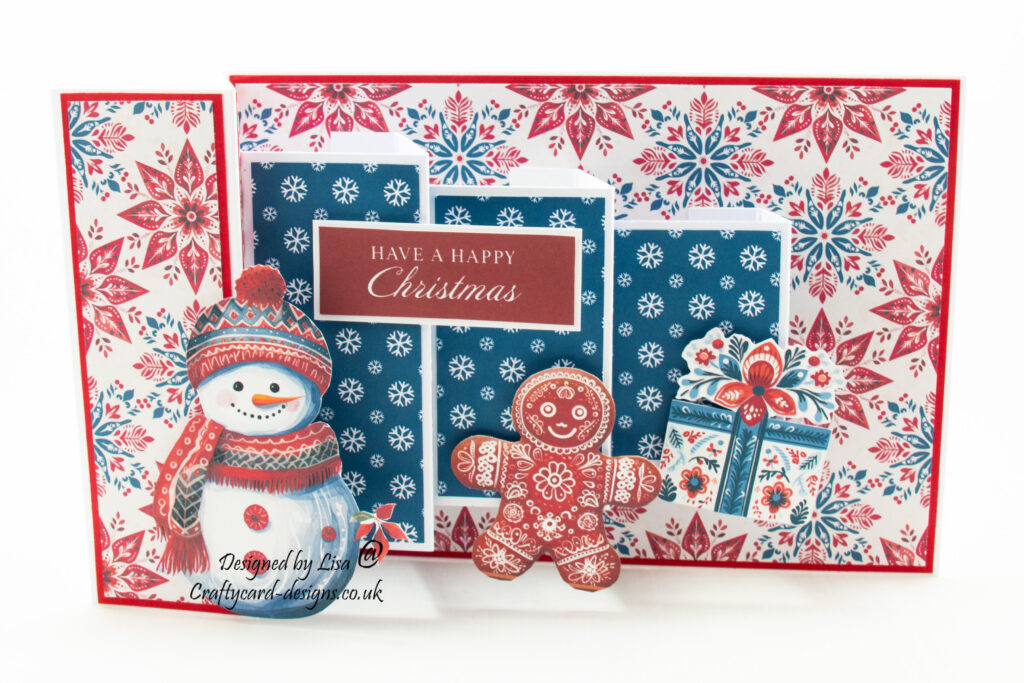
Here is a tutorial on how I created this card.
You will need :
A5 Landscape White Card
White Card
Red Card
The Crafty Witches – A Scandi Christmas Digital Download Collection
Glue / Double Sided Tape
Foam Pads
Instructions:
Choose and print two patterned papers, one topper sheet and one sentiment sheet.
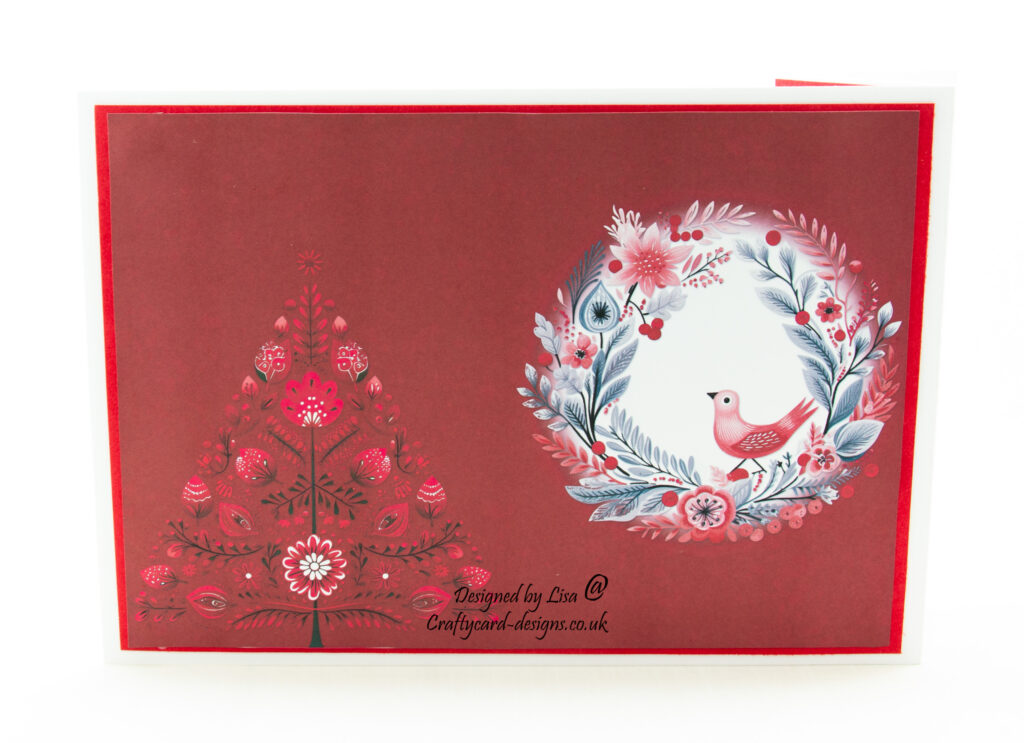
Then choose and print an insert at 65%.
Card Base:
Trim the A5 landscape card front to measure 10 cms.
Then score and fold at 5 cms.
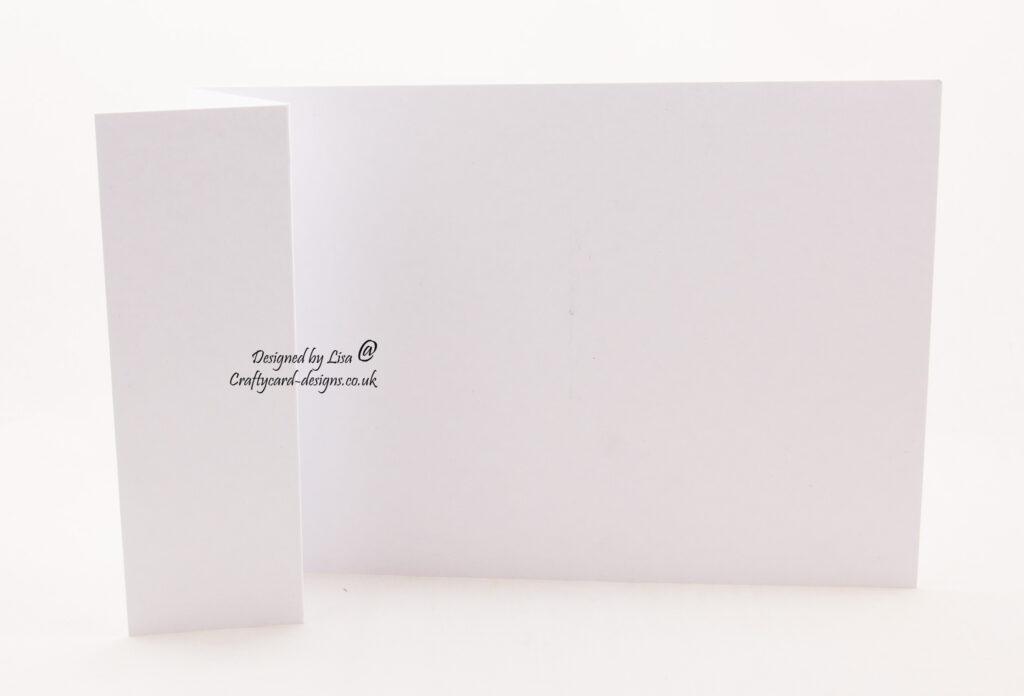
Next using the white card cut three pieces of card:
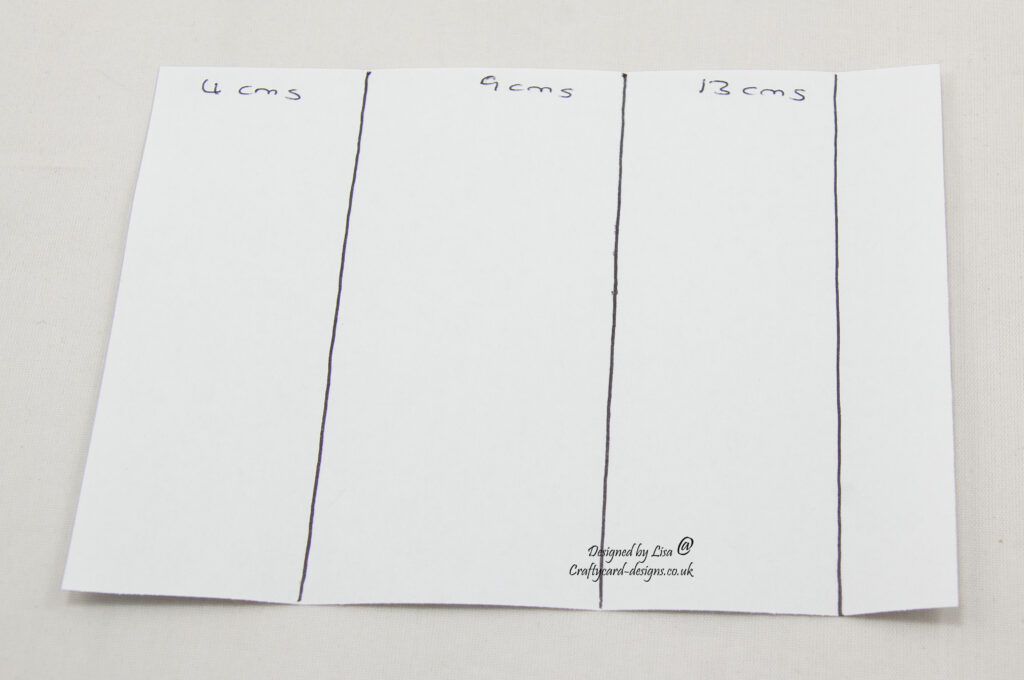
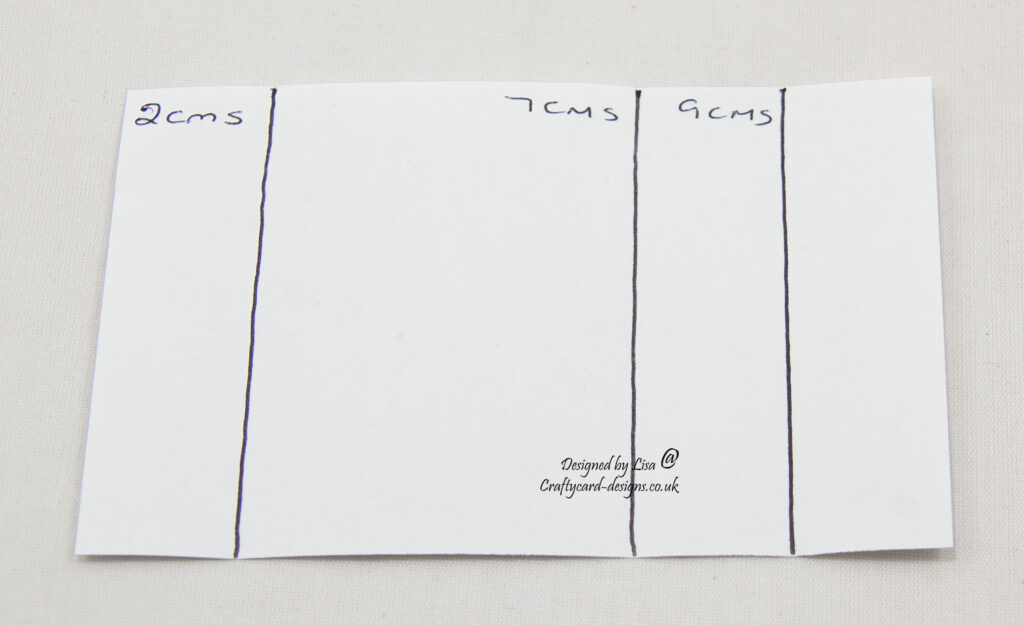
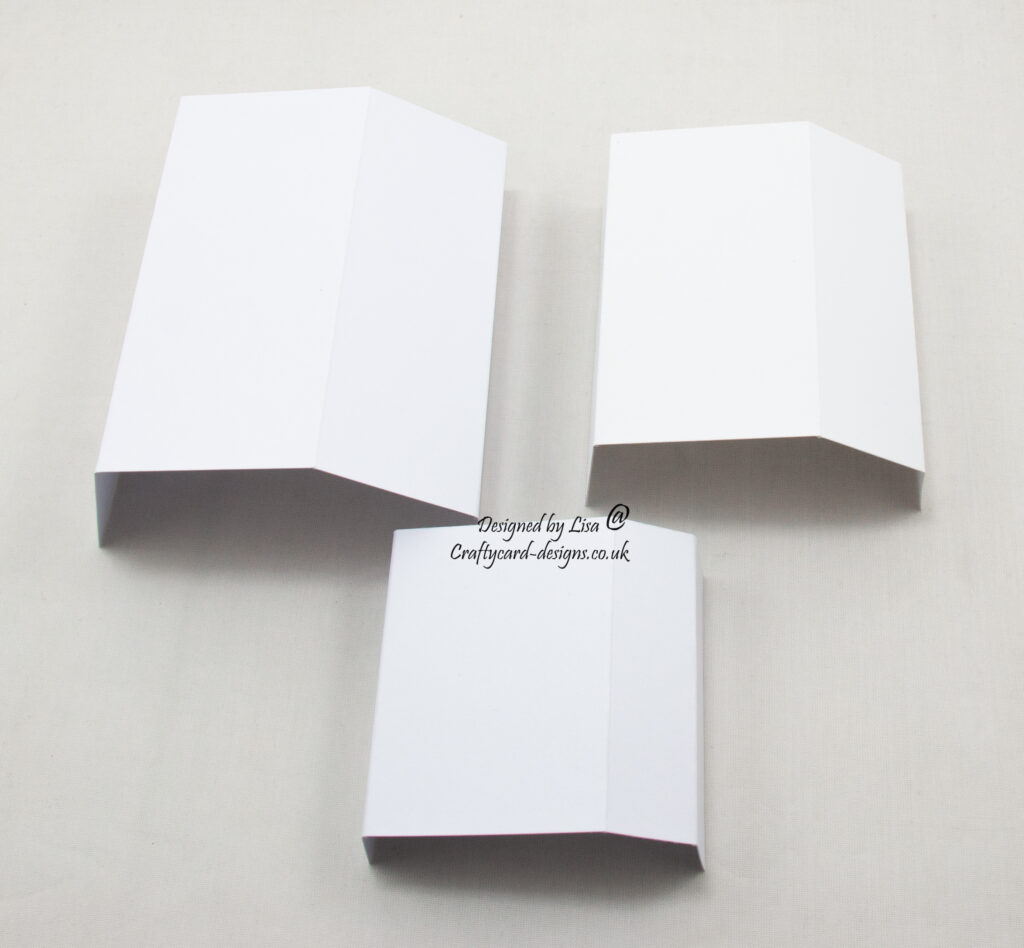
1 : 11 cms by 15 cms, score and fold at 4 cms, 9 cms and 13 cms.
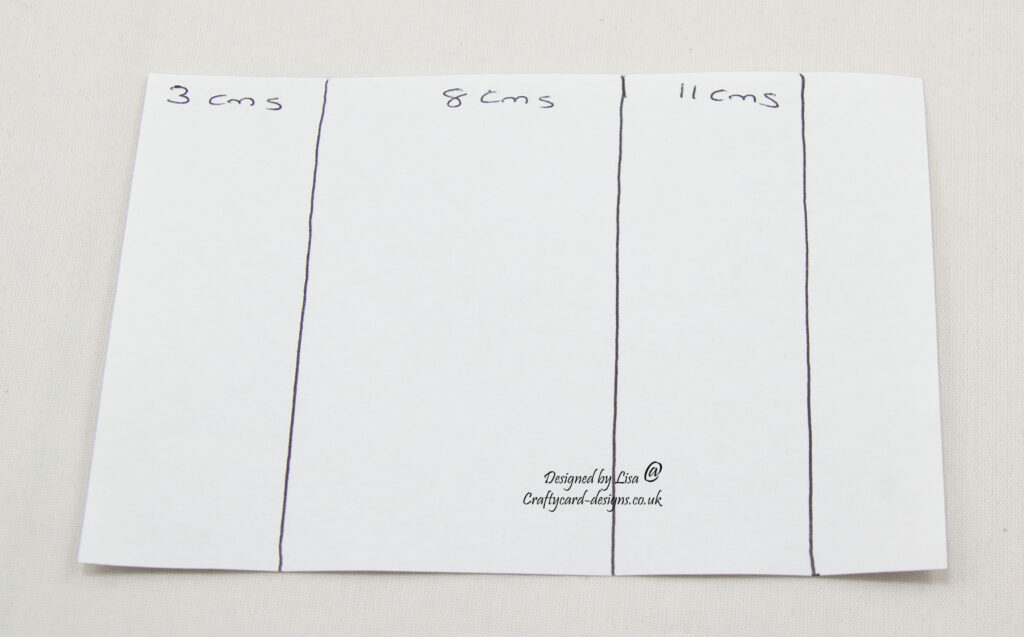
2 : 9 cms by 13 cms, score and fold at 3 cms, 8 cms and 11 cms.
3 : 7 cms by 11 cms, score and fold at 2 cms, 7 cms and 9 cms.
Layer one:
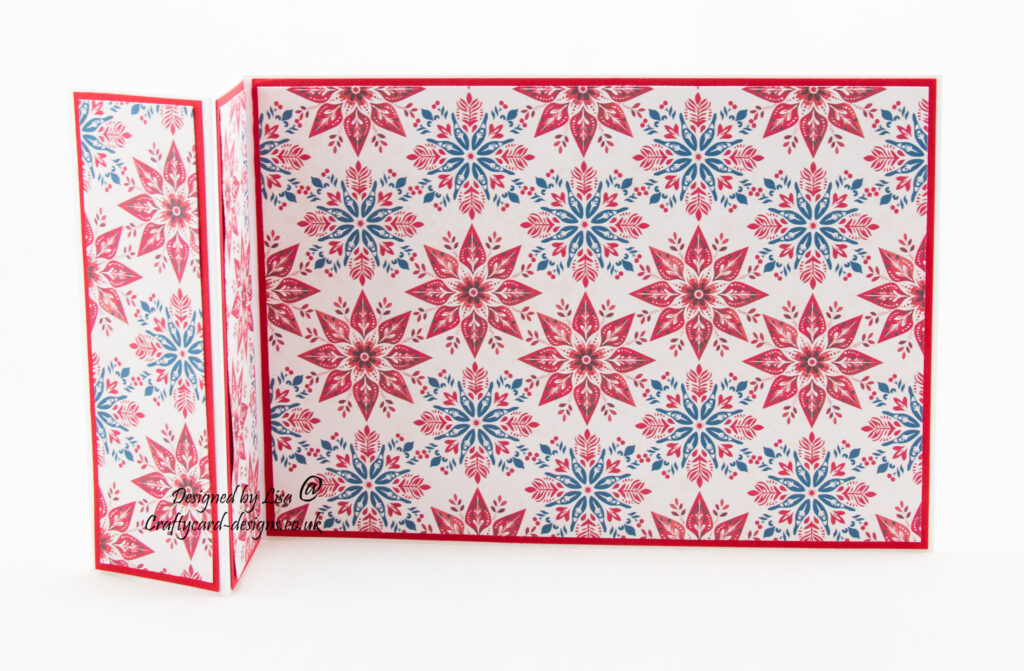
Cut a piece from red card measuring 14.5 cms by 20.5 cms.
Cut a piece from the first patterned paper measuring 14 cms by 20 cms.
Matt and layer together and attach to the inside of the A5 card base.
Layer two:
Cut two pieces from red card measuring 14.5 cms by 4.5 cms.
Cut two pieces from the first patterned paper measuring 14 cms by 4 cms.
Matt and layer together and attach to the front fold of the card base.
Layer three:
Cut two pieces from the second patterned paper, one measuring 10.5 cms by 4.5 cms and one measuring 10.5 cms by 3.5 cms.
Attach to the first card piece.
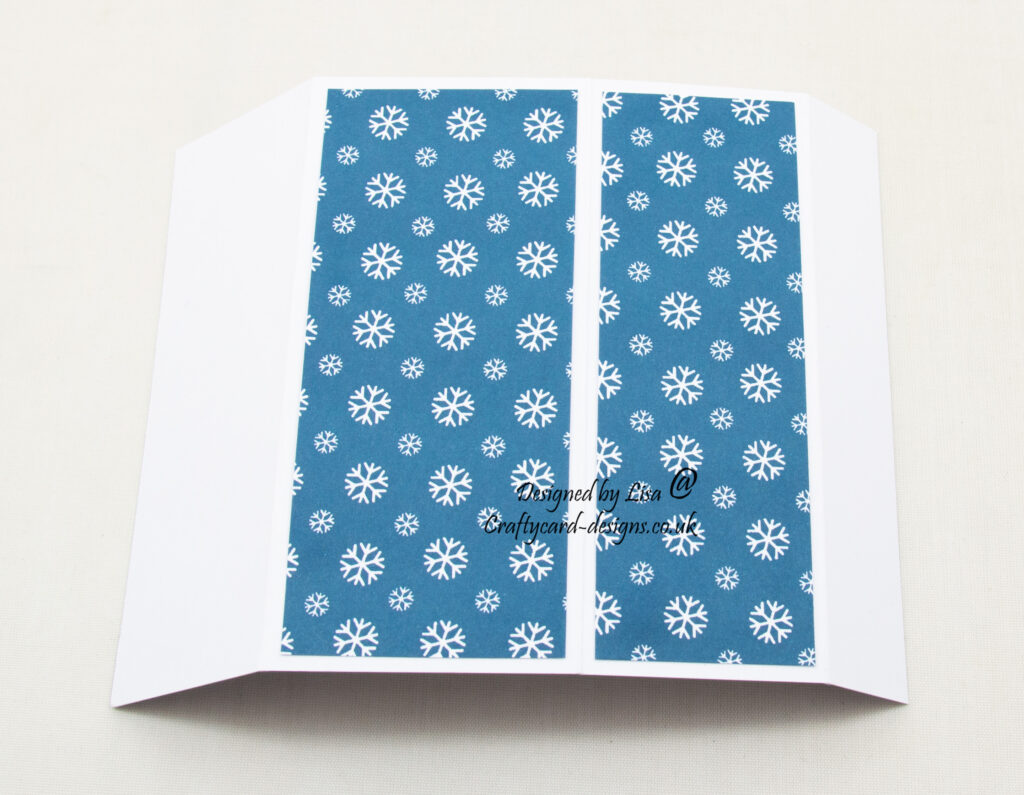
Cut two pieces from the second patterned paper, one measuring 8.5 cms by 4.5 cms and one measuring 8.5 cms by 2.5 cms.
Attach to the second card piece.
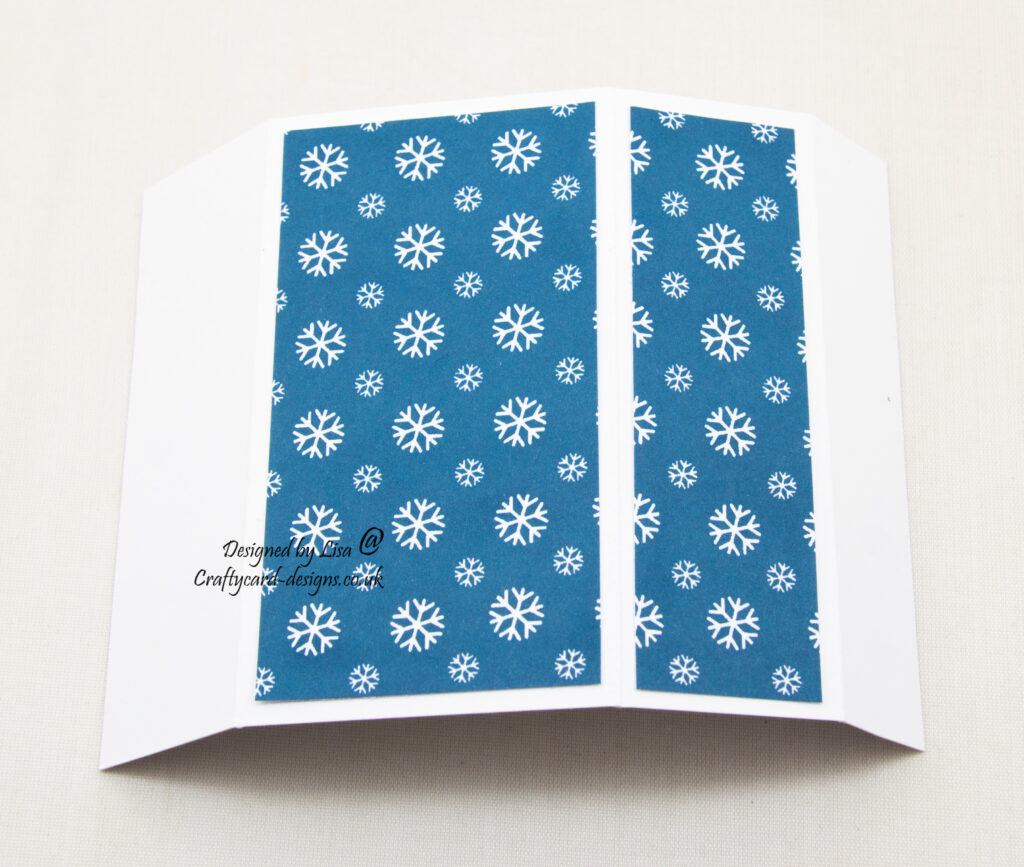
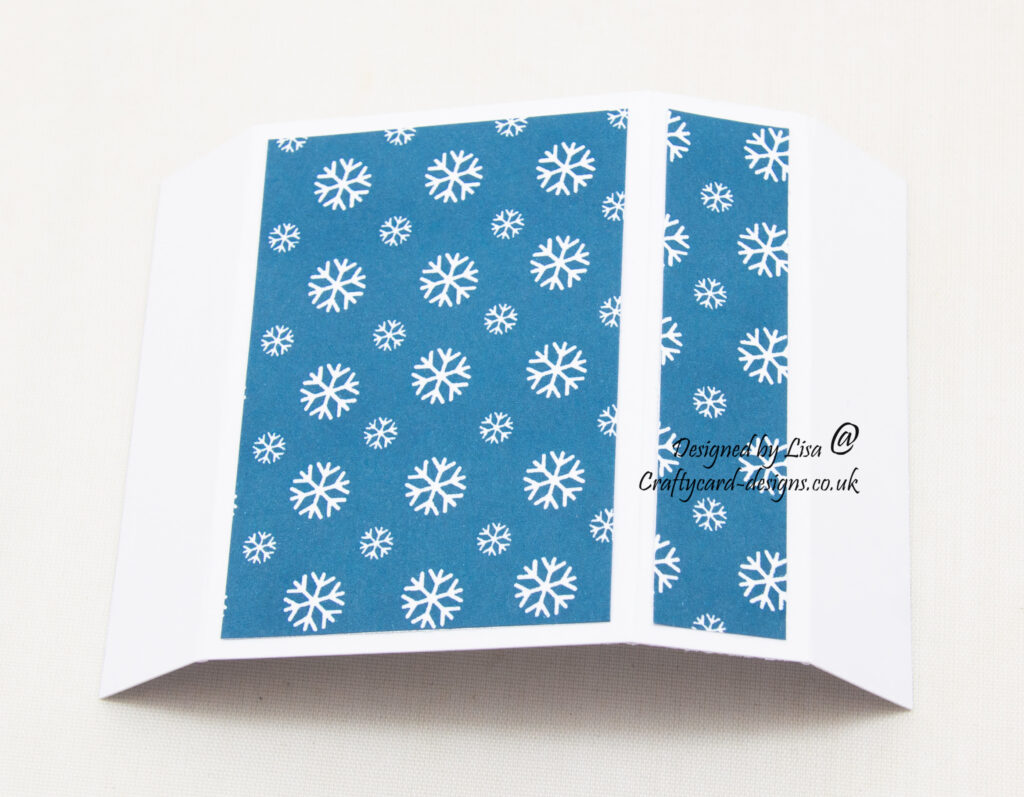
Then cut two pieces from the second patterned paper, one measuring 6.5 cms by 4.5 cms and one measuring 6.5 cms by 1.5 cms.
Attach to the third card piece.
Layer four:
Using card piece number 1, attach the left side to the inside fold of the A5 card base and the right side to the flat part of the card base.
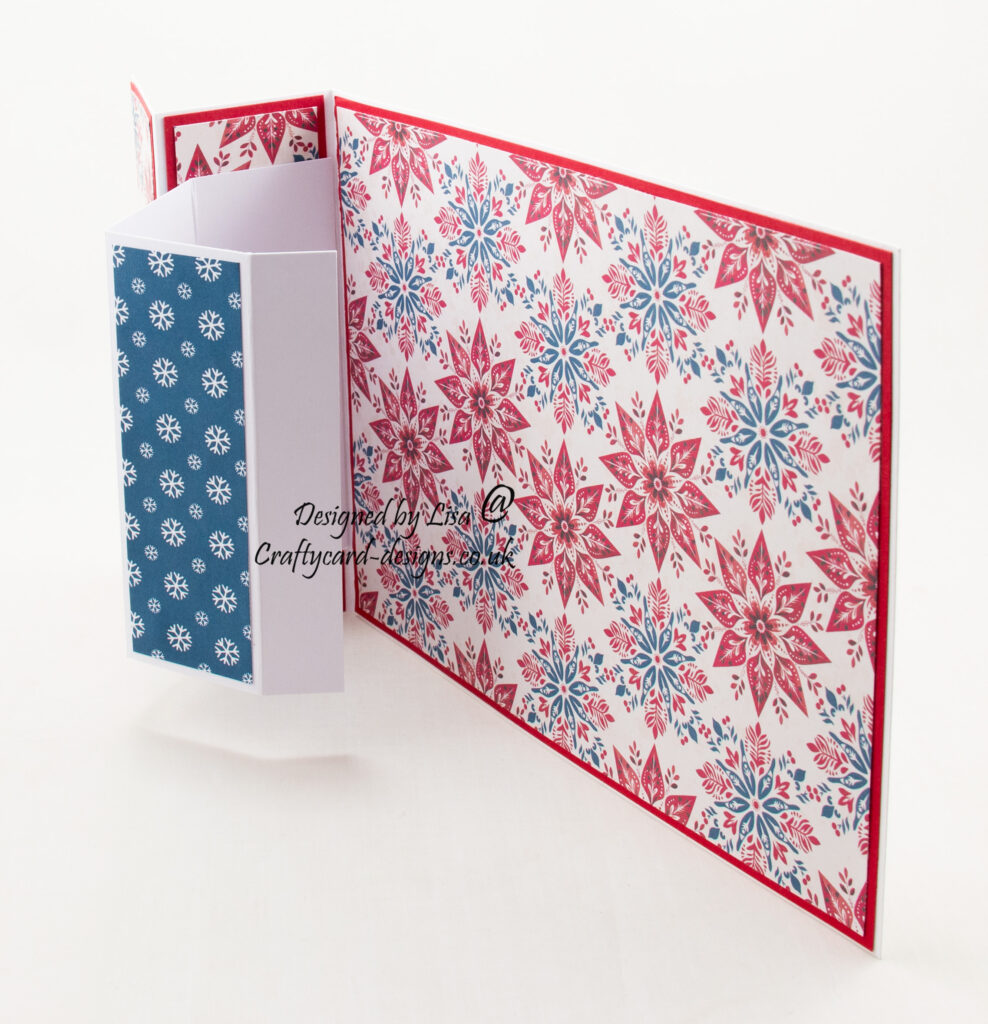
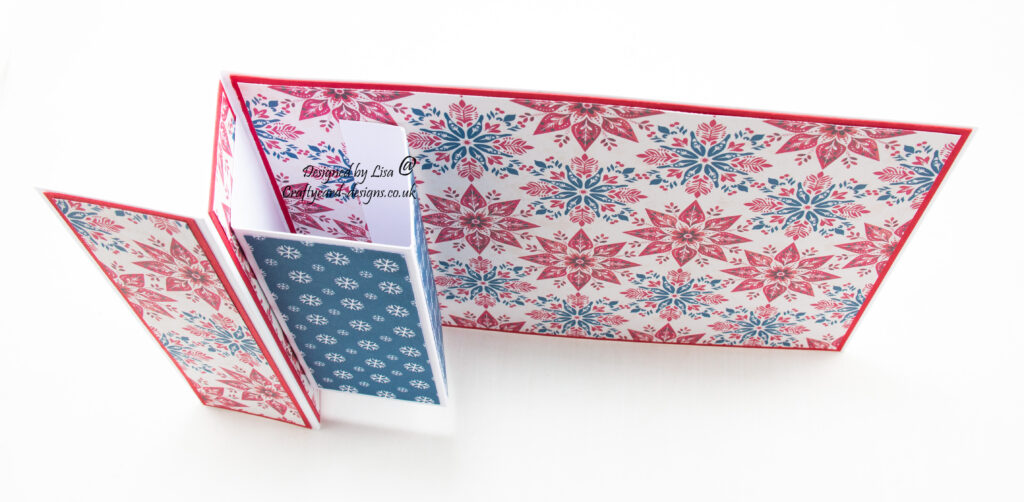
Then using card piece number 2, attach the left side to the 1st card piece and the right side to the flat part of the card base.
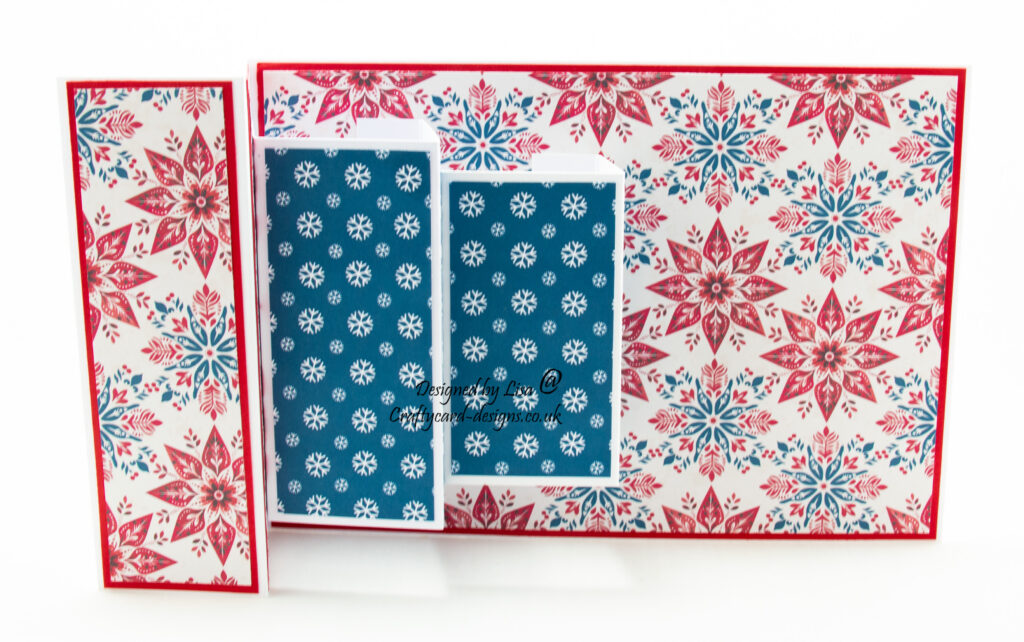
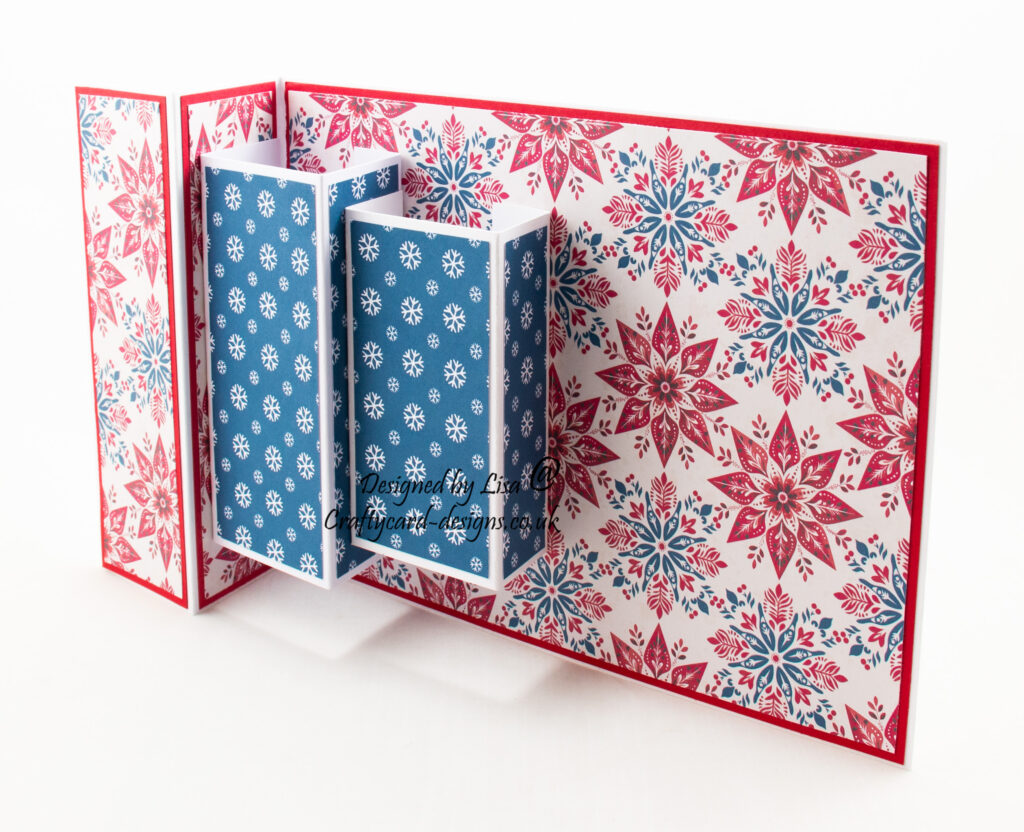
Then using card piece number 3, attach the left side to the 2nd card piece and the right side to the flat part of the card base.
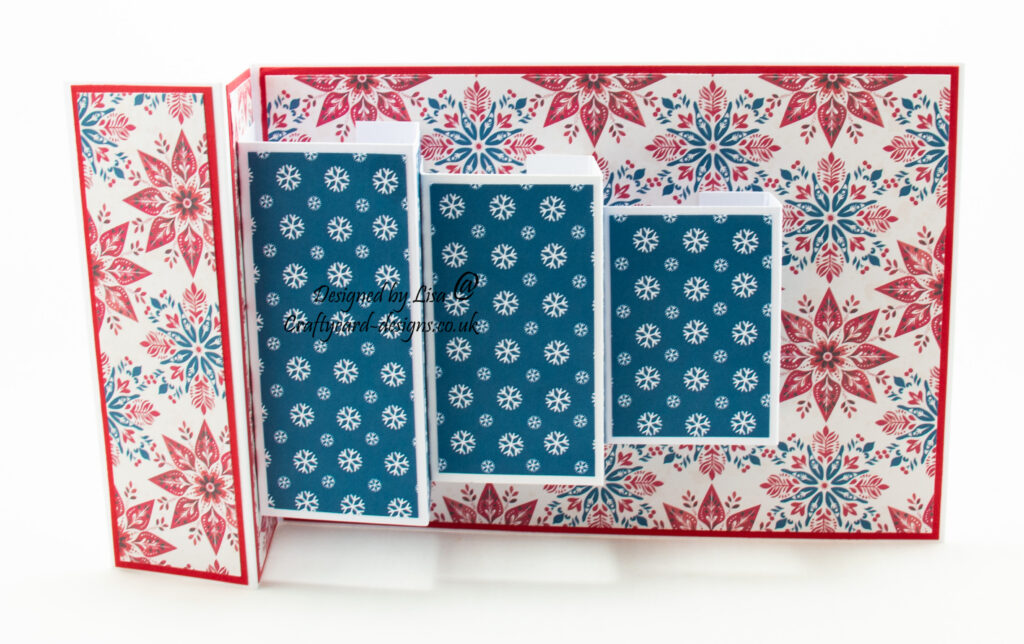
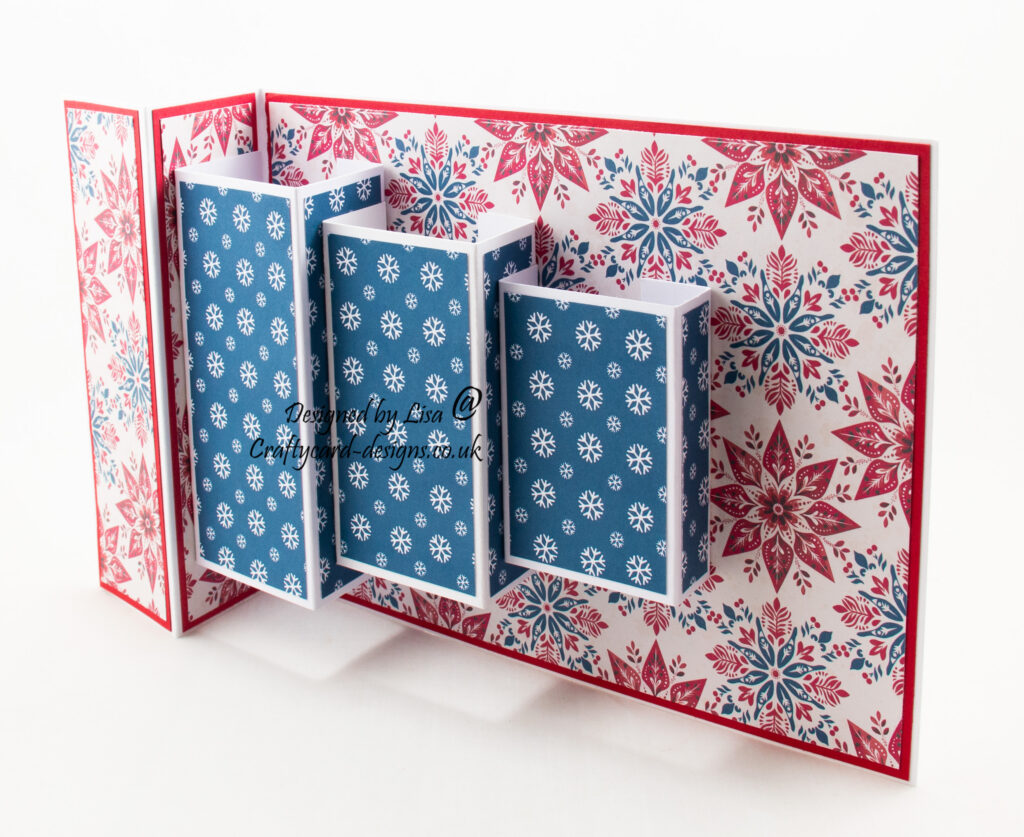
Layer five:
From the topper sheet, cut out a few different toppers and attach to the card base using foam pads.
Then using white card make a matt layer for a sentiment and attach to the card base using foam pads.

Layer six:
Cut a piece of red card measuring 14 cms by 20 cms.
Matt and layer with the insert and attach to the back of the card base.
………………………………………………………………………….
Thank you for visiting my blog and please feel free to follow and make any of my handmade card tutorials.
If you would like to see other cards I have made please have a look here:
Feet Up And A Cuppa – Happy Birthday
Christmas Love – It’s The Most Wonderful Time Of The Year
………………………………………………………………………….
Challenges I would like to enter are:
Merry Little Christmas Challenge #53 – Anything Christmas Goes
The Holly And Ivy Christmas Challenge #151 – Anything Christmas Goes
_Most Magical Time Of The Year Challenge #14 – Anything Halloween And Christmas
Unicorn Challenge #93 – Christmas
Digi Choosday Challenge WK 44 – Anything Goes
What a lovely fun fold card! I saw it over at Digi Choosday and had to come take a closer look! Thanks for including the instructions with pictures. I love the cute snowman, gingerbread man, and present you used on the panels, too!
This is gorgeous. Love the papers you used with the coloring of the toppers. Great fold too! Thanks for joining us over at the Holly and Ivy Challenge.