Today’s handmade card has been created for the challenge at I Love Promarkers Challenge #543.
The theme for this challenge is Anything Goes.
You must use alcohol markers on your work to join in the fun, any brand is excepted.
Our sponsor for this challenge is CFL Designs.
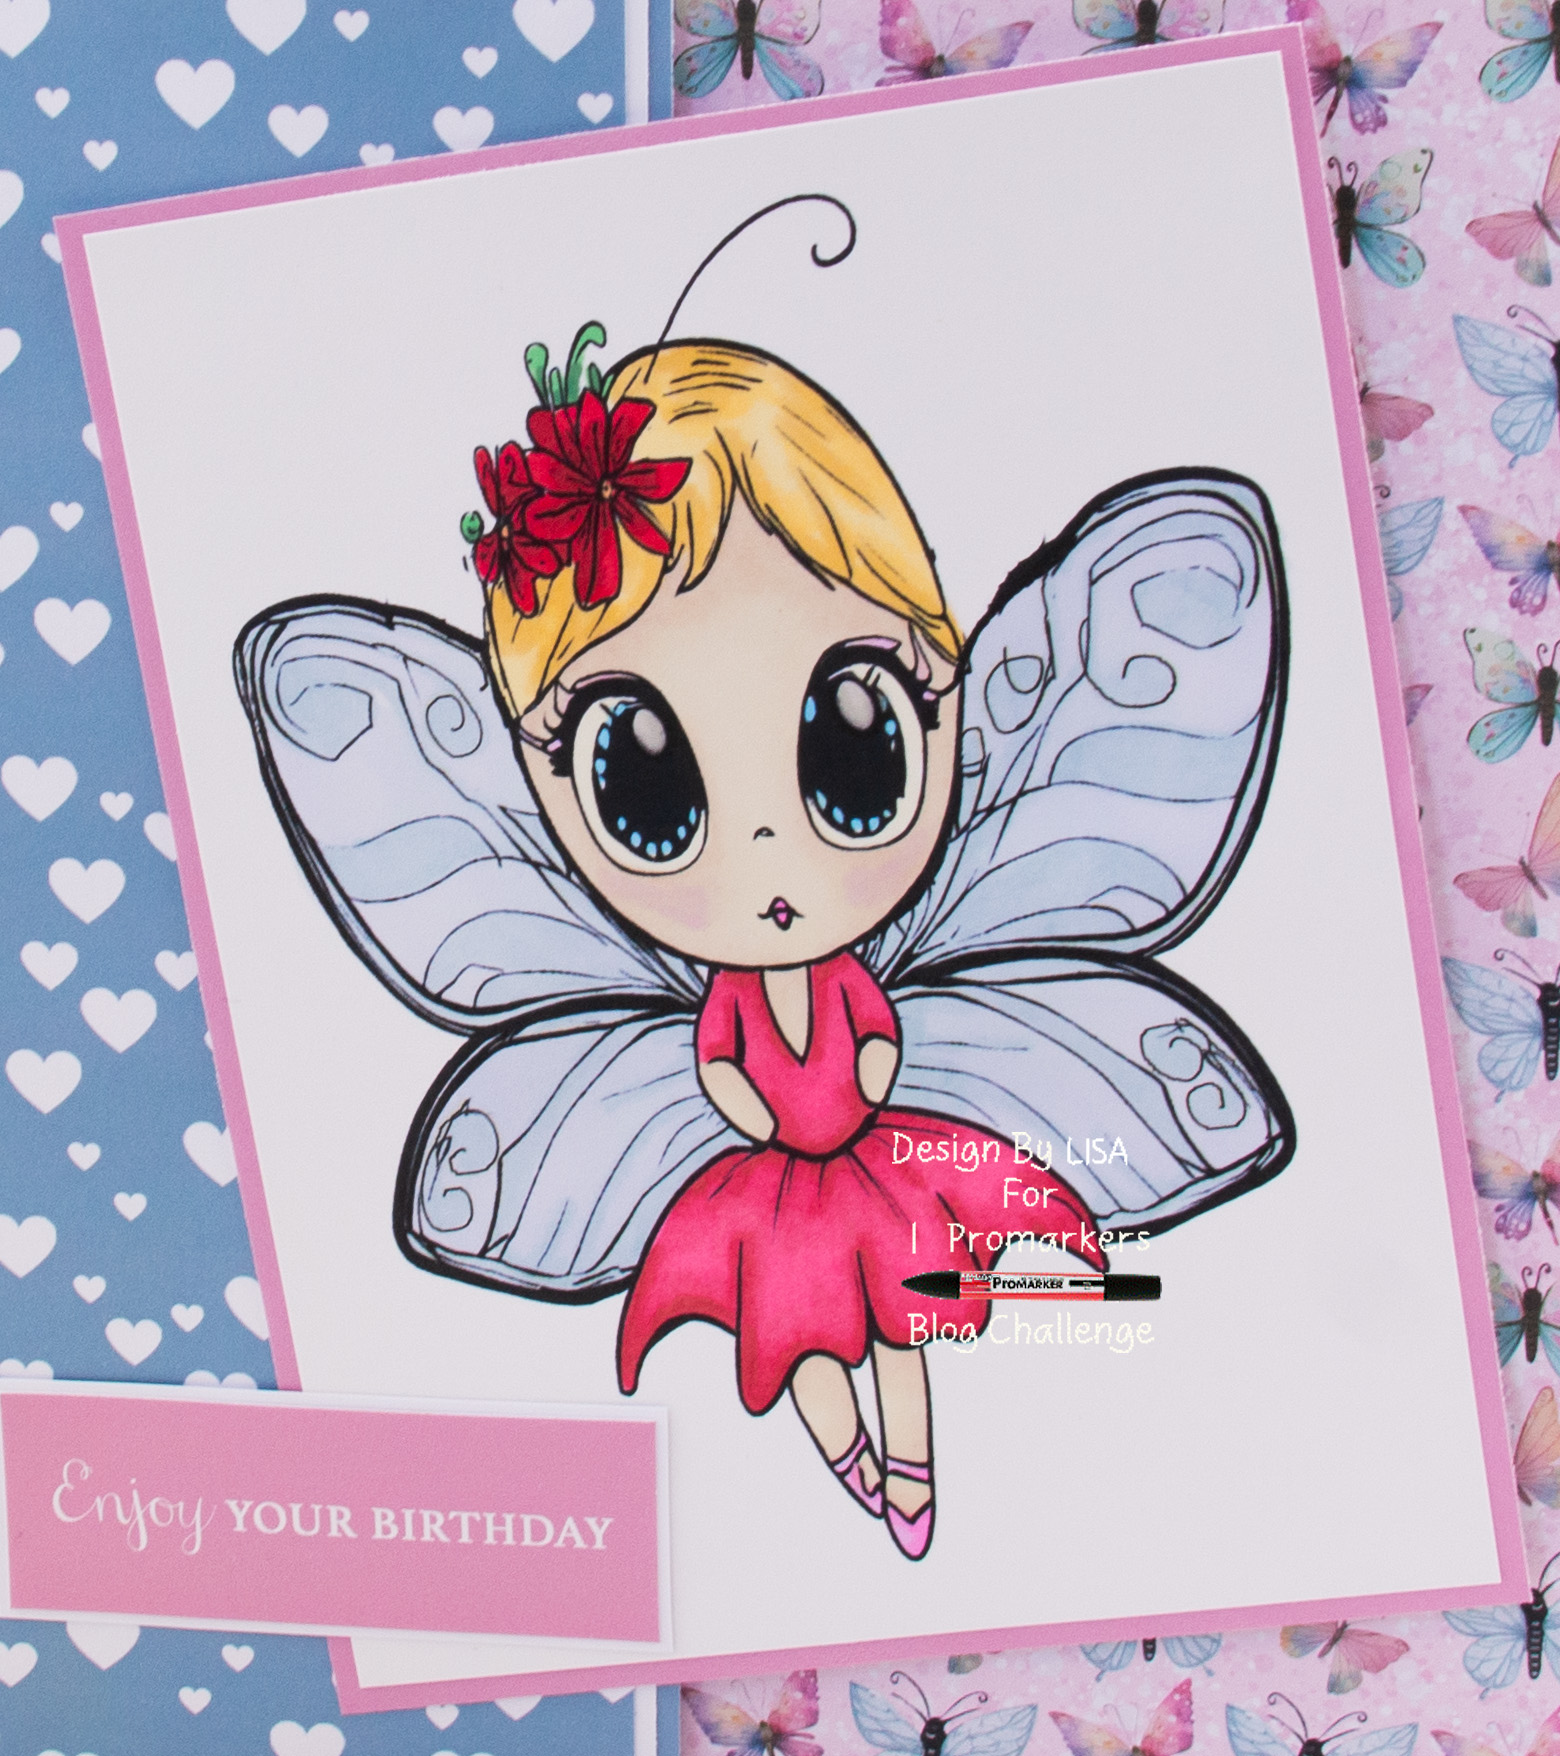
For my card I have used one of their digital images called Cute Fairy No 1.

Here is a tutorial on how I created this card.
You will need :
8″ By 8″ White Card Base
CFL Designs – Cute Fairy No 1
Promarkers
White Card
The Crafty Witches Fairy Kingdom Digital Download Collection
Glue / Double Sided Tape
Foam Pads
Instructions:
Print the digital image Cute Fairy No 1 onto white card.
Choose and print two plain coloured papers, two patterned papers and one sentiment sheet.
Layer one:
Cut a square from the first plain coloured paper measuring 19.5 cms by 19.5 cms.
Cut a square from white card measuring 19 cms by 19 cms.
Cut a square from the first patterned paper measuring 18.5 cms by 18.5 cms.
Matt and layer together and attach to the card base.
Layer two:
Cut a piece from the second plain coloured paper measuring 19.5 cms by 8 cms.
Cut a piece from white card measuring 19.5 cms by 7.5 cms.
Cut a piece from the second patterned paper measuring 19.5 cms by 7 cms.
Matt and layer together and attach to the card base using foam pads.
Layer three:
Colour in the Cute Fairy No 1 digital image, I used promarker pens.
Skin / Face: Blossom, champagne, satin, dusky pink, cool grey 1, 3, black, sky blue, pastel beige, cerise, fuchsia pink.
Hair: Buttercup, sunflower, mustard.
Clothes: Carmine, antique pink, ruby, cerise, fuchsia pink.
Wings: Tea green, grey green, blue pearl.
Flowers: Amber, crimson, poppy, emerald, holly.
Cut the image to measure 15 cms by 11.5 cms.
Cut a piece from the first plain coloured paper measuring 15.5 cms by 12 cms.
Matt and layer together and attach to the card base using foam pads.
Layer four:
From plain coloured paper, cut out a matt layer for the sentiment.
Attach to the card base.
To finish add an insert to the inside of the card base
………………………………………………………………………….
Thank you for visiting my blog and please feel free to follow and make any of my handmade card tutorials.
If you would like to see other cards I have made please have a look here:
Cute Whimsical Spring Garden – Happy Birthday
Cute Birthday Elephant – Happy Birthday
Summer Fairies : Birthday Wishes
Creepy Cute Skull – Happy Haunting
………………………………………………………………………….
Challenges I would like to enter are:
CD Sunday Plus Challenge #119 – Anything Goes Must Include Something From A Cd, Usb, Digital Download
Love To Craft Challenge #76 – Anything Goes
A Perfect Time To Craft September #9-2023 – Anything Goes
Crafts Galore Encore Challenge – Anything Goes
Ally’s Angels Challenge #74 – Anything Goes
Pretty colours and I love her big eyes. Thank you for sharing with us.
Jocelyn x
CD Sunday Plus DT
Those eyes – enormous but riveting. Great card.
Carol xx
CD Sunday Plus DT
Really pretty and I love the butterfly backing paper.
Pamela
CD Sunday Plus DT.
I love your fairy butterfly, she has such big eyes, and the backing paper works well with the image.
Thank you for joining us
Margaret
CD Sunday plus DT
This is adorable!
Hugz Tinz
This is such a cute card,
Hugz Tinz