Today’s handmade card has been created for inspiration on the Ching-Chou Kuik Digital Monthly Challenge Blog.
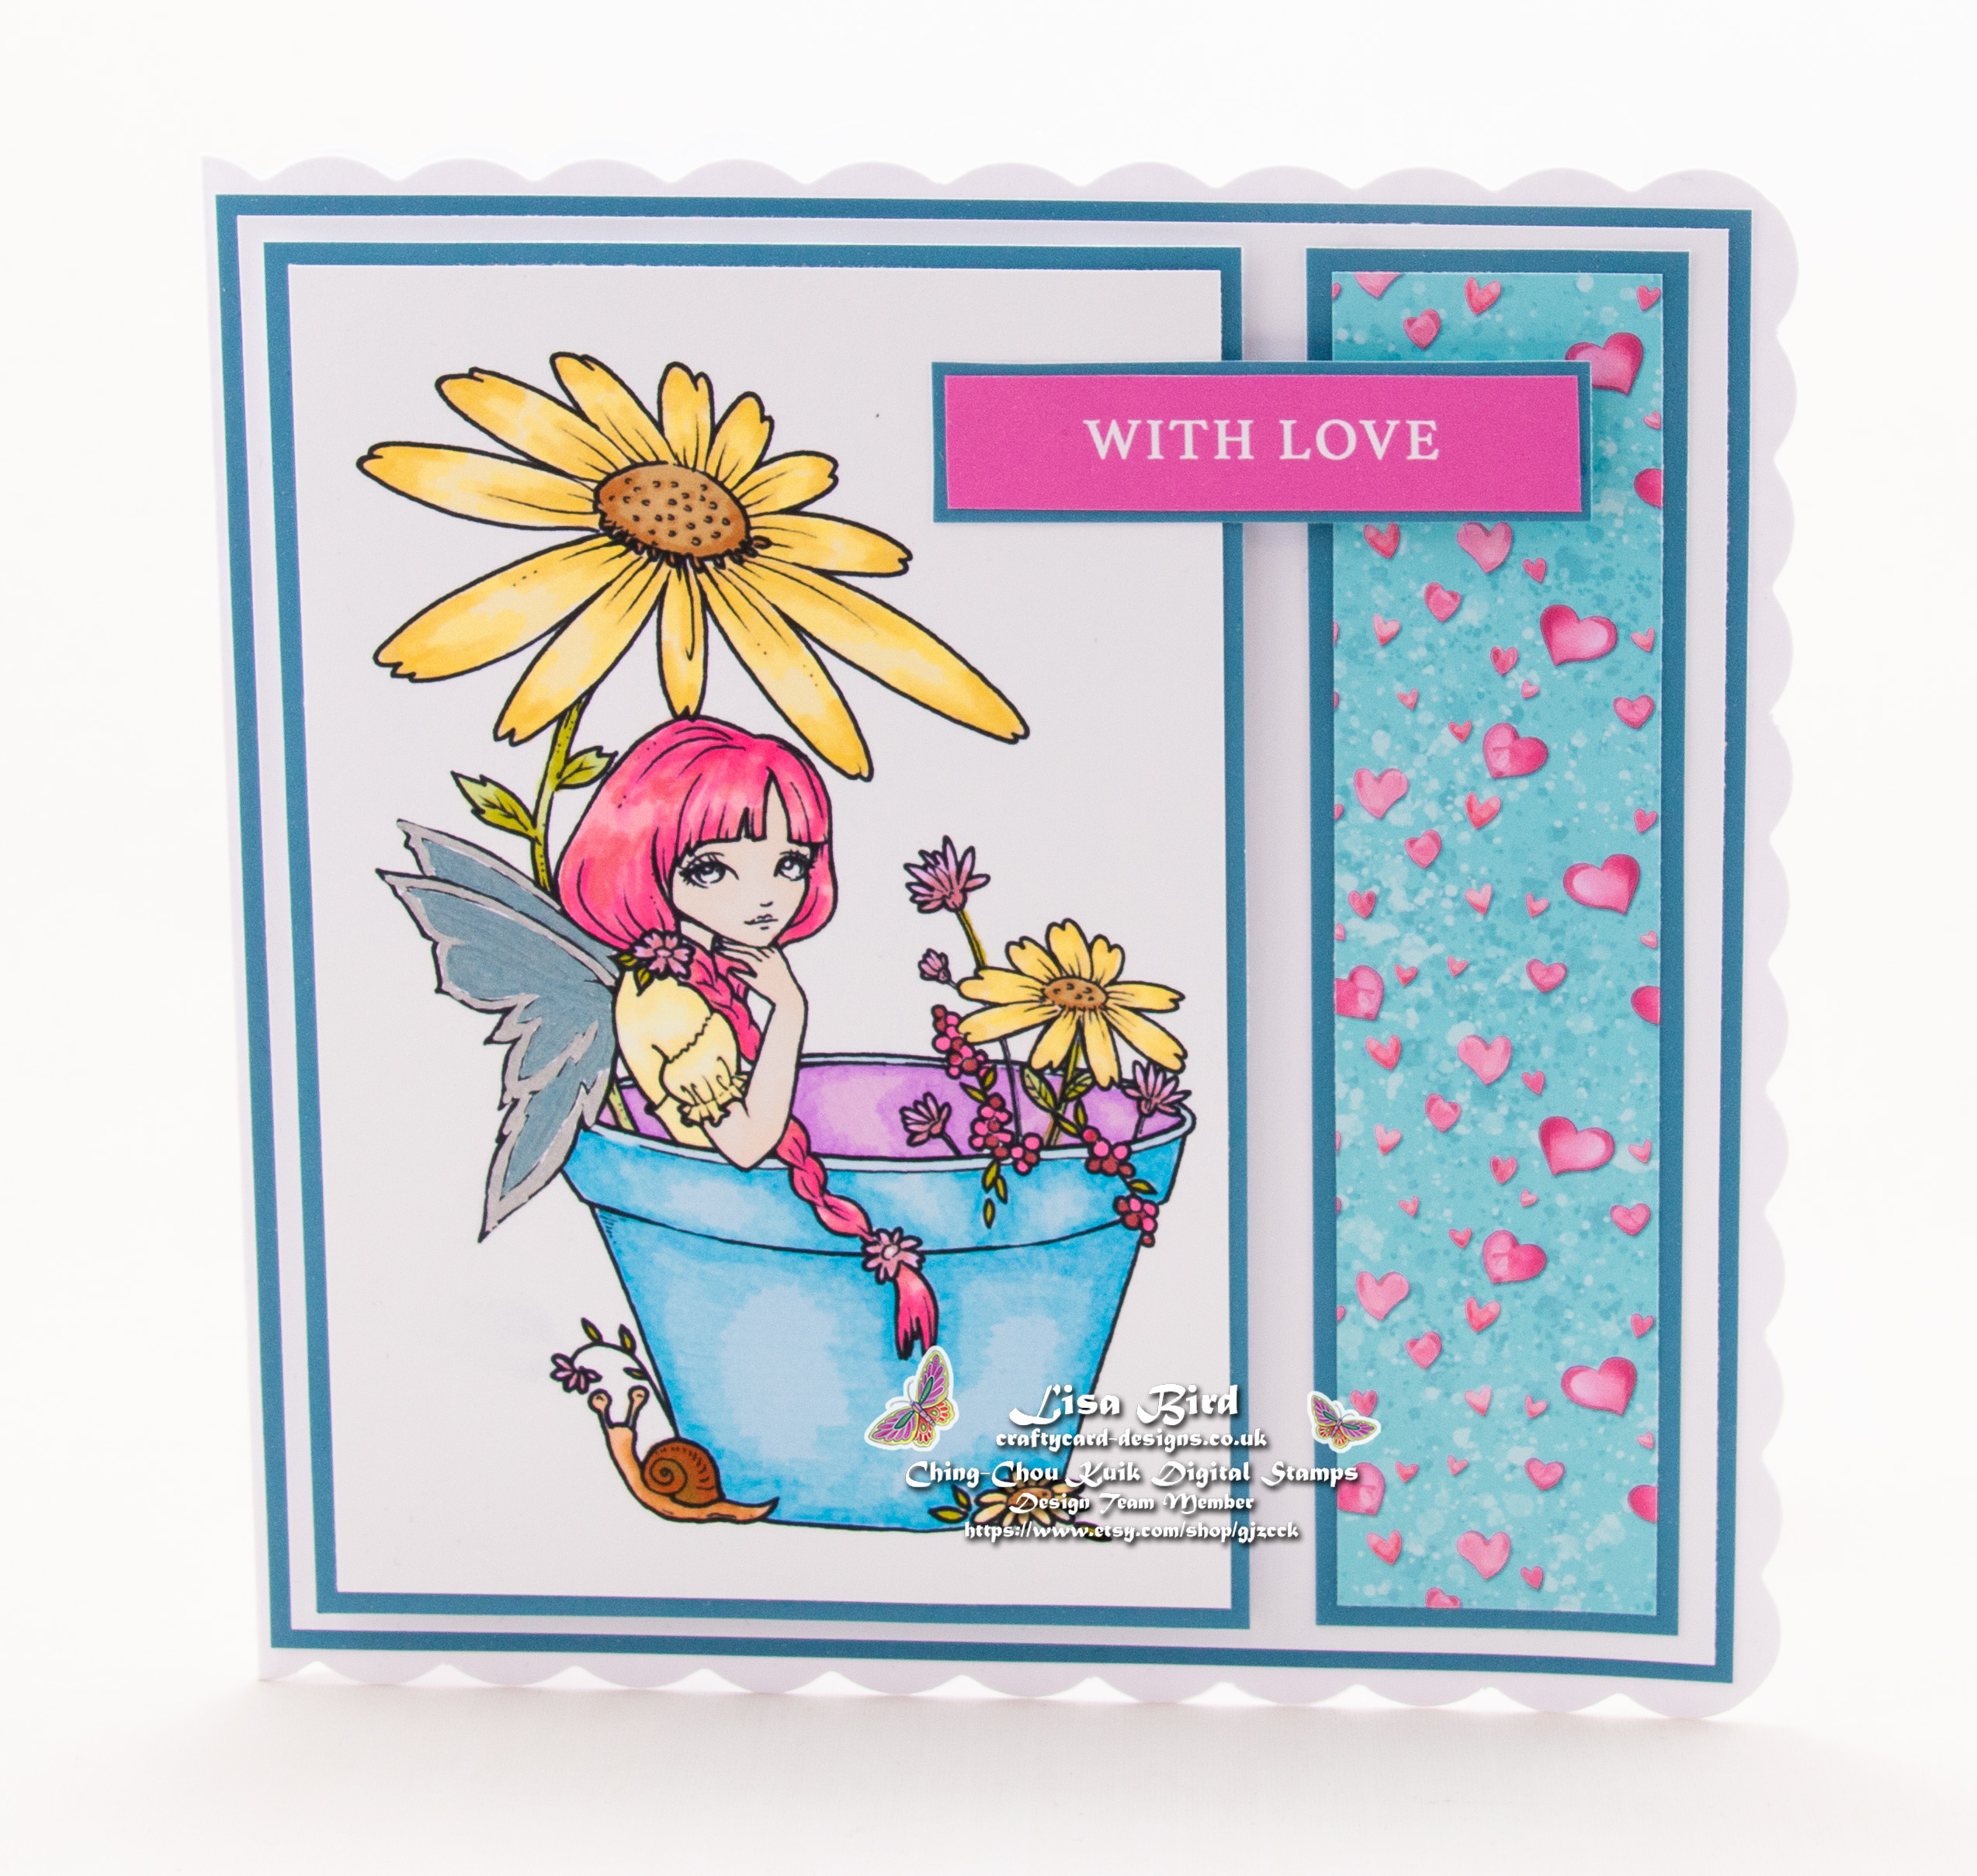
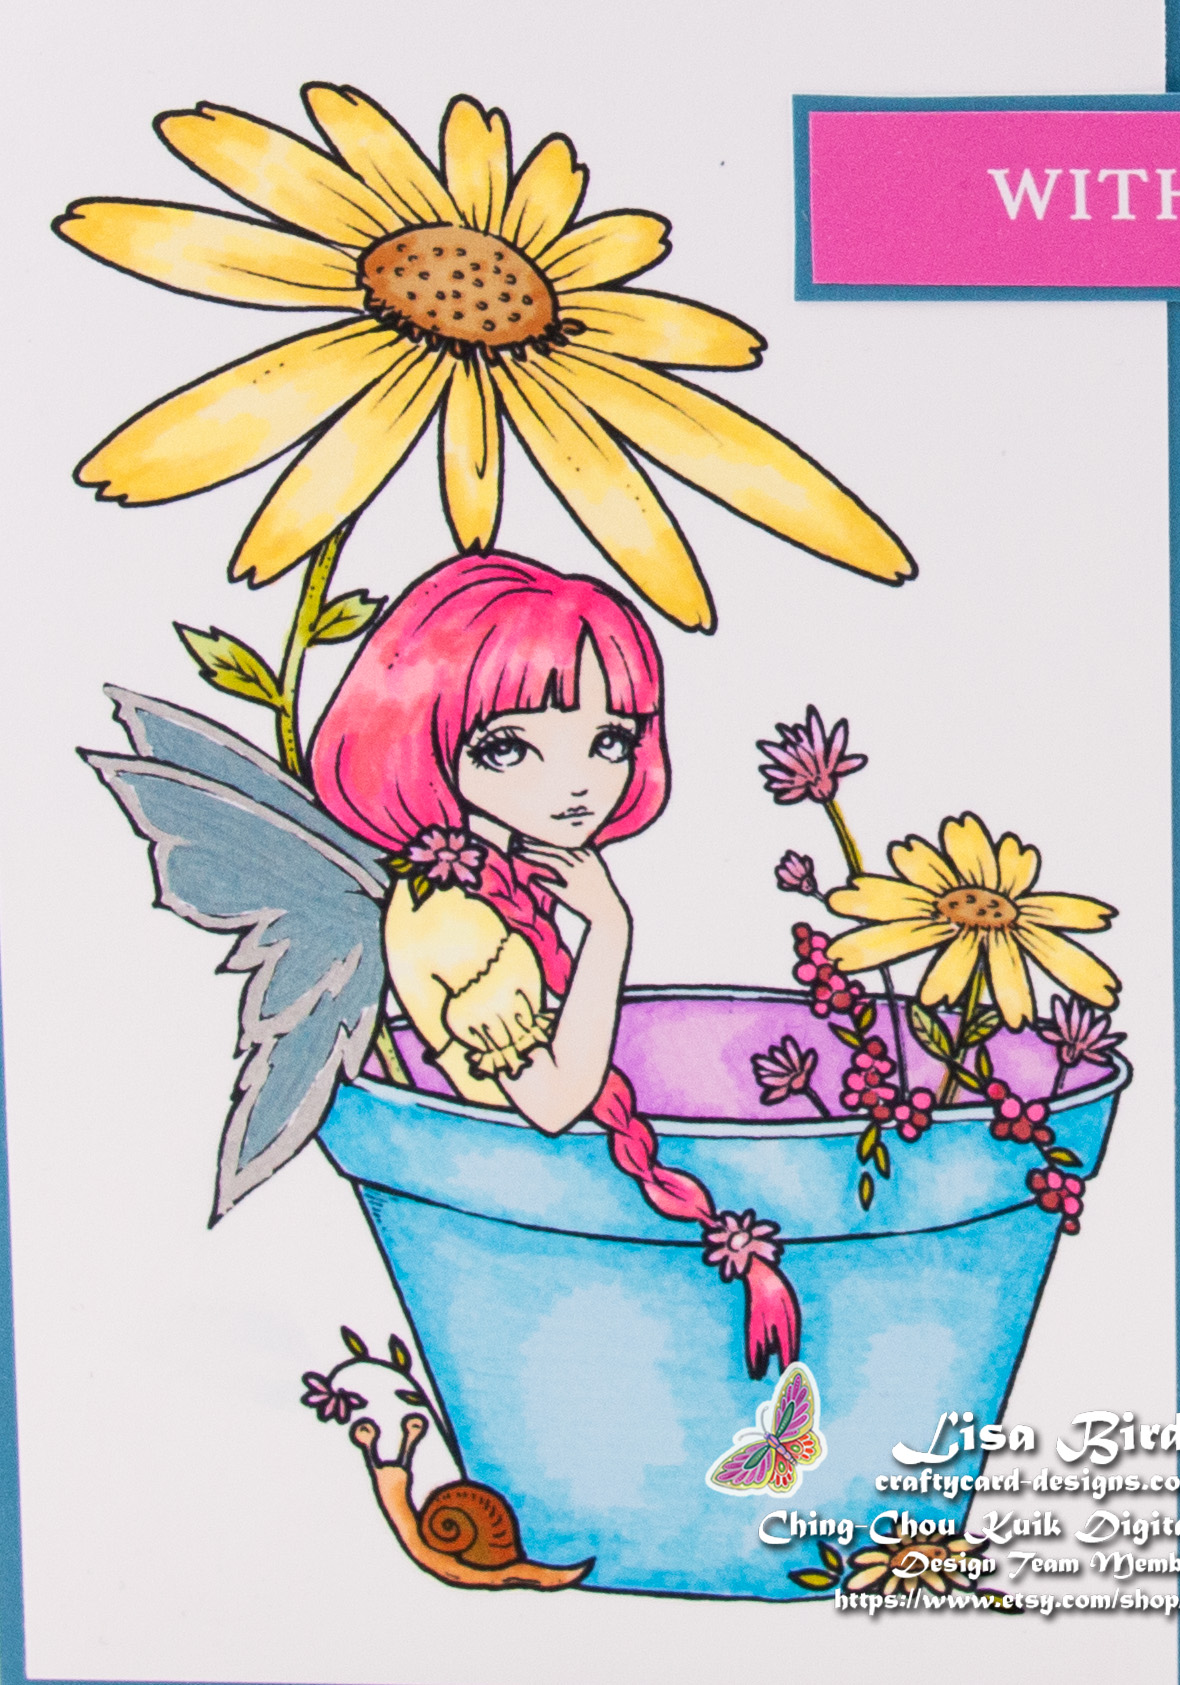
For my card I have used one of their digital images called Garden Daisy Fairy.
You can find more of Ching-Chou Kuik’s wonderful images here in their Etsy shop, Gjzcck.
Here is a tutorial on how I created this card.
You will need :
7″ By 7″ White Card Base
Ching-Chou Kuik‘s Digital Stamp Called Garden Daisy Fairy
Promarkers
The Crafty Witches Such A Hoot Digital Download Collection
White Card
Glue / Double Sided Tape
Foam Pads
Instructions:
Print the digital image Garden Daisy Fairy on to white card.
Choose one patterned paper, one coloured paper and one sentiment.
Layer one:
Cut a square from coloured paper measuring 16.5 cms by 16.5 cms.
Cut a square from white card measuring 16 cms by 16 cms.
Matt and layer together and attach to the card base.
Layer two:
Colour in the digital image Garden Daisy Fairy, I used promarkers.
Plant Pot: Azure, aegean, powder blue, purple, orchid.
Flowers / Berries: Mustard, tulip yellow, buttercup, herb green, marsh green, caramel, saddle brown, burgundy, carmine, dusky rose, fuchsia pink.
Skin: Almond, blush.
Hair: Carmine, antique pink, baby pink.
Clothes: Primrose, buttercup.
Wings: Metallic blue, metallic silver.
Snail: Saddle brown, apricot, terracotta, burnt sienna.
Cut a piece from coloured paper measuring 15.5 cms by 10.5 cms.
Cut the image to measure 15 cms by 10 cms.
Matt and layer together and attach to the card base on the left, using foam pads.
Layer three:
Cut a piece from coloured paper measuring 15.5 cms by 4 cms.
Cut a piece from the patterned paper measuring 15 cms by 3.5 cms.
Matt and layer together and attach to the card base on the right.
Layer four:
Cut a matt layer from coloured paper for the sentiment.
Matt and layer together and attach to the card base using foam pads.
Layer five:
Cut a square from coloured paper measuring 16.5 cms by 16.5 cms.
Cut a square from white card measuring 16 cms by 16 cms.
Matt and layer together and attach to the inside of the card base.
………………………………………………………………………….
Thank you for visiting my blog and please feel free to follow and make any of my handmade card tutorials.
If you would like to see other cards I have made please have a look here:
Daisy Panel – Enjoy Every Moment
Best Of Breeds Volume 2 : Staffordshire Bull Terrier
Summer Fairies : Birthday Wishes
Tori Triple Scoop – Happy Birthday
………………………………………………………………………….
Challenges I would like to enter are:
Morgan’s ArtWorld Challenge #4 – Anything Goes
Crafts Galore Encore Challenge #110 – Anything Goes
Ally’s Angels Challenge #69 – Anything Goes
A Perfect Time To Craft Challenge #4-2023 – Anything Goes
Lovely colours on this gorgeous card. Thank you for joining us at the Crafts Galore Encore Challenge.
Lorraine
A gorgeous creation, thanks for sharing it with us at Morgan’s ArtWorld Challenge Blog.
Hugs Ilonka DT
Gorgeous colours for an adorable card,
Hugz Tinz