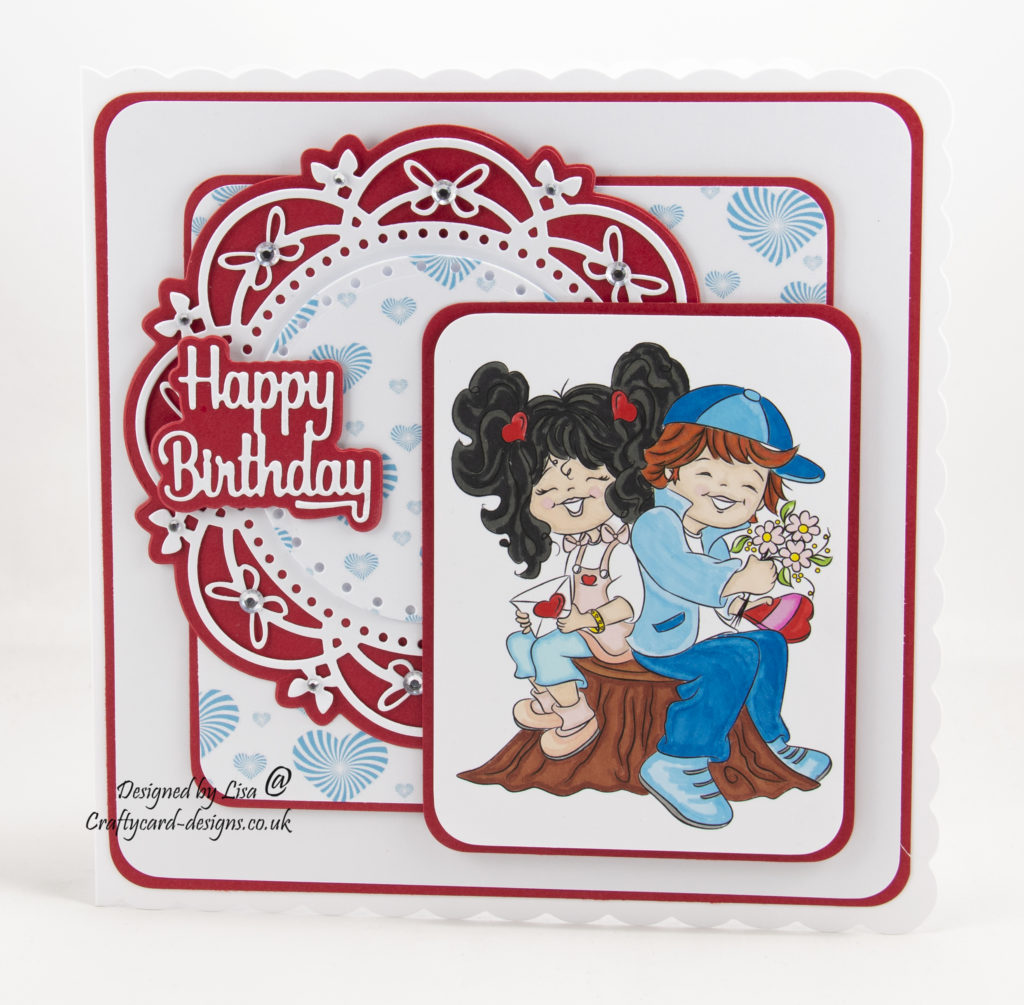
Today’s handmade card has been created using a digi image from Digi Doodle Studios a butterfly ballet die and perfect forever companions cd-rom from Creative Crafting World
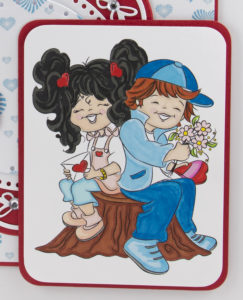
The digi image used is called Secret Crush.

Here is a tutorial on how I created this card.
You will need :
8″ by 8″ White Scallop Card
Promarkers
Digi Image Secret Crush
Perfect Forever Companions Cd-Rom
The Paper Boutique Butterfly Ballet Collection – Forever Friends Doily Die
The Paper Boutique Sentiment Collection 2 – Happy Birthday
White Card
Red Card
Corner Punch
Small and Medium Silver Gems
Wet Glue / Double Sided Tape
Foam Pads
Instructions:
First colour the digi image using promarkers (or any other pen/pencil).
The promarkers used were :
Hair: Girl – black, cool grey 5. Boy – apricot, bright orange, tan.
Skin: dusky pink, blush.
Clothes: Girl – sunkissed pink, pale pink, soft peach, blush, cool aqua, sky blue. Boy – french navy, arctic blue, sky blue.
Tree Trunk: henna, cocoa.
Hearts and Chocolate box: red, rose pink, cerise.
Flowers and Leaves: canary, pale pink,meadow green, forest green.

Cut the image to measure 12.5 cms by 9.5 cms.
Using red card cut a piece measuring 13 cms by 10 cms.
Round all edges using the corner punch.
Matt and layer together using foam pads.
Cut a square from red card measuring 19 cms by 19 cms.
Cut a square from white card measuring 18.5 cms by 18.5 cms.
Round all edges using the corner punch.
Matt and layer together and attach to the card base.
Print a paper from the perfect forever companions cd-rom.
Cut a piece measuring 14.5 cms by 14.5 cms.
Cut a square from red card measuring 15 cms by 15 cms.
Round all edges using the corner punch.
Matt and layer together and attach to the card base.
Using the forever friends doily die cut the matt layer out in red card.
Cut the doily die out in white card.
Next cut the circle die out in the perfect forever companions paper.
Matt and layer together and attach to the card base slightly over lapping the last two layers.
Using foam pads attach the image topper slightly over lapping all layers. Please see picture for reference.
Next using a sentiment cut the matt layer out in red card and the sentiment out in white card.
Matt and layer together and attach to the card base using foam pads.
To finish attach the silver gems to the butterflies on the doily die.
Thank you for visiting my blog and please feel free to make any of my card designs.
Please leave a comment and let me know you’ve visited.
If you would like to see other cards using Digi Doodle Studios and Creative Crafting World products please have a look here:
Butterfly Ballet Collection – Summer Is
………………………………………………………….
Challenges I would like to enter are:
Angie’s Digital Stamps Challenge 28 : Anything Goes With Option Twist Love
Cd Sunday Challenge 3 – Anything Goes Using Something From A Cd
Crafting From The Heart Challenge 236 – Anything Goes
Crafting With Friends Challenge 79 – Anything Goes
Get Creative Challenge 77 – Anything Goes With Option Use Lots Of Red
Love the image and the layout. It would make a great Valentine Card too Lisa. Thank you for sharing it with us at CD Sunday WynnDT
Very cute card, thanks for sharing with Crafting from the Heart!
This is absolutely gorgeous! I love that circle die with the tiny butterflies surrounding it and the gems you have added really make the butterflies stand out.
Brilliant lay out Lisa, the clever positioning of the butterfly doily adds dimension, beautifully coloured image is a great finish, thank you for joining in at CD Sunday
What an unusual card Lisa. Great layout. It is all so eye-catching. Thank you for joining in.
Carol xx
CD Sunday DT
A really lovely card. Everything goes together so well. Thank you for sharing with us.
Jocelyn x
CD Sunday DT
A super card Lisa, such a sweet image and great way to use the die.
Pauline – Crafting with Cotnob
x
Brilliant layout and design with the circle and image
Thank you for joining us
Margaret
CD Sunday DT
Great card – thanks for sharing it with us at Get Creative Challenges.
Helen x