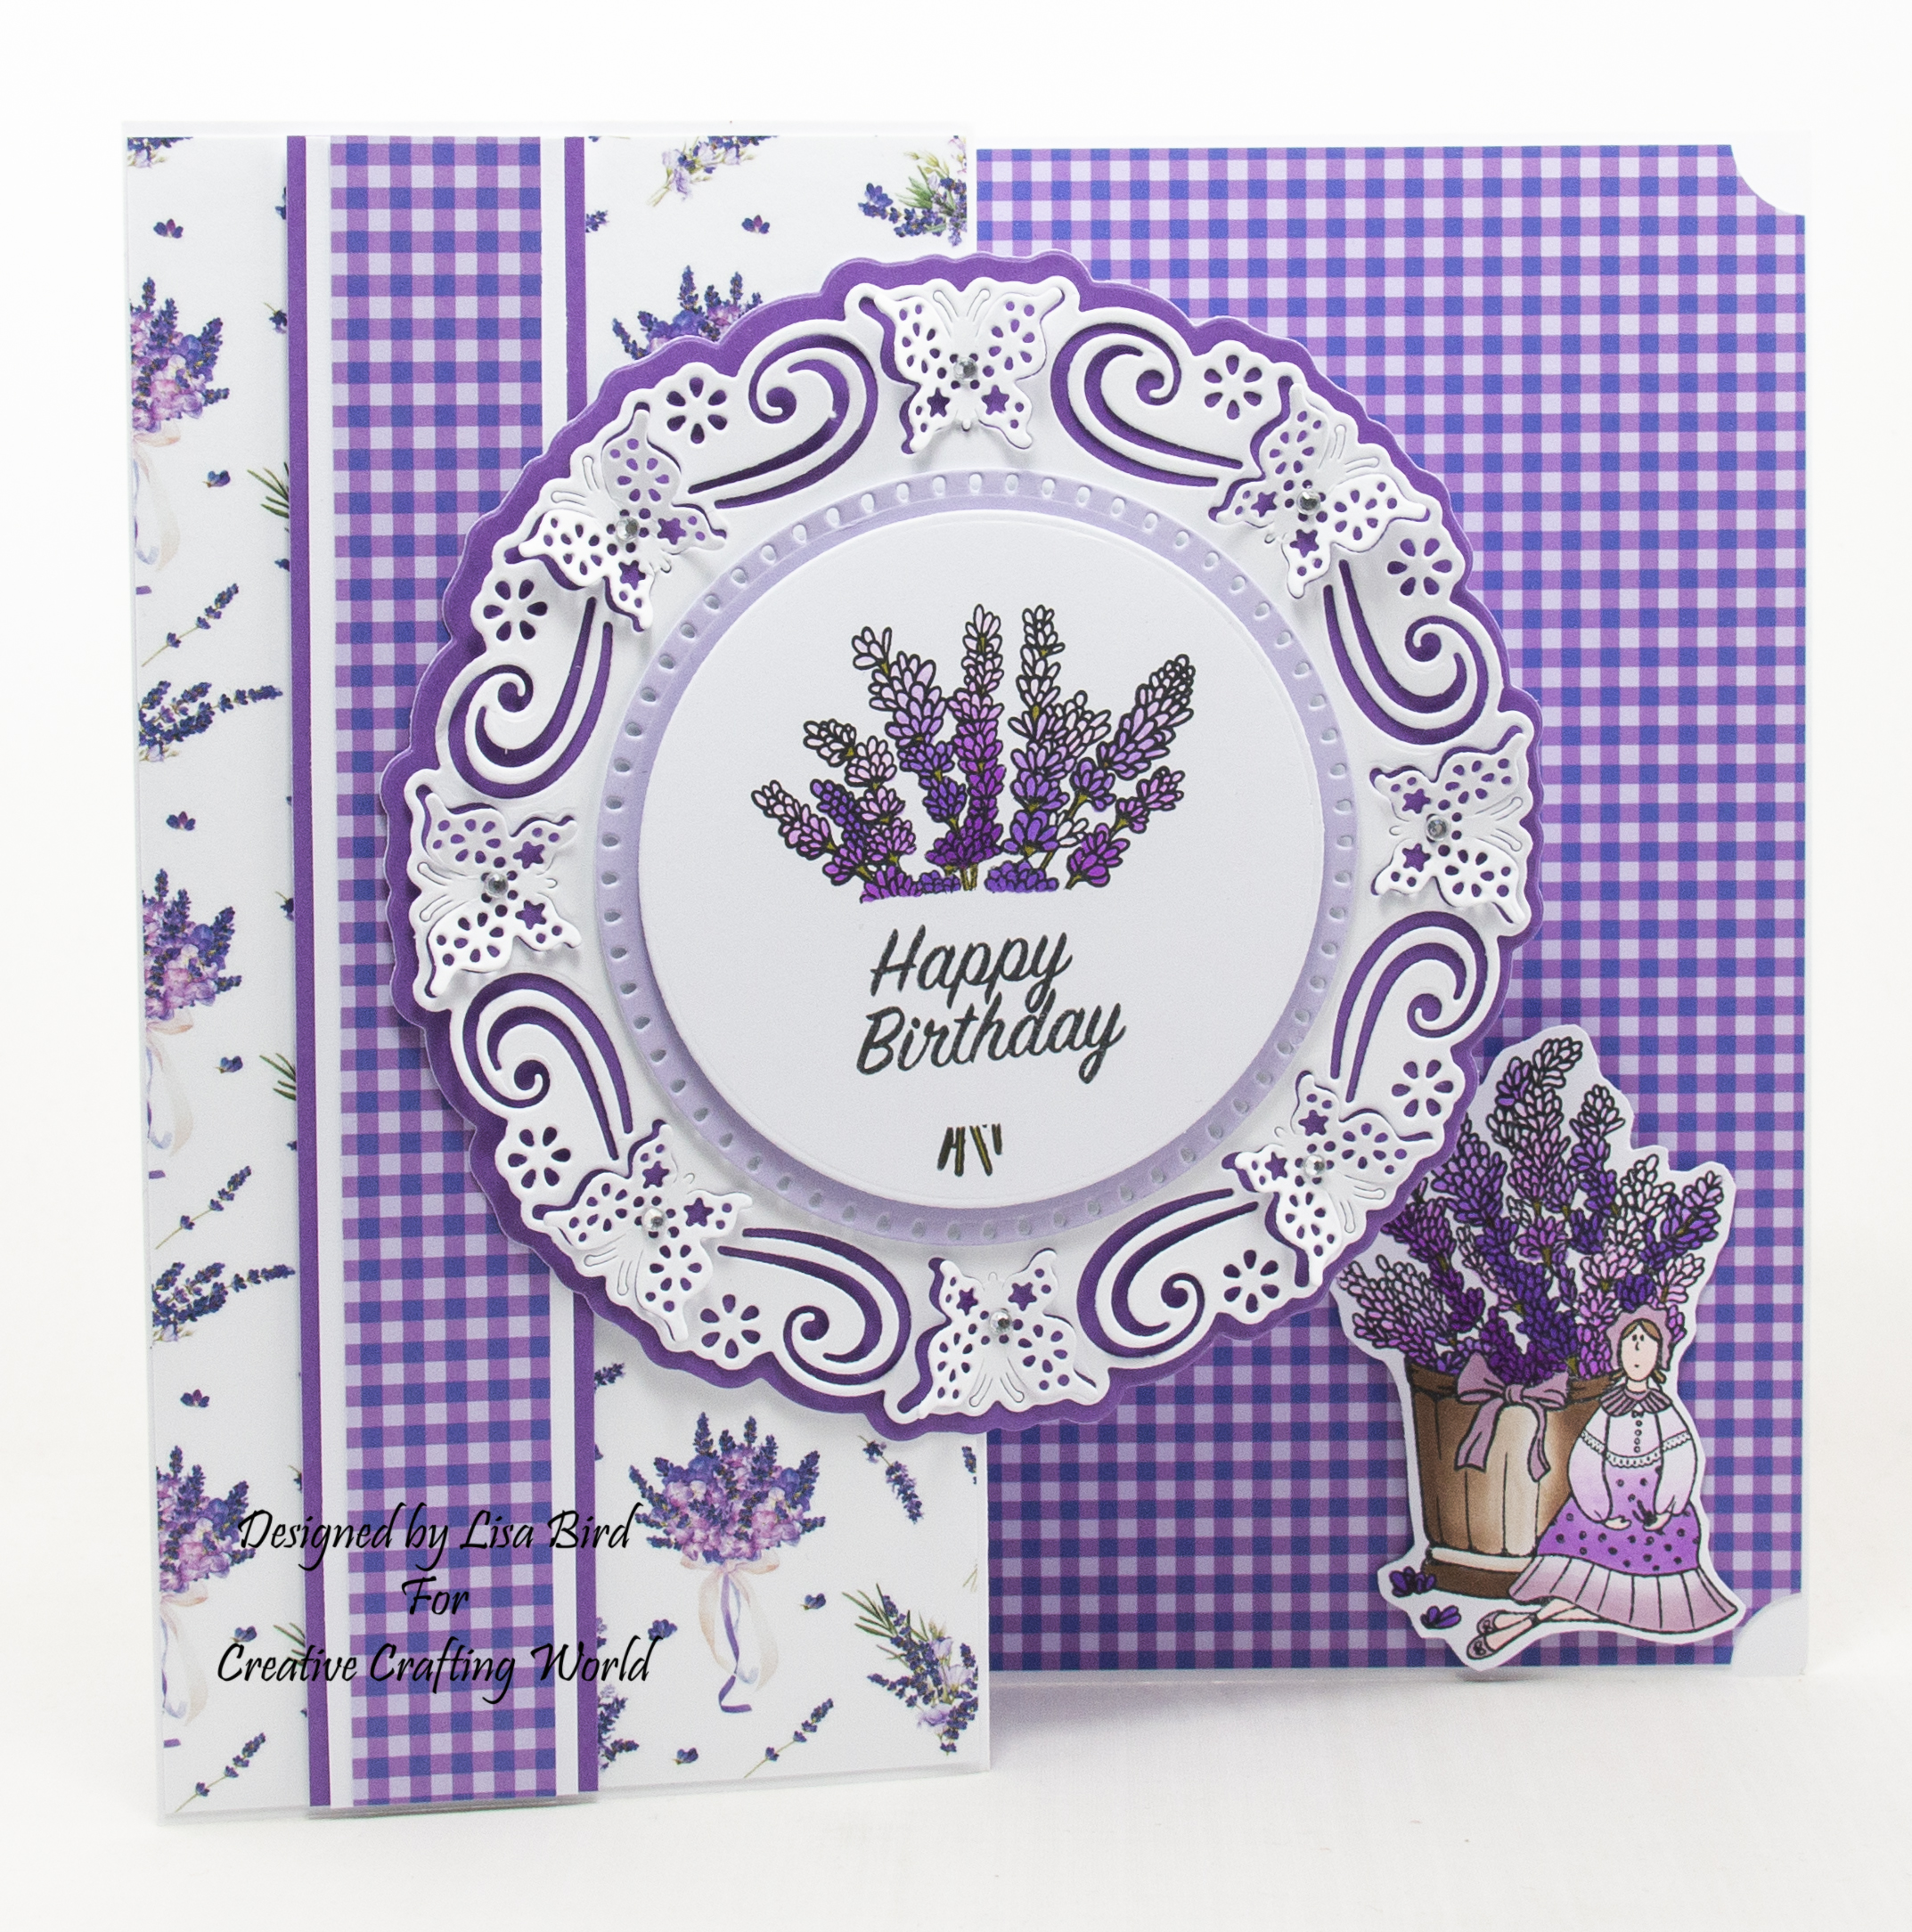
This handmade card has been created using a paper collection and stamp collection called Lavender Fields from The Paper boutique range at Creative Crafting World.
Here is a tutorial on how I created this card.
You will need :
8″ By 8″ White Card
The Paper Boutique Lavender Fields – Paper Pad
The Paper Boutique Lavender Fields – Coloured Card Collection
The Paper Boutique Lavender Fields – Embellishment Pad
The Paper Boutique Lavender Fields – Stamp Collection
The Paper Boutique Floral Butterflies – Change Is Beautiful Doily Die Collection
White Card
Small Silver Gems
Chameleon Pens
Wet Glue / Double Sided Tape
Foam Pads
Instructions:
You will need two coloured cards, two patterned papers, one border strip, lavender flower bunch stamp, happy birthday stamp and the lavender bucket and girl stamp.
Score and fold the front of the card base to make a z-fold card.
Layer one:
Cut a square from the first paper measuring 20 cms by 20 cms.
Attach to the inside of the card base.
Layer two:
Cut a piece from the second paper measuring 20 cms by 10 cms.
Attach to the front of the card base.
Layer three:
Cut a piece from the first coloured card measuring 20 cms by 3.5 cms.
Cut a piece from white card measuring 20 cms by 3 cms.
Cut a piece from border strip measuring 20 cms in length.
Matt and layer together and attach to the front of the card base using foam pads.
Layer four:
Using the doily die collection, cut the matt die from the first coloured card.
Cut the decorative die from white card.
Cut the first circle die from the second coloured card.
Matt and layer together.
Next cut the second circle die from white card.
Stamp the lavender flower bunch on to the white circle, using a small strip of white card to add a white gap between the flower heads and stems.
Next stamp the happy birthday sentiment in the gap.

Colour in the image.
Chameleon pens used : PR4, VO4, OL3.
Matt and layer to the doily die cut set using foam pads.
Attach to the front of the card base using foam pads, slightly over lapping layer three.
Add small silver gems to the butterflies.
Layer five:
Stamp out the lavender bucket and girl stamp onto white card and colour in.
Chameleon pens used : PR4, VO4, BR5, BV2, VO2, NU2, BR1.
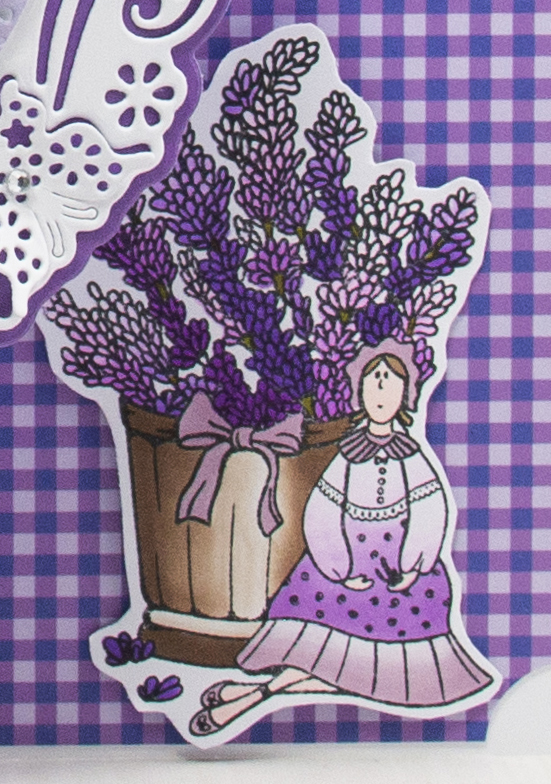
Cut around the stamped image leaving a small white border.
Attach to the inside of the card base on the bottom right using foam pads.
………………………………………………………………………….
Thank you for visiting my blog and please feel free to follow and make any of my handmade card tutorials.
If you would like to see other cards using Creative Crafting World products please have a look here:
Nature’s Gift : Many Happy Returns
Grandma’s Garden – A Warm Smile
Winter Gnomes – Wonderful Time Of The Year
………………………………………………………………………….
Challenges I would like to enter are:
A Bit More Time To Craft Challenge #120 – Anything Goes
Love To Craft Challenge #49 – Anything Goes
The Creative Crafters Challenge #30 – Anything Goes
Super:)Thanks for playing with us at The Creative Crafters:)Ines DT
http://inka-mojmalyswiat.blogspot.com/
https://creativecrafterschallenge.blogspot.com/
Beautiful card, great instructs and love the color. Thanks so much for sharing this at Love to Craft. XXO, Aimeslee DT