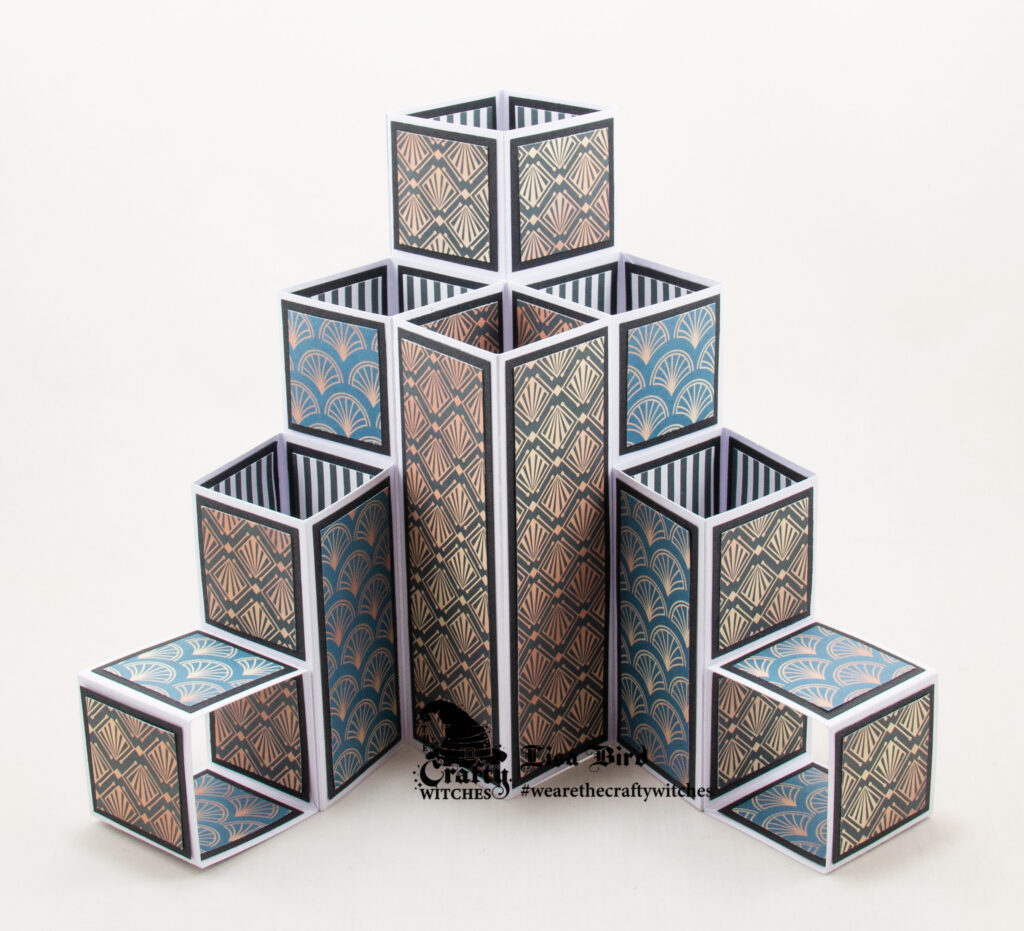
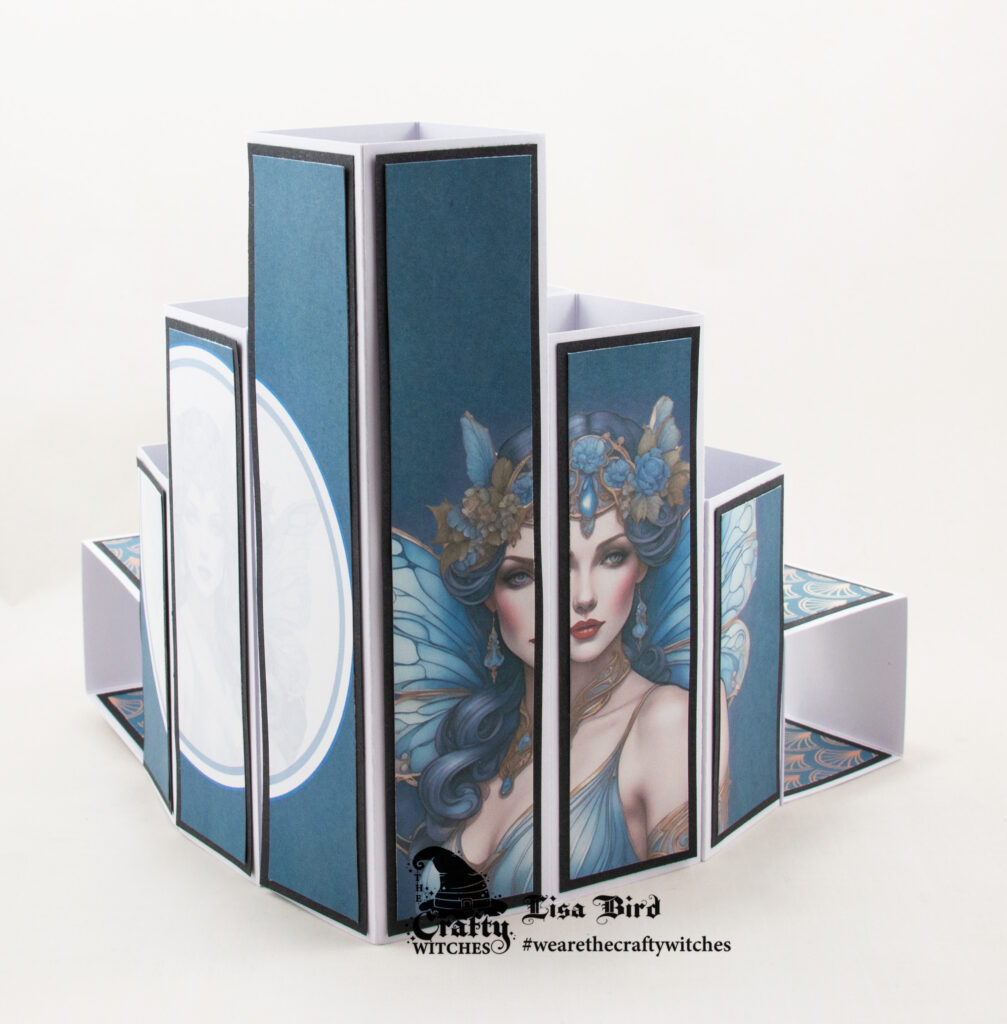
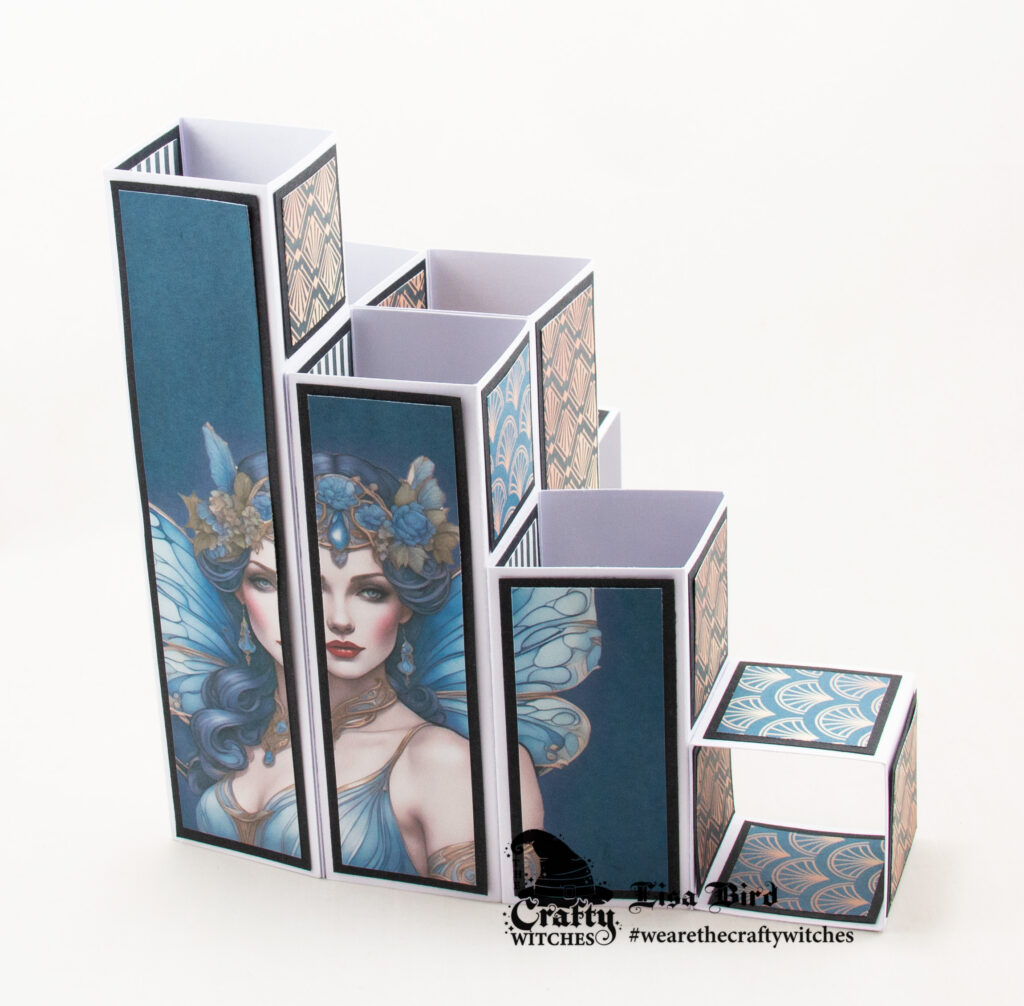
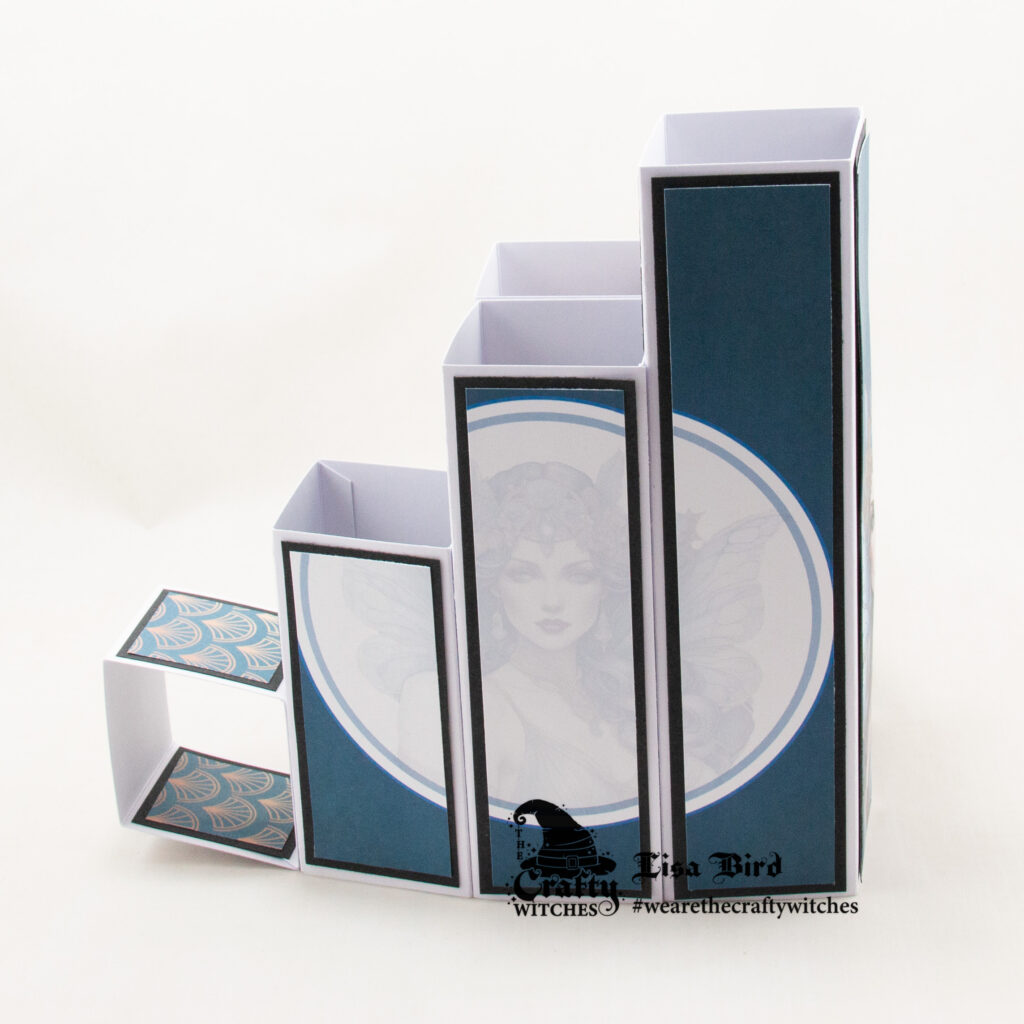
Today I am sharing a pop up card called a layered cube card.
This card folds flat to fit into an envelope.
To decorate my card I have used a digital download collection from The Crafty Witches called Deco Devine.
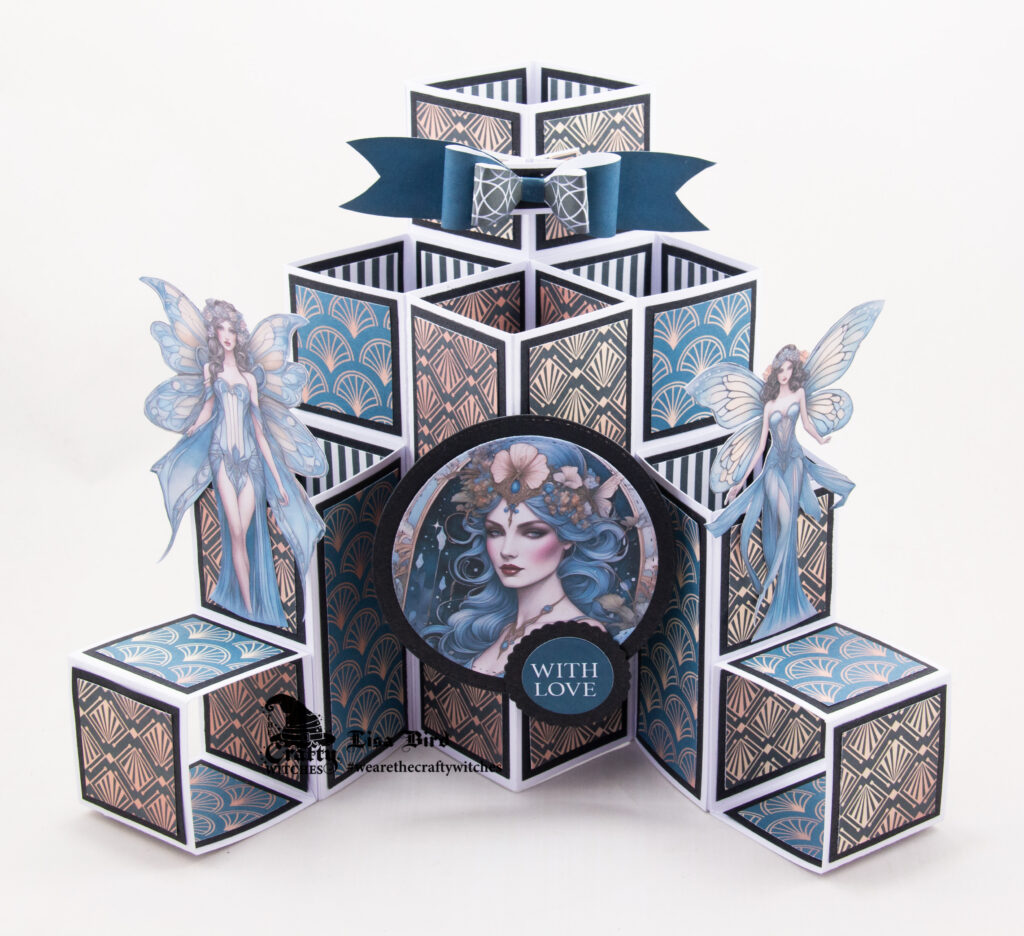
Here is a tutorial on how I created this card.
You will need :
A4 White Card
The Crafty Witches – Deco Devine Digital Download Collection
Black Card
Circle Dies
Glue / Double Sided Tape
Instructions:
Print sheet one, four, the bow sheet, one insert and then three papers from the paper collection.
Card Base:
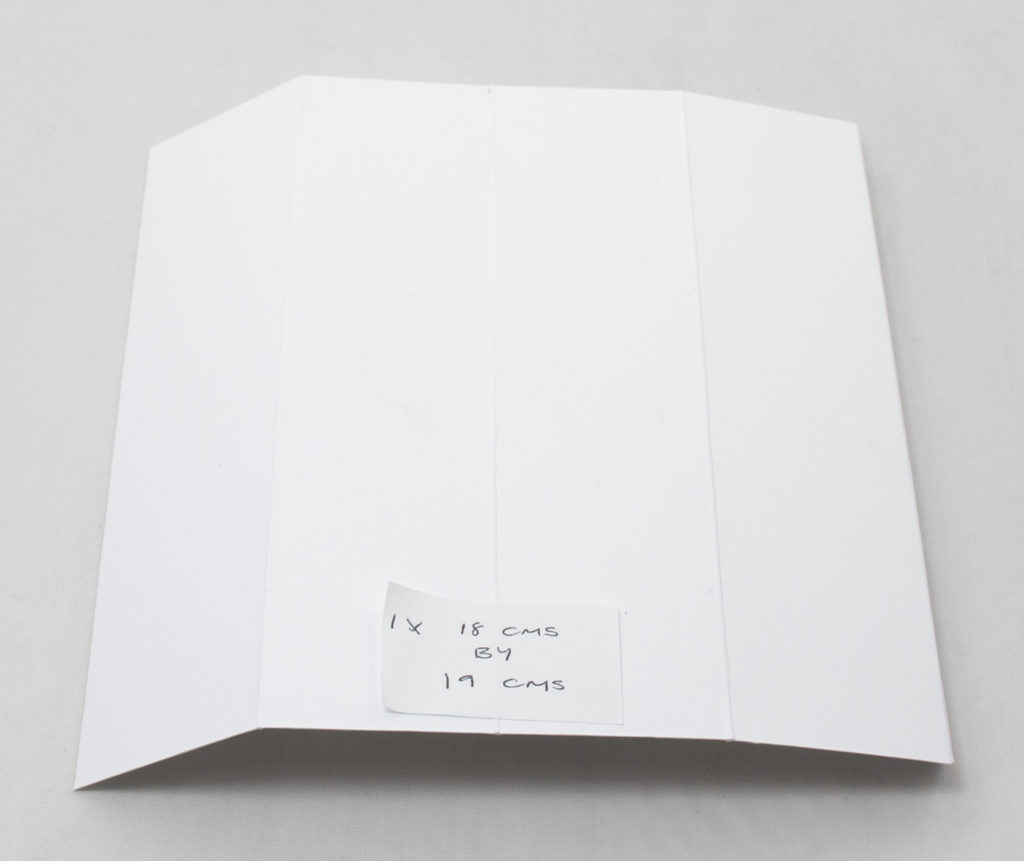
From white card cut a piece measuring 18 cms by 19 cms.
Score at 4.5 cms, 9 cms, 13.5 cms and 18 cms.
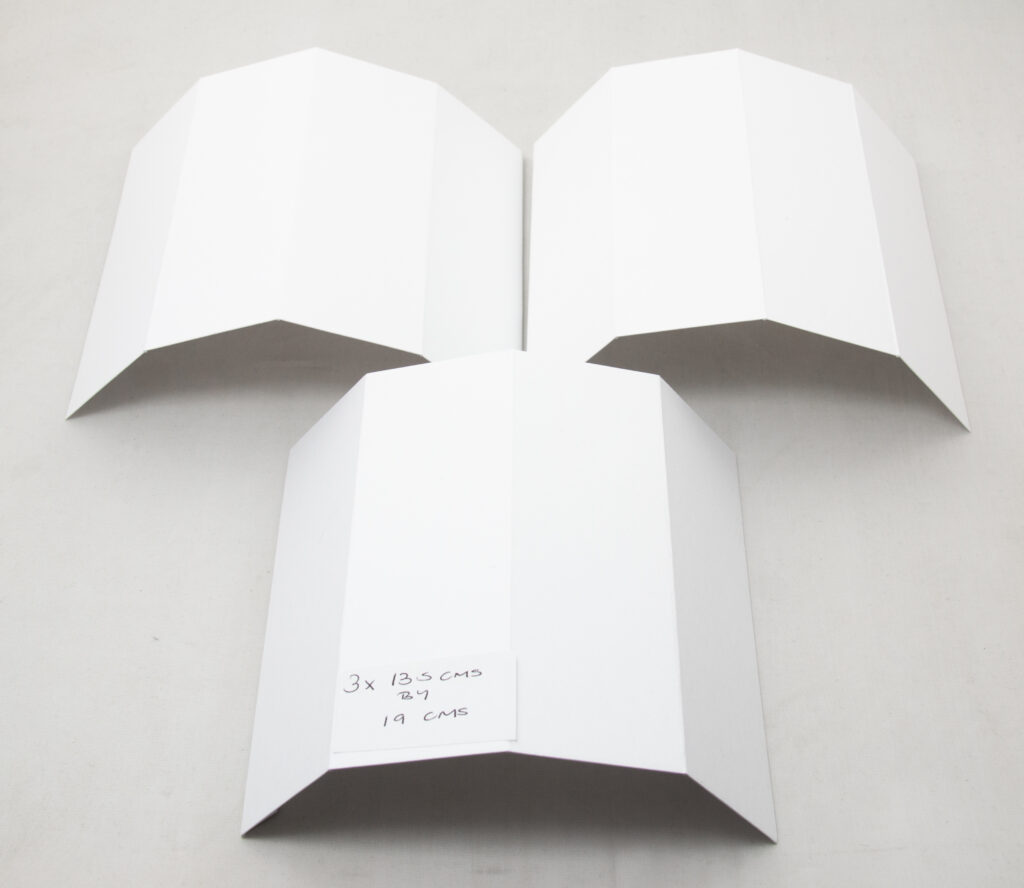
From white card cut three pieces measuring 13.5 cms by 19 cms.
Score each piece at 4.5 cms, 9 cms, 13.5 cms and 18 cms.
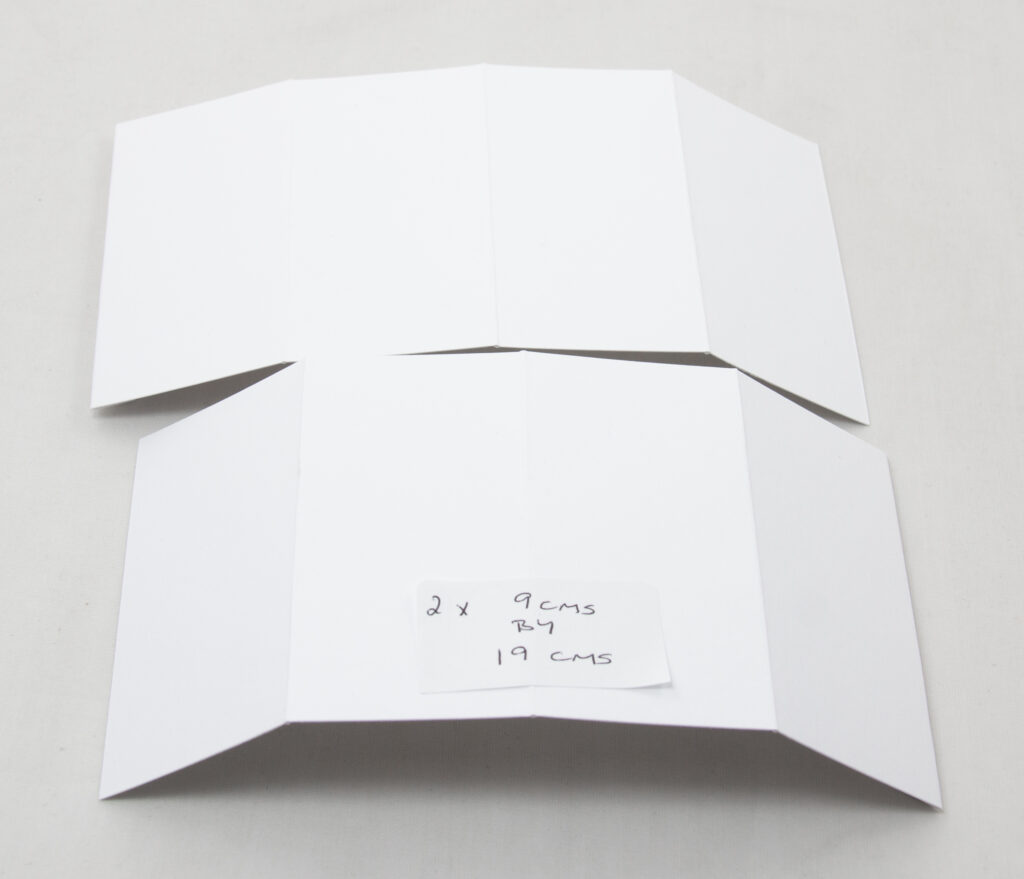
From white card cut two pieces measuring 9 cms by 19 cms.
Score each piece at 4.5 cms, 9 cms, 13.5 cms and 18 cms.
From white card cut two pieces measuring 4.5 cms by 19 cms.
Score each piece at 4.5 cms, 9 cms, 13.5 cms and 18 cms.
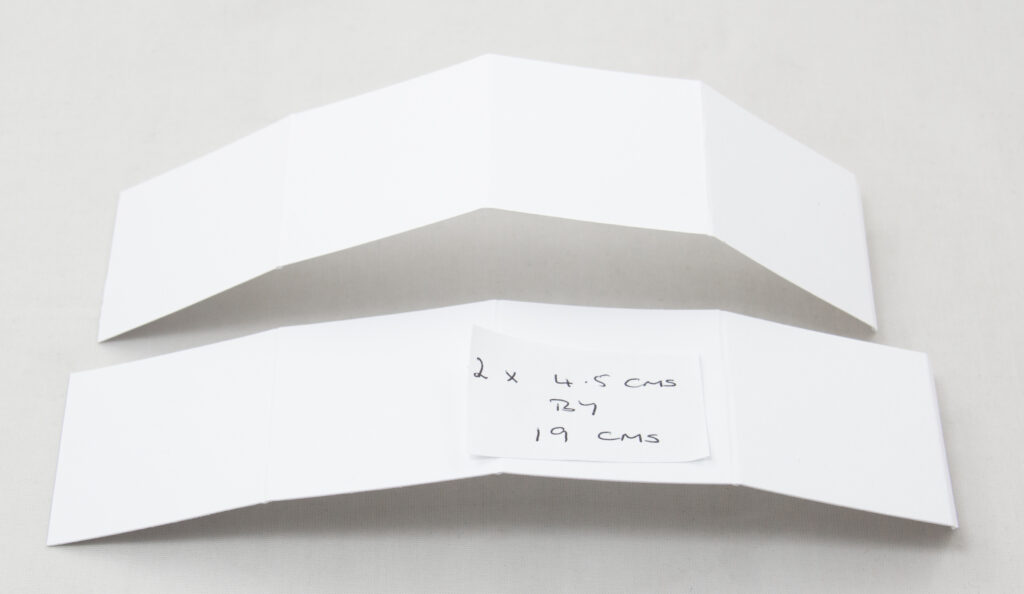
Next attach each together to form cubes.
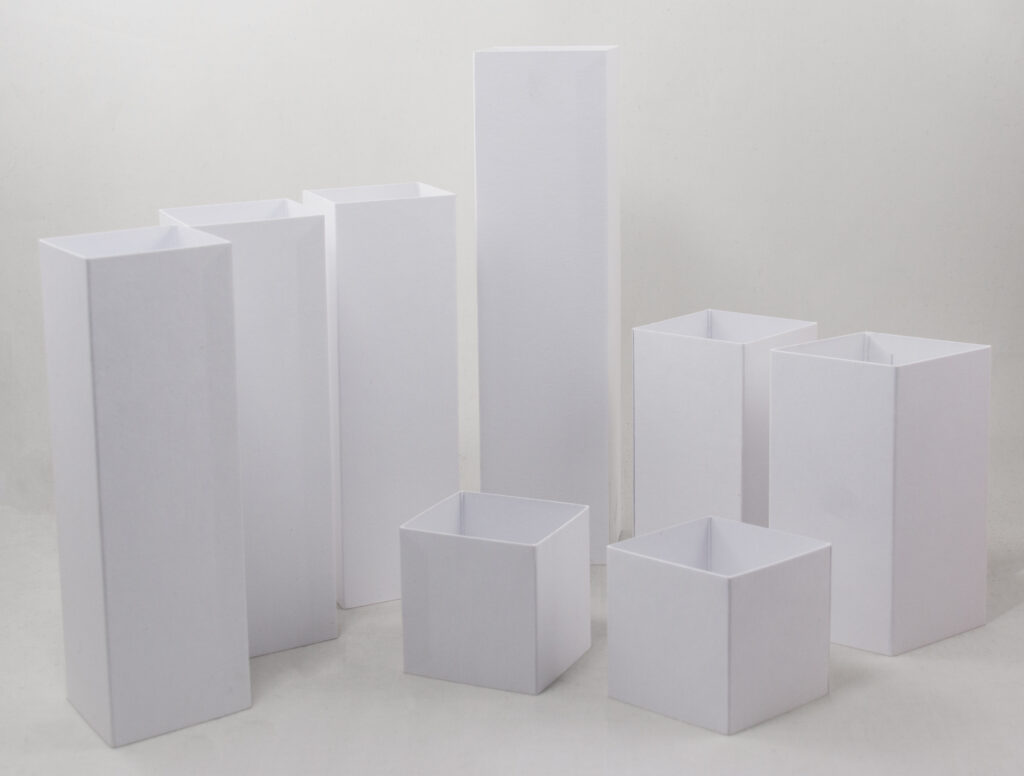
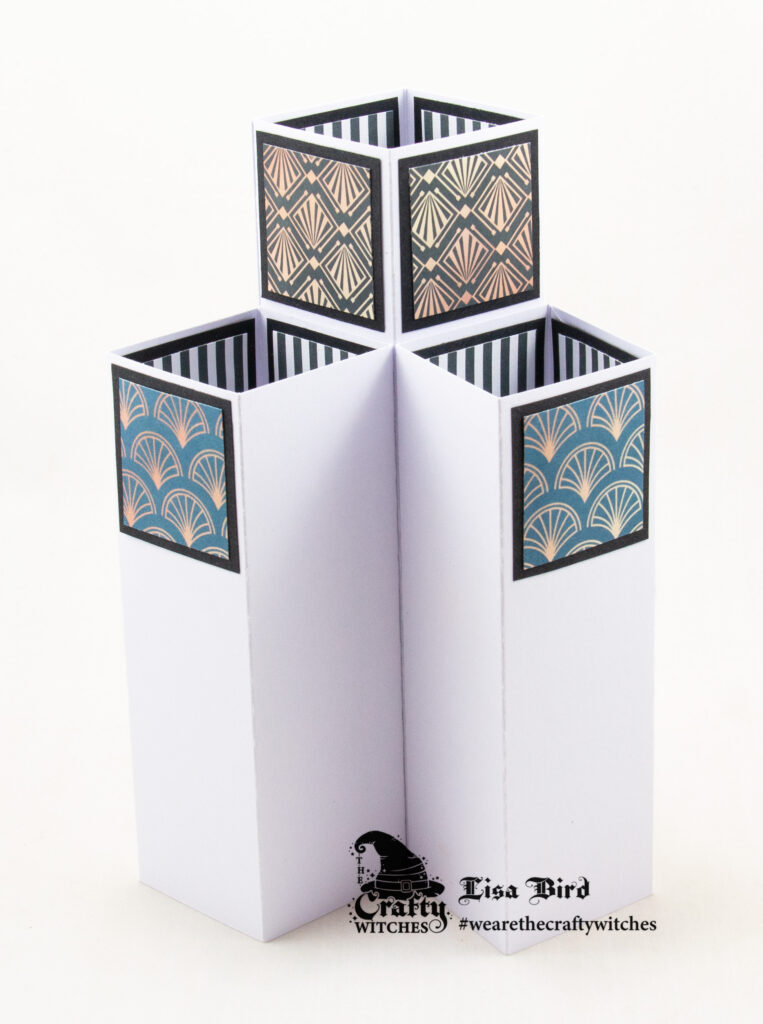
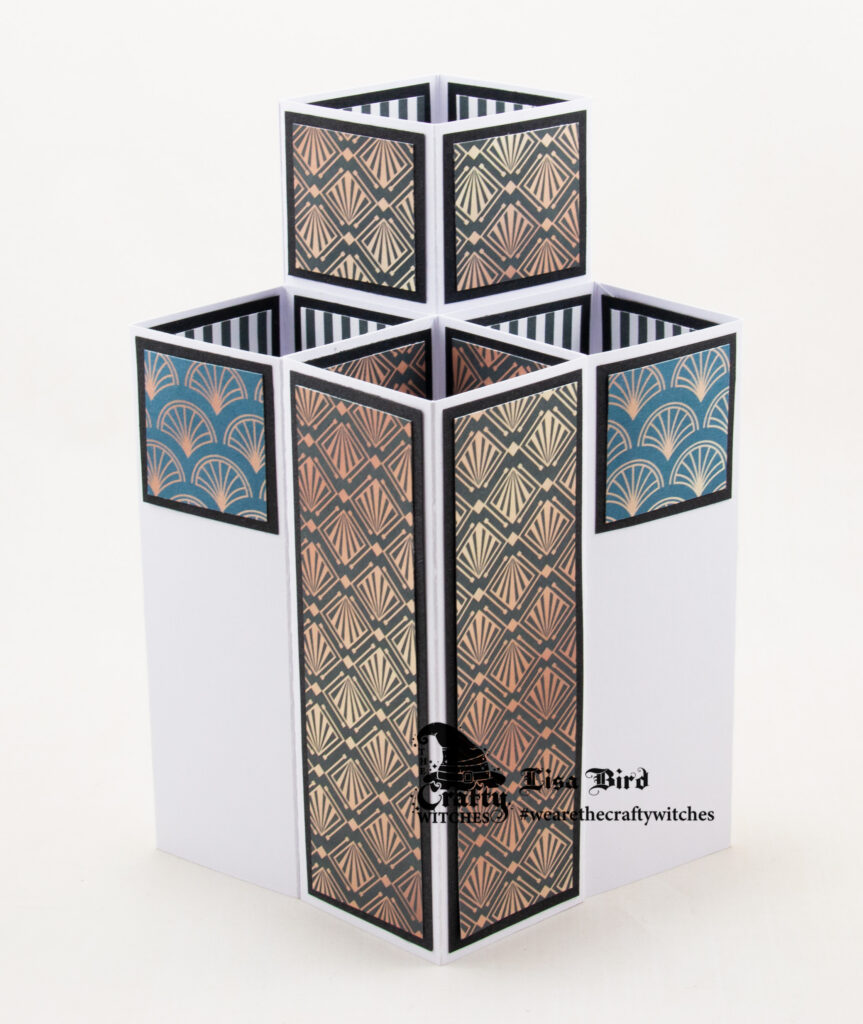
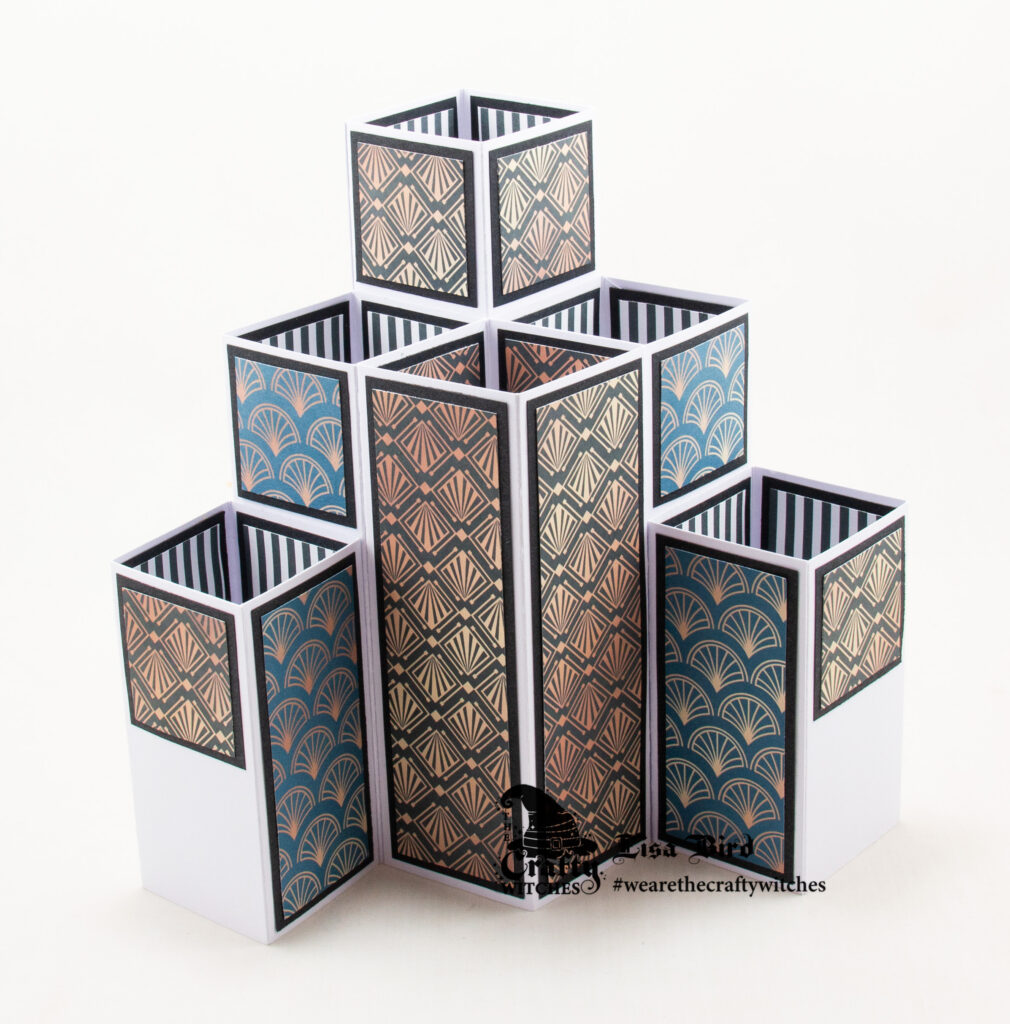
Once attached together your card will form this shape.
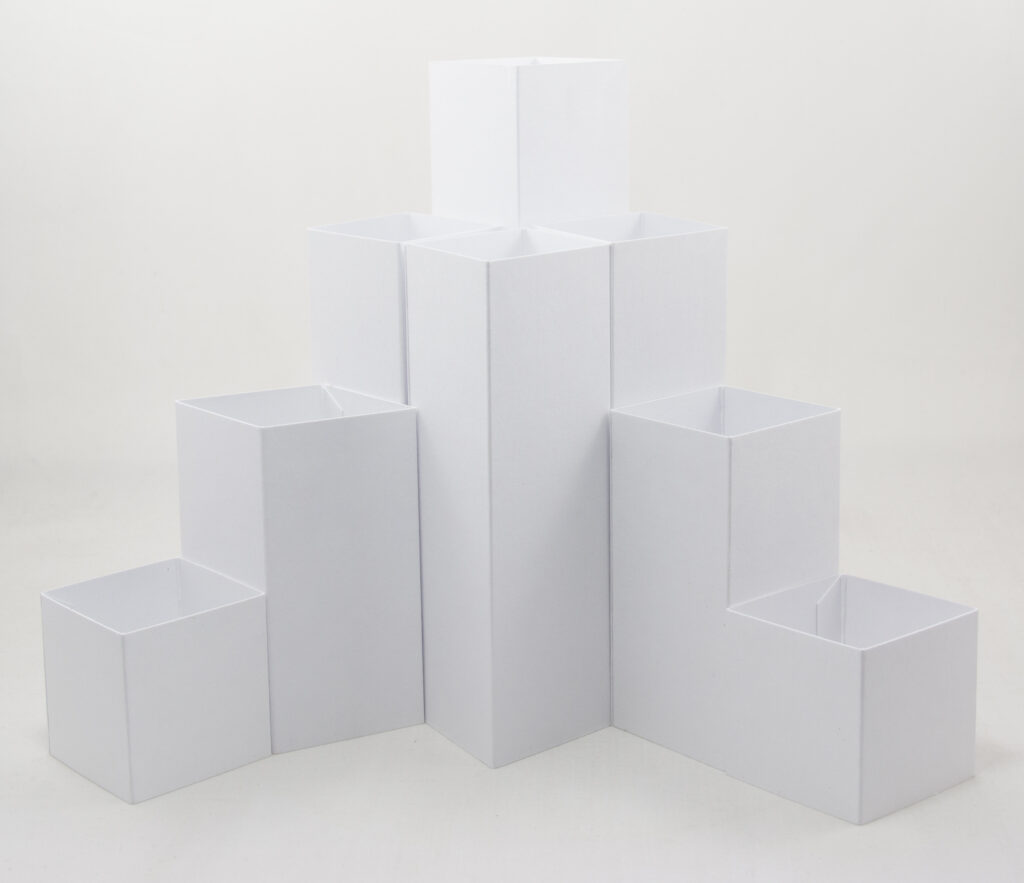
You can attach all the cubes together and then decorate but I have found it easier to decorate first.
Deco Devine Collection
Layer one:
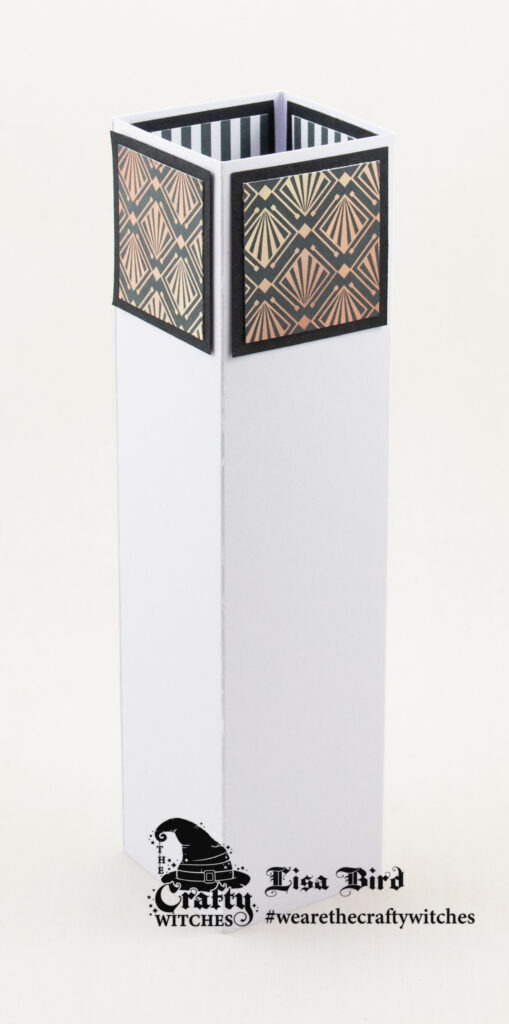
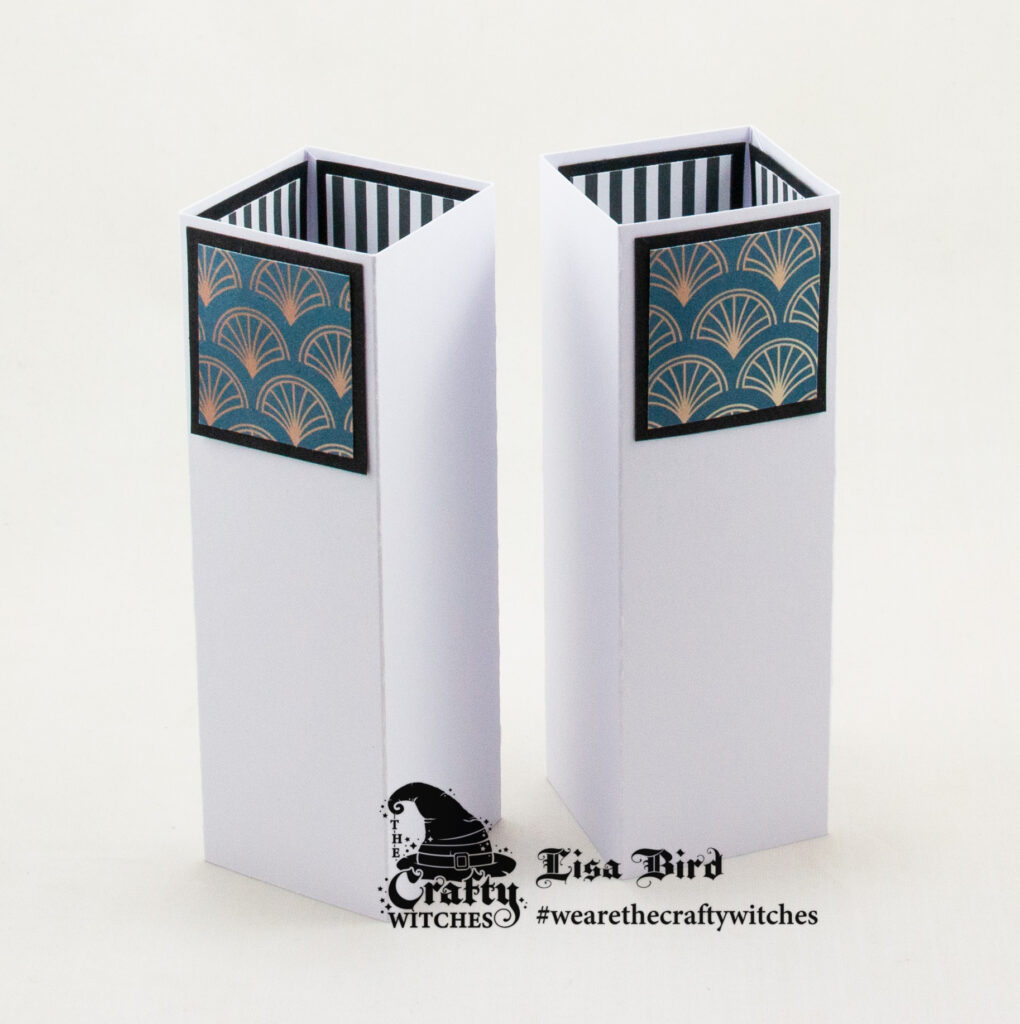
Cut two pieces from black card measuring 17.5 cms by 4 cms.
Cut two pieces from the first paper measuring 17 cms by 3.5 cms.
Matt and layer each together and attach to the inside of the first cube.
Next cut two squares from black card measuring 4 cms by 4 cms.
Then cut two square from the second paper measuring 3.5 cms by 3.5 cms.
Matt and layer together and attach to the top of the first cube.
Layer two:
Cut four pieces from black card measuring 13 cms by 4 cms.
Cut four pieces from the first paper measuring 12.5 cms by 3.5 cms.
Matt and layer each together and attach to the inside of the second cubes.
Then cut two squares from black card measuring 4 cms by 4 cms.
Cut two squares from the third paper measuring 3.5 cms by 3.5 cms.
Matt and layer together and attach to the top of the second cubes.
Layer three:
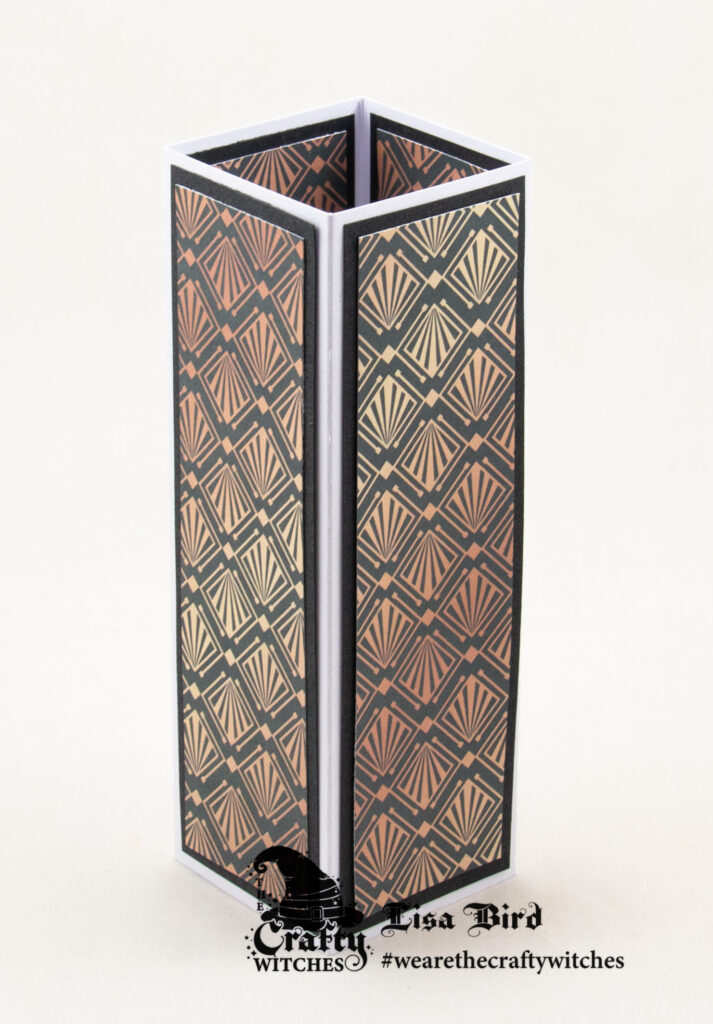
Cut four pieces from black card measuring 13 cms by 4 cms.
Cut four pieces from the second paper measuring 12.5 cms by 3.5 cms.
Matt and layer each together
Attach two to the inside and two to the outside of the central cube.
Layer four:
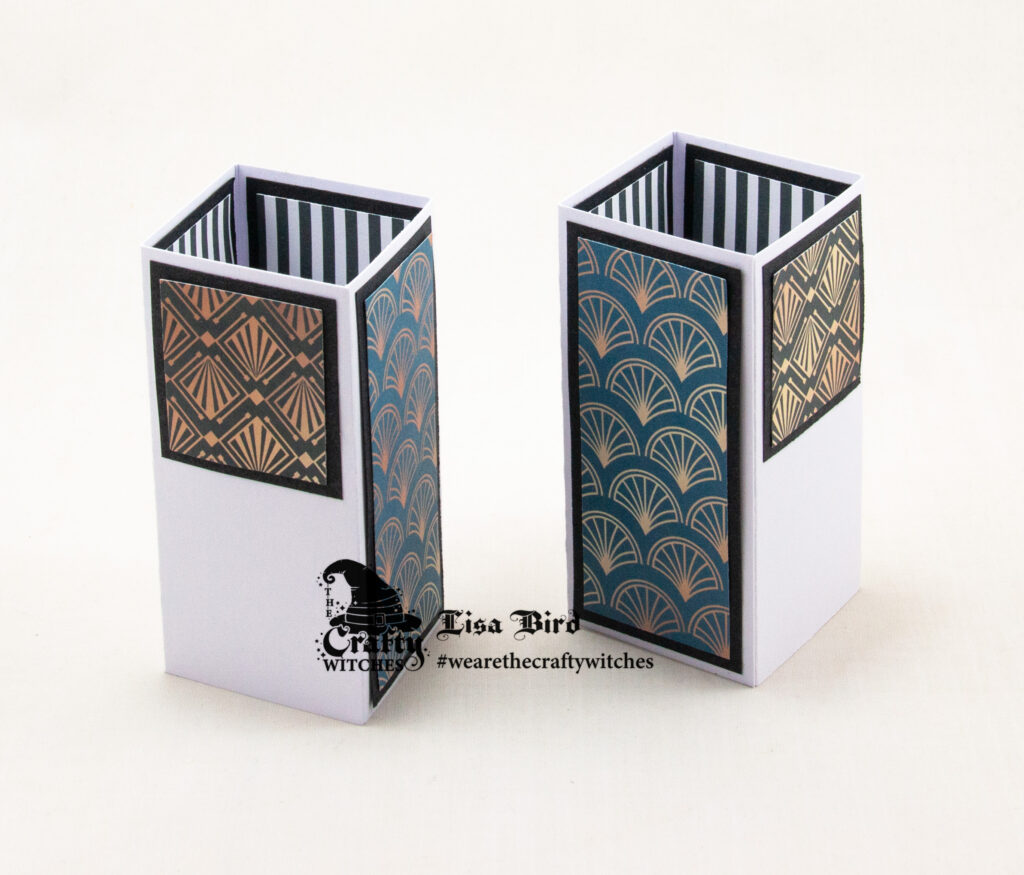
Cut four pieces from black card measuring 8.5 cms by 4 cms.
Cut four pieces from the first paper measuring 8 cms by 3.5 cms.
Matt and layer each together and attach to the inside of the fourth cubes.
Then cut two pieces from black card measuring 8.5 cms by 4 cms.
Cut two pieces from the third paper measuring 8 cms by 3.5 cms.
Matt and layer each together and attach to inside front panels of the third cubes.
Next cut two squares from black card measuring 4 cms by 4 cms.
Cut two squares from the second paper measuring 3.5 cms by 3.5 cms.
Matt and layer together and attach to the top of the third cubes.
Layer five:
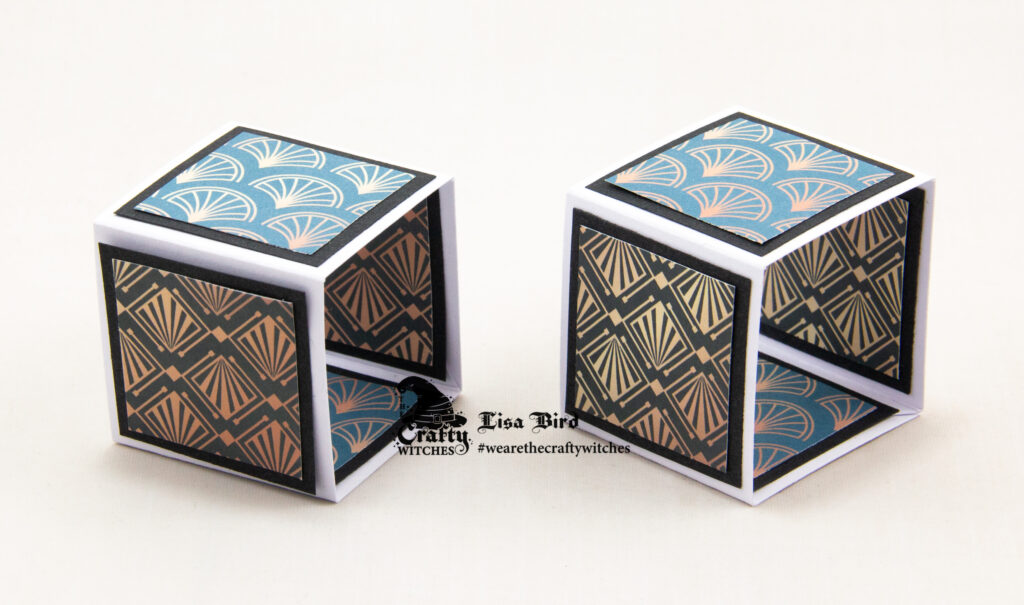
Cut eight pieces from black card measuring 4 cms by 4 cms.
Cut four pieces from the second paper and four from the third paper measuring 3.5 cms by 3.5 cms.
Matt and layer each together.
Attach two to the inside of the small cubes and two to the outside.
Layer six:
Attach all cubes together, waiting until each layer has dried before adding the next layer.
Layer seven:
Using white card, cut two strips measuring 1.5 cms by 7 cms.
Score each at 1.5 cms, 2.5 cms, 4.5 cms and 5.5 cms.
Fold a valley fold then a mountain fold each side.
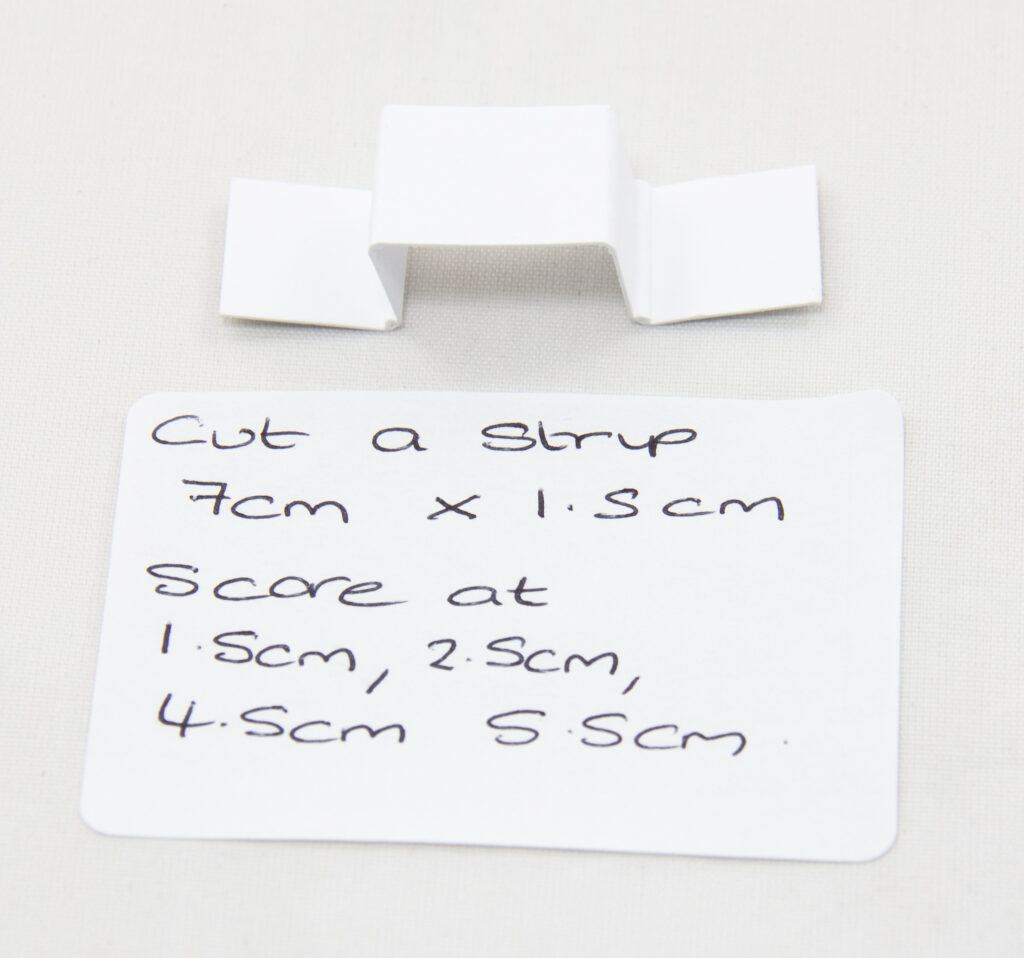
Attach one strip to the central cube, close to the middle fold.
Using two different size circle dies, cut out a circle from black card and one circle topper from sheet one.
Matt and layer together and attach to the central cube on the white strip.
Then using smaller circle dies, cut out a circle from black card and one circle sentiment from sheet one.
Matt and layer together and attach to the bottom of the circle topper.
Next attach the second white strip to the top of the first cube.
Cut out and make up a bow and attach to the white strip.
then cut out two ladies from sheet four and attach them to the side cubes for added decoration.

Layer Seven:
Using black card and an insert cut the same matt and layer measurements as the front panels.
Matt and layer together and attach to the outside of the card base.
………………………………………………………………………….
Thank you for visiting my blog and please feel free to follow and make any of my handmade card tutorials.
If you would like to see other cards I have made please have a look here:
Cowgirl Dollie – Happy Birthday
Wicked In Mist – Happy Boo-thday
This is absolutely stunning, but even with your lovely tutorial I think it is too intricate for me to do lol. It is worth the effort though.
Hugz Tinz
937865