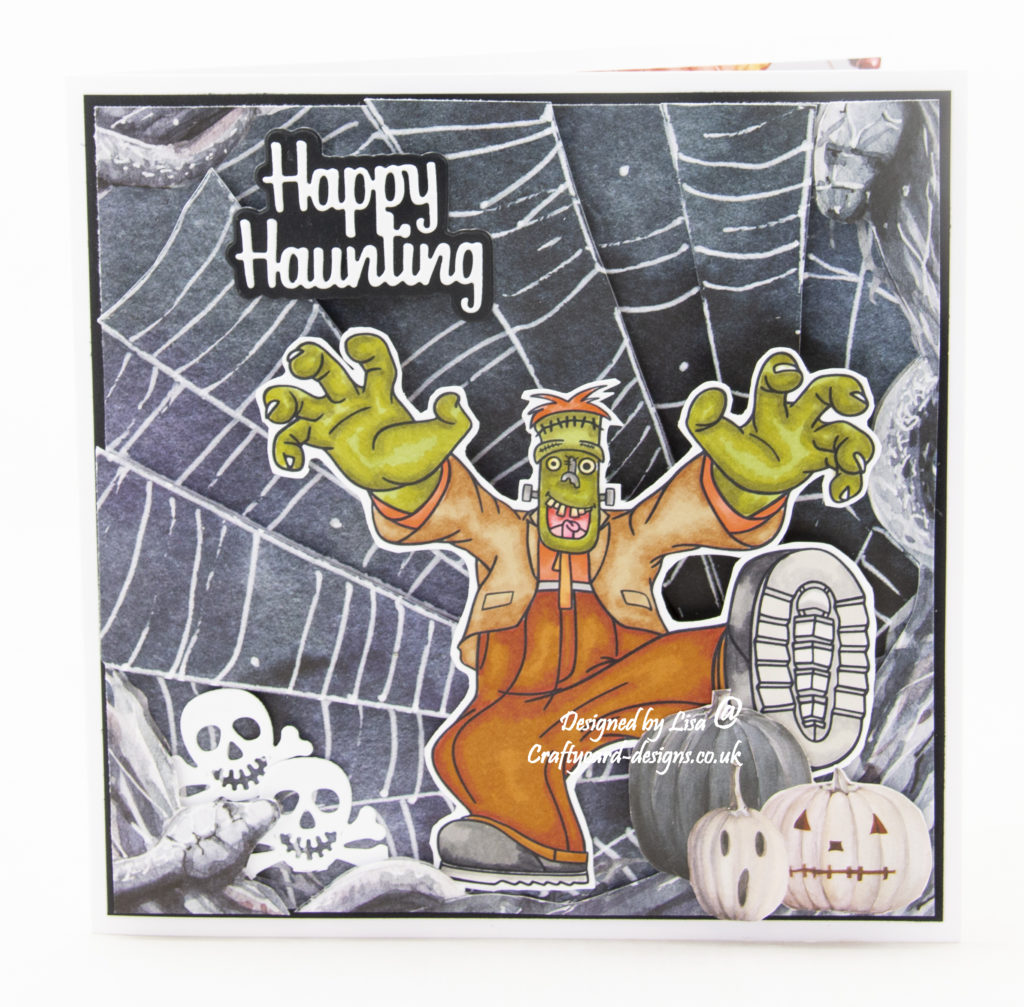
Today’s handmade card has been created for the new challenge at Aud Sentiments Challenge Blog #298.
The theme for this challenge is Halloween / Fall + A Sentiment.
You can make any type of project such as a card, tag, scrapbook layout, pocket letter, box etc.
The theme must be follow and a sentiment included.
Our sponsor’s for this challenge are Fred, She Said and Mirtillamente Craft Shop.
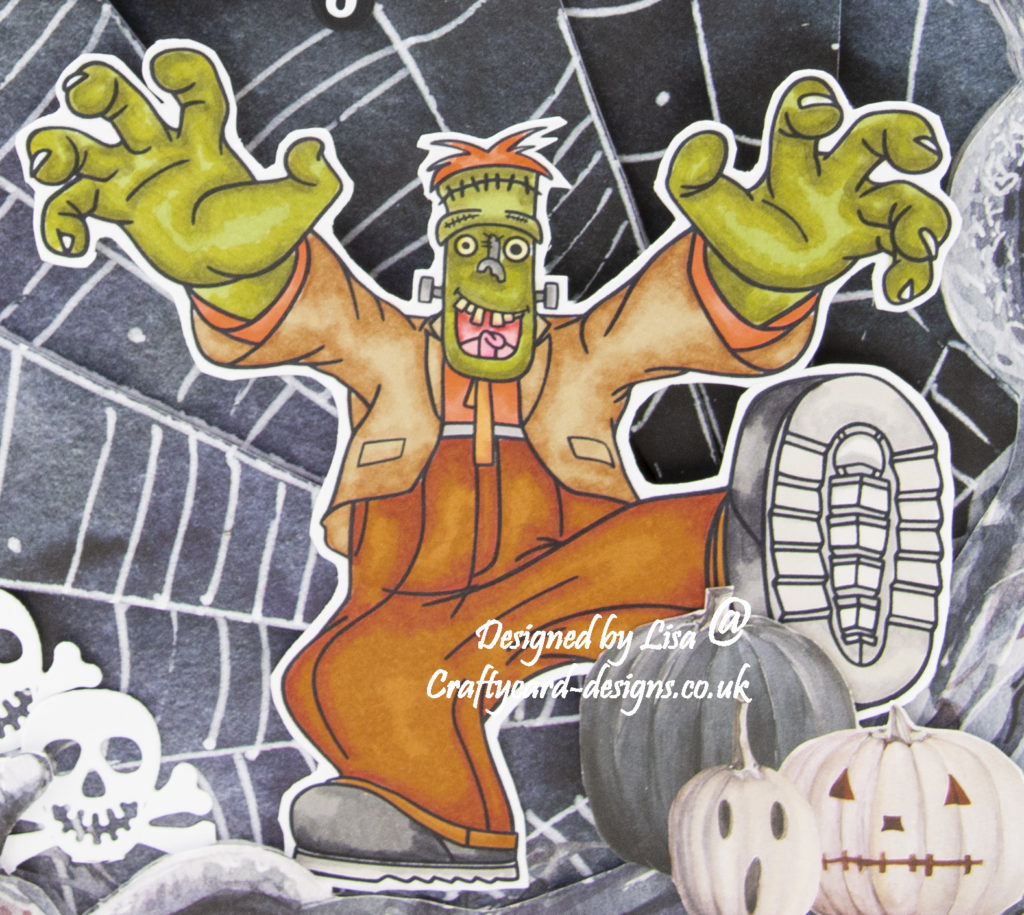
I have used a digital image from Mirtillamente Craft Shop called Frank.

Here is a tutorial on how I created this card.
You will need :
7″ x 7″ White Card Base
Mirtillamente Craft Shop Digital Image Frank
Promarker Pens
The Paper Boutique Wickedly Wonderful – Paper Collection
The Paper Boutique Wickedly Wonderful – Insert Collection
The Paper Boutique Wickedly Wonderful – Love The Bones Of You Doily Die Collection
The Paper Boutique Wickedly Wonderful – Sentiment IX Die Collection
White Card
Black Card
Glue / Double Sided Tape
Foam Pads
Instructions:
You will need two spider web papers and one paper with pumpkin’s and one insert.
Layer one:
Cut a square from black card measuring 16.5 cms by 16.5 cms.
Cut a square from the spider web paper measuring 16 cms by 16 cms.
Matt and layer together and attach to the card base.
Layer two:
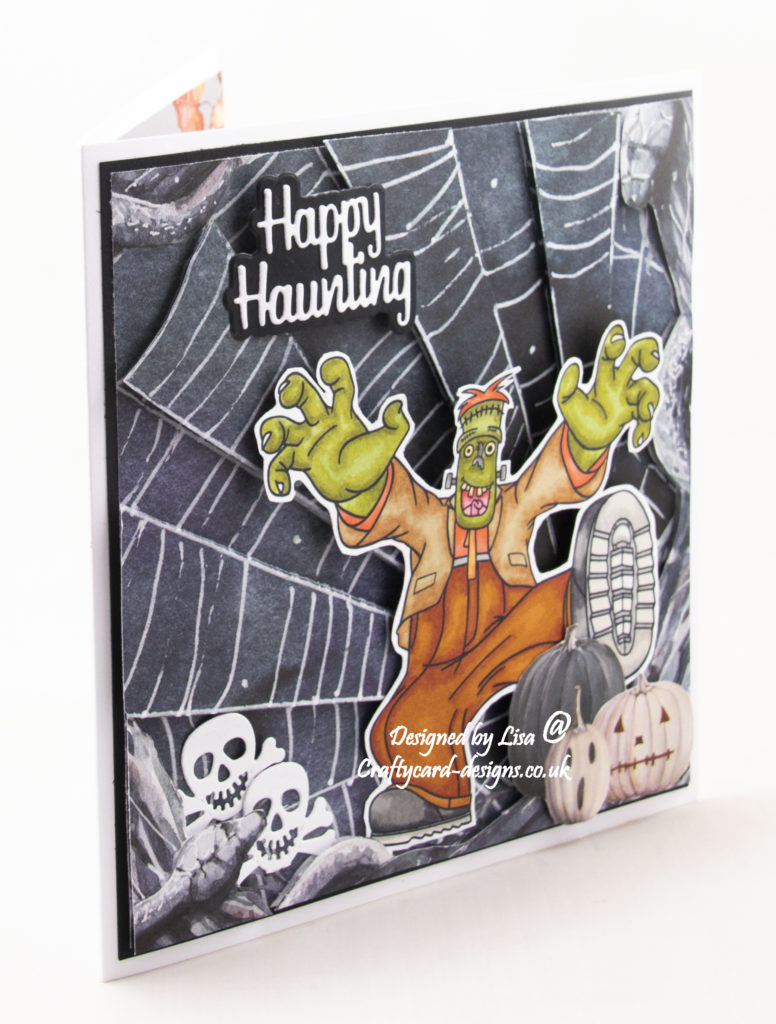
From the second spider web paper, cut around the outside snake image.
Then using foam pads attach to the card base on the same image.
Next cut out four strips of the spider web.
Using foam pads attach to the card base on the same images.
This is to give the card design a 3d effect.
Layer three:
Colour in the digital image Frank, I used promarkers.
Skin / Hair / Face: Olive green, marsh green, herb green, berry red, carmine, cocktail pink, buttercup, mango, orange.
Clothes: Cocoa, cinnamon, sandstone, burnt umber, saddle brown, raw sienna, mandarin, orange, mango, amber, black, cool grey 4, 5.

Cut around the digital image, leaving a small white border.
Attach to the card base using foam pads.
Layer four:
Using white card, cut out the decorative doily die.
Then cut a couple of the skulls out from the doily die cut and attach to the card base.
Layer five:
Cut out a pumpkin image and attach to the card base using foam pads.

Layer six:
Using a sentiment die, cut the matt die from black card.
Cut the sentiment from white card.
Matt and layer together and attach to the card base.
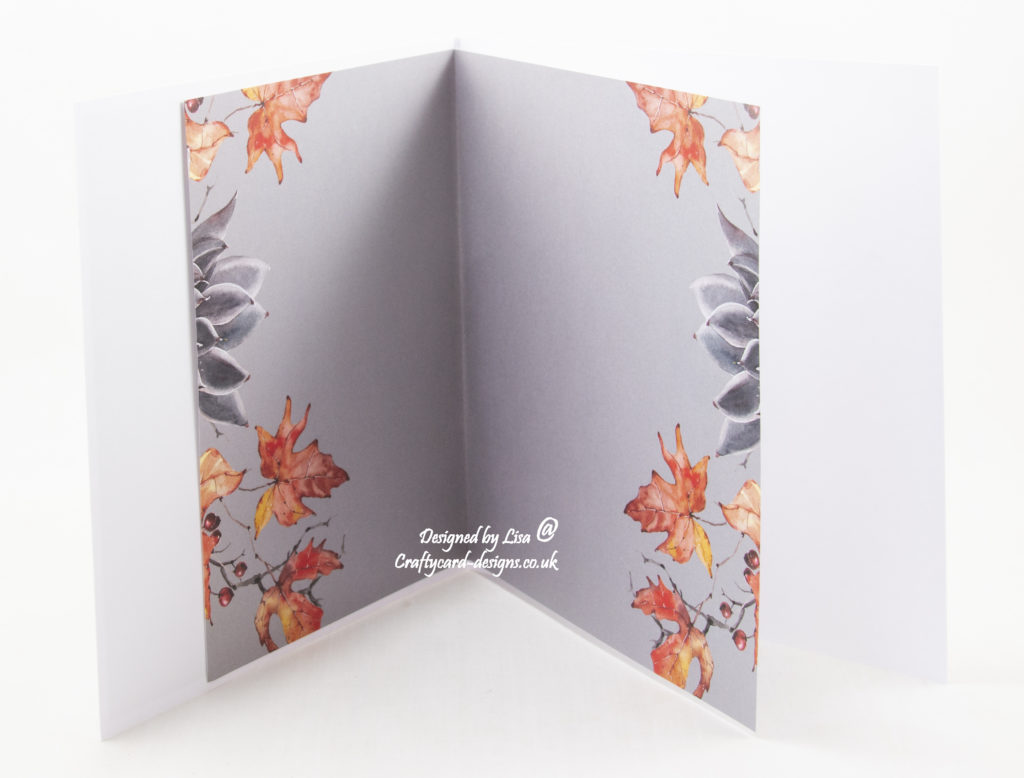
To finish add an insert to the inside of the card base.

………………………………………………………………………….
Thank you for visiting my blog and please feel free to follow and make any of my handmade card tutorials.
If you would like to see other cards I have made please have a look here:
Creepy Cute Skull – Happy Haunting
Gnome For Christmas – Happy Christmas
Wickedly Wonderful : Happy Haunting
Feet Up And A Cuppa – Happy Birthday
Happy Days – It’s Time To Celebrate
………………………………………………………………………….
Challenges I would like to enter are:
Crafty Calendar Challenge October – Halloween
CD Sunday Plus Challenge #95 – Anything Goes Must Include Something From A Cd, Usb, Digital Download
Creative Fingers Challenge #240 – Anything Goes
Craft Rocket Challenge #97 – Autumn/Halloween
Little Red Wagon Challenge #674 – Spooky Halloween
Great card. I have the same paper and loved the way you used yours. Thank you for sharing with us.
Carol xx
CD Sunday Plus DT
Awesome and spooky with Frank, fabulous Halloween card..
Thank you so much for joining in with our challenge at Little Red Wagon, hope you will play again..
Luv CHRISSYxx
A great, very spooky, Halloween card.
Thanks for sharing it with us. Always a pleasure to see your cards.
Jo
CD Sunday Plus DT
Fabulous Halloween card and thanks for joining us at Crafty Calendar hugs Sue x
I love Frank! A great Halloween design.
Pamela
CD Sunday Plus DT.