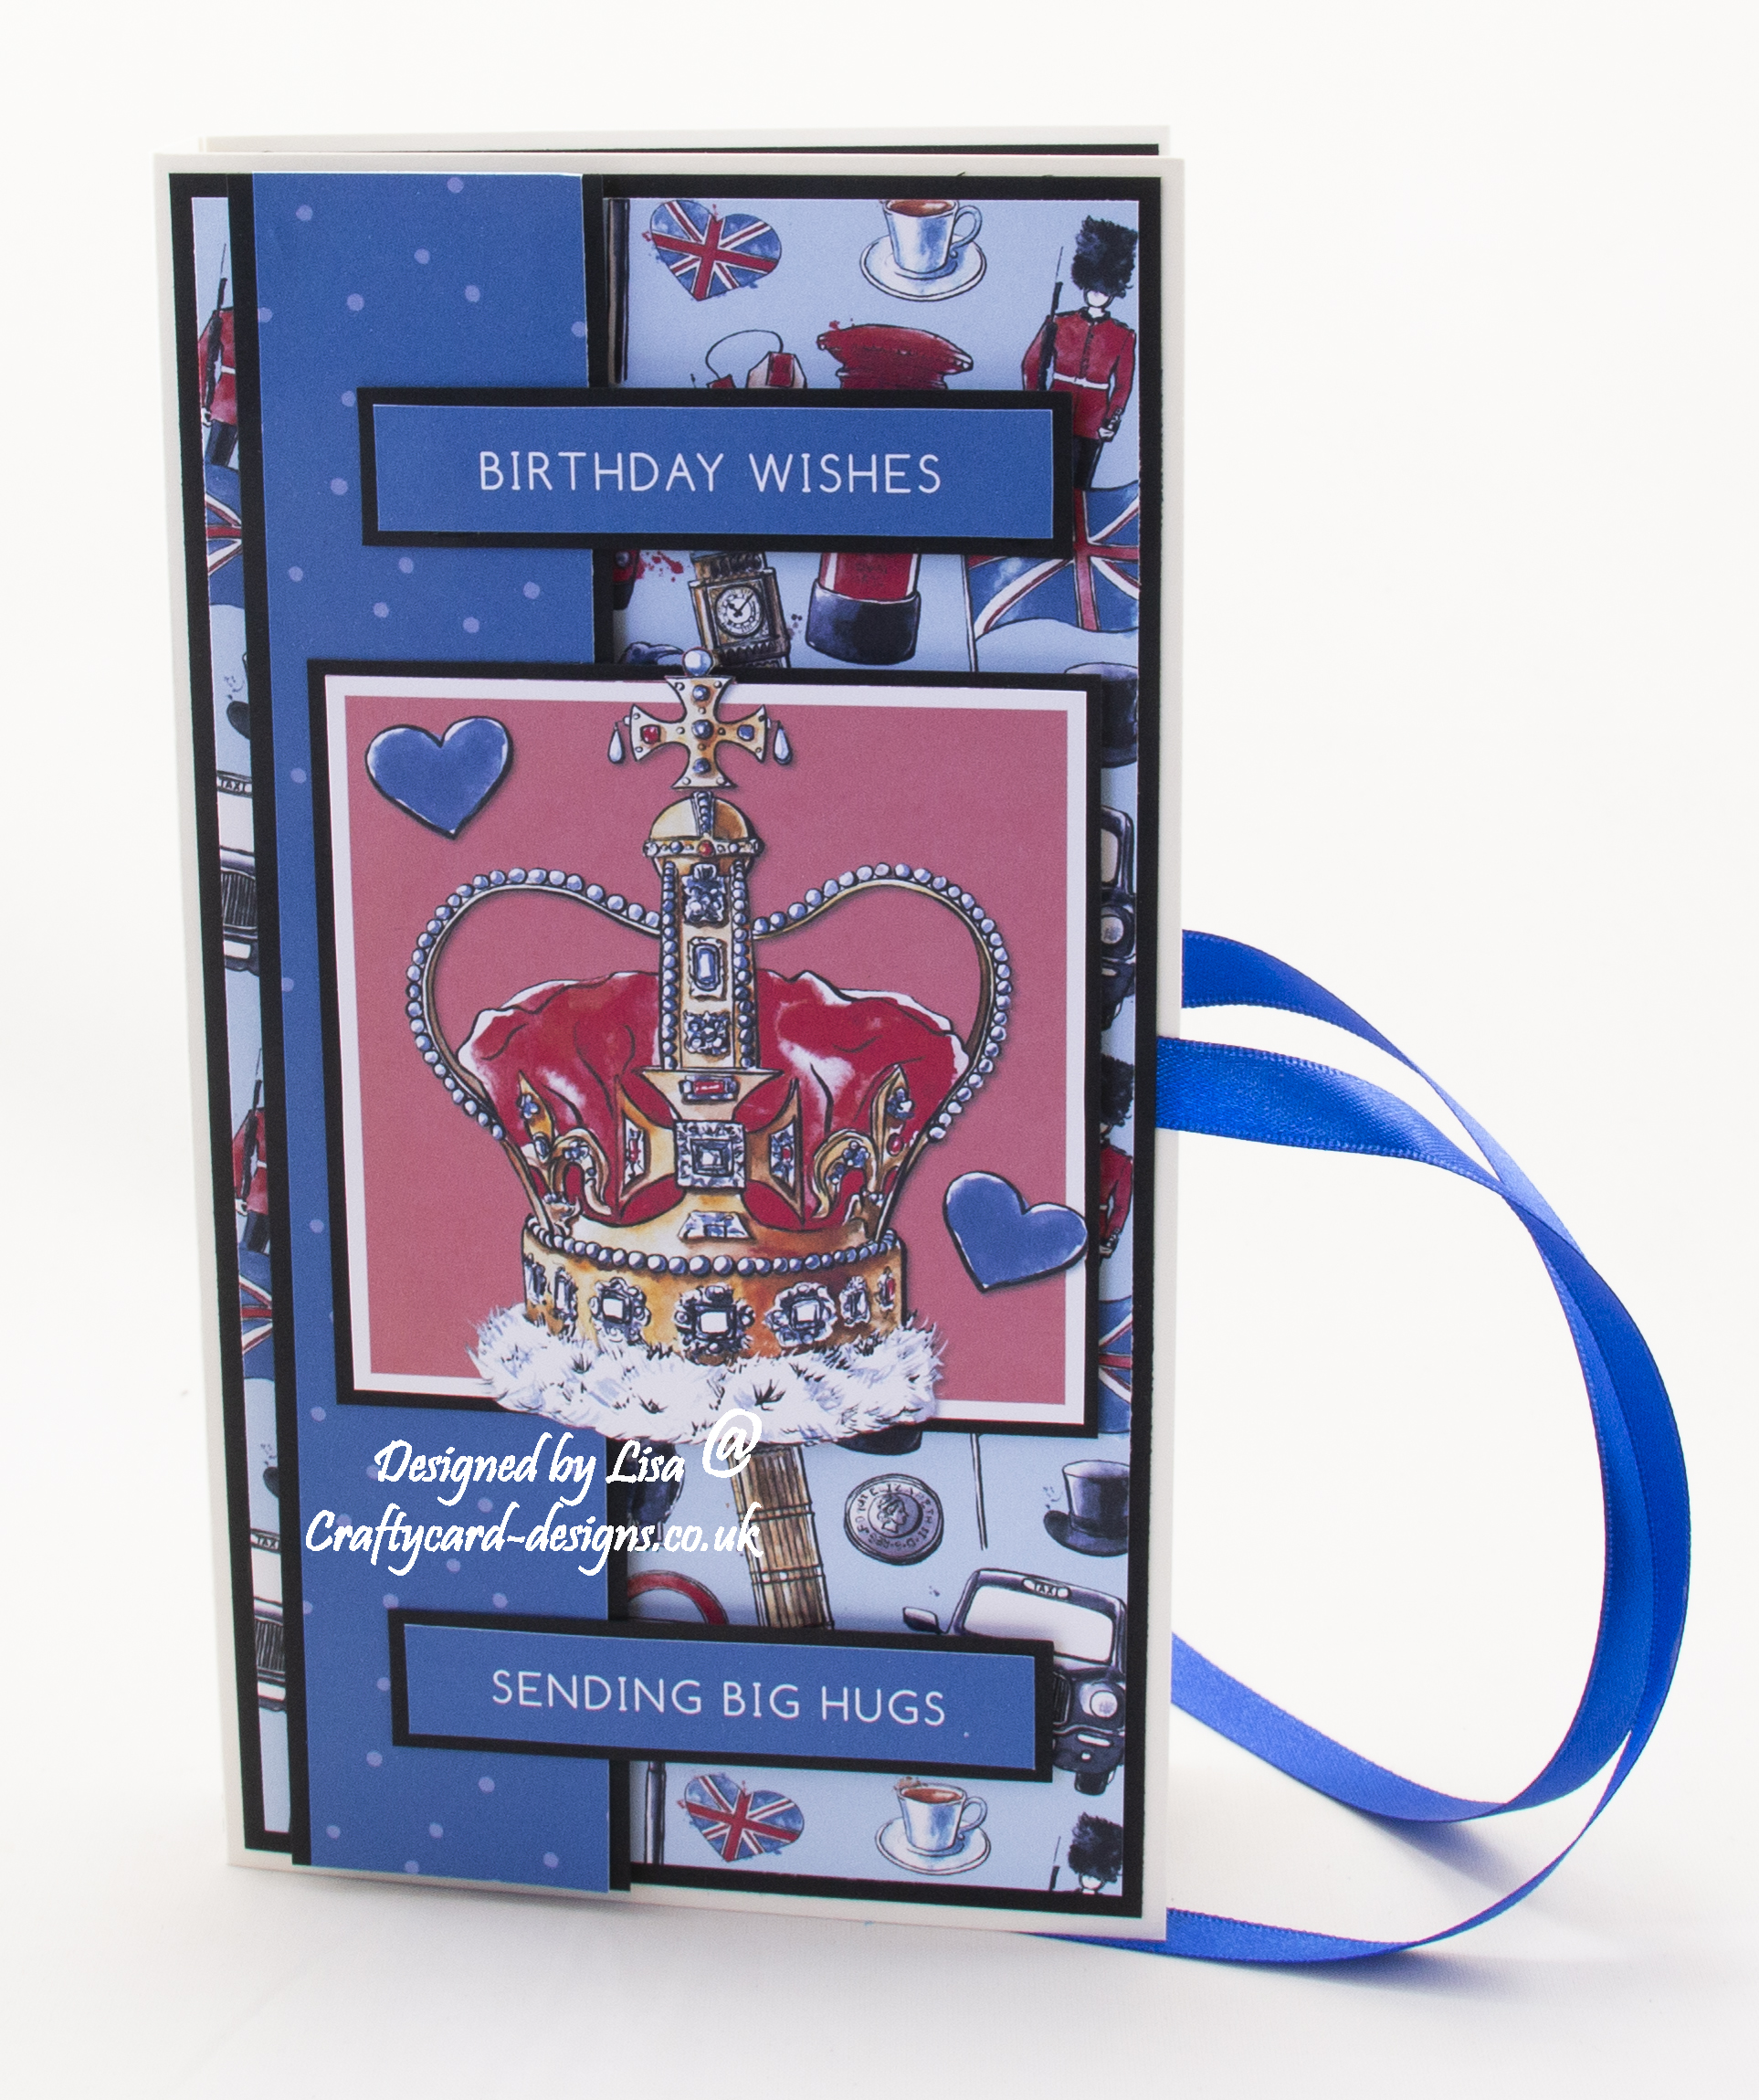
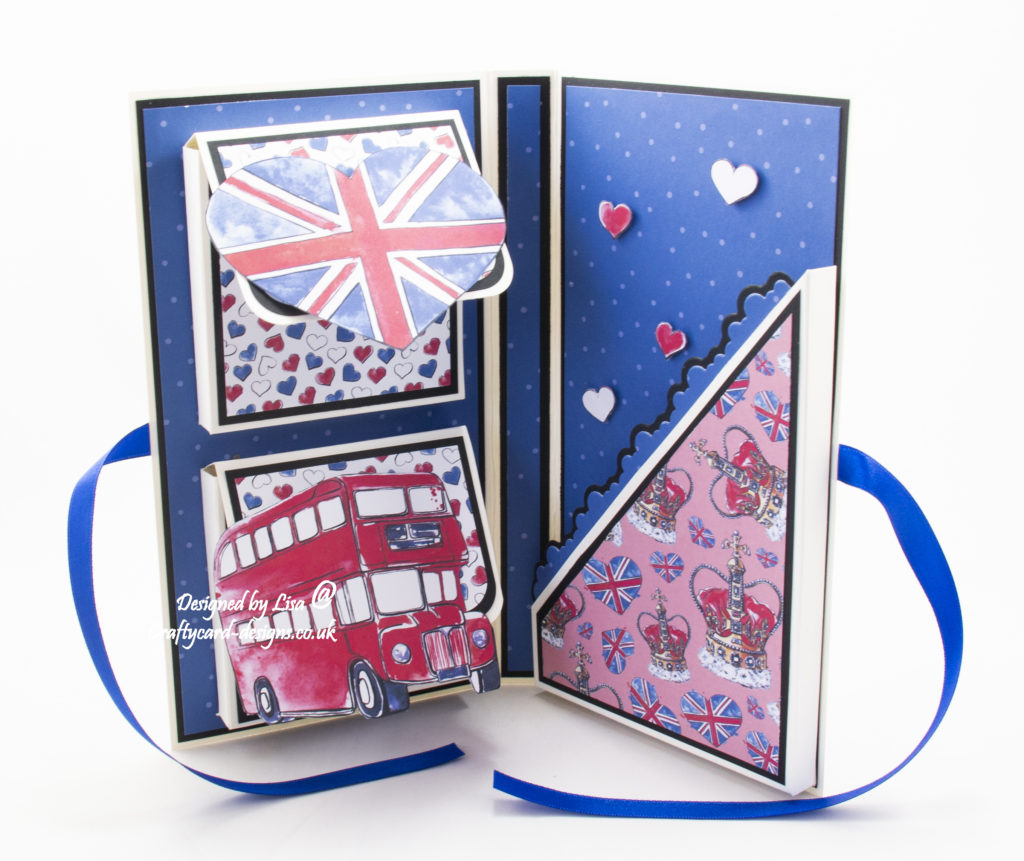
This tutorial is for a handmade gift card with pockets, using Jubilee Celebrations download paper pad from Creative Crafting World.
You will need :
A4 Card
The Paper Boutique Jubilee Celebrations Download – Perfect Medley Paper Pad
The Paper Boutique Essential Nesting Dies Volume IX
Corner Punch
Blue Ribbon
Glue / Double Sided Tape
Foam Pads
Instructions:
Layer one:
Cut a piece of A4 card measuring 20 cms by 24 cms.
Along the longest edge score and fold at 11 cms and 13 cms.

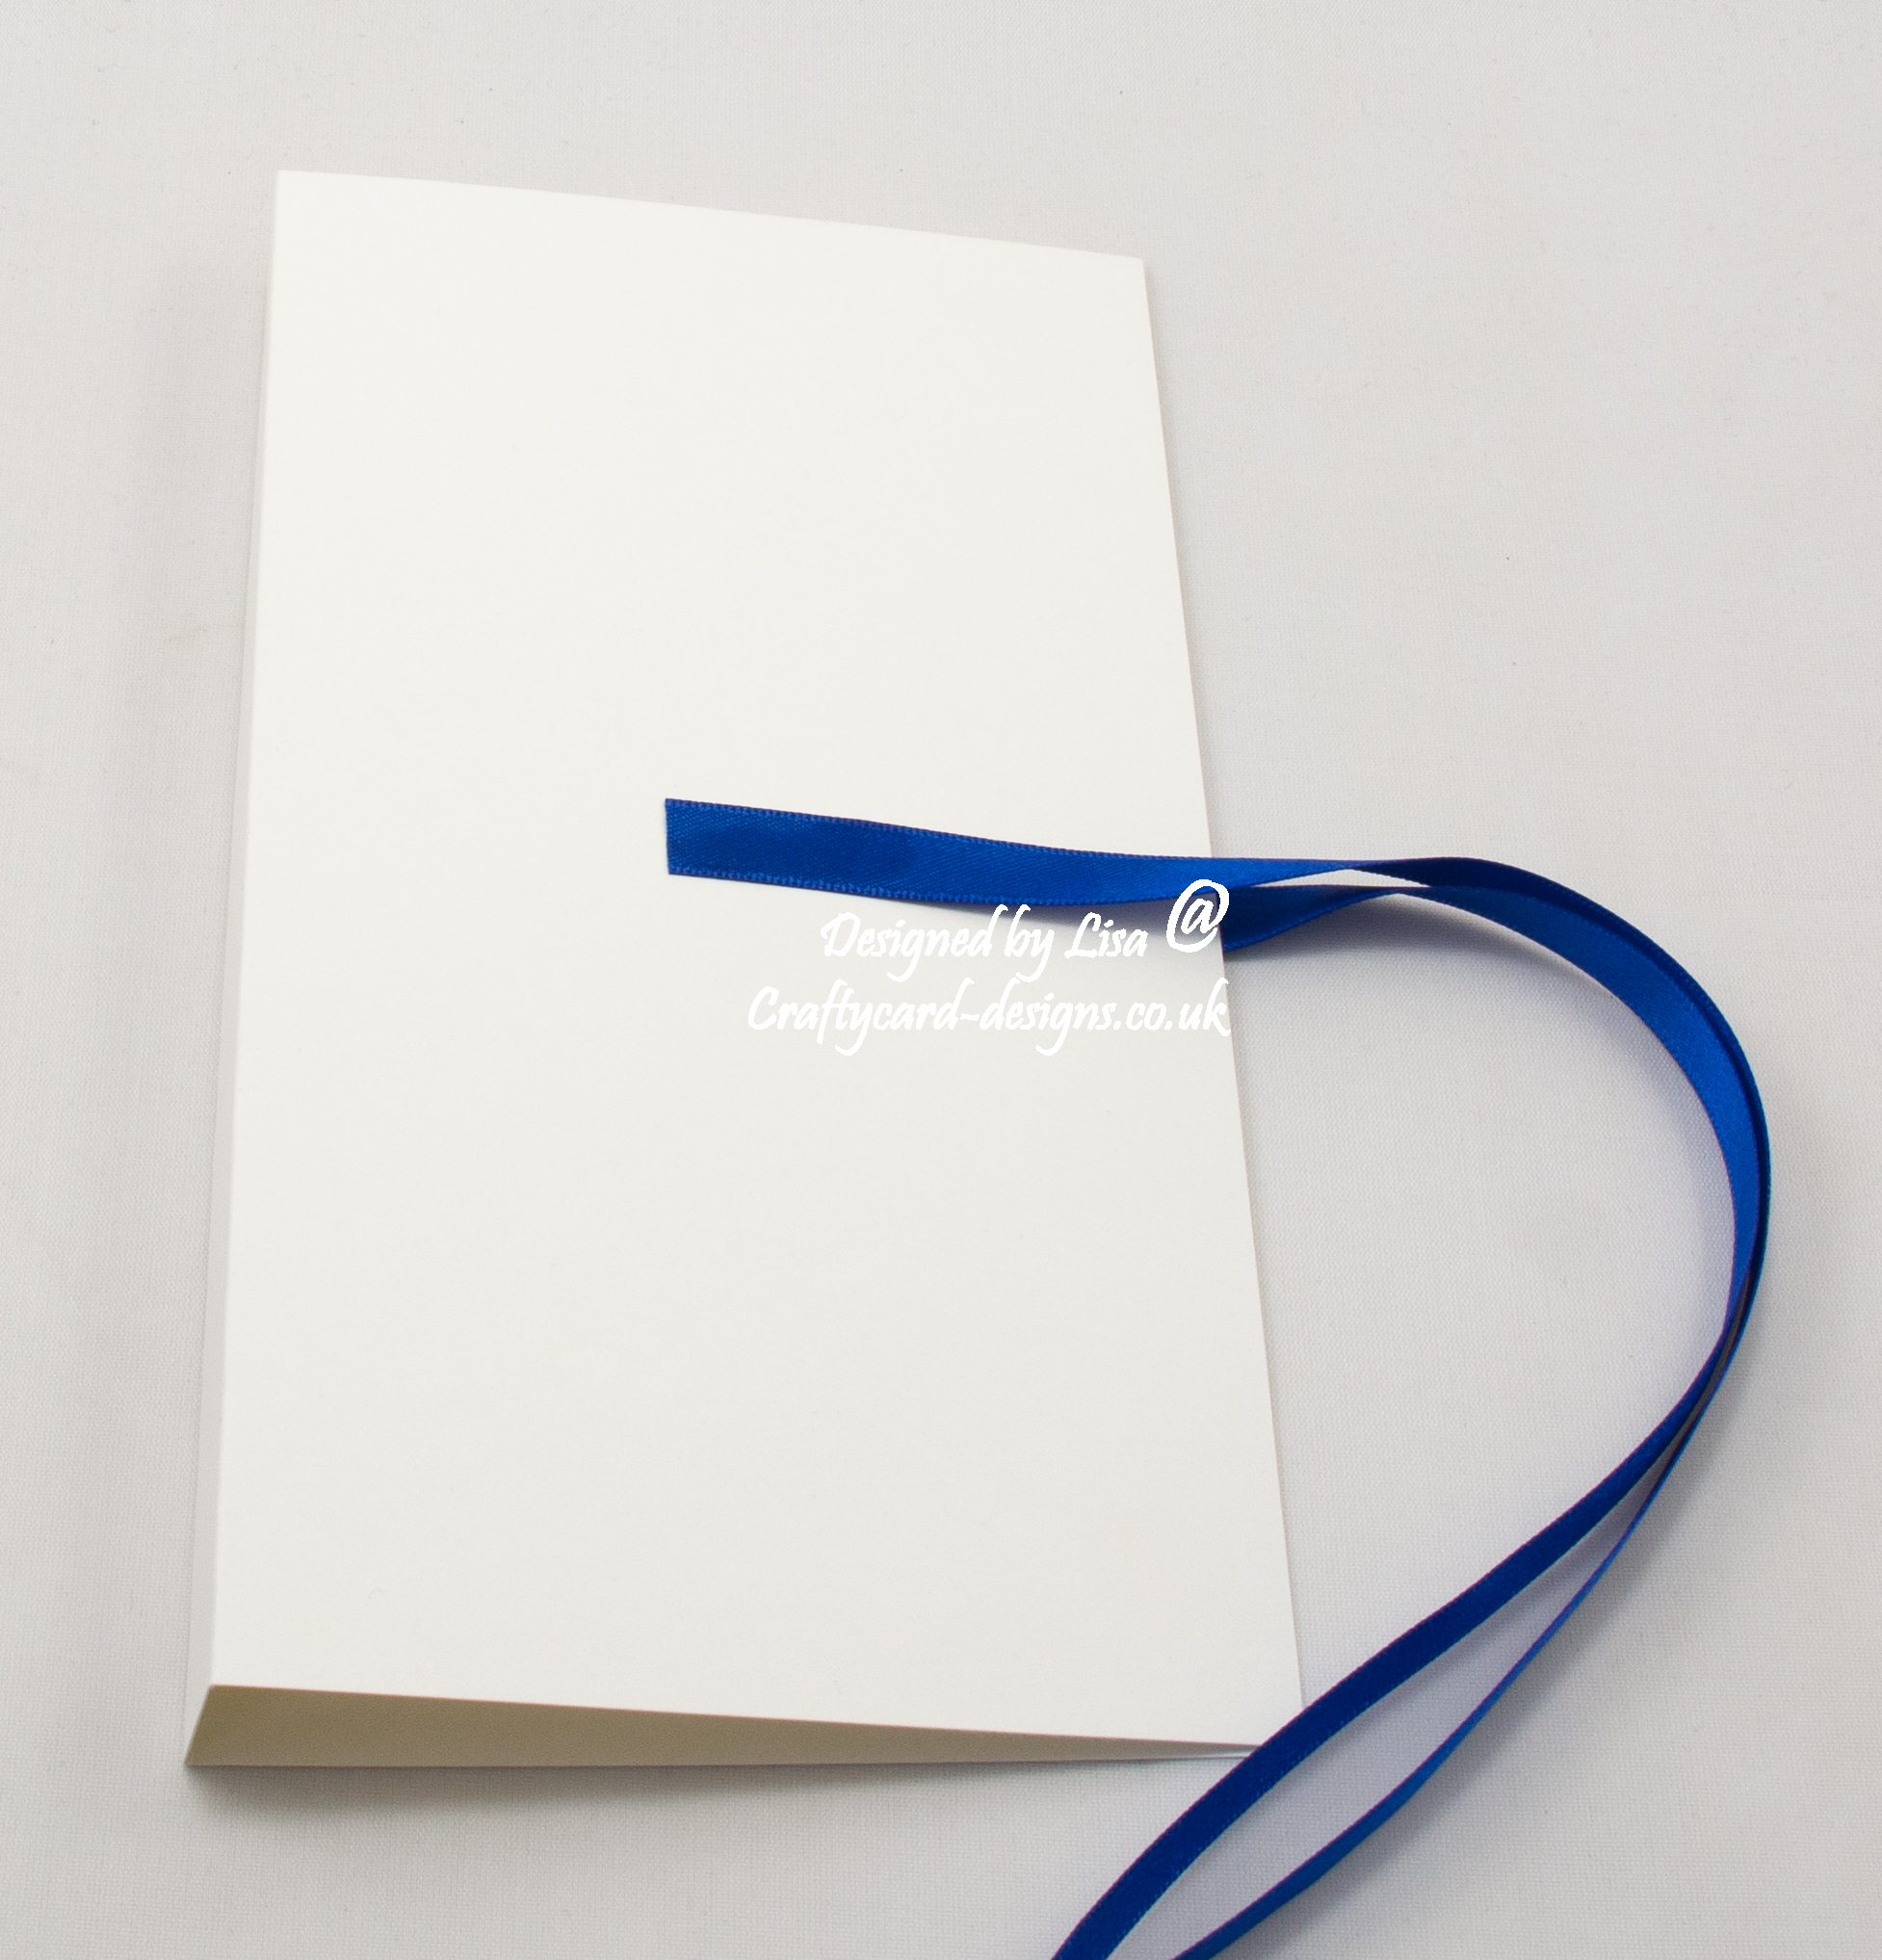
Cut two pieces of ribbon and attach to the front and back.
Layer two:
Cut two pieces from black card measuring 19.5 cms by 10.5 cms.
Cut two pieces from the first paper measuring 19 cms by 10 cms.
Matt and layer together.
Cut a piece from black card measuring 19.5 cms by 1.5 cms.
Cut a piece from the first paper measuring 19 cms by 1 cms.
Matt and layer together.
Attach all to the outside of the card.

Layer three:
Cut a piece from black card measuring 19.5 cms by 4 cms.
Cut a piece from the second paper measuring 19.5 cms by 3.5 cms.
Matt and layer together and attach to the front of the gift card, using foam pads.
Cut a square from black card measuring 8.5 cms by 8.5 cms.
Matt and layer with a topper.
Attach to the front of the gift card using foam pads.
Next cut two matt layers from black card.
Matt and layer with the sentiments.
Attach to the front of the gift card using foam pads.
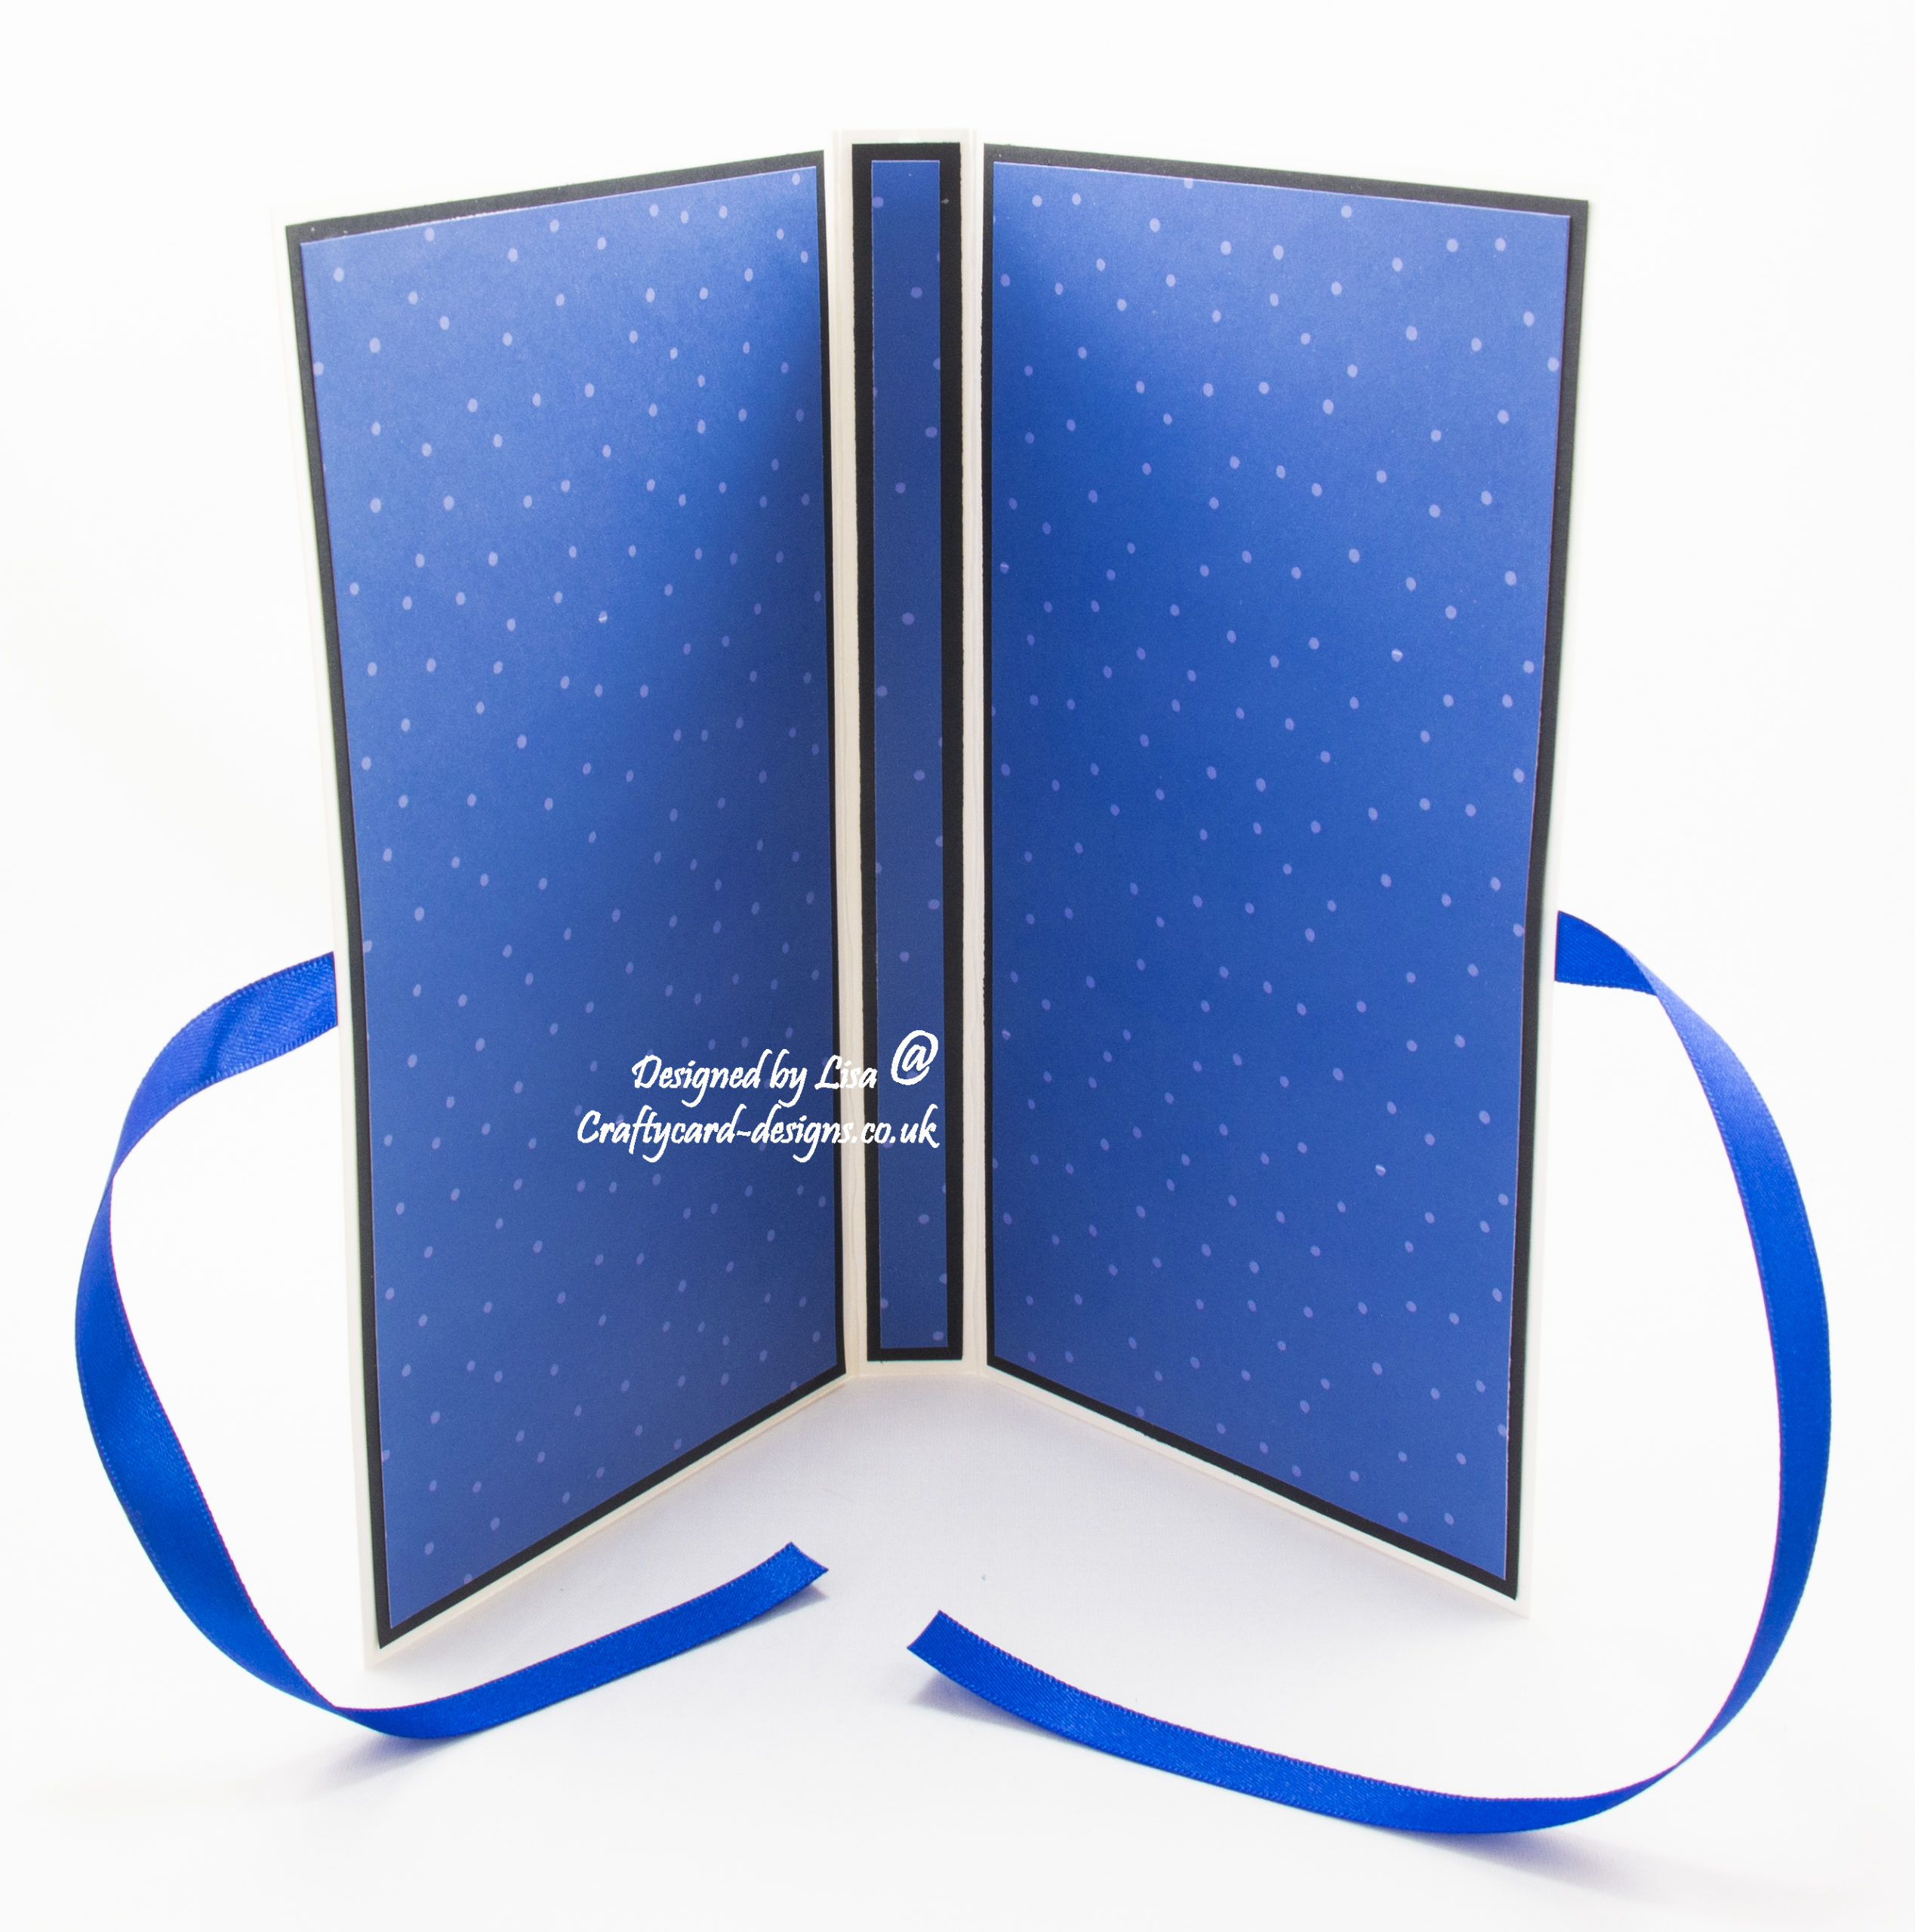
Layer four:
Cut two pieces from black card measuring 19.5 cms by 10.5 cms.
Cut two pieces from the second paper measuring 19 cms by 10 cms.
Matt and layer together.
Cut a piece from black card measuring 19.5 cms by 1.5 cms.
Cut a piece from the second paper measuring 19 cms by 1 cms.
Matt and layer together.
Attach all to the inside of the card.
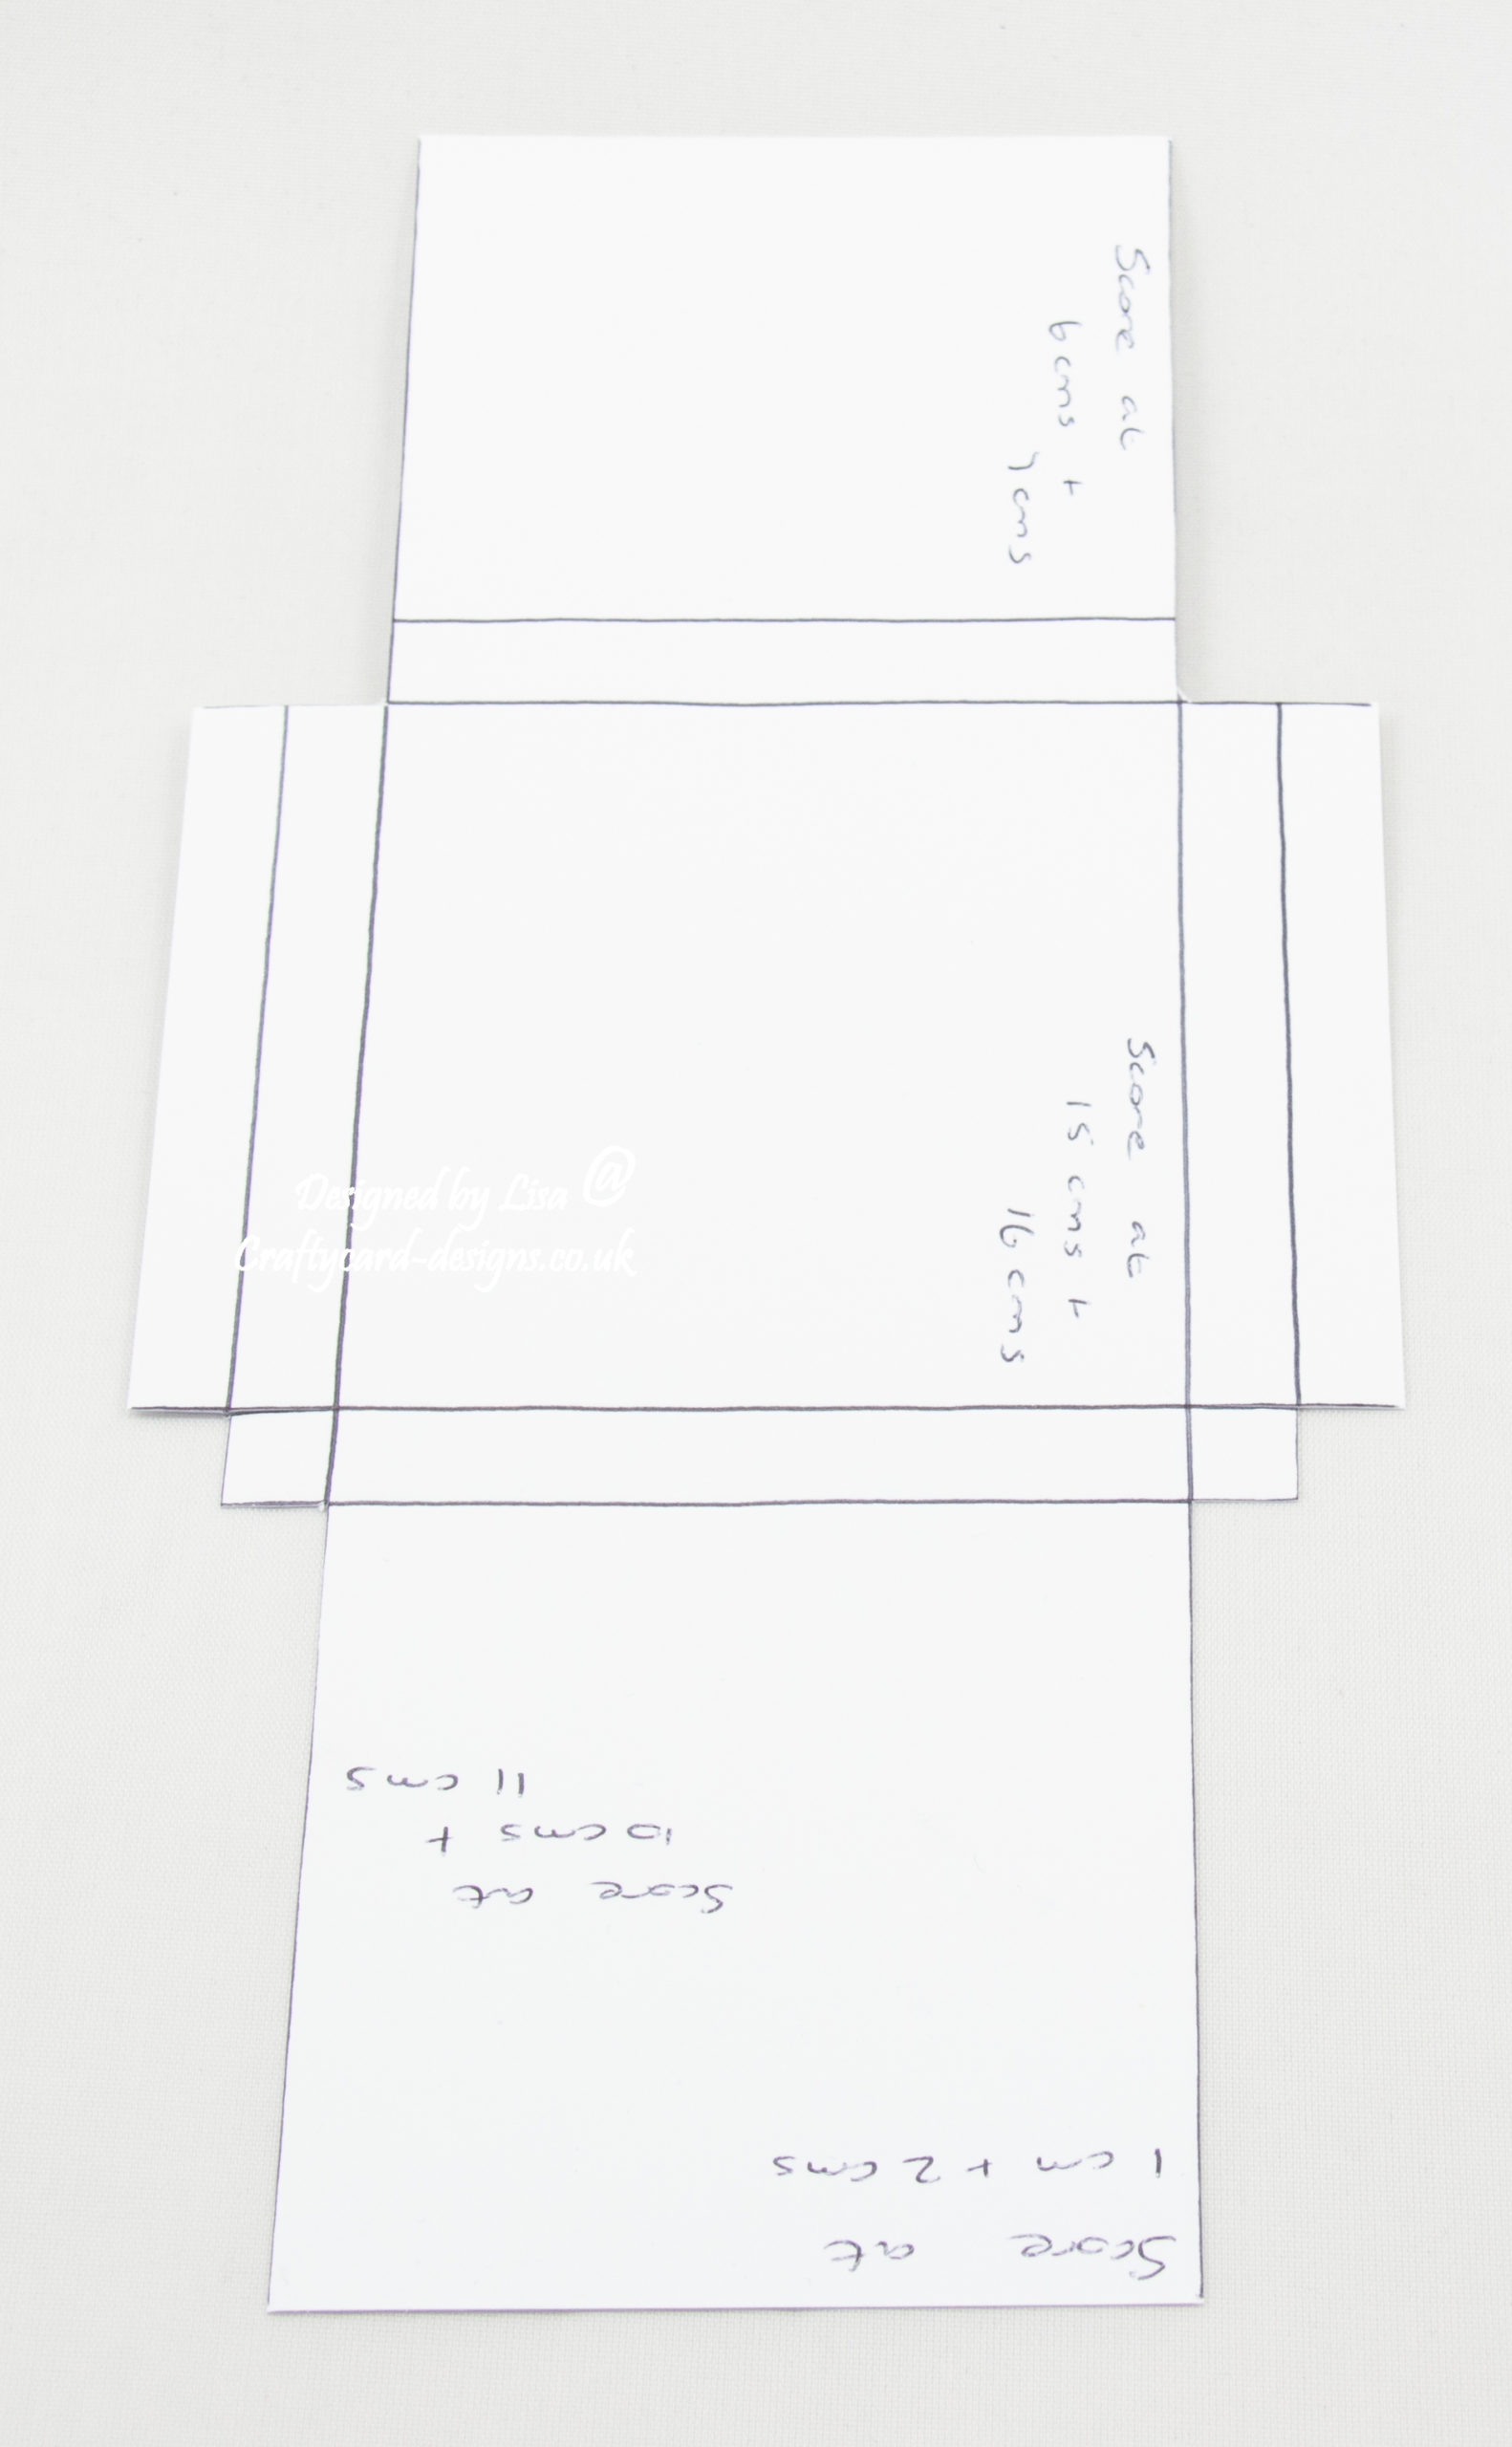
Layer five:
Cut a piece of A4 card measuring 17 cms by 12.5 cms.
Score along the shortest edge at 10.5 cms and 11.5 cms.
Then score along the longest edge at 15 cms and 16 cms.

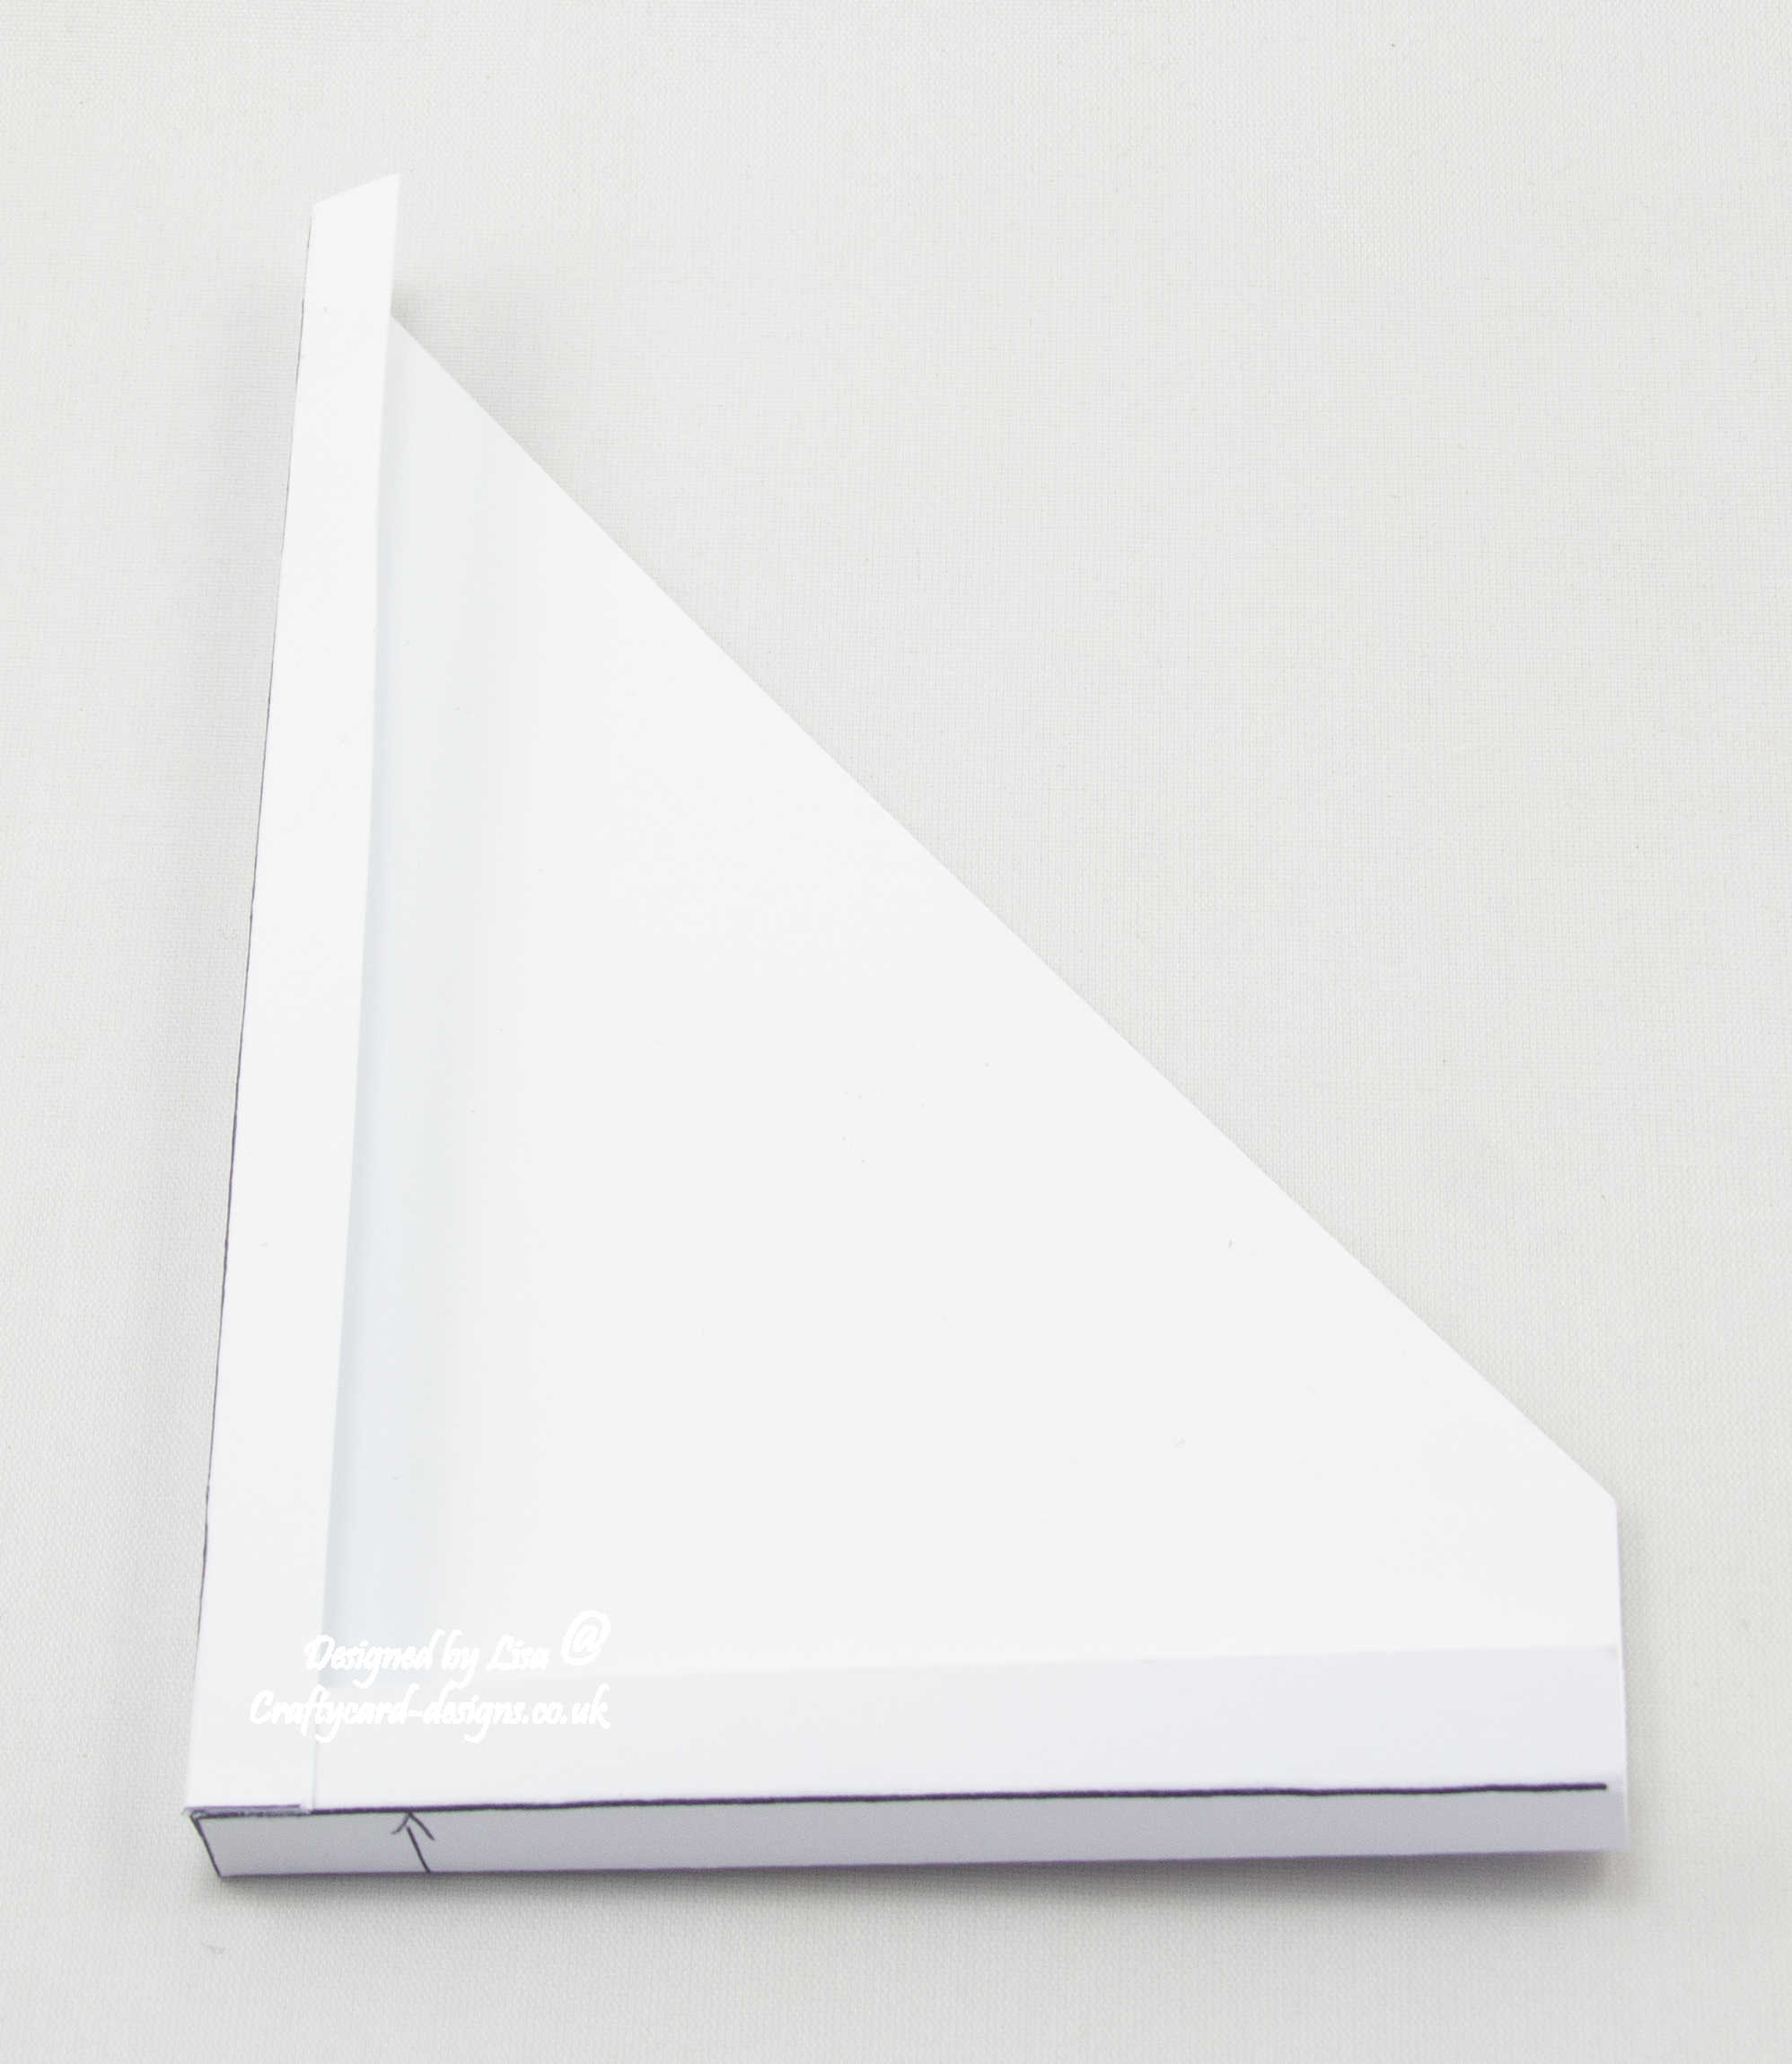
Next on the longest edge from the bottom, make a mark on the opposite side to the scorelines at 5 cms.

Cut diagonal from the 10.5 cms scoreline to the 5 cm mark.
Then cut out three of the small squares ( as in the picture below) to form a small tab.
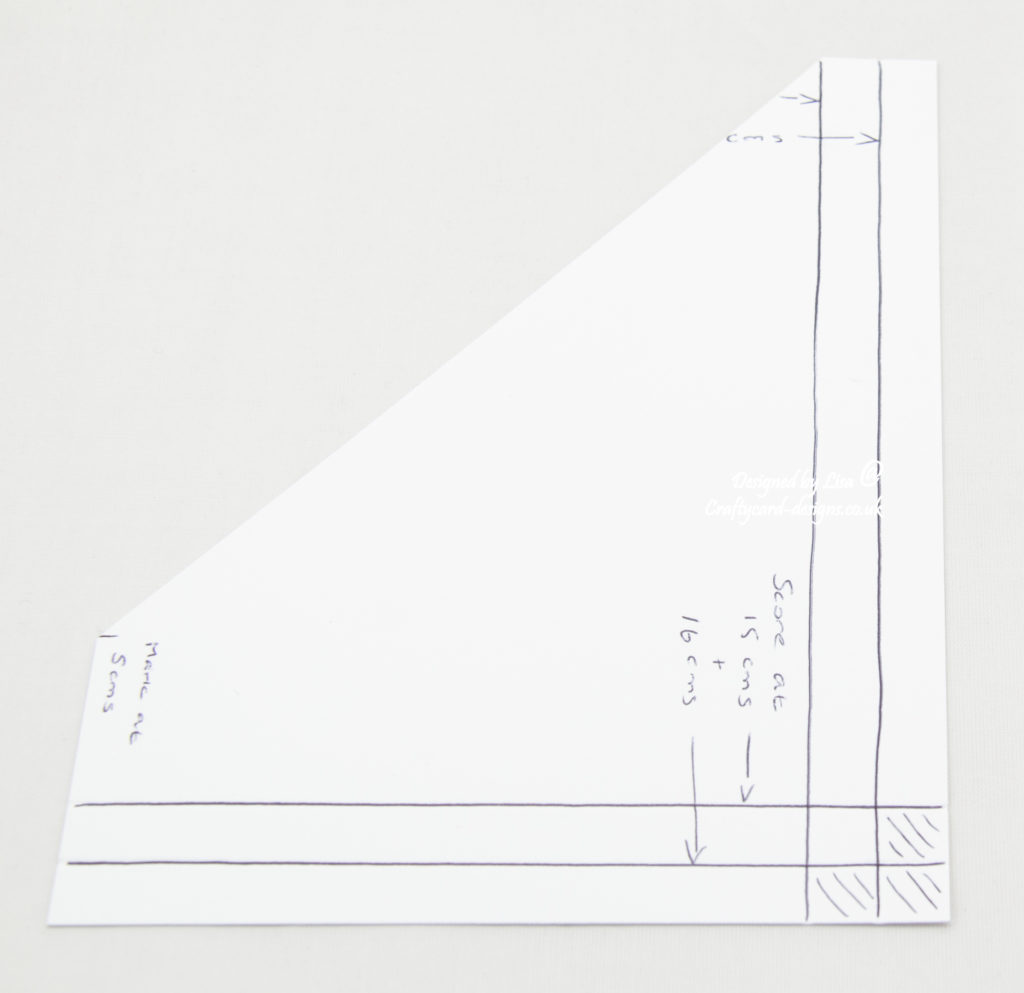

Fold each of the score lines and attach together.
Layer six:
Using a border die, cut the matt die from black card.
Cut the decorative die from the second paper.
Matt and layer together.
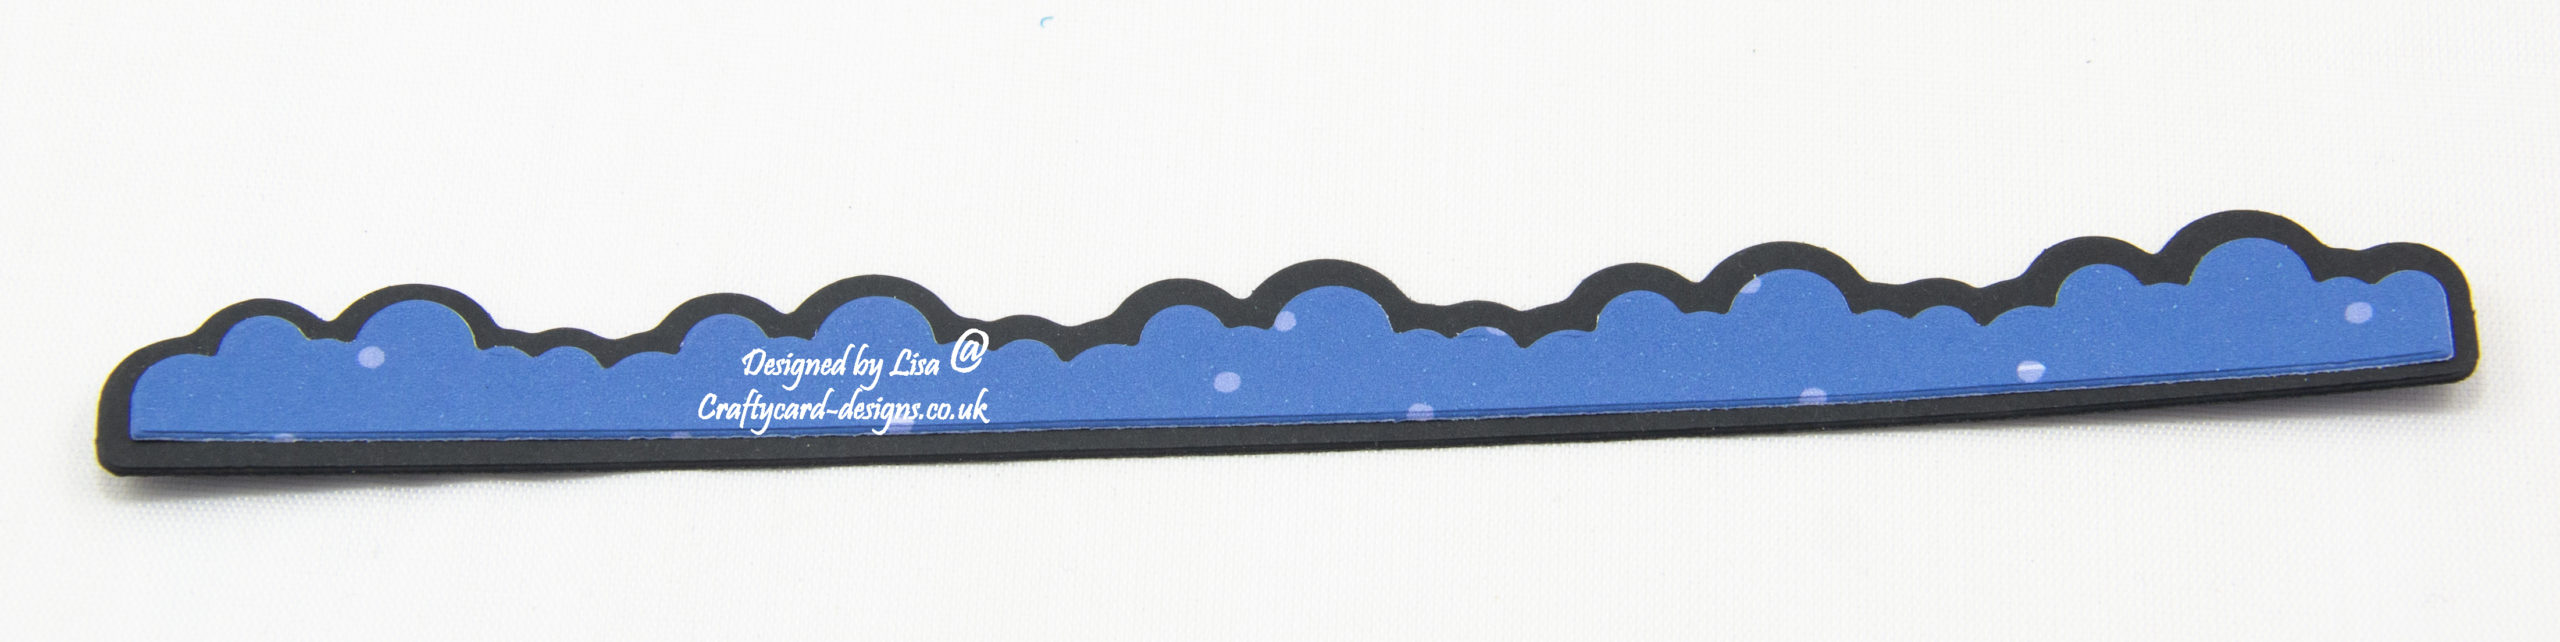
Then attach to the sloping part of the pocket.

Layer seven:
Cut a piece of black card measuring 14.5 cms by 10 cms.
On the left side from the bottom make a mark at 2.5 cms.
Then cut from the top right to the mark.
Cut a piece from the third paper measuring 13.5 cms by 9.5 cms.
On the left side from the bottom make a mark at 2 cms.
Cut from the top right to the mark.
Matt and layer together and attach to the front of the pocket.

Layer eight:
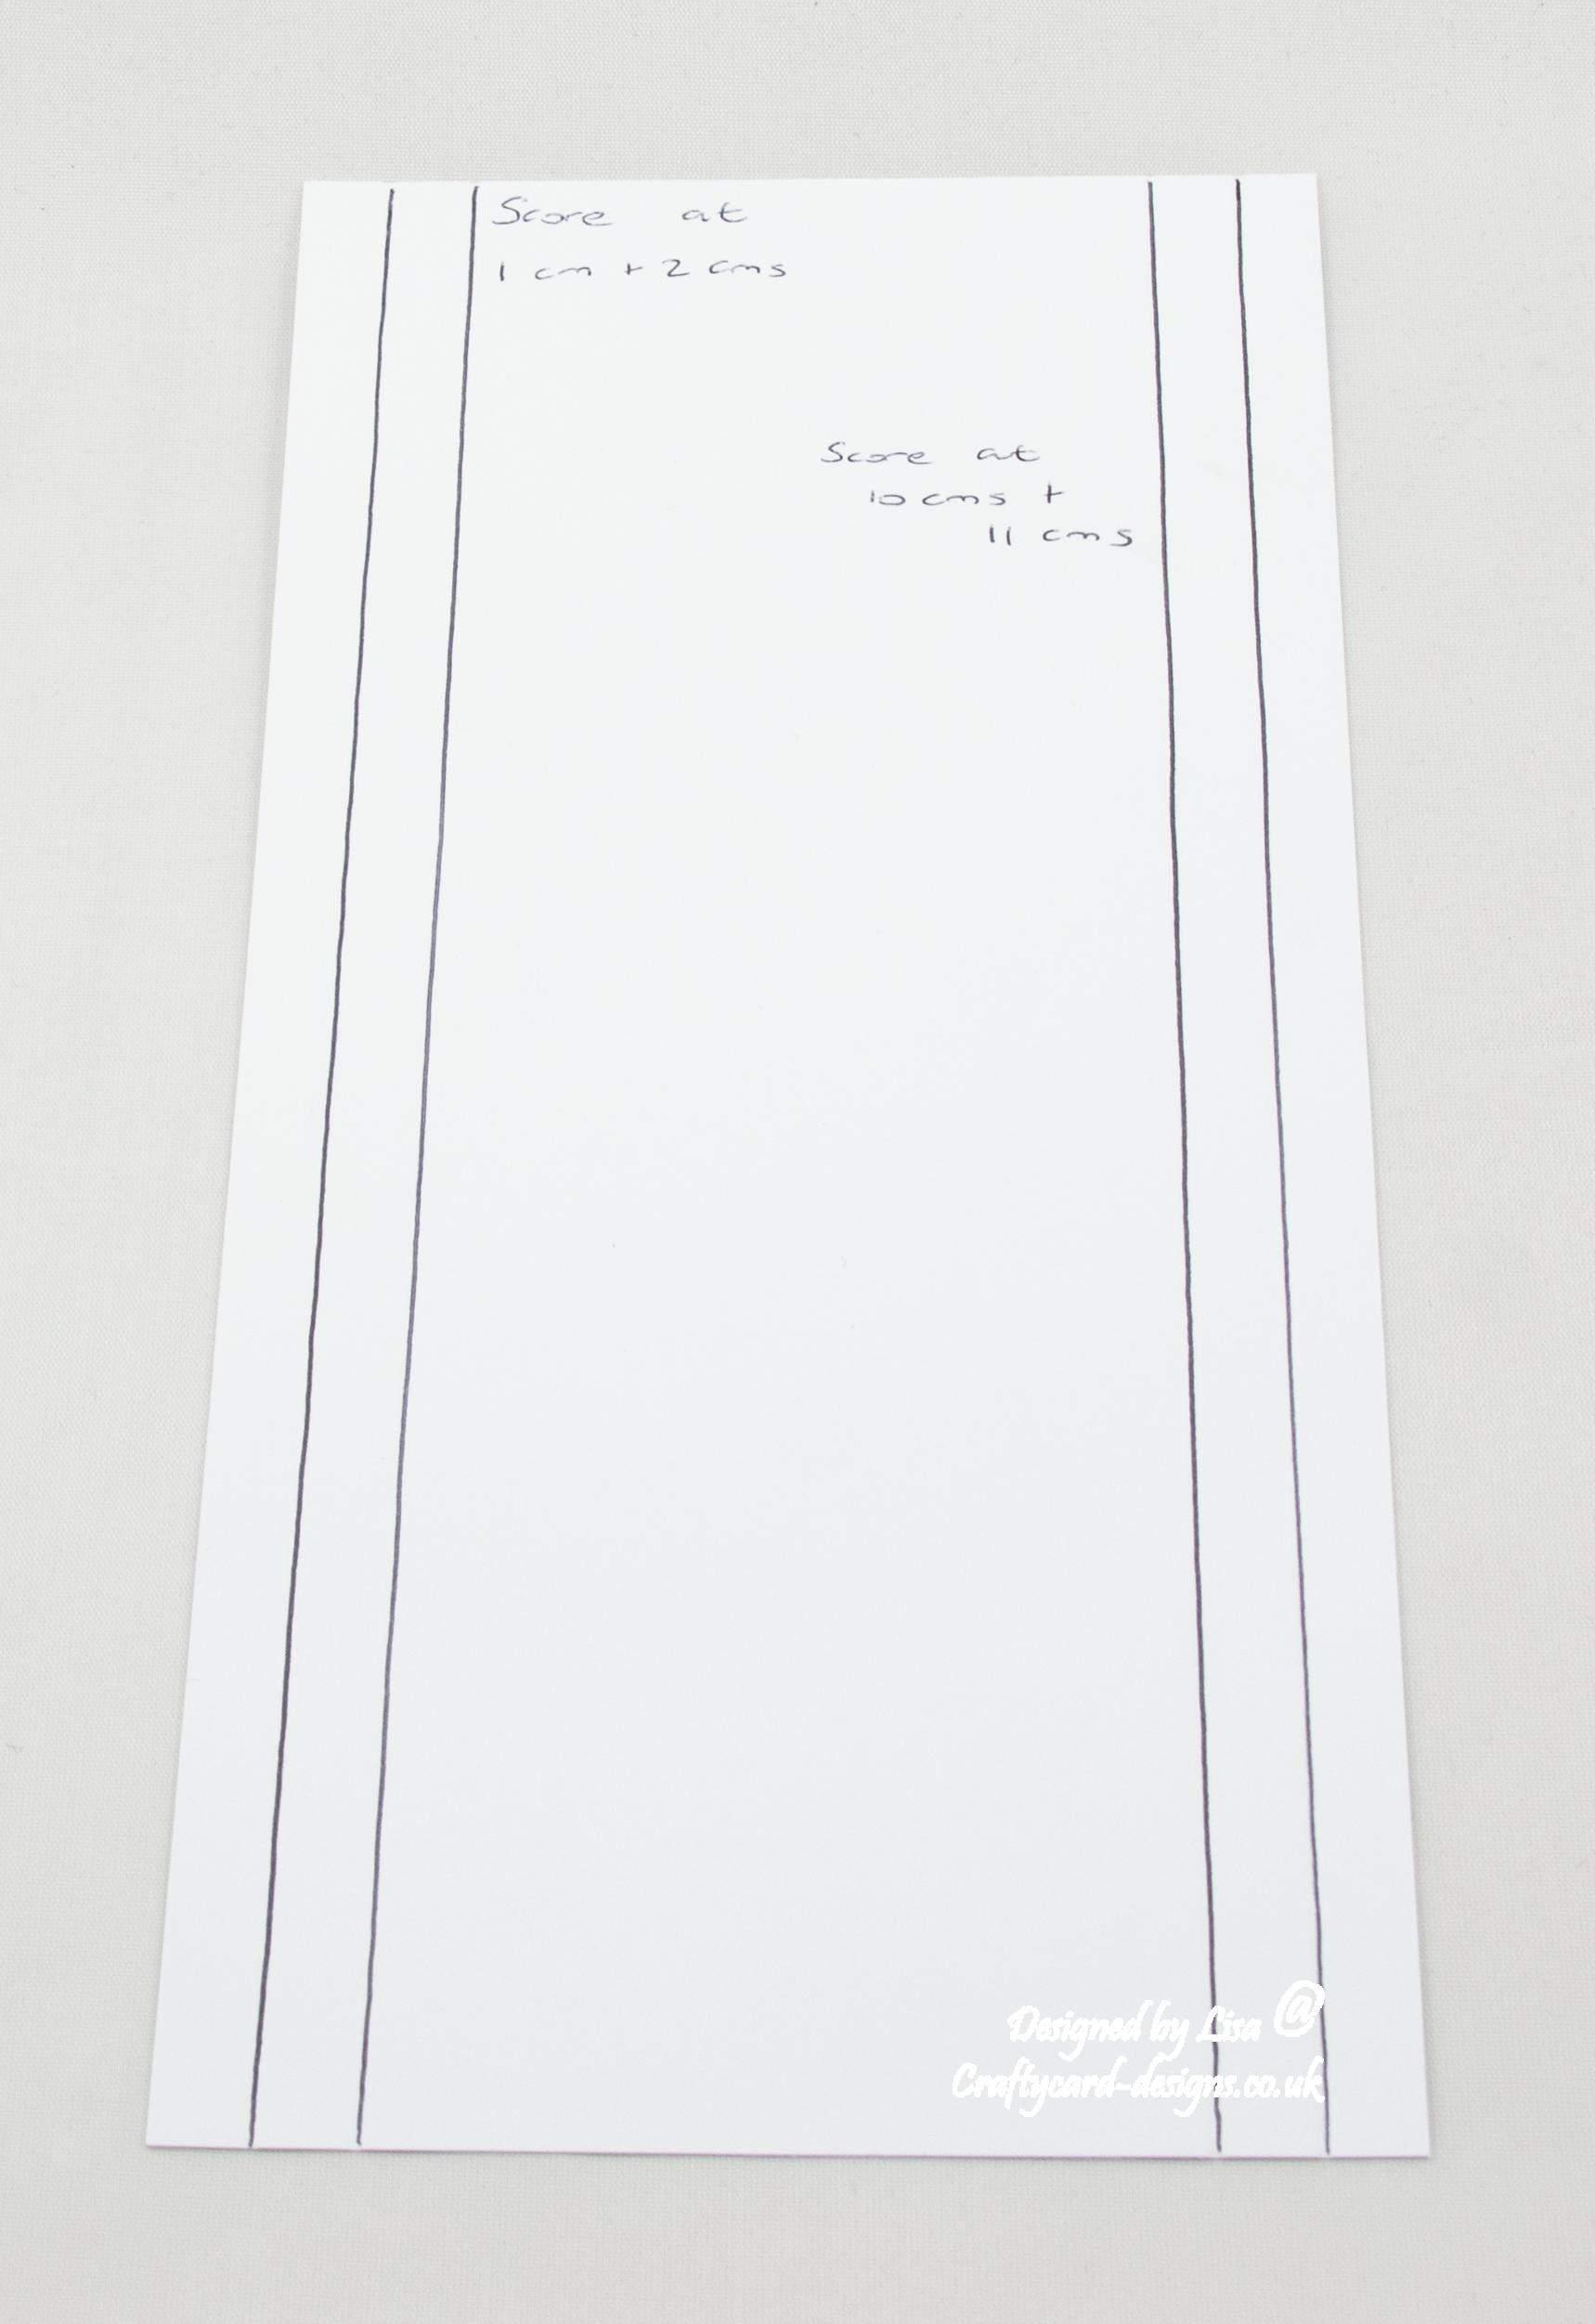
Cut two pieces of card measuring 24 cms by 12 cms.
On the shortest edge score at 1 cms, 2 cms, 10 cms and 11 cms.
On the longest edge score at 6 cms, 7 cms, 15 cms and 16 cms.
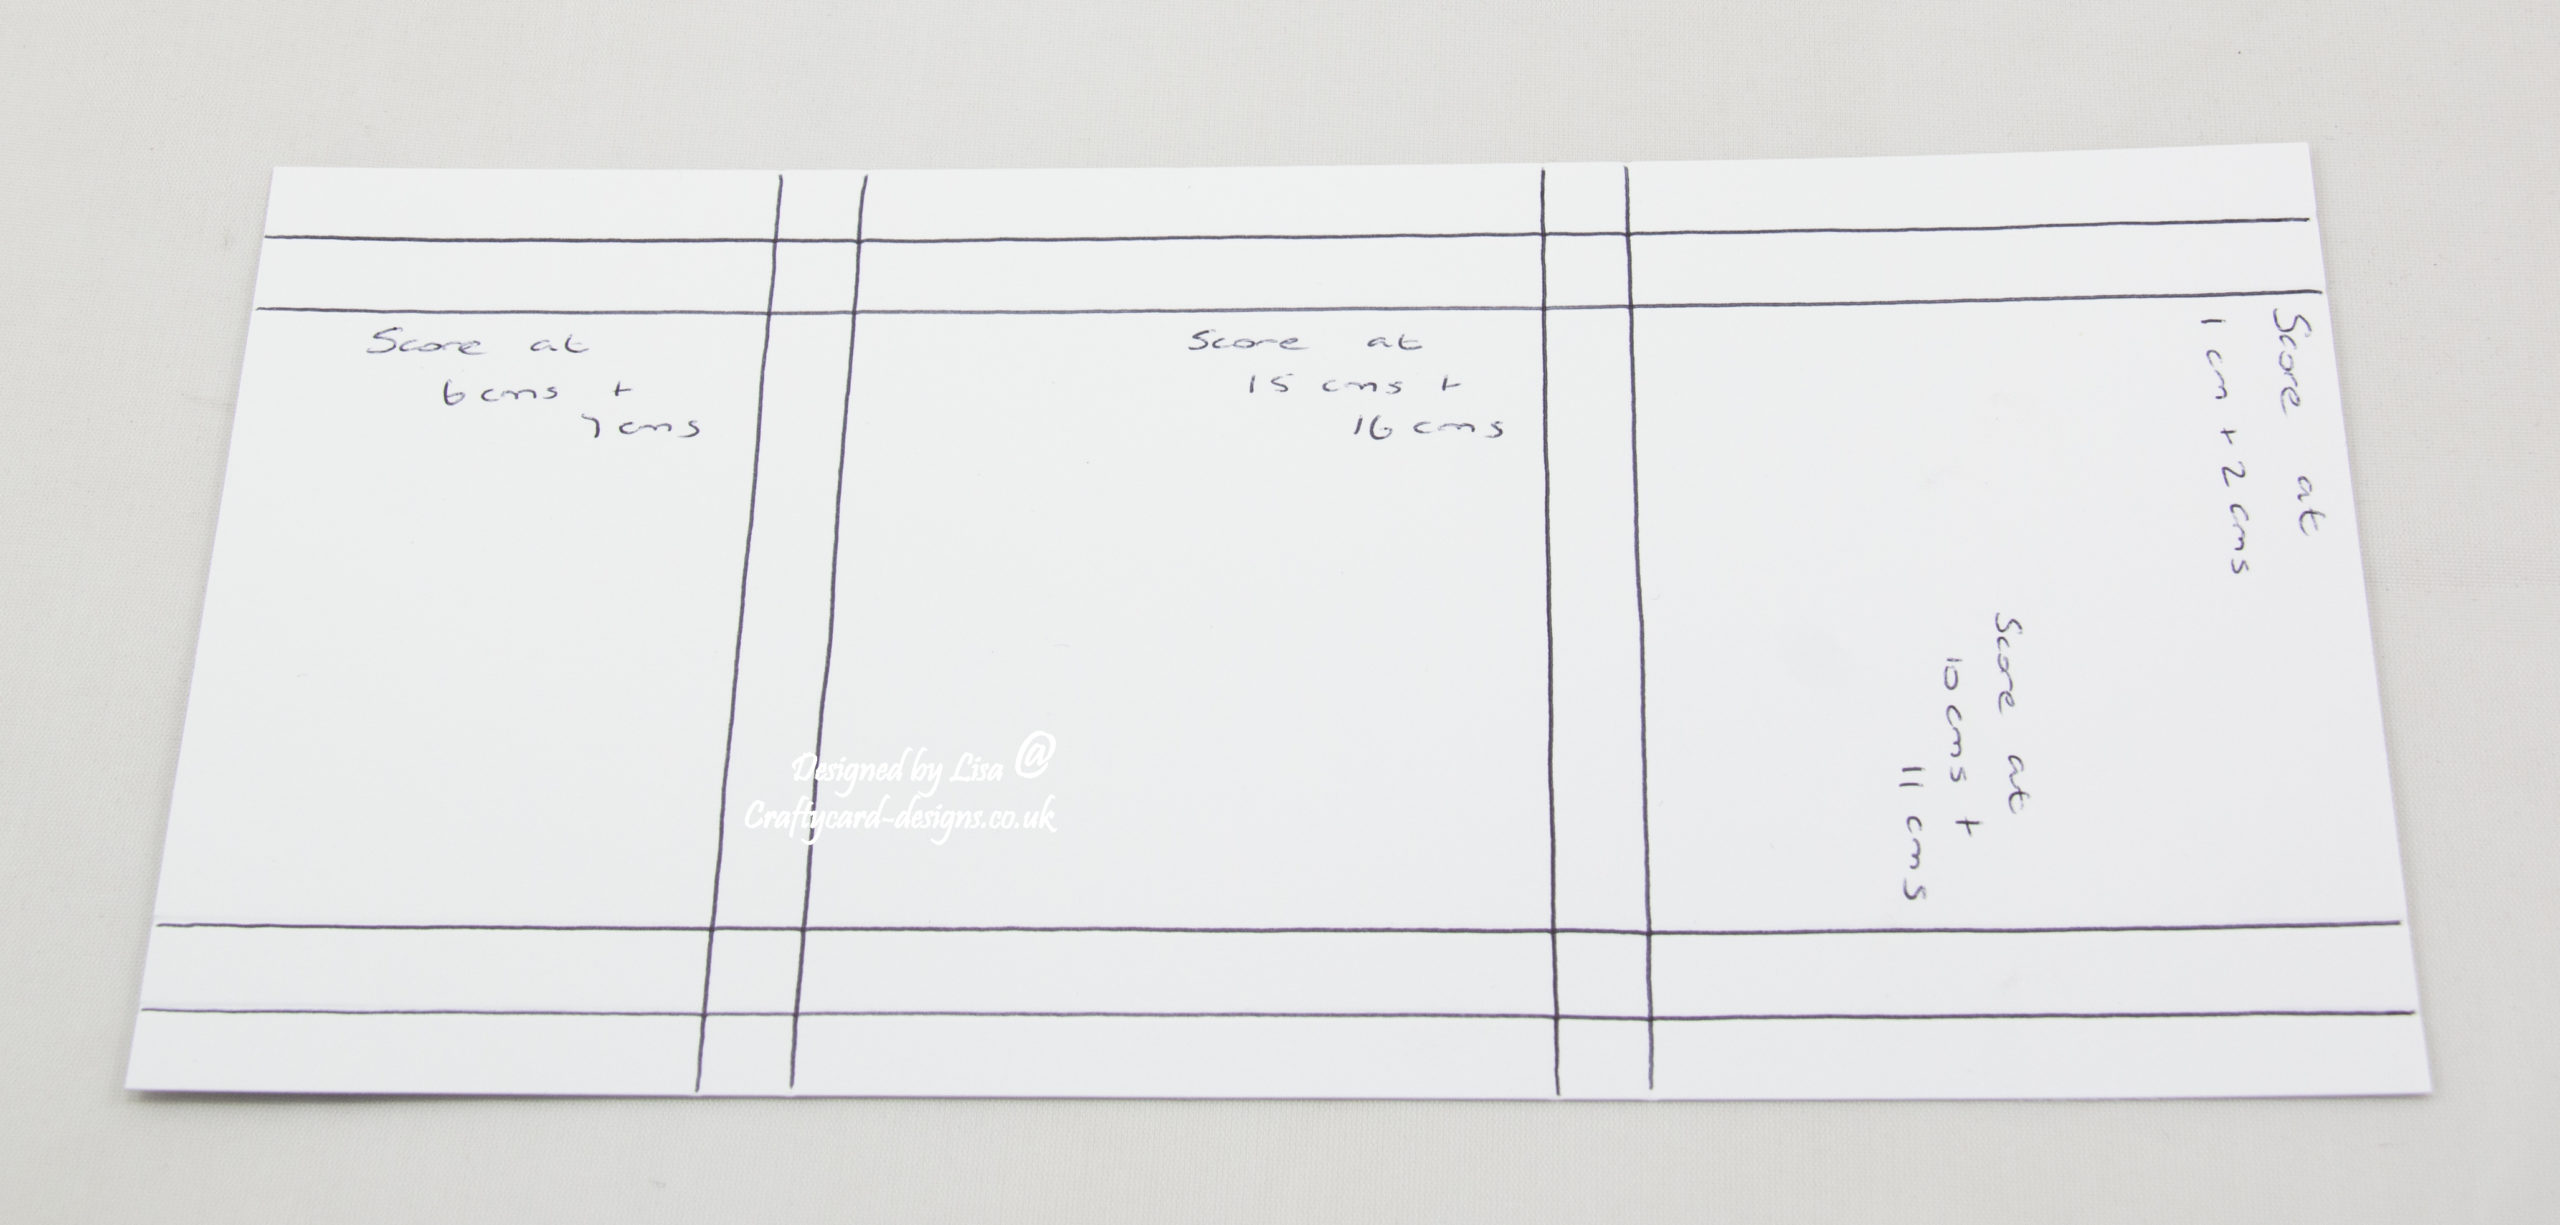
Next cut away the unwanted pieces as in the picture below.

Fold all scorelines and attach together to form two pockets.
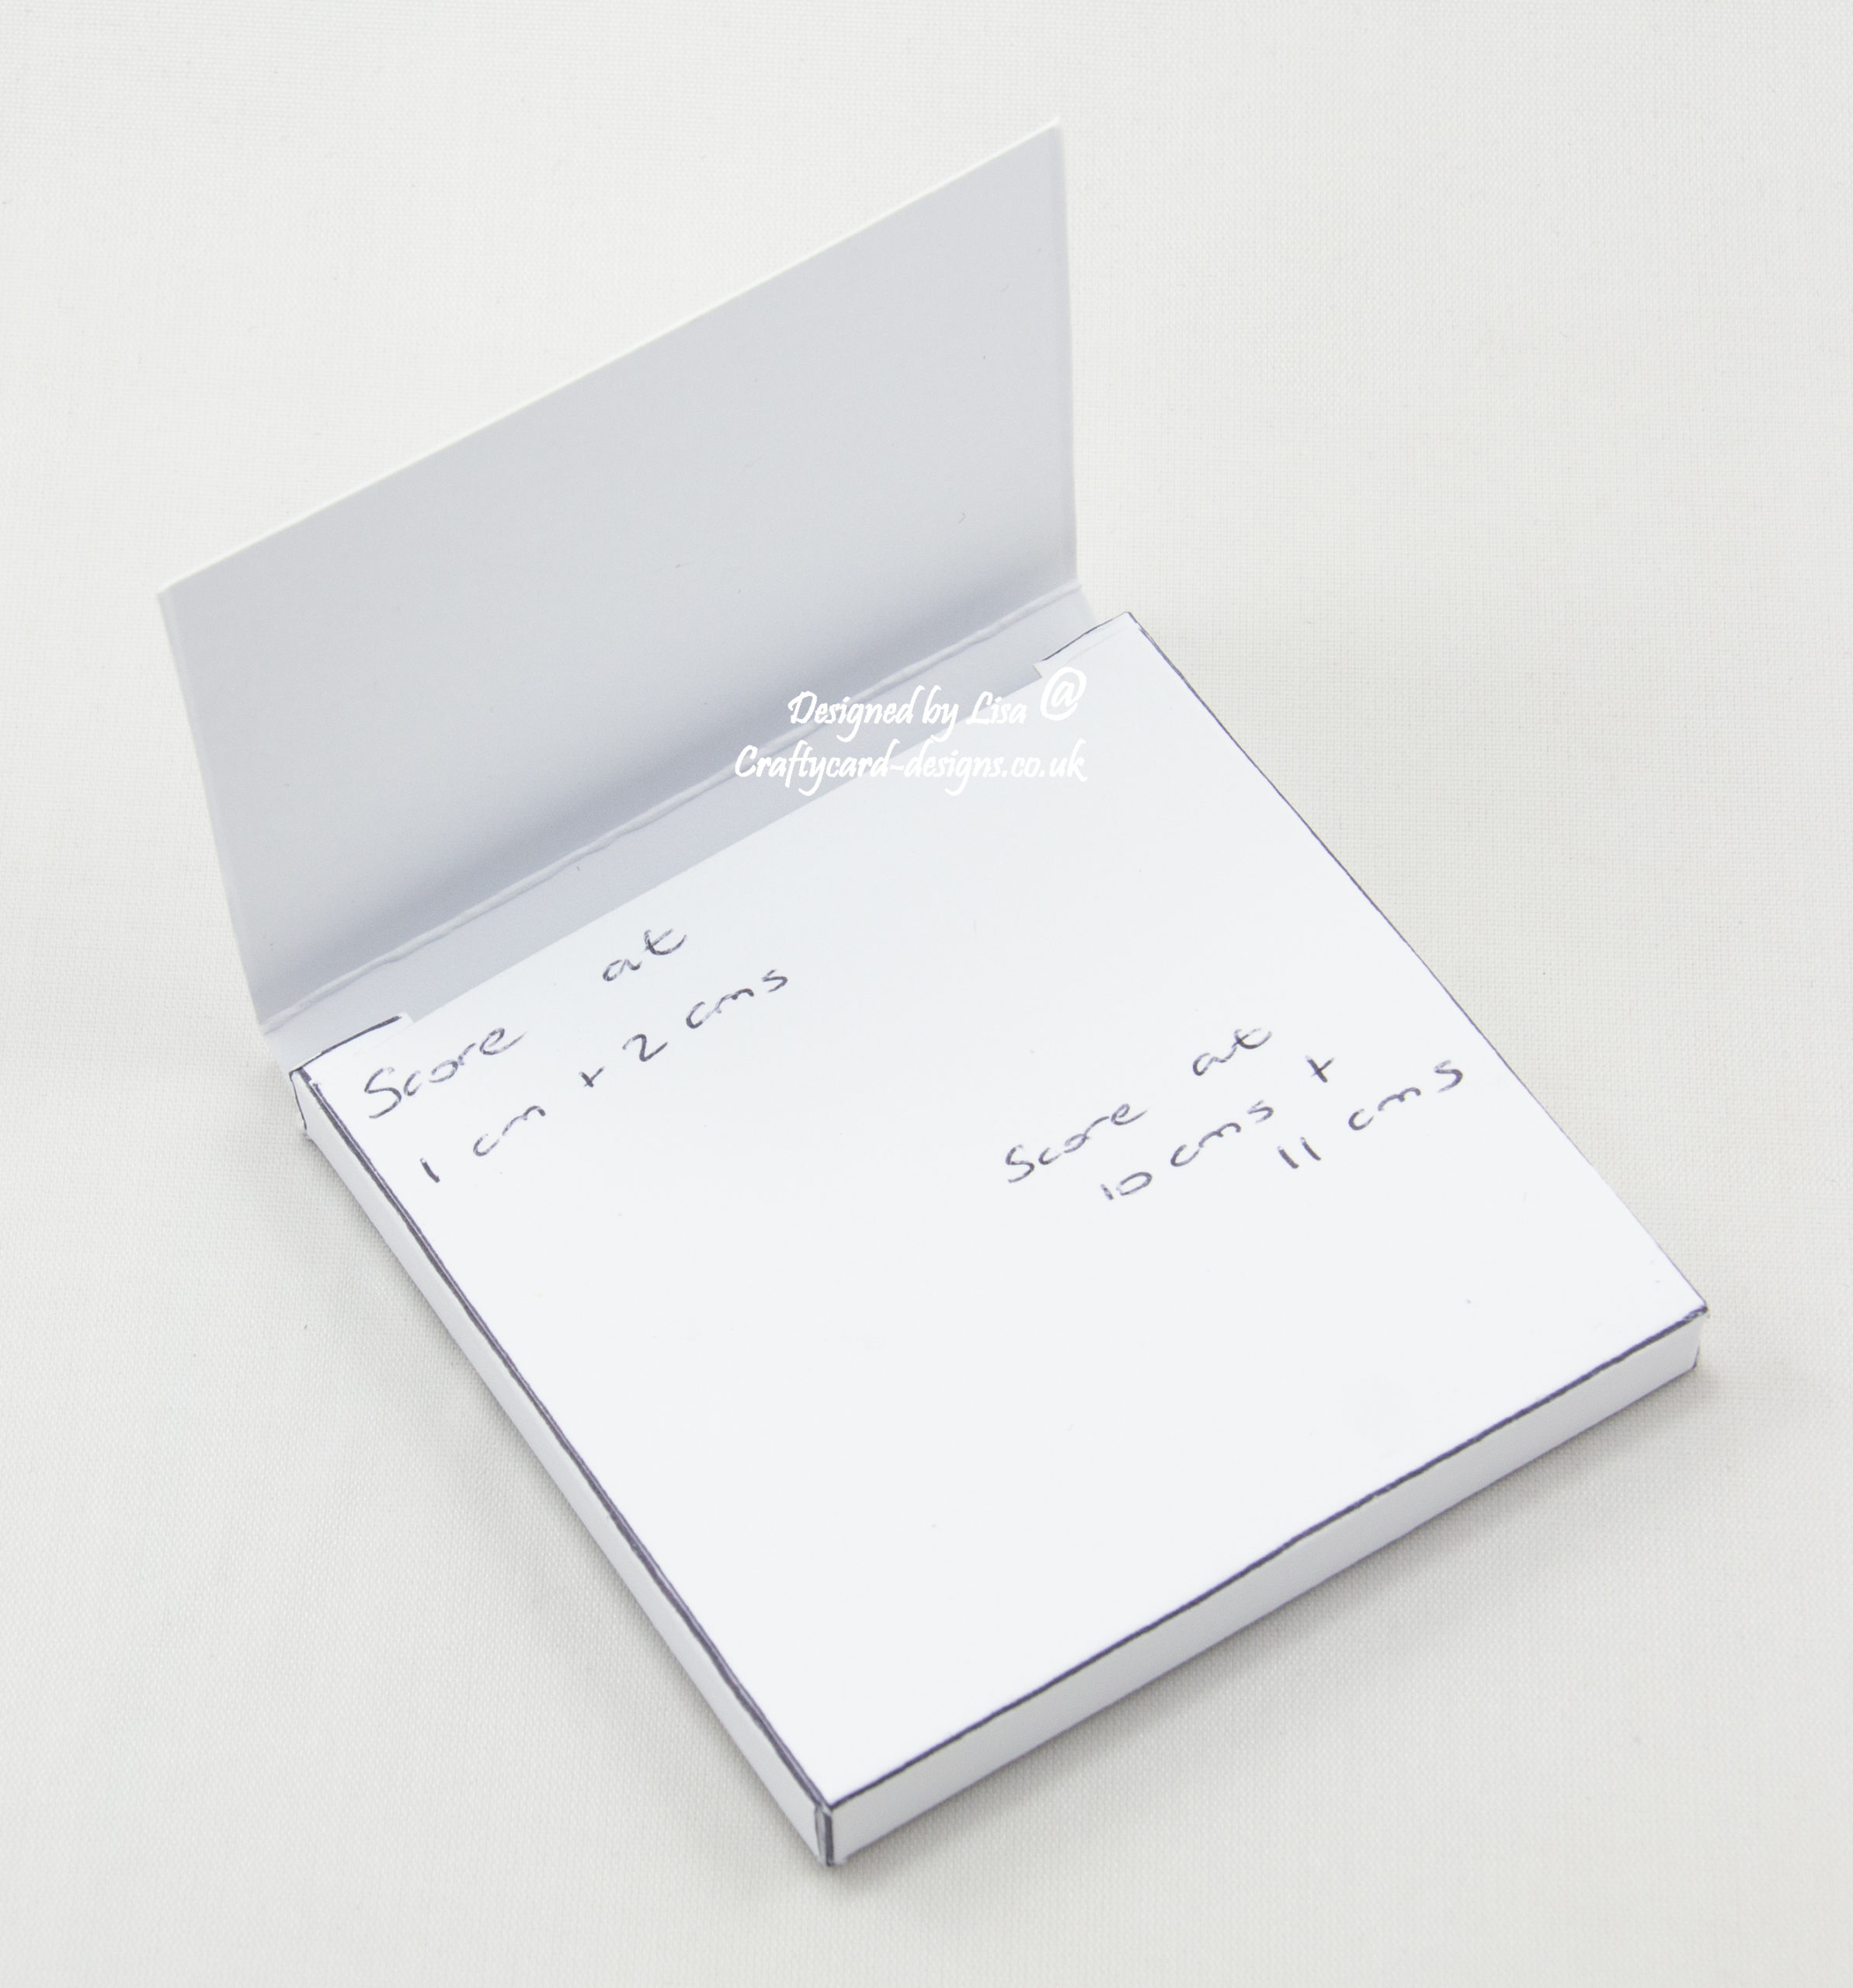
Using a corner punch, round off each corner of the top opening.
Layer nine:
Cut two squares from black card measuring 7.5 cms by 7.5 cms.
Cut two squares from the fourth paper measuring 7 cms by 7 cms.
Matt and layer together and attach to the front of the pockets.
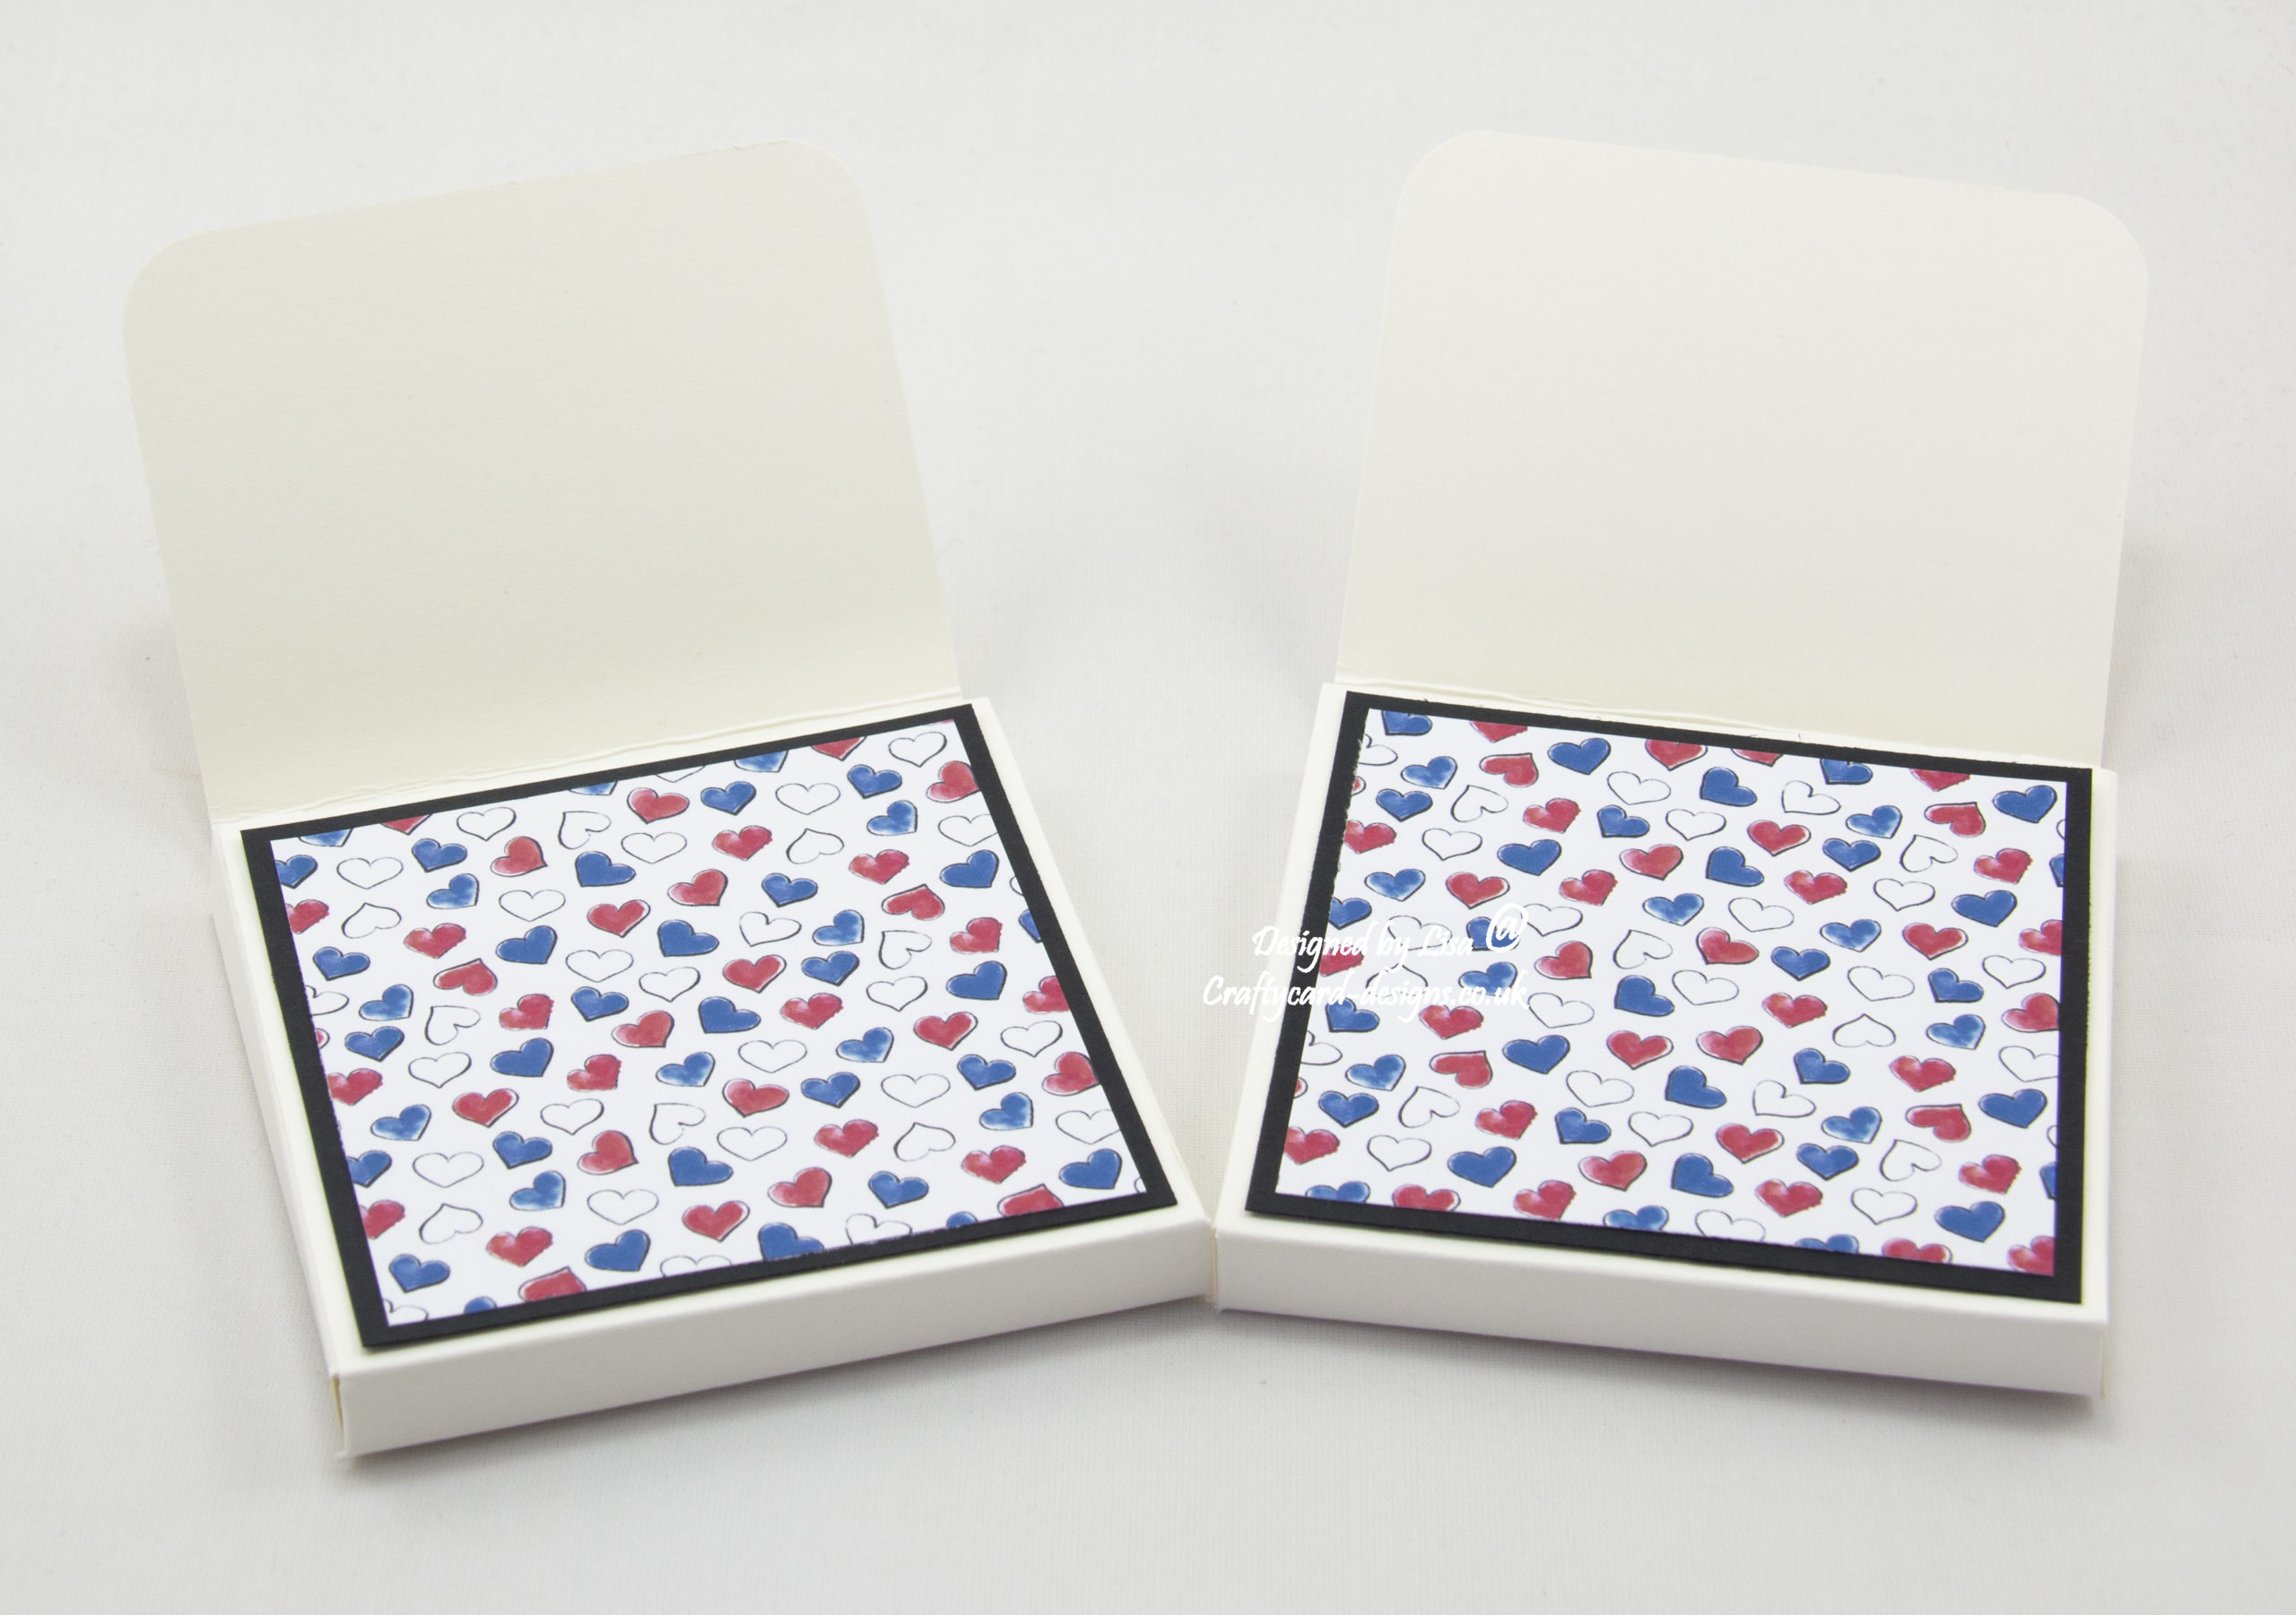
Then cut two pieces from black card measuring 5.5 cms by 7.5 cms
Cut two pieces from the fourth paper measuring 5 cms by 7 cms.
Using a corner punch, round off the bottom corners.
Matt and layer together and attach to the top opening of the pockets.

Layer ten:
Next attach each pocket to the inside of the gift card.

Then cut out some images and decorate the inside of the gift card.
………………………………………………………………………….
Thank you for visiting my blog and please feel free to follow and make any of my handmade card tutorials.
If you would like to see other cards I have made please have a look here:
Sketch Book Chapter IX The Best of Breeds Volume II : Border Collie
Butterfly Surprise – Happy Birthday
Chibi Open Gift – Season’s Greetings
Nature’s Gift : Many Happy Returns
………………………………………………………………………….
Challenges I would like to enter are:
CD Sunday Challenge #87 – Anything Goes Using CD, USB or digital download
Crafts Galore Encore Challenge June 2022 – Anything Goes
Craftyhazelnut’s Patterned Paper June 2022 Challenge – Anything Goes With Patterned Paper
Fab ‘N’ Funky Challenge #553 – Celebrations
The Paper Funday June 2022 Challenge – Anything Goes with an Optional Twist – Masculine
This is really great Lisa – I like all the pomp and ceremony that goes with the royals. I bought this download but I’d finished my jubilee makes so haven’t used it. It will come in useful for future royal events.
Pamela
CD Sunday Plus DT.
This is fabulous. Thanks for the tutorial. I’ve got a 50th birthday card to make for a close friend and this will be perfect for that.
Jo
CD Sunday Plus DT
Lovely gift card holder, thanks for sharing with us at Fab’n’Funky.
Pat xx
Amazing blog and directions. I am always impressed by this type of creativity! Thank you for joining us at The Paper Funday Challenge.
Wow! This is fabulous and thanks for the tutorial! Thanks for much for sharing with us at The Paper Funday Challenge.
Donna
The Paper Funday Challenge
The Inspiration Station Challenge
Gorgeous card. Thanks for joining us at Fab’n’Funky. Pat K xx
What a superb project.
Thanks for joining us at Craftyhazelnuts patterned paper challenge blog.
Happy crafting!
Catherine x DT
I just love your gift card/box! It is a super idea and beautifully decorated. Thank you for the tutorial.
Thank you for sharing your project with us at the Crafts Galore Encore “Anything Goes” June Challenge. Good Luck and hope to see you again soon!
Carole x DT Craftilicious Creations