Here is a tutorial for a handmade accordion card using a download collection called Gone Fishing from The Crafty Witches.


You will need :
A4 White Card
12″ By 12″ White Card
The Crafty Witches – Gone Fishing Digital Download Collection
Ribbon
Glue / Double Sided Tape
Foam Pads
Instructions:
From the paper collection, print one insert, one topper sheet and one sentiment sheet.
Then print three plain papers and four patterned papers, you may need more than one of each.
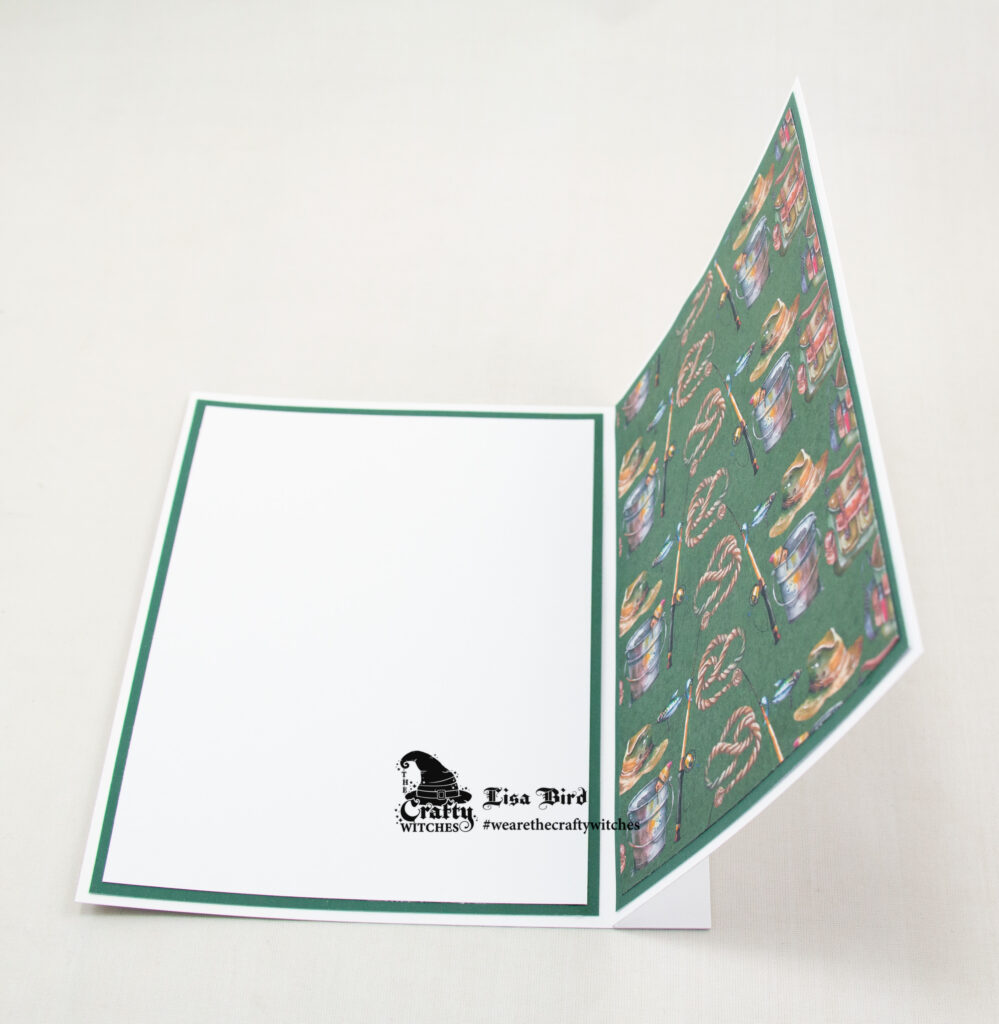
Card Cover
Cut a piece from the 12″ by 12″ white card measuring 15 cms by 30 cms.
Score along the 30 cm edge at 13.5 cms and 16.5 cms.

Then add ribbon to the front and back.

Inside
Cut seven pieces of white card measuring 14.5 cms by 13 cms.
On six of the pieces, score 2 cms down one of the edges.

Layer one:
Cut two pieces from plain paper measuring 14.5 cms by 13 cms.
Cut two pieces from white card measuring 14 cms by 12.5 cms.
Cut one piece from the insert and one piece from one of the patterned papers each measuring 13.5 cms by 12 cms.
Matt and layer together and attach to the front and back of the card cover.
Then cut a piece from plain paper measuring 14.5 cms by 2.5 cms and attach to the outer spine.

Layer two:
Cut one piece from plain paper measuring 14.5 cms by 13 cms.
Cut one piece from white card measuring 14 cms by 12.5 cms.
Cut one piece from the insert measuring 13.5 cms by 12 cms.
Matt and layer together and attach to the inside left of the card cover.
Then cut a piece of plain paper measuring 14.5 cms by 2.5 cms and attach to the inside spine.

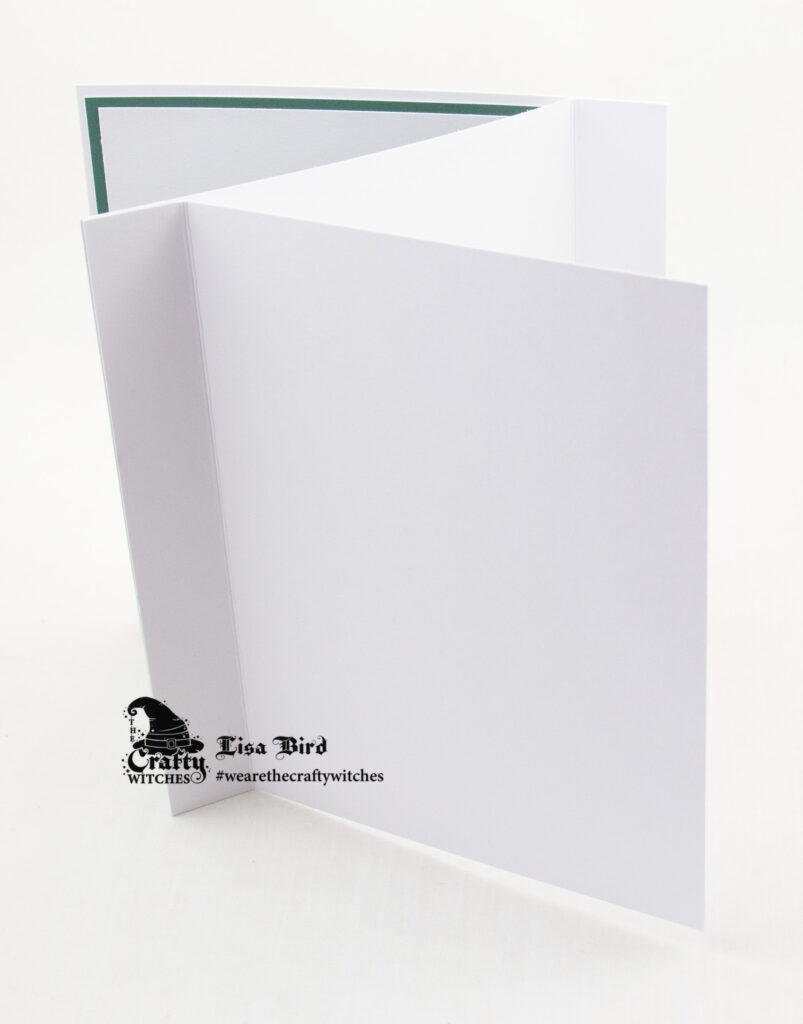
Layer three:
Attach the non scored 14.5 cms by 13 cms piece of card and one of the scored pieces of card together.
Add glue to the 2 cms scored part and attach this to the right edge of the non scored card.

Cut two pieces from plain paper measuring 14 cms by 10.5 cms.
Cut a piece from white card measuring 13.5 cms by 10 cms.
Cut a piece from patterned paper measuring 13.5 cms by 10 cms.
Matt and layer together and attach to the inside.
Layer four:
Attach one of the scored pieces of card to the left edge.
Cut two pieces from plain paper, one measuring 14 cms by 10.5 cms and one measuring 14 cms by 8.5 cms.
Cut a piece from patterned paper measuring 13.5 cms by 10 cms.
Cut a piece from white card measuring 13.5 cms by 8 cms.
Matt and layer together and attach to the inside of the white base.
Then cut a piece from plain paper measuring 14 cms by 1.5 cms.
Attach to the 2 cm edge.

Layer five:
Attach one of the scored pieces of card to the right edge.
Cut two pieces from plain paper, one measuring 14 cms by 10.5 cms and one measuring 14 cms by 8.5 cms.
Cut a piece from patterned paper measuring 13.5 cms by 10 cms.
Cut a piece from white card measuring 13.5 cms by 8 cms.
Matt and layer together and attach to the inside of the white base.
Then cut a piece from plain paper measuring 14 cms by 1.5 cms.
Attach to the 2 cm edge.

Layer six:
Attach one of the scored pieces of card to the left edge.
Cut two pieces from plain paper, one measuring 14 cms by 10.5 cms and one measuring 14 cms by 8.5 cms.
Cut a piece from patterned paper measuring 13.5 cms by 10 cms.
Cut a piece from white card measuring 13.5 cms by 8 cms.
Matt and layer together and attach to the inside of the white base.
Then cut a piece from plain paper measuring 14 cms by 1.5 cms.
Attach to the 2 cm edge.

Layer seven:
Attach one of the scored pieces of card to the right edge.
Cut two pieces from plain paper, one measuring 14 cms by 10.5 cms and one measuring 14 cms by 8.5 cms.
Cut a piece from patterned paper measuring 13.5 cms by 10 cms.
Cut a piece from white card measuring 13.5 cms by 8 cms.
Matt and layer together and attach to the inside of the white base.
Then cut a piece from plain paper measuring 14 cms by 1.5 cms.
Attach to the 2 cm edge.

Layer eight:
Attach one of the scored pieces of card to the left edge.
Cut two pieces from plain paper, one measuring 14 cms by 10.5 cms and one measuring 14 cms by 8.5 cms.
Cut a piece from patterned paper measuring 13.5 cms by 10 cms.
Cut a piece from white card measuring 13.5 cms by 8 cms.
Matt and layer together and attach to the inside of the white base.
Then cut a piece from plain paper measuring 14 cms by 1.5 cms.
Attach to the 2 cm edge.

Layer nine:
Cut one piece from plain paper measuring 14 cms by 10.5 cms.
Cut a piece from white card measuring 13.5 cms by 10 cms.
Cut a piece from patterned paper measuring 13 cms by 9.5 cms.
Matt and layer together and attach to the front of the white base.
Then cut a piece from plain paper measuring 14 cms by 1.5 cms.
Attach to the 2 cm edge.

Then cut a square from white card measuring 9 cms by 9 cms.
Cut out a square topper and matt and layer together.
Attach to the front using foam pads.
Next cut out a sentiment and attach to a white matt layer.
Attach to the front using foam pads.
Cut out one of the fish from a topper and attach using foam pads.
Layer ten:
Attach to the inside right of the card cover.
Cut out and add a couple more fish for decoration.

The inside of the card pulls out and you can add photos to the white sections of card.


………………………………………………………………………….
Thank you for visiting my blog and please feel free to follow and make any of my handmade card tutorials.
If you would like to see other cards I have made please have a look here:
………………………………………………………………………….
Challenges I would like to enter are:
CD Sunday Plus Challenge #111 – Anything Goes Must Include Something From A Cd, Usb, Digital Download
Get Creative Challenge #122 – More Than One Fold
Cardz 4 Guys Challenge #323 – Lots Of Layers
Everybody Art Challenge #537 – Something For A Man
Try It On Tuesday Challenge – Make It Masculine
That’s a really super male card Lisa. The designs from the Crafty Witches are really
good.
Pamela
CD Sunday Plus DT.
Handsome accordion card indeed!! Thanks for playing along with our “lots of layers” challenge over at Cardz 4 Guyz…your nailed both the masculine theme and the lots of layers element with your fisherman card!!
– Deb Horst, DT #C4G323
Well that sure qualifies for our “lots of layers” challenge! What a great masculine project. Thanks for sharing with us at Cardz 4 Guys!
What a wonderful creation and thank you for sharing it with us.
Carol xx
CD Sunday Plus DT
A great card and brilliant tutorial to go with it. Thank you for sharing with us.
Jocelyn x
CD Sunday Plus DT
What a fantastic card! Great guy card! Thank you for joining us at C4G this round. Cheers, Jolanda – DT
This accordion card is a super combination of a card and a gift to a man who loves fishing! Thanks for joining our challenge at Try it on Tuesday.
Great accordian card and tutorial, love the fishing scene
Thanks for joining us at Try It On Tuesday challenge
Truly a stunning accordion card! Perfect for a man who loves fishing. The pictures are so amazing and your design is so beautiful. I love those fish in it too. Thank you for sharing the instruction with all of us.
I’m glad you’re sharing your beautiful album with the Everybody Art Challenge. Thanks very much.
Hug Uschi